
Tutorials

You don't need to know all of Inkscape or Ink/Stitch just to use the custom lettering.
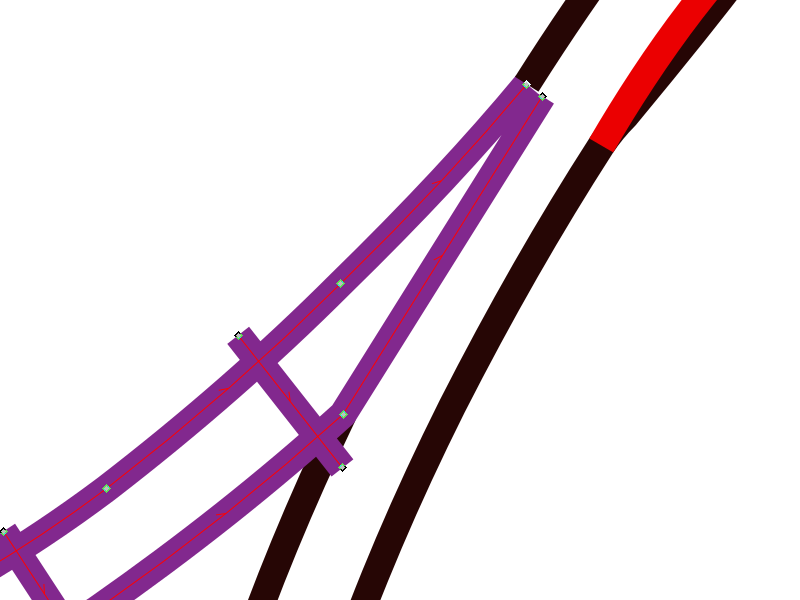
An important part of digitizing fonts or outlined graphics is what happens when satins come together.
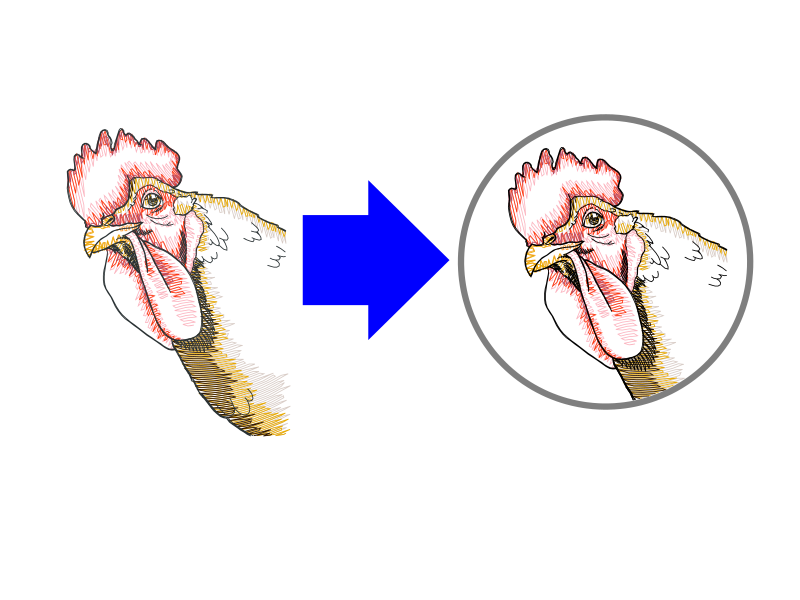
Turning chunky line art into embroidery is harder than it seems.
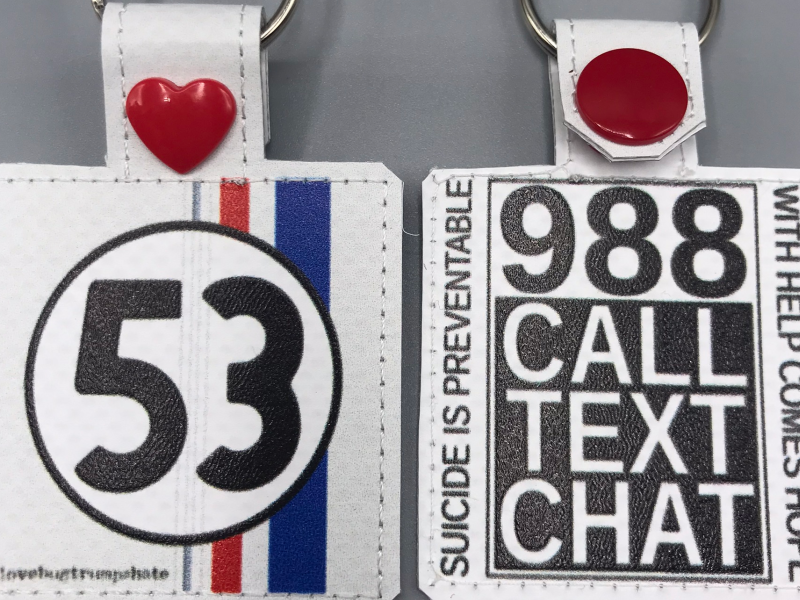
Setting plastic snaps seems pretty simple, but there are a few tricks to it.

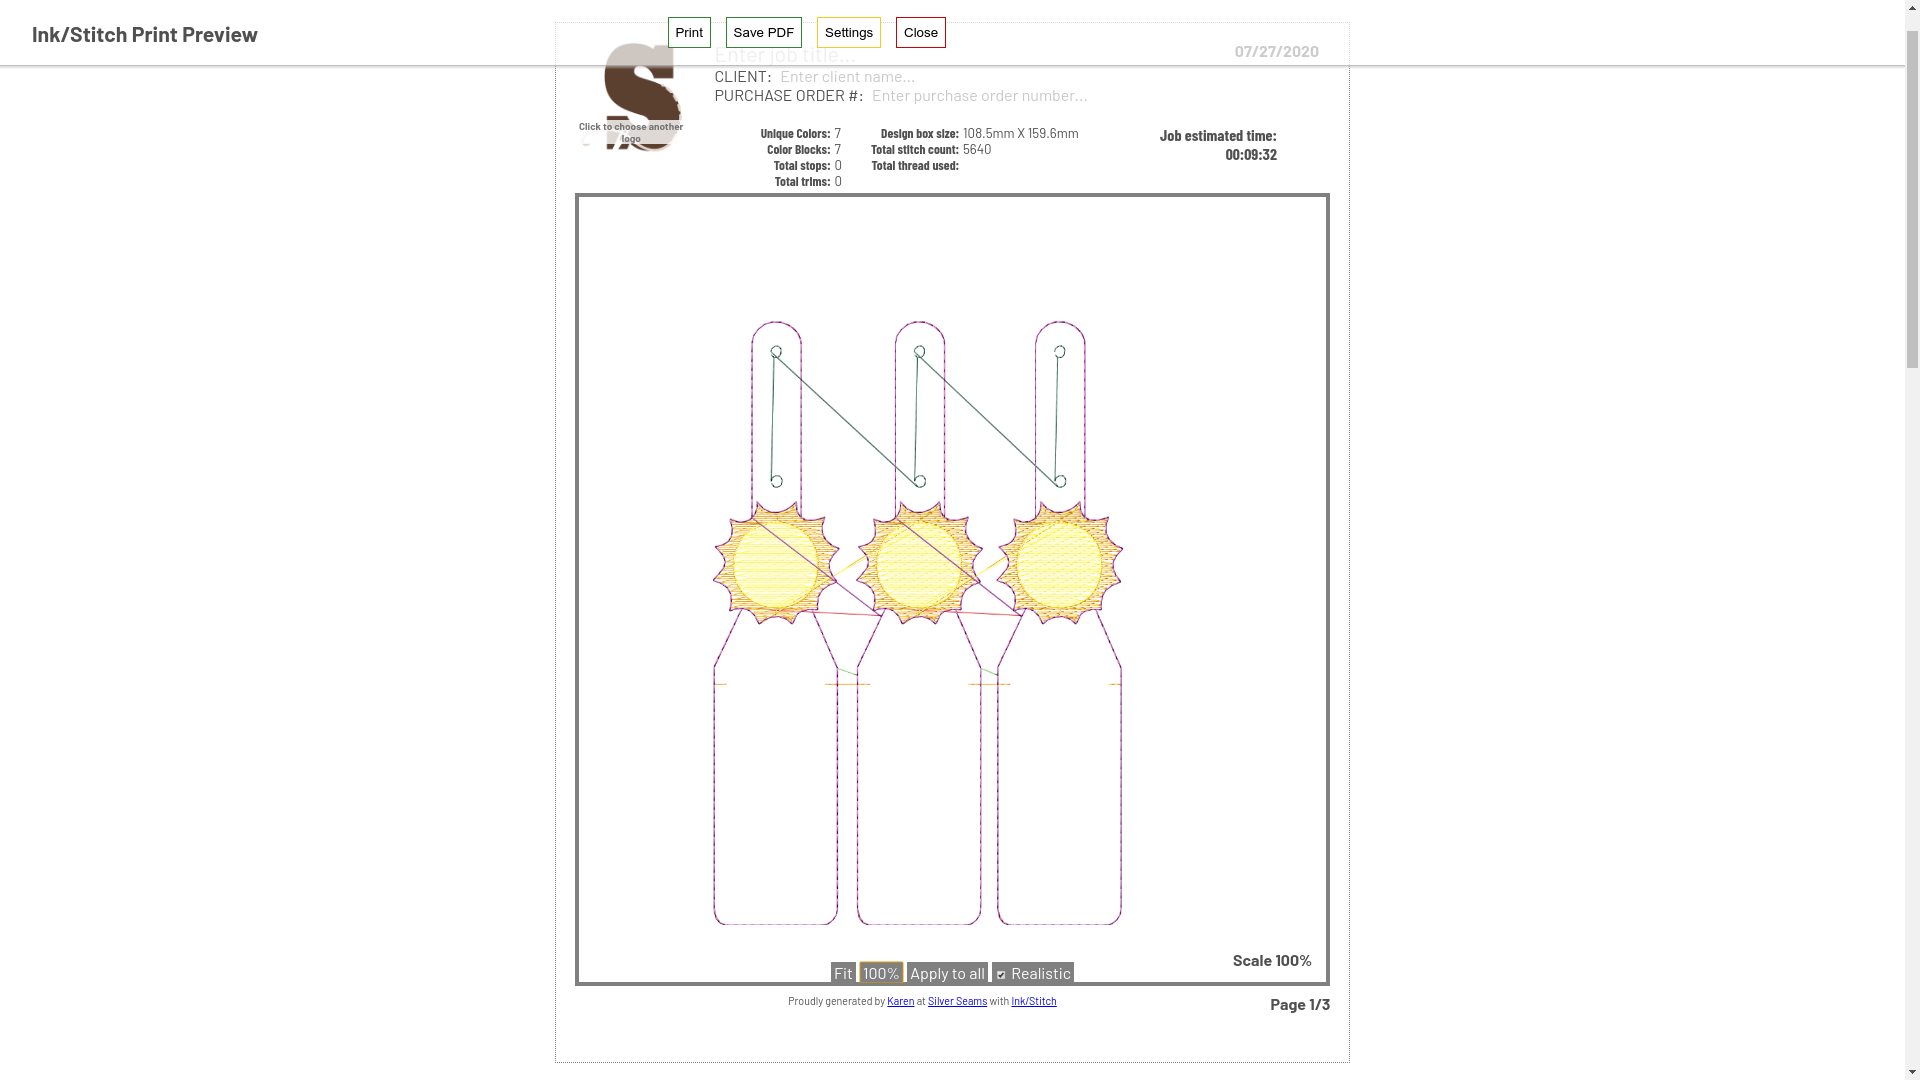
When you have a single-color embroidery machine, sometimes you want to make the most of your thread changes.