
Custom Lettering (for the Ink/Stitch newbie)
Sat, 04 Nov 2023
Ink/Stitch is a plugin for Inkscape, a general vector-drawing program, so it can seem a little intimidating at first. It does so many things that it can be hard to know where to find the bits you need to do just the very simplest things. So here's a step-by-step on just how to use Ink/Stitch Lettering to add custom words to your projects.
The quick and dirty, absolute minimum
Select File on the menu, and then Open. (From here on out I'll shorten this to File > Open - the > means there's a click in between.) Use the file dialog to find the basic stitch file. Of course, if you're just making a bare monogram or word, you can use the basic document that's there when you open Inkscape.
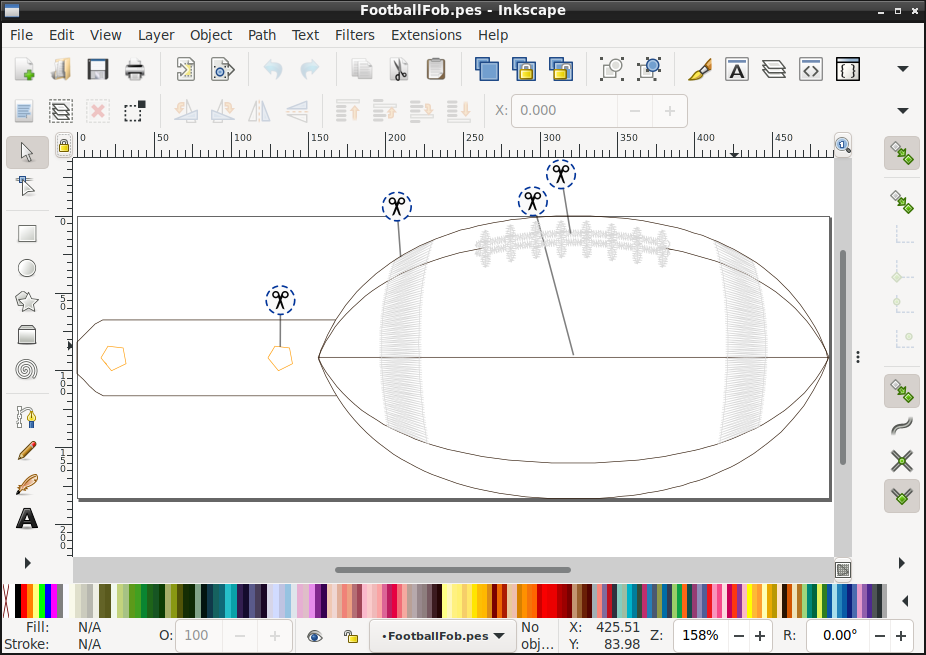
Select Extensions > Ink/Stitch > Lettering. Enter your text, choose your font, and adjust the size. If the size isn't right, re-select Extensions > Ink/Stitch > Lettering and change it (you may have to choose a different font to get the size you need) until it fits.

Click and drag the lettering into place.
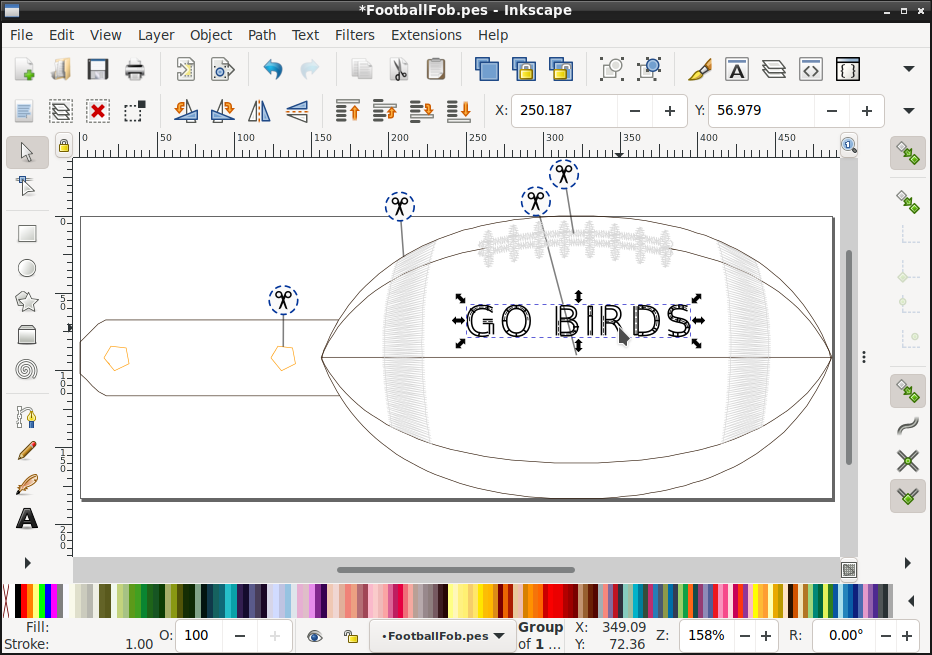
Right now, the lettering will be the last stitch color. You can leave it here and just jump around in the stitch order on your machine to get it when you need it. Or press PgDn to make it the second-to-last, and so forth until it's in the right place. You can hit Tab to cycle through the color groups.
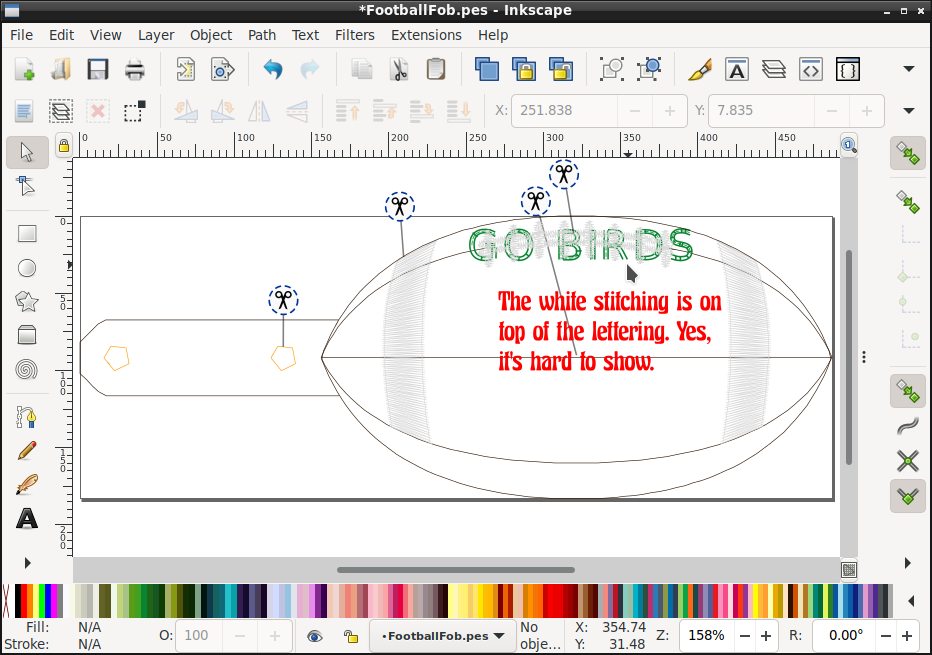
The lettering will be whatever default color the font digitizer made it - usually but not always black. You can hold down Shift and click a color from the palette if you want to change it. Definitely do this if there's a color match right before or after the words.
Click on the background so you don't have anything selected, and select Extensions > Ink/Stitch > Visualize and Export > Simulator/Realistic Preview to watch it stitch out. (If you have something selected, the preview will only show the selection.) Click on your Lettering object to re-select it if you need to move it or change its color.
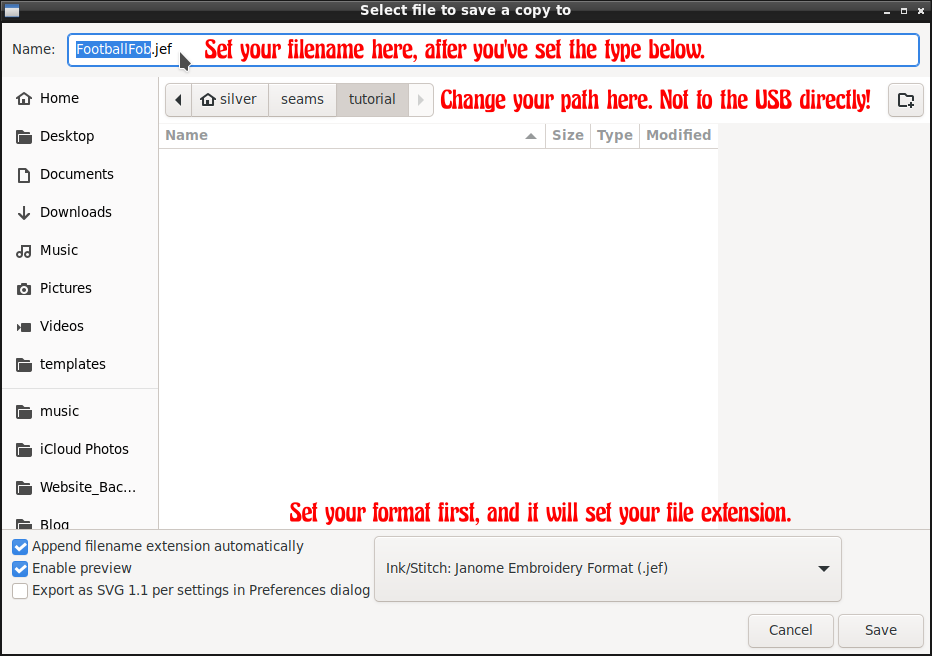
Select File > Save A Copy and change the file type to the correct type for your machine. It'll be something like `Ink/Stitch: (your type) Embroidery Format (your extension). DON'T save it directly to the USB/flash drive or other removable media, or over the network to your machine. Do make sure it's a filename your machine will accept - change the extension to capital letters if you have an old machine that's picky about that sort of things, don't put spaces in, etc. Make sure you see what directory/folder you're saving it to, so you can find it to copy over to your flash drive or machine.
When you try to exit Inkscape, it will warn you that you haven't saved in a format that will keep all the detail. (The stitch file only saves the exact punches, not the Lettering object itself.) This is probably not a problem in this case, but if you want to you can do a File > Save As and save it in Inkcape SVG format.
That's all there is to it! Well, for basic stuff.
If you're making fobs or other in-the-hoop items, and you want to make a lot of identical ones, look at the Ink/Stitch Panelization function.
If you want to gang a bunch of fobs and then add different words to them, look at Color-sorting with Ink/Stitch.
If you want to build custom-shaped fobs around the lettering, I walk you through that step-by-step too.