Making an applique is a little less involved than making a full embroidery design.
First you'll need a shape. You can draw it in Inkscape, trace a simple bitmap, or start with an existing SVG. For my example, I'm going to borrow the hadrosaur from the Dino Nugget Charms pack. The SVG is included so if you have those, you can do the same. I had to close up the turning opening, but that's pretty basic.
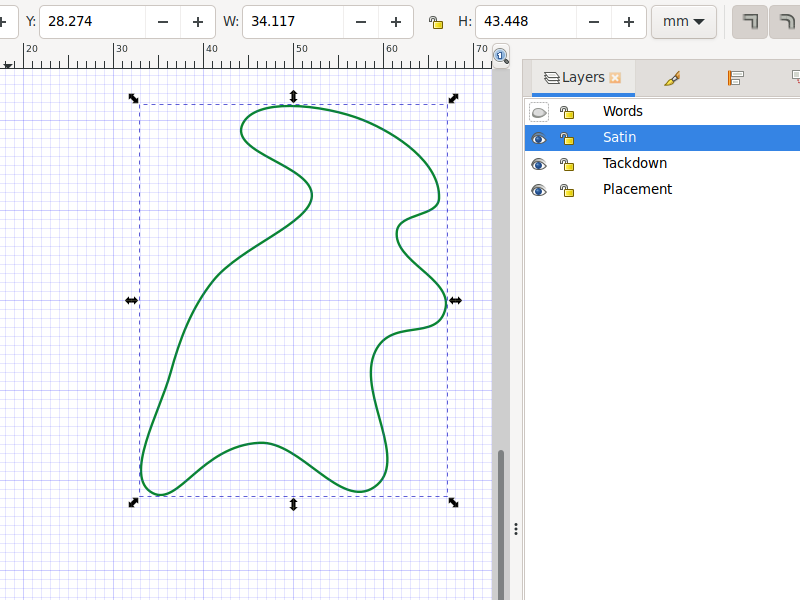
Once you have that, you will need a total of three versions of the shape. Set each of them to a different color, so your machine will stop after each one.
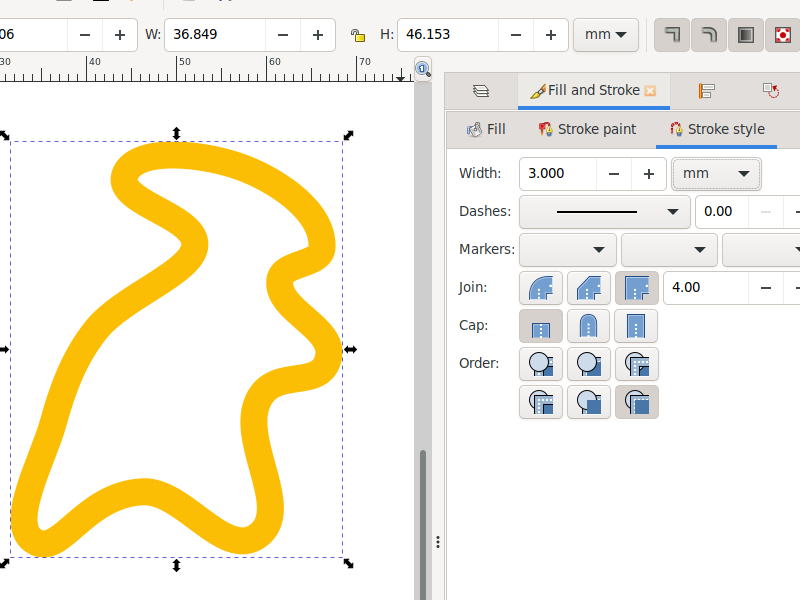
I like to put them on layers, because then I can duplicate them and they'll stay color-sorted, but it's not necessary. I want one that's a wide, solid line. Ink/Stitch will turn that one into a buttonhole stitch: a tight zigzag almost indistinguishable from a satin stitch. I'm going to do this in a nice 3mm covering stitch, because minky is fuzzy and always needs at least that much for clean coverage.
Now I'm going to send that to the bottom, so it's behind the other stitches for now. You can see I reordered my layers, but if you're all on the same layer you can just hit End and it should send that behind everything else.
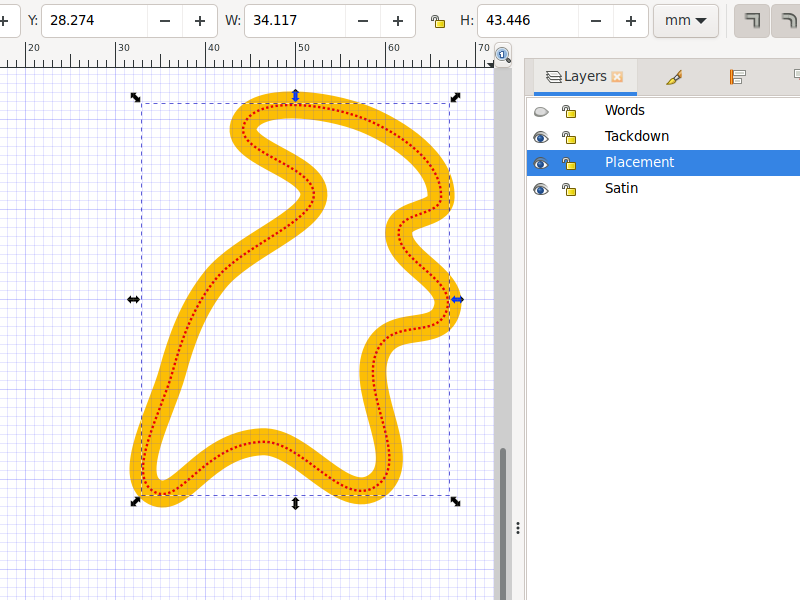
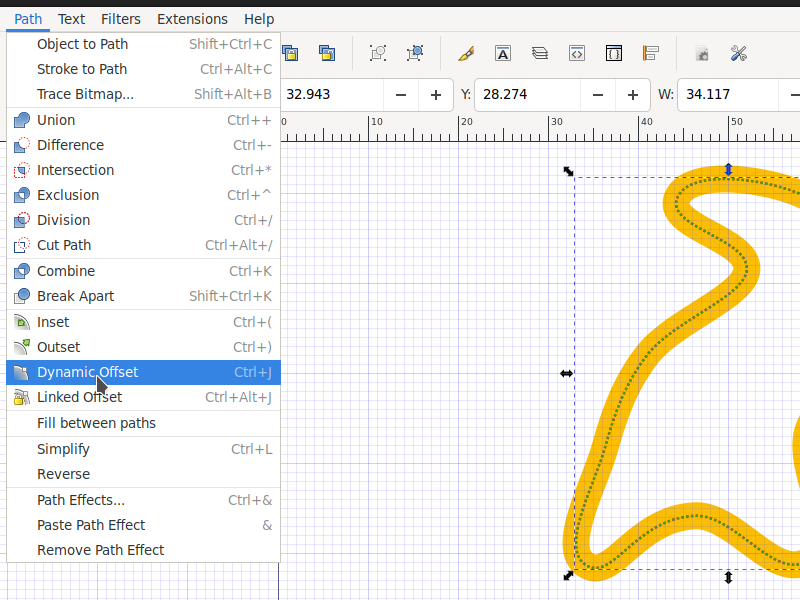
Next I'm going to take one of the other two lines, and do a Dynamic Offset. This will give me a teeny little diamond handle on the path - I can grab it and it will grow and shrink my shape, but by adding it evenly all around. It's just like adding a seam allowance, and in fact that's what I often use it for.
I'm going to make the Tackdown one a little smaller, and the Placement one a little larger, but both still inside the zigzag range.
My non-zigzag lines were already dotted because I took them from the Charms file, but if they hadn't been I'd change them to a dotted line. It doesn't matter which type, just as long as it's not solid Ink/Stitch will treat it as a running stitch. The width doesn't matter, but I usually set it to 1px for consistency.
I also do an Extensions > Ink/Stitch > Params and set my stitch length to a nice baste length of 3.5mm, because otherwise it'll default to a tiny 1.5mm stitch and that's a waste of machine time. It's no big deal otherwise.
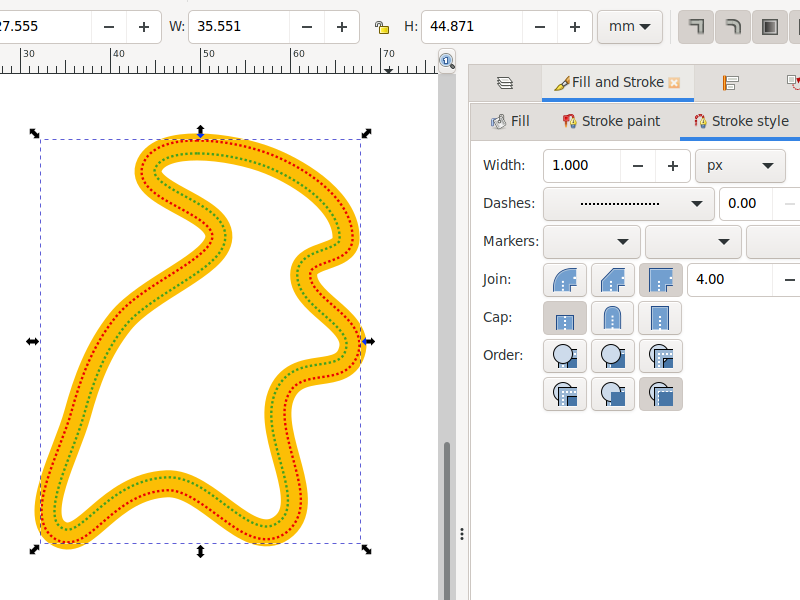
Now I just have to re-order the colors/: larger placement shape on the bottom, smaller tackdown shape in the middle, wide zigzag shape on top.
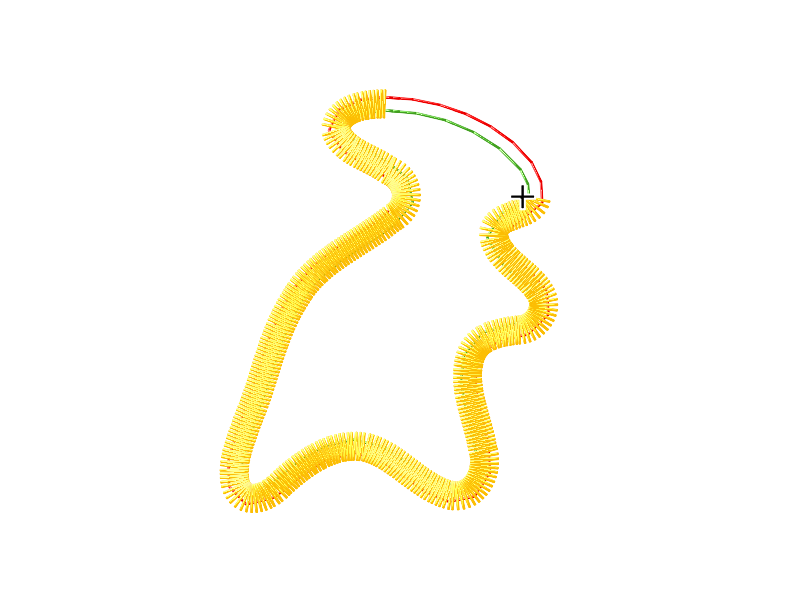
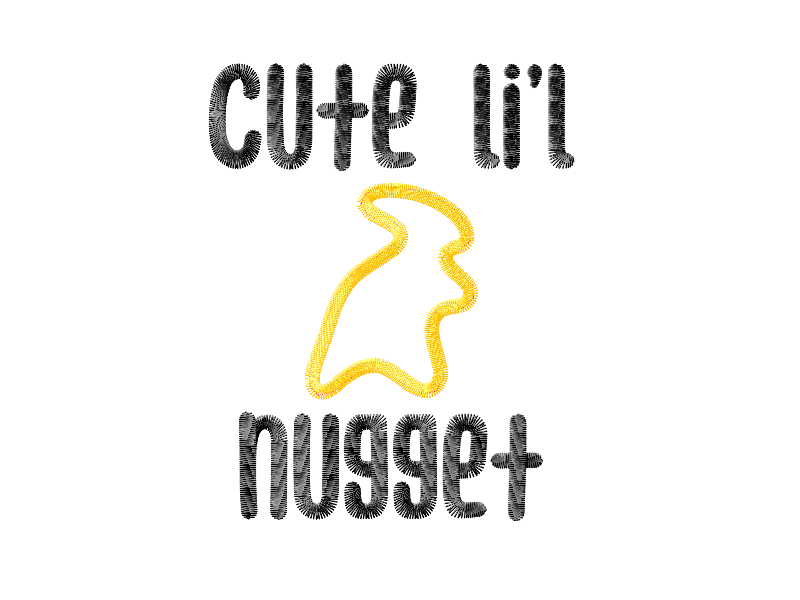
And that's it! I'm going to add some words (in Bluenesia, my current favorite font. Then, to use the design, I'd stitch out the placement layer (shown in red, though I'd stitch all three layers in gold). I'd slap a bit of nubby gold minky or terry on top, and stitch the tackdown layer. Then I'd use my applique scissors to trim close to the tackdown. Anywhere I can't just barely see the placement stitching underneath it, I'd trim a little closer. Then I'd run the zigzag, probably with some water-soluble stabilizer on top to tame the pile. As you can see from the simulator, with the edge of the applique in between the two running stitches, the zigzag will cover it smoothly.
A tip: if you're appliqueing minky onto minky, putting a layer of water-soluble stabilizer under the applique will hold the pile down and help keep you from cutting divots out of the base fabric. It's not a sure thing - you can cut through the stabilizer pretty easily - but if you focus on sliding your scissors along the stabilizer and not pushing the point into it, it'll help a lot.
This would be a fun little thing in terry on an infant/toddler shirt - adding a little sensory interest. I don't have one handy, or I'd run an example.
The smooth curves of the dino nugget are fine for zigzag, but if your shape has corners you'll notice that it doesn't fill them in. Extensions > Ink/Stitch > Tools: Satin > Convert Line to Satin will give you a full-fledged satin stitch, and you can use the node tool to edit the rungs to guide the satin stitch the way you want it. That gets a little more advanced, and you may need to look into Ink/Stitch's tutorials on satins.
Toss a coin to your stitcher! (Ko-Fi)