
Pumpkin carving in embroidery and vinyl
Mon, 26 Sep 2022
No, I am not carving actual pumpkins with an embroidery machine, nor with the Silhouette. (Yet.)
But here's how to make your own 3D-illusion faces for the 3D Pumpkin Kit or for the Pumpkin Charms, with Ink/Stitch. It works for cutting machines as well - make decals to turn orange containers and buckets into jack-o-lanterns, etc.
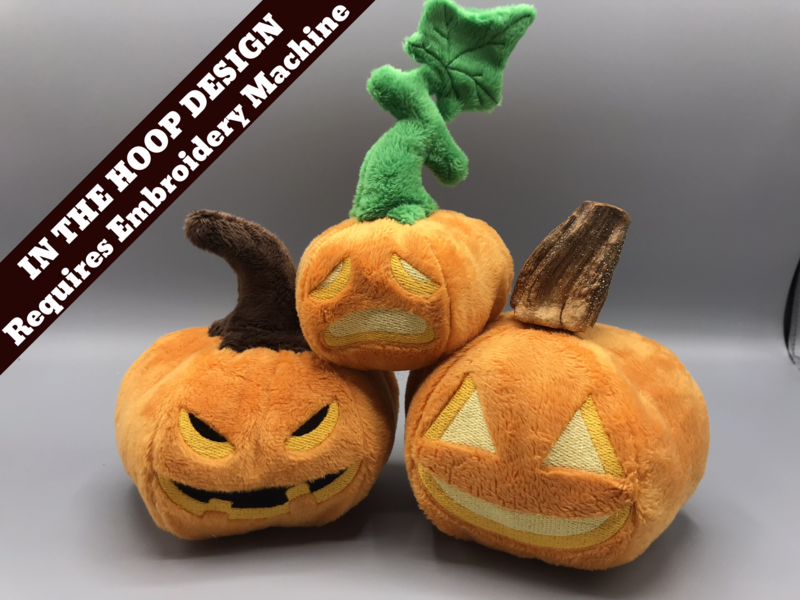
The 3D Pumpkin Kit has arrived in the shop this week, and is the (slightly overdue) fourth-Friday reward for the $5/month Ko-Fi supporters who get a free copy. Make 3-D pumpkins and jack-o-lanterns with a variety of already-made face designs.
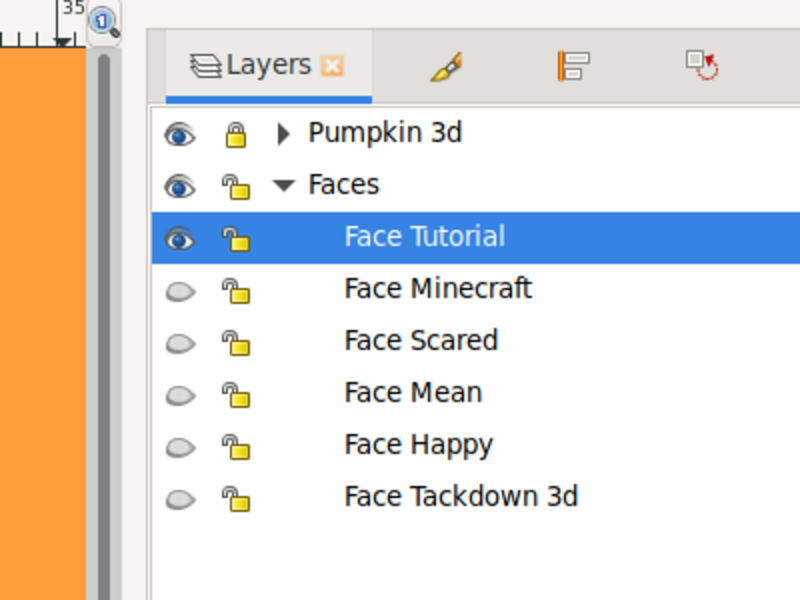
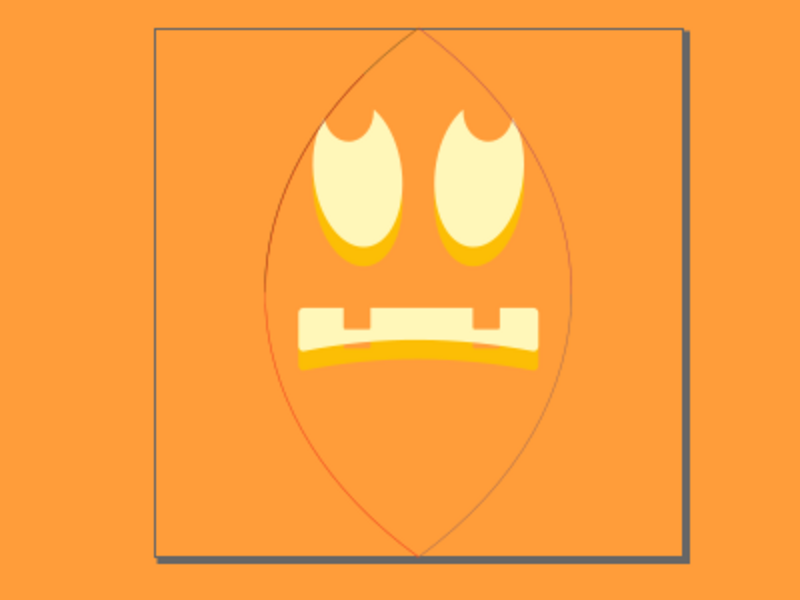
Open one of the SVG's included in the ZIP, and hide any visible Face layers - but not the Face layer itself. Create a layer for your new face, naming it whatever you want. If you're doing this without the ITH Jack-O-Lantern as a base, just start in a plain Inkscape file and set the background color to a nice orange so you can see what the final effect will be.
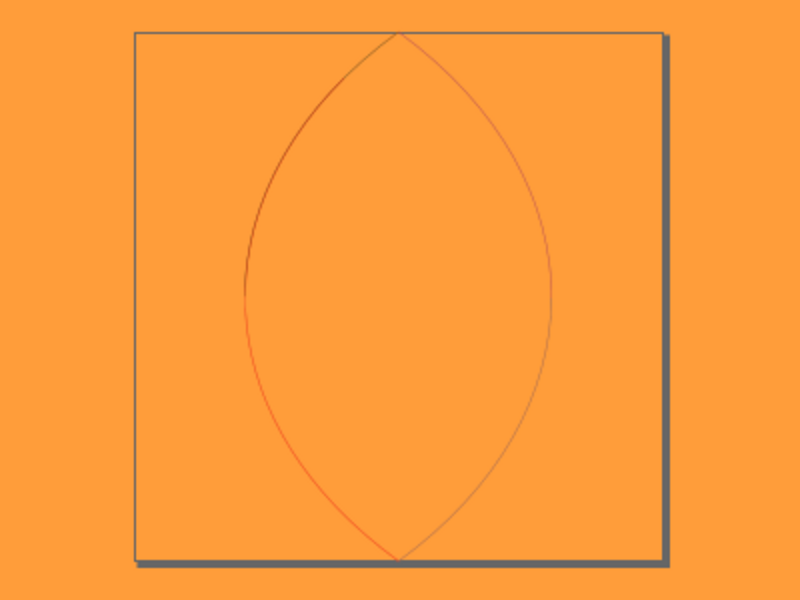
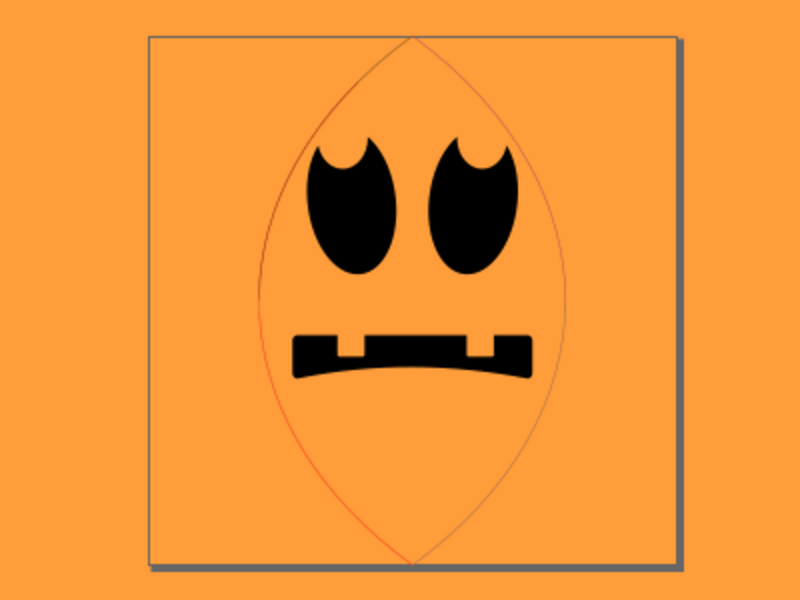
Draw your face from scratch, or import an SVG. For this one, I'm going to grab the inventively named "pumpkin" by David Christensen from Noun Project and do a File > Import to bring it in on the layer I have selected.
You only want the face part, so do a Path > Ungroup and delete the letters, then Path > Break Apart and delete the pumpkin outlines. Size it to fill the chosen space, and center it. You'll want to be a little above the vertical center if possible on the 3-D pumpkin. If in doubt, unhide some of the other Face sublayers for comparison.
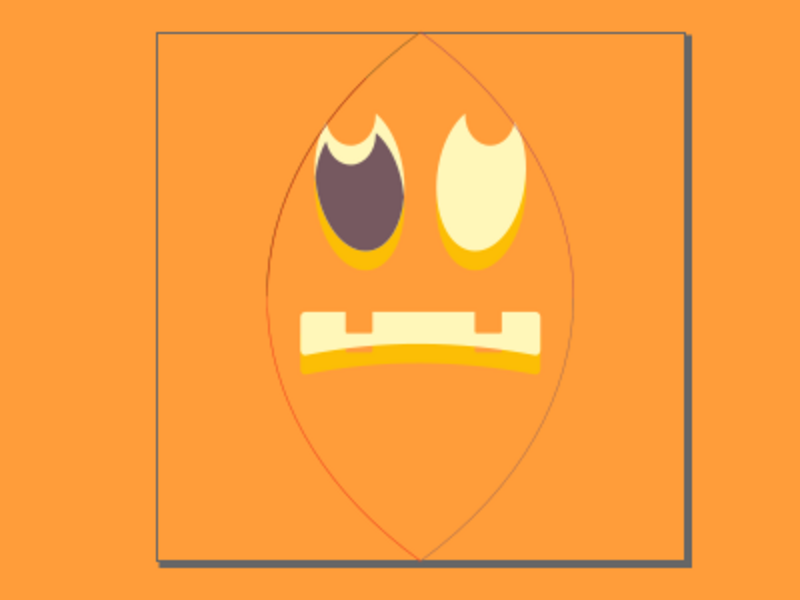
You will want two copies of the face pieces: one in light orange for the pumpkin flesh, and one in pale yellow (or black, for a lights-out version) for the lit interior.
Move the pale yellow version up, or up and to one side, a distance to represent the thickness of the pumpkin shell. It's kind of up to you and the shapes of your face what angle you choose to give the best illusion of perspective while creating as few small sections as possible in the next steps.
Duplicate both colors of a piece, select one of each, and choose Path > Intersection (Ctrl *) to create the lit part. You'll probably have to re-color it; I temporarily colored this one gray so you can see the result.
Make sure the pale yellow piece is on top, select Path > Difference (Ctrl -) to create the shell part. Do the same for each remaining piece.
If any of your pieces ended up with multiple segments (like the yellow part of the mouth here) do a Path > Break Apart. Check to make sure you don't have any fragments or slivers created by narrow overlaps - delete them or node-edit them out.
Sort your colors by selecting everything that's the same color and grouping it. If you're planning to cut them out of vinyl, you're probably done now. Save the SVG and import it into your cutting-machine software, or send it directly to the machine if you have a Silhouette.
If you are planning to embroider it, adjust your stitch angles and pull compensation in Extensions > Ink/Stitch > Params as needed.
The Jack-O-Lantern has a pretty snug tackdown, so for minky on medium tear-away with WSS topping it's not going much of anywhere. I usually set an 0.1 or 0.2mm Expand just to be safe. If you're embroidering a face on an orange onesie or something, you might need to make more changes. (And consider setting up satin outlines, etc. - check the digitizing tutorial for a more in-depth discussion.)
To stitch out your design, select File > Save a Copy as (Ctrl Alt Shift S) and save it as a format your embroidery machine will recognize. (Tip: If you have a Wifi Gadget,, don't write directly to the Gadget. Write to a scratch directory on your local PC, then copy it to the Gadget's virtual directory. Apparently Ink/Stitch does too much high-speed scribbling for wifi.)
Complex shapes
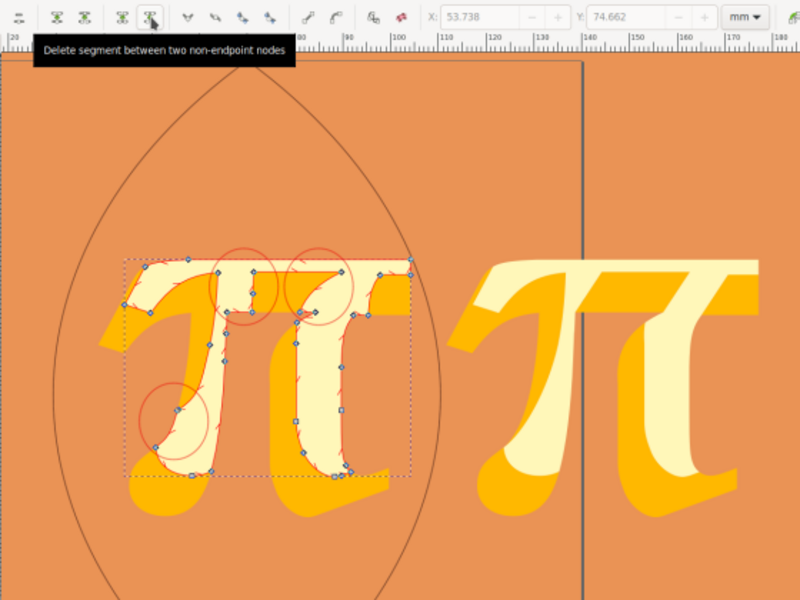
Some shapes need a little more touch-up to complete the 3-D illusion. If you want to make a Pi Pumpkin (... sorry), the aperture of the pi will be a little uncarved piece sticking up. Just moving the light part up and away doesn't quite work.
I started with the letter π in a nice serif font. Path > Object to Path (Ctrl Shift C) and the Object > Ungroup (Ctrl Shift G) turns it into something I can use as above. But I end up with a weird look on that aperture.
If you have a shape like that, connect the corners. A quick way to do that for simple shapes like this is to select all the nodes on the problem segments in the lit-part path, delete the connecting segments, and then add a connecting segment between the remaining two nodes. If you do the same on the shell-part path, you'll end up with a gap but you can then just drag one node over to fill it in. Turn on snapping with % if you need to, and everything should match up exactly.
The curve on the leg is a little more advanced to edit, but it's also less noticeable. You can leave it as is if you want - or make sure your angle doesn't cause this problem in the first place. If I'd moved the lit part straight up, this curve wouldn't exist.
No floaters!
Think about the reality of carving pumpkins: you can't leave a dark shape "floating" unattached to the main pumpkin.
I grabbed a "Ghost" by IconsGhost, again from Noun Project, but the eyes and mouth would be floating. Sure, if you're carving a real pumpkin you can carve away the skin and leave some of the shell connecting the floating pieces, but if you make a circle, put the ghost on top, and then to a Path > Difference you will get a negative image that works without this trick.
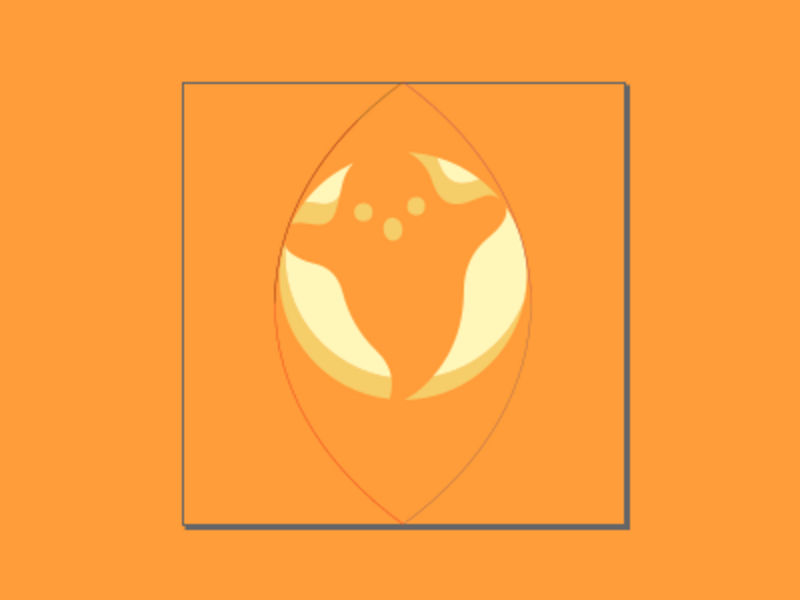
Do a Path > Break Apart before processing it as above. At the shell "thickness" I chose, the eyes had a tiny bit of overlap, so I just deleted the lit versions altogether rather than creating a teeny-tiny fill area.
Share your results!
Feel free to share the designs you've made (as SVG or photograph of finished project) in the comments below, or tag me on social media!
Comments are not available.