
Felt pig
Fri, 23 Apr 2021
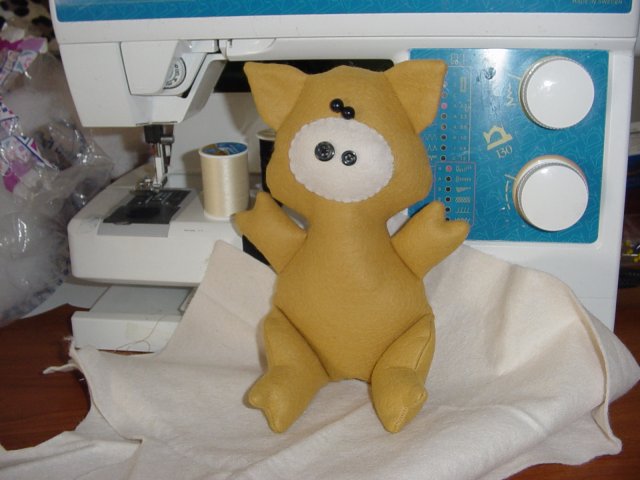
This pattern is popular enough for a French site to steal, so I guess it’s time to bring it into the new site. Let’s jump in the time machine, and travel back to 2007. Back to a year when Oscar the Viking still had an upper cover, and the Kunin website had some simple dog and cat and bunny plushies out of felt. I liked them enough I made a pig in the same style.
It’s mostly done with conventional seams so you could make this out of minky just as easily; the stretch won’t affect it much. Make the muzzle out of felt as described, or make it from minky: cut two pieces, sew and turn it the same way as the main body.
The 2007 blog entry
We celebrated the Year of the Pig here [2021 note: oops, I should have revived this a couple years ago] by having char siu (roast pork), which seems somehow wrong. So to make it up to the pigs, here’s a pig plushie, and to make it up to everyone boggled by the apparent complexity of the sun conure, it’s about as simple as can be.
First, print the pattern out at 75 dpi (that works out to 10.28″ high, though just “fit to page” should be close enough).
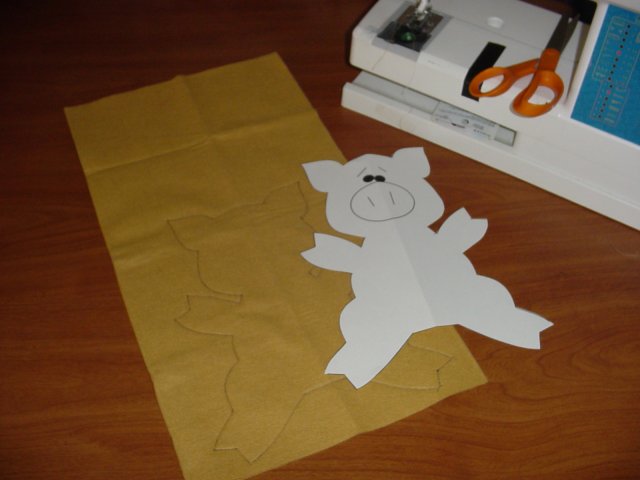
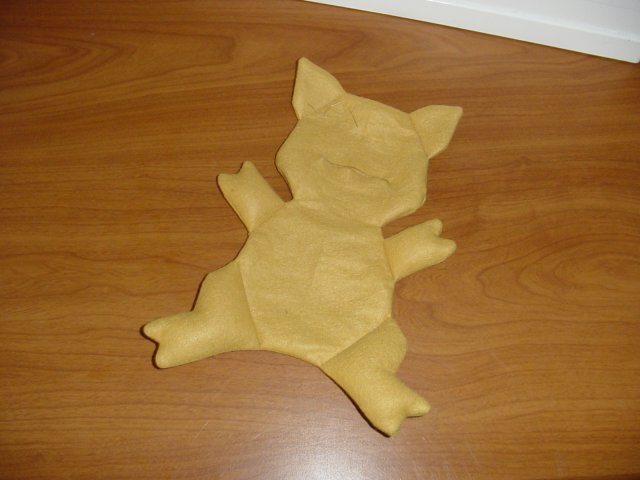
Trace the outside of the pattern onto a piece of felt (wrong side, if it has one). I used fancy-pants wool-blend felt for one, and by-the-yard plush felt for the other, but you’ll notice he fits onto a 9×12 piece of craft felt too. Put a second sheet of felt under that (right sides together, if you’re using plush felt or something else with a right/wrong side), and sew on the line, all the way around. If you’re using felt that you can’t trace onto, trace the pattern onto tearaway stabilizer (or even newsprint/dishwrap) and sew through it.
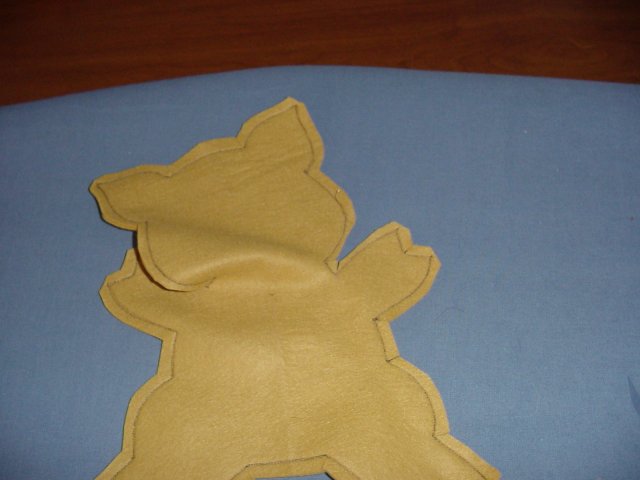
Trim around the stitching, 1/4″ away or so, and clip all the seam allowances just short of the stitching lines on the inside curves, especially the inside points.
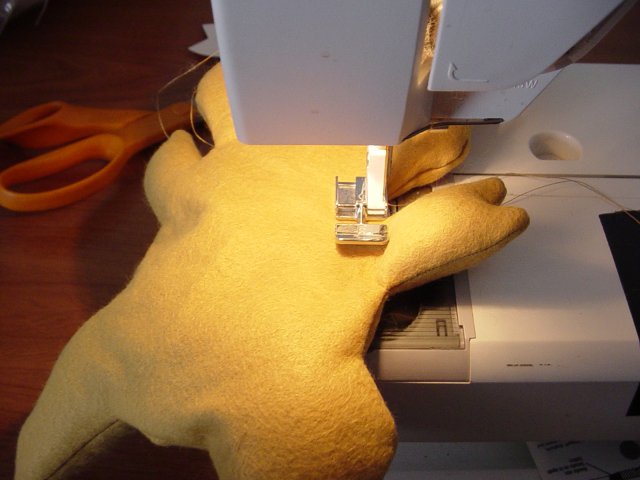
Carefully cut a slit through one layer of the felt where the snout will go, and gently turn the pig through the slit. Stuff the arms and legs and sew on the dotted gray lines (including the ears, which aren’t stuffed) to make joints. A zipper foot helps here. Stuff the head and body.
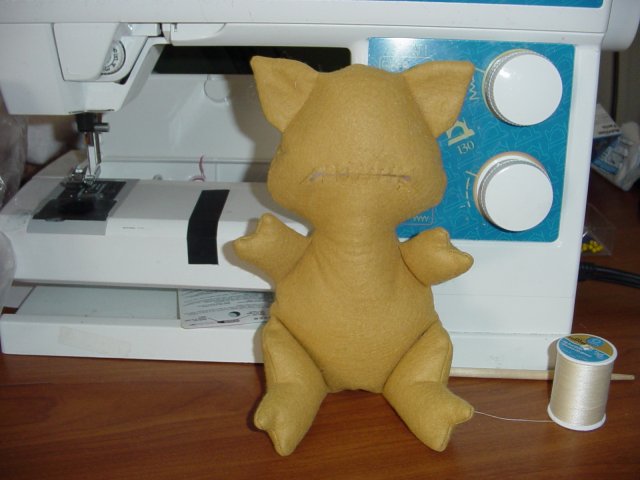
Whipstitch the slit closed (scary looking, huh?), then cut an oval for the snout piece and whipstitch it on, stuffing it lightly just before you finish.
Stitch the eyes – two beads – on just above the snout. As desired, embroider eyebrows, nostrils (I couldn’t find my black floss, so I made a last-minute pattern change), and a belly button.
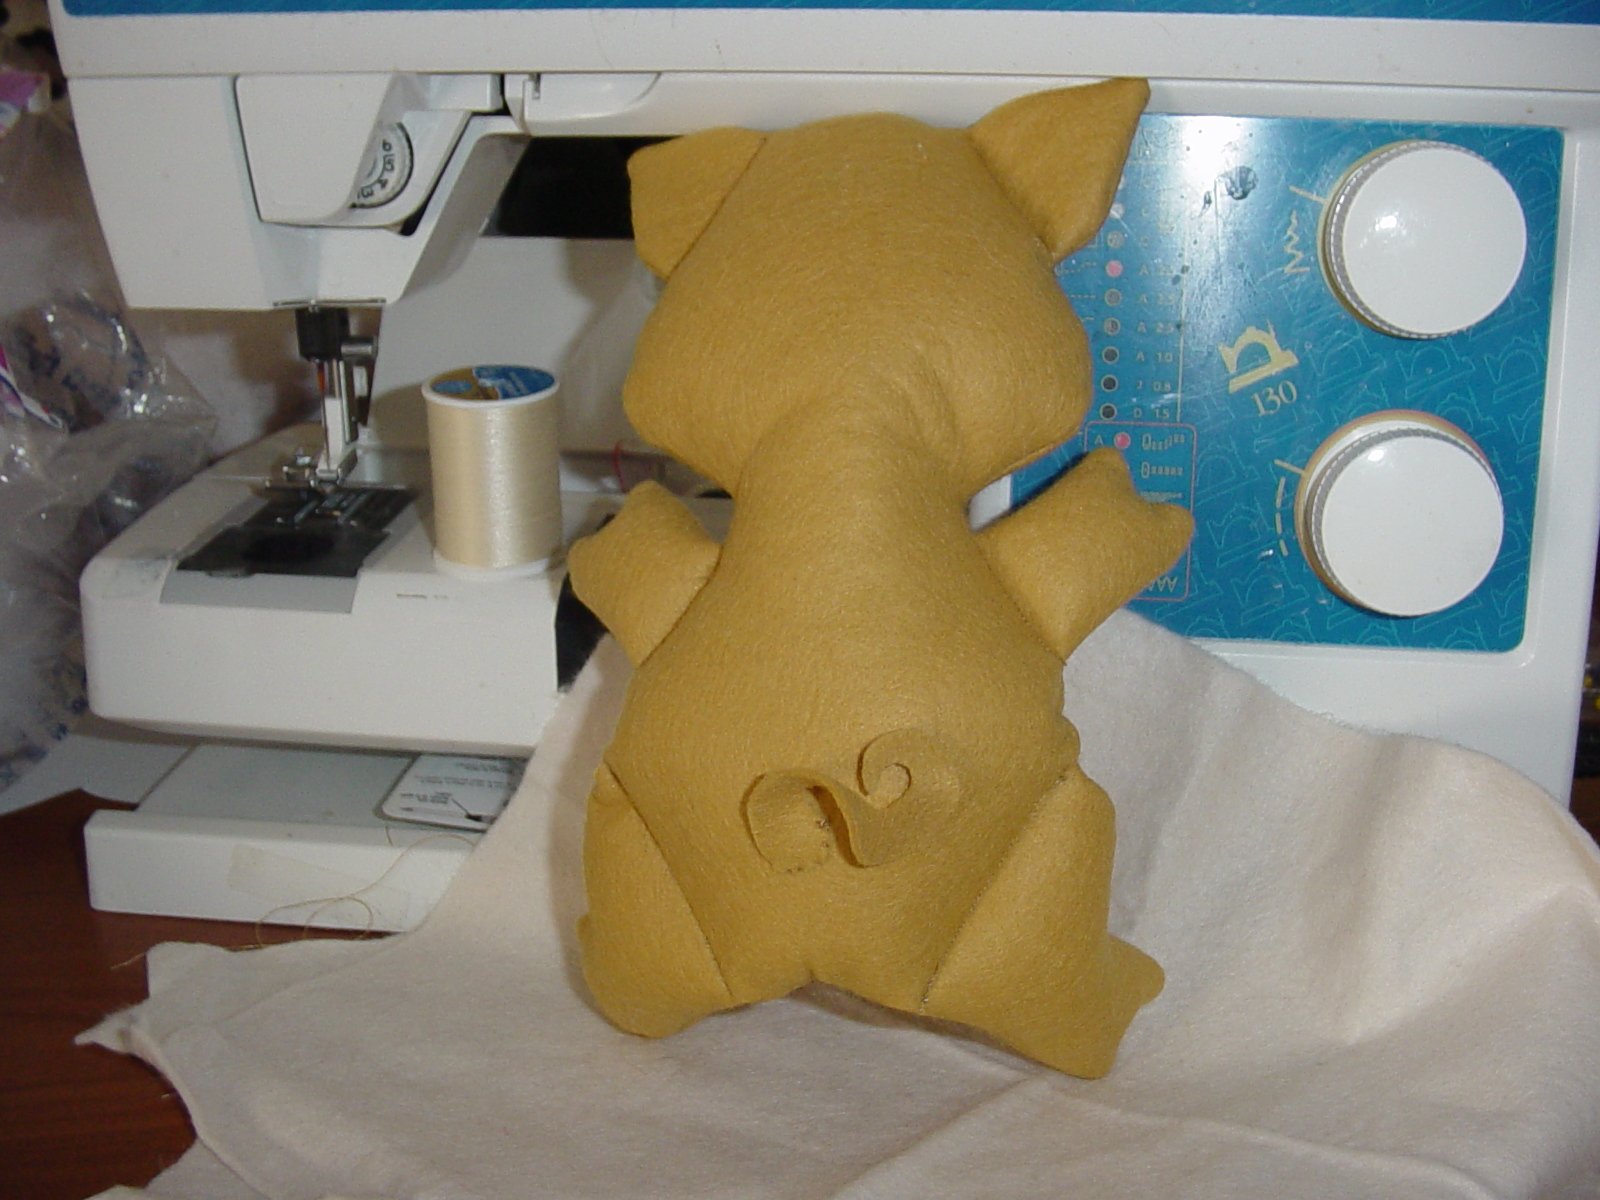
Cut a circle of felt about two inches around, then cut it into a spiral. Round the outside end and whipstitch to the pig’s back. Or use the same tail technique as given in the Teddy Pig pattern. Optionally, tie a kerchief or ribbon around his/her neck.
Other Interpretations
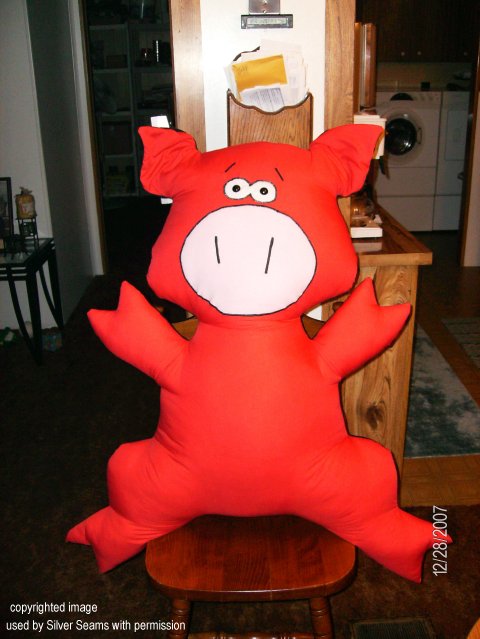
Tracy (no webpage given) emailed me a picture of a five-pound version of the Golden Pig that would make any Arkansas Razorback fan proud:
As always, I’d love to see pictures of finished (or hey, in-progress) items, especially if I can post them here (or link to your page of pictures, whichever). And if you’re selling them, or if you can be commissioned to make one, do let me know and I’ll link to that, too.
Comments are not available.