
Valet Trays (2021 version)
Mon, 22 Feb 2021
Periodically I need to revisit older embroidery designs because Ink/Stitch has changed things and they no longer work quite right. In this case, I had used circle objects to represent snap placement, confident that Ink/Stitch could only handle them after they’d been turned into paths. Well, that’s changed, so I’ve moved the snaps onto a normally-hidden layer. Here are the files:
[Pinched-Corner Snap Tray (5×7)] [Rounded-Corner Snap Tray (5×7)]
As usual, they’re zip files containing every format Ink/Stitch can export, plus the SVG “object” file that will let you edit it and re-export it. If you downloaded the old ones but don’t care about the SVG, you don’t really need this version. And if you do use the SVG, it’s actually the same in both ZIP files, just with different layers hidden – the rounded tray layers are labeled “alt.” I’ve deleted the placement stitch (moved it to a hidden layer, so you can bring it back if you want) but otherwise the object files are essentially the same.
If you’re new to the valet trays, here’s how they work. First, you’ll need a 5×7 hoop; you can size it down to 4×4 with Inkscape but that leaves you with a 2×2 design space. If you want a design in the 5×7 version, it needs to be smaller than 3×4″. You can either put it on the Design layer in the SVG, or you can just stitch it out centered and go from there.
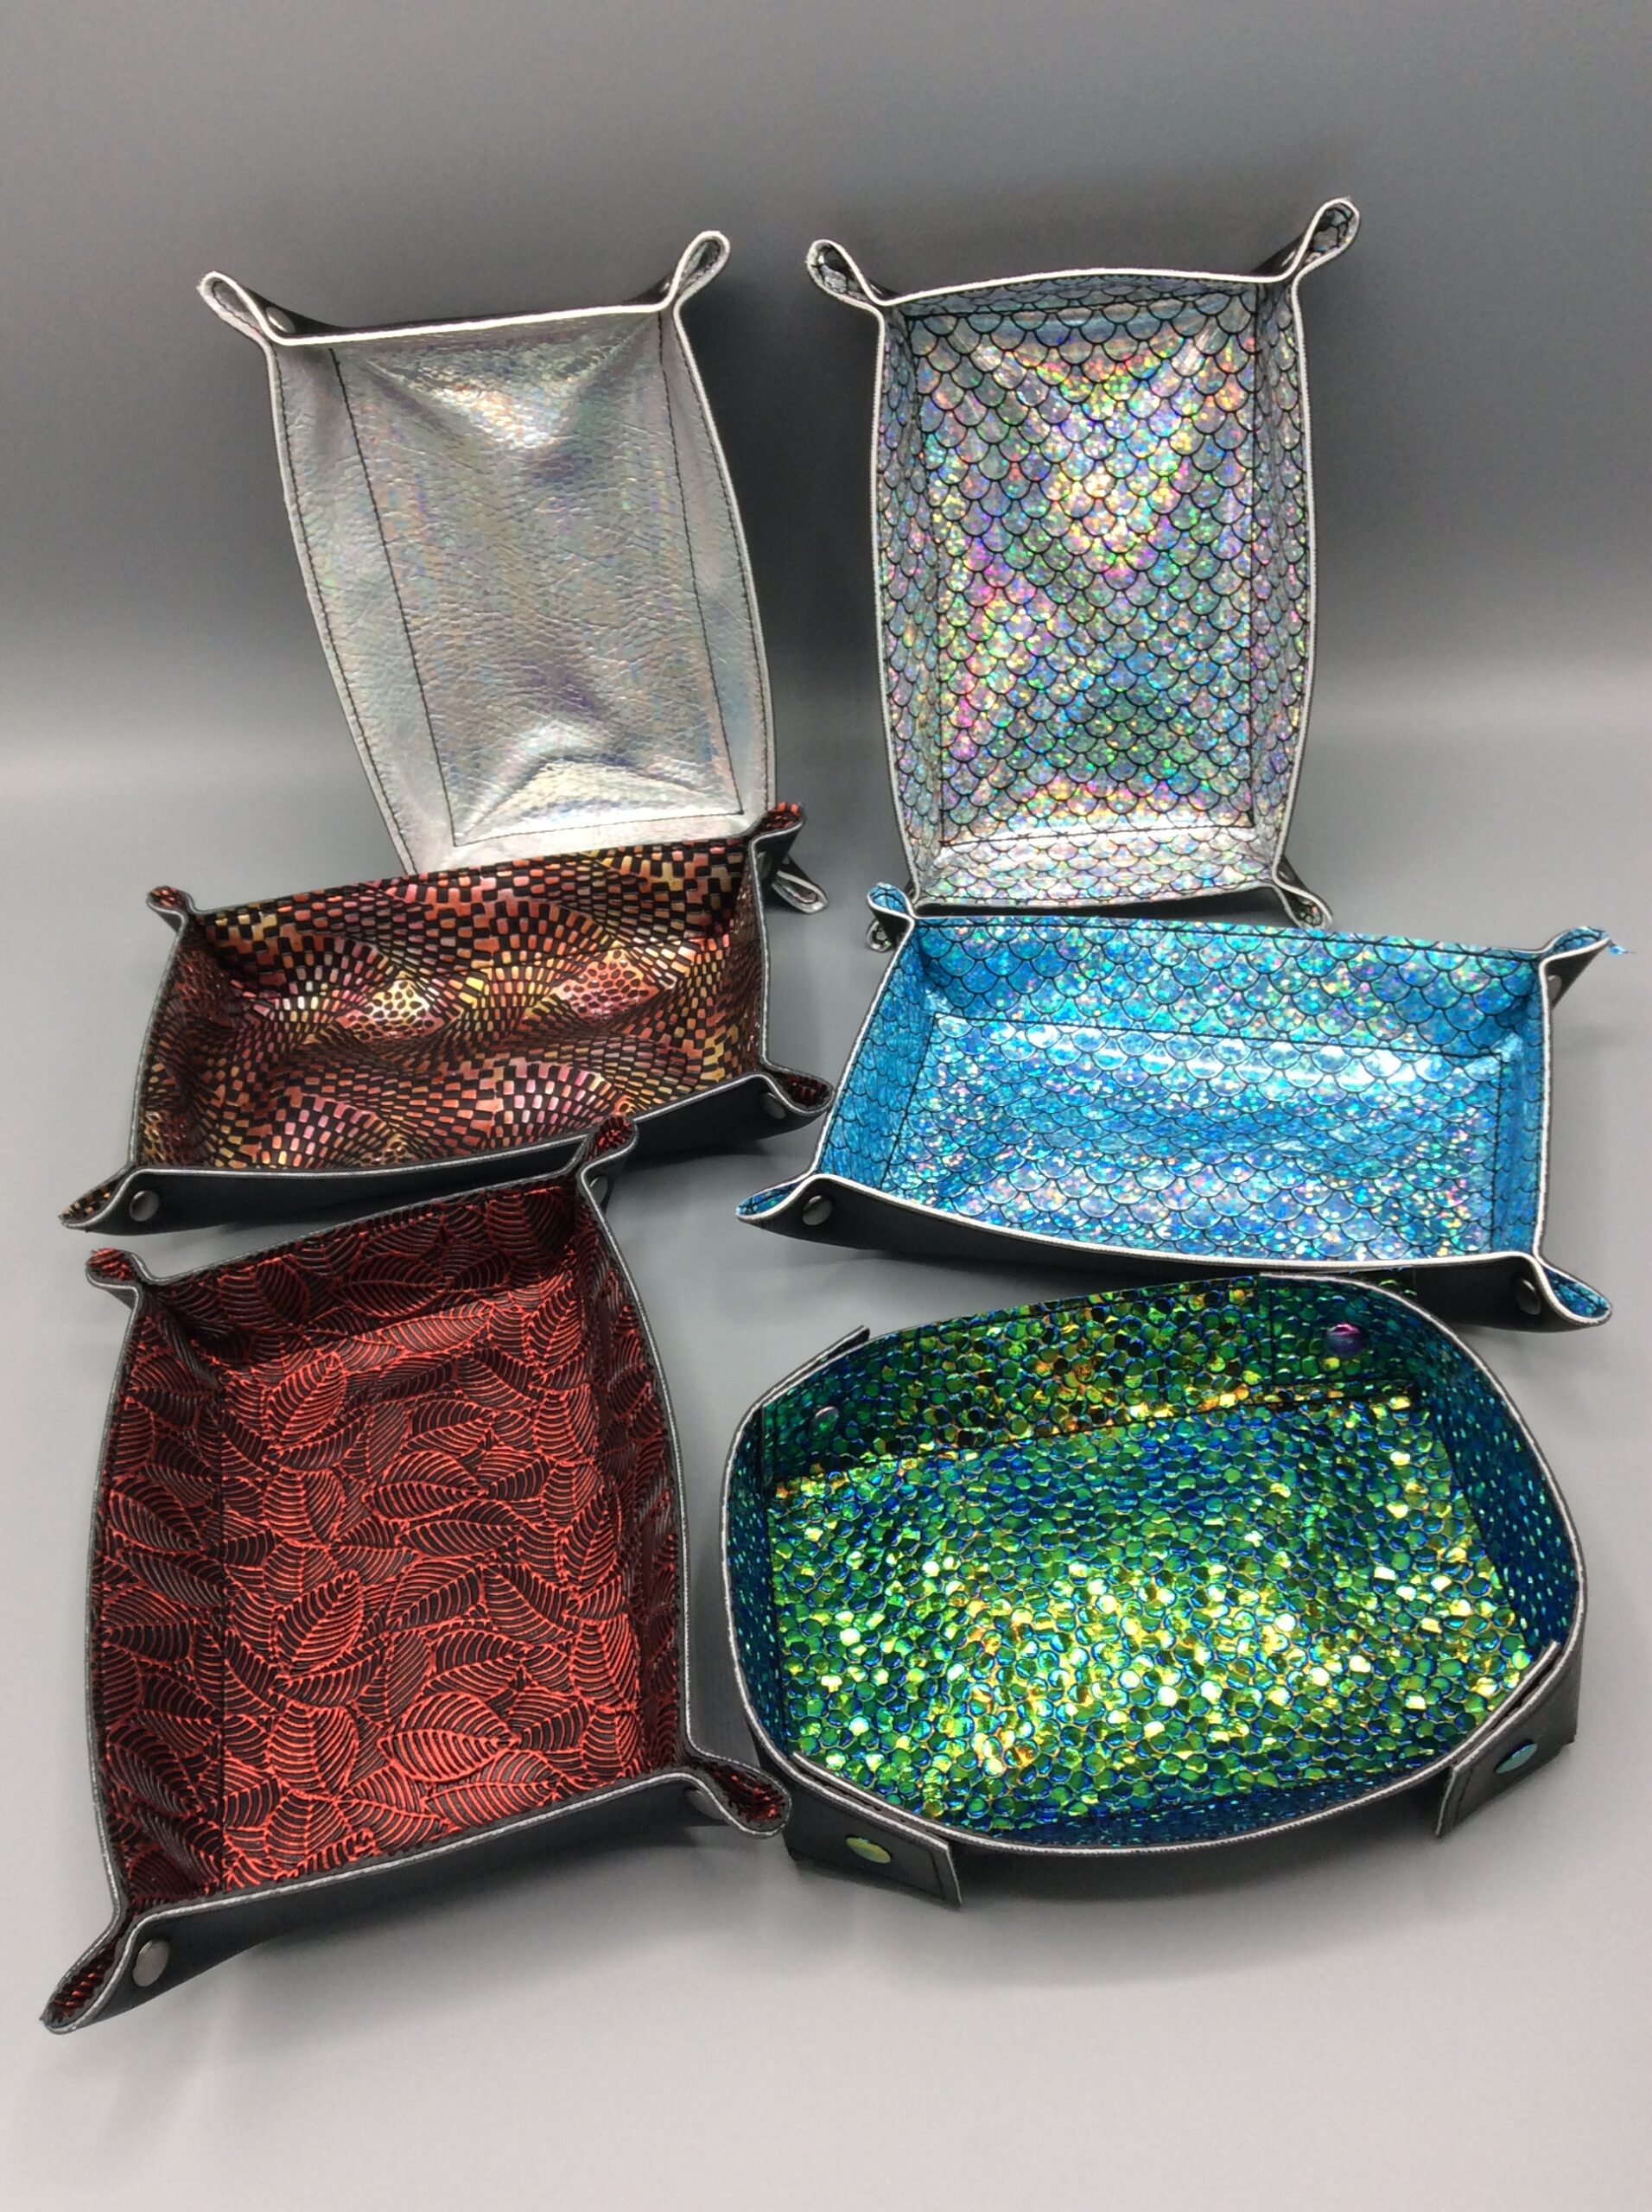
You’ll want a piece of vinyl (or cork fabric, or felt, or whatever you want the inside of your tray to be) at least 5.25 x 7.25″. Center it in the hoop, floated on top of a piece of stabilizer (cutaway or tearaway). I usually stitch out the center rectangle first, to provide a good anchor for the design stitching. If you want that rectangle to stitch through both layers, stitch the design first. If you’re not doing a design, stitch the rectangle through both layers to stabilize your inner tray – I didn’t do that on the fancy vinyls here, and you can see they ripple a little more than they would have.
Once you’ve stitched whatever you want to on the first layer, take the hoop off the machine and center the outer tray piece on the underside of the stabilizer and stitch the outer layers and snap markers. Then take it out of the hoop and trim the vinyl 1/8″ or so from the top-stitching.
For the pinch trays, the snap caps go on the outside. For the rounded trays, getting the snaps aligned correctly is a little more challenging. Look at the Red Dragon Dice Tray, which has front and back pictures in its gallery, to see the correct layout. Take your time, so you don’t end up with this:
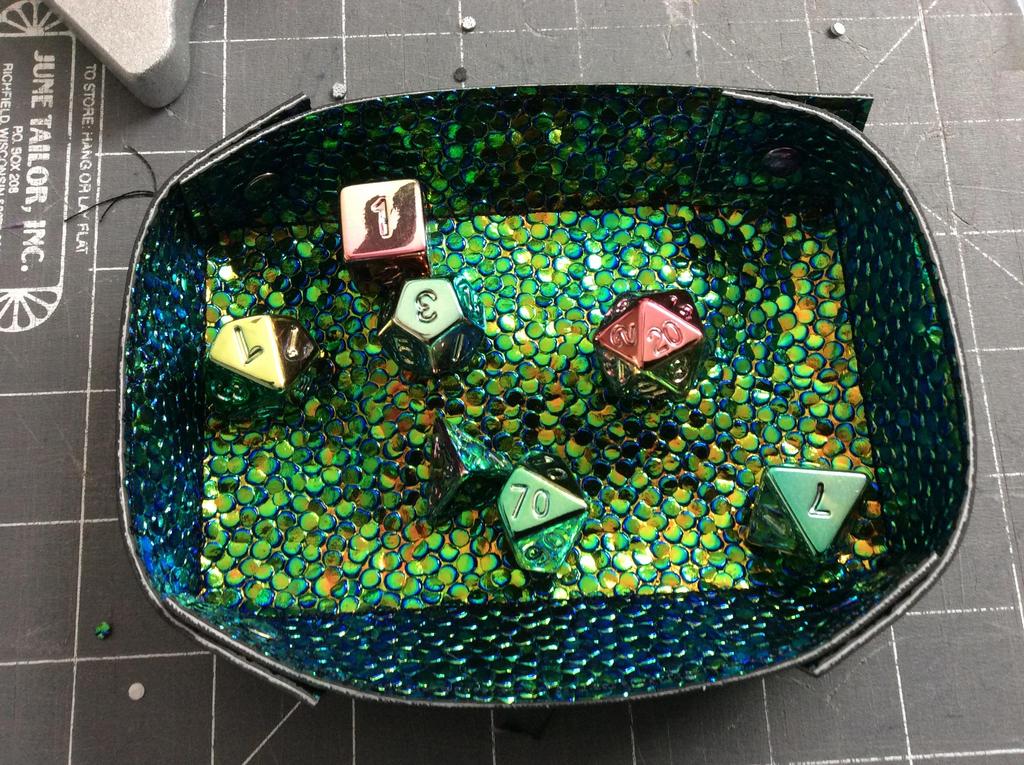
The tabs can go on the outside (my preference) or the inside, but whatever you do, don’t do three one way and one the other. And of course I riveted this tray instead of using plastic snaps. It’s not only nearly impossible to undo, but I also used some of my few fancy rainbow rivets.
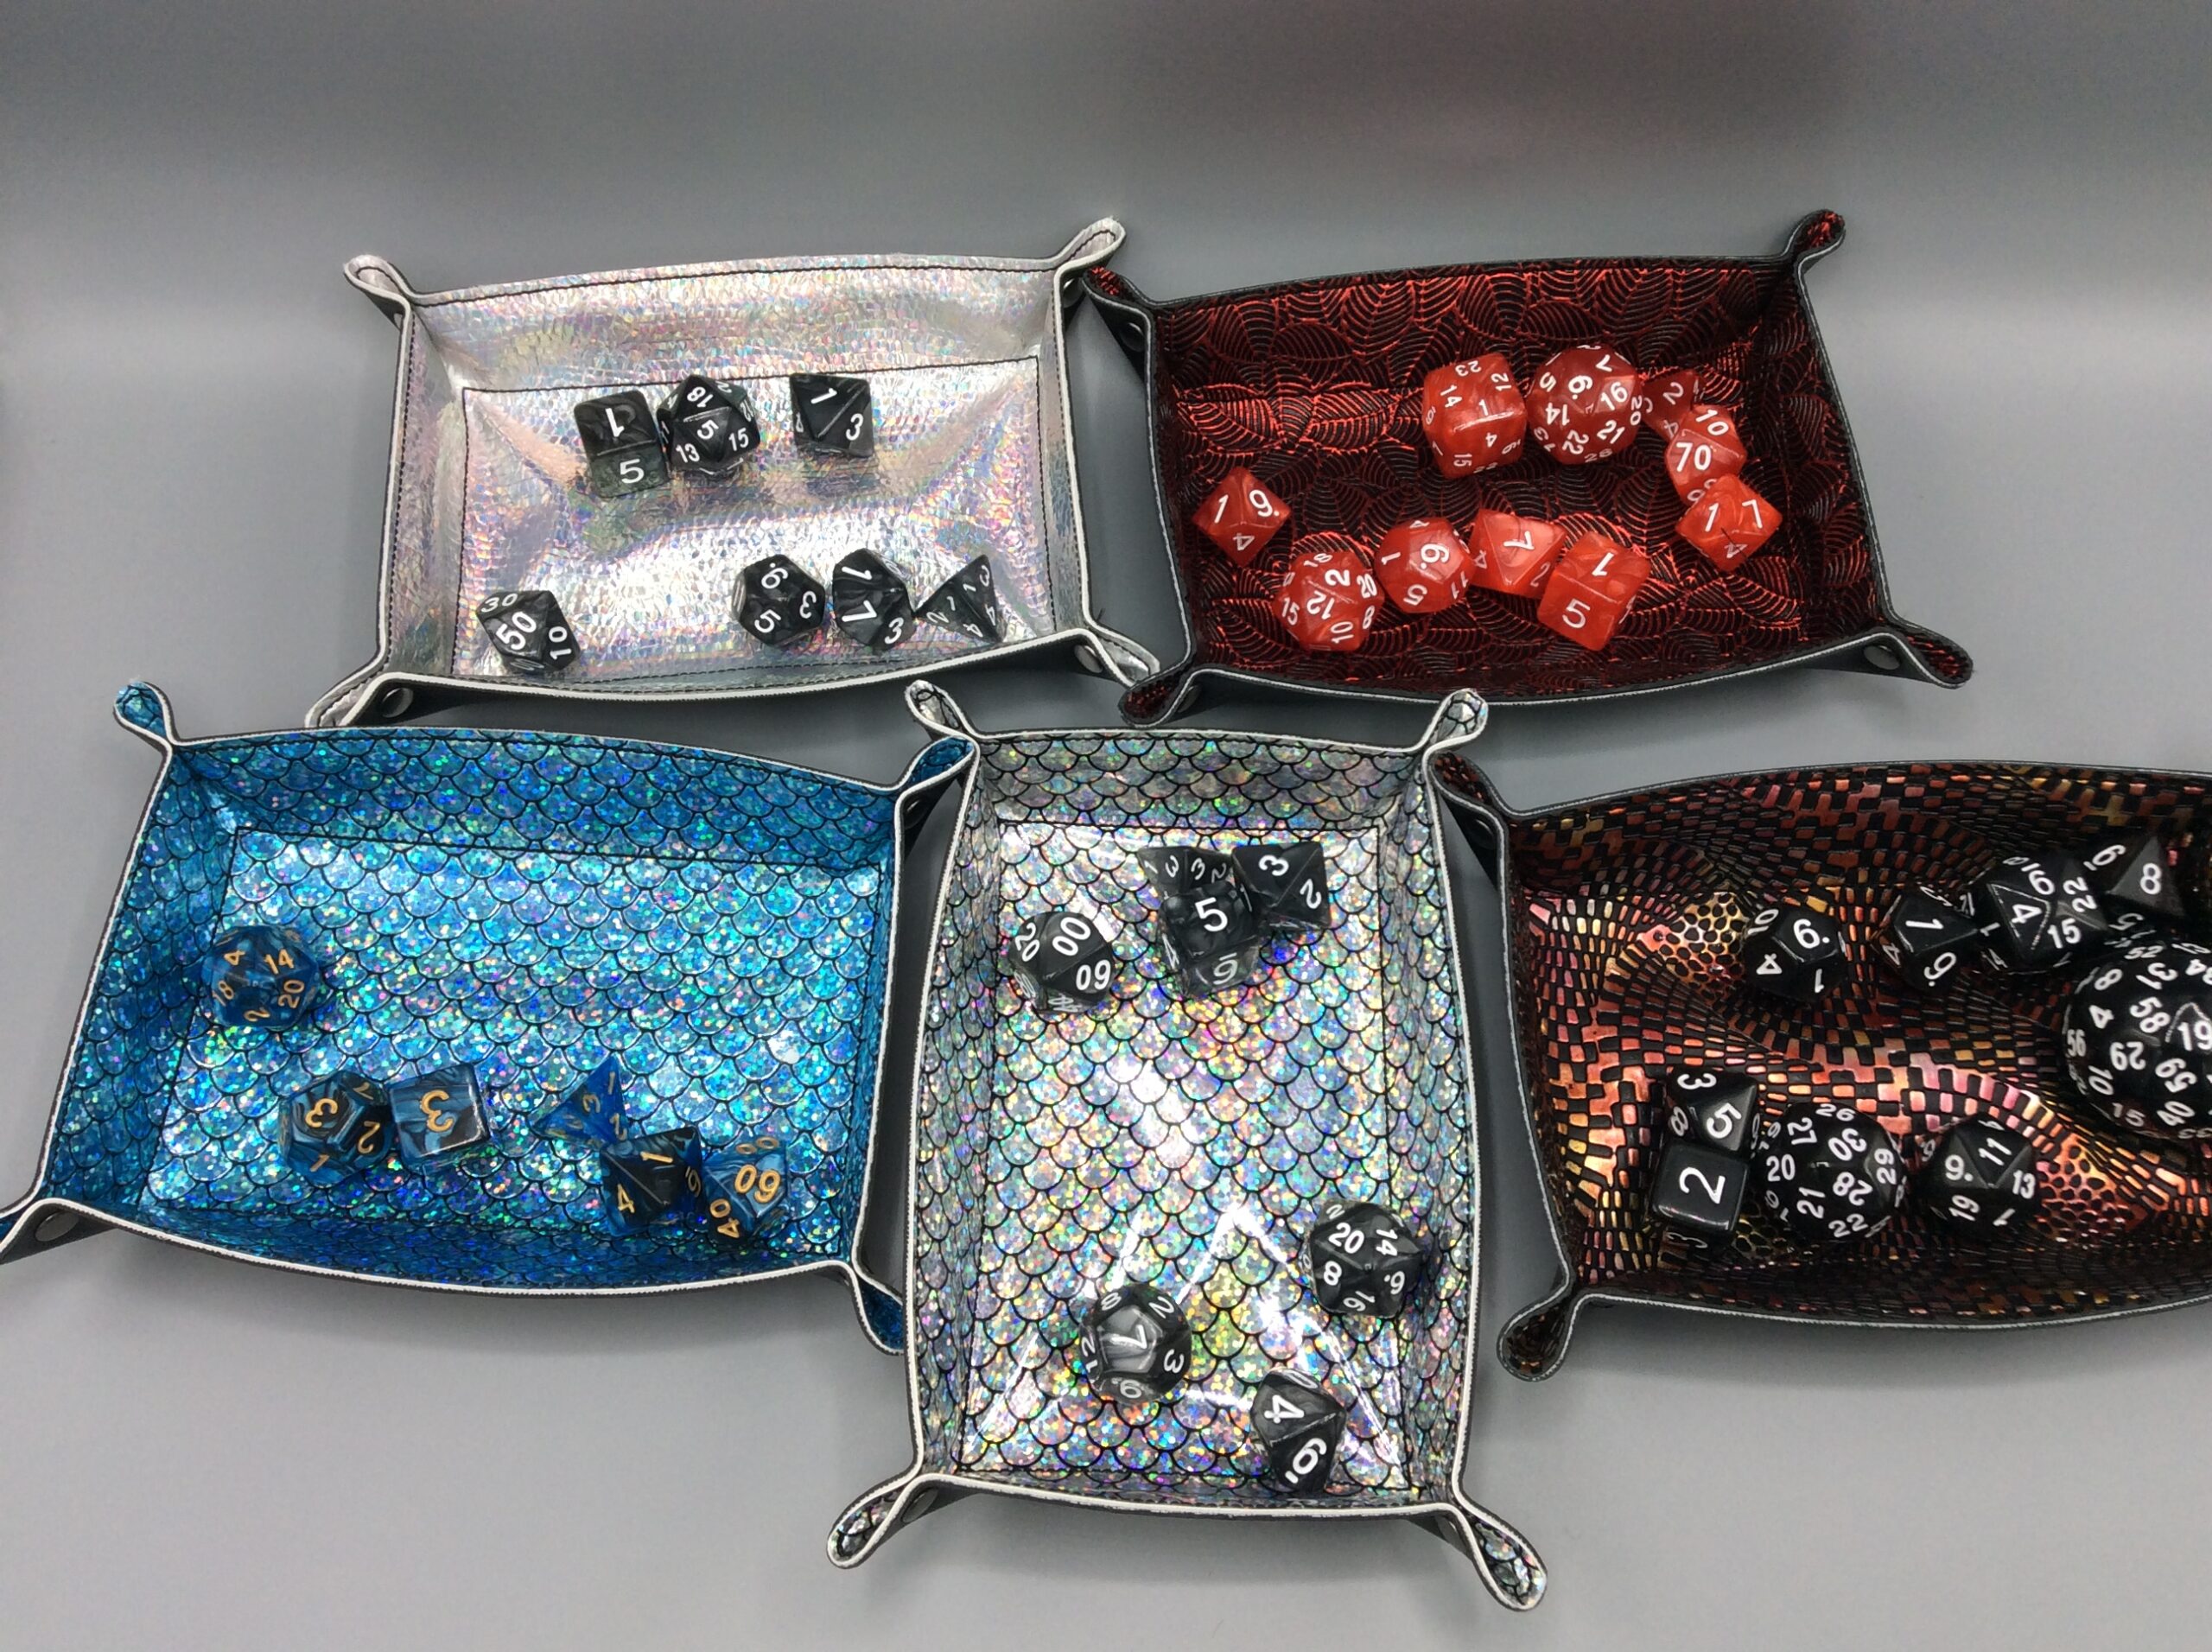
In any case: as someone who has a bunch of reject valet trays around the sewing room, I can attest that they’re handy little things, and very addictive to make.
Comments are not available.