
Cut-and-sew pug instructions
Wed, 23 Sep 2020
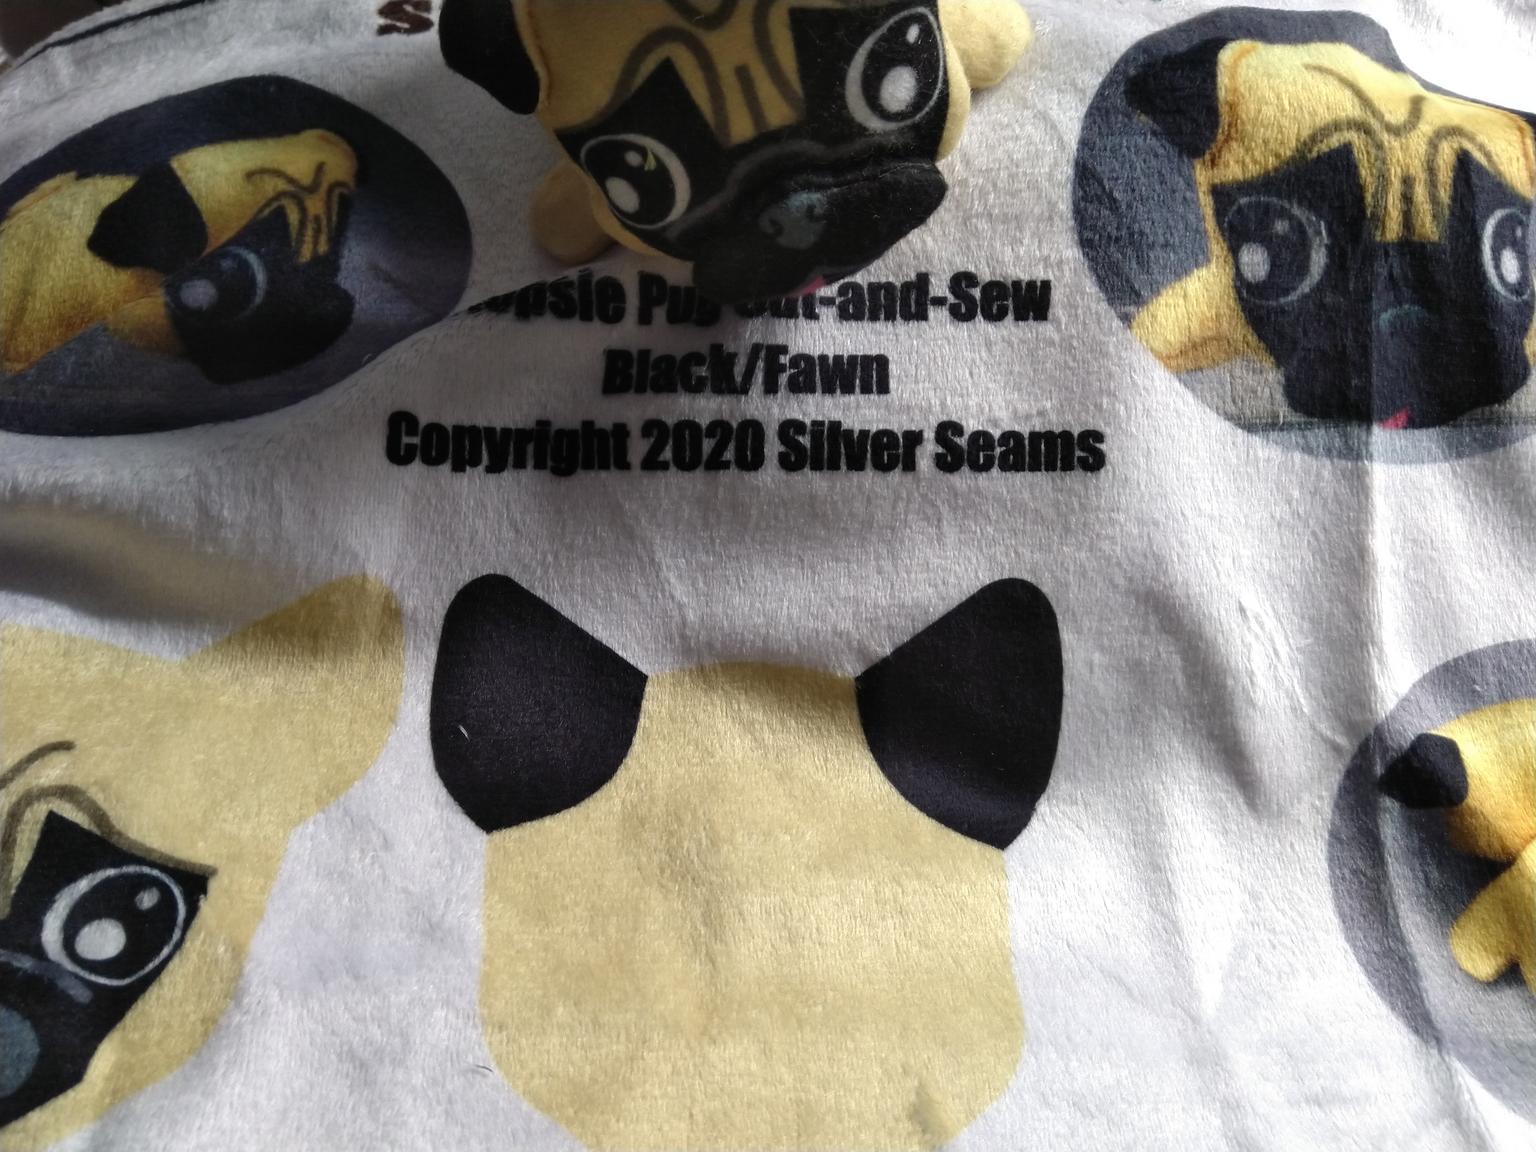
The minky version of the cut-and-sew pug arrived today and it’s officially available for purchase, so here are the instructions. They’re printed on the fabric as well, but as soon as I clear my plate a little I’ll stitch one up, take pictures of the process, and flesh this entry out a little more.
In addition to the pre-printed fabric, you will need:
Sewing thread and needle or sewing machine
Stuffing
Optional: safety eyes (15-17mm) and nose (11mm wide)
Cut out all the pieces (choose only one muzzle expression) around the edge of the colored area. Also cut the turning opening in the under-muzzle area and the back of the muzzle (the white dotted lines)
Using a temporary fabric pen, or a permanent marker in a light brown, transfer the stitching line to the wrong side on the tail. You can cut out the template to use it if helps. Clearly mark the stopping place before the back paw.
Match the chosen muzzle pieces, right sides together (RST). Stitch around the edge of the muzzle using a 5mm (scant quarter-inch) seam allowance. Carefully clip the inside curves, and turn the muzzle piece right-side out using the opening you cut in the solid-color piece earlier. If you’re using a safety nose, install it now. Very lightly stuff the muzzle (or not at all). Optional: quilt along the upper mouth line.
Stitch and turn the head the same way. If you’re using safety eyes, install them now. Fold the ears over to the desired position and use a few hidden stitches to tack the tips in place, then stuff the head. Position the muzzle and use a hidden ladder stitch to sew it in place. Tip: Go around once in large stitches to position it, then a second time in smaller stitches to attach it firmly.
Match the two back pieces together. Stitch from the neck around the tail, being careful to stop at the point you marked earlier and making sure to backstitch to make it secure.
Open up the combined back piece and match it to the belly piece. The back seam should match up to the mid-point of the belly seam – sew halfway around (leaving the neck opening), backstitch and tie off, then flip the back seam over and begin again so you don’t catch the upper seam allowances.
Clip all the inside curves, paying special attention to the inside of the tail. Turn and stuff the body, making sure the tail is evenly stuffed.
Turn the raw edges of the neck opening under, and ladder-stitch it to the back of the head. Go around once in large stitches to position it, making sure you have your stuffing finalized before you close it off. Then go around again to firmly and neatly attach the head.
Decide which way the tail curl should go, and curl it into place and ladder-stitch it down. You’re done!
Comments are not available.