
"Cheater" minky sewing
Mon, 28 Sep 2020
Cutting out stretchy, fuzzy minky patterns is enough of a hassle that many people turn to a Cricut Maker. We all know how that went here, though. I have a different solution, of course: using the sewing robot. This came up on Facebook so I figured I’d write it out in the blog for posterity.
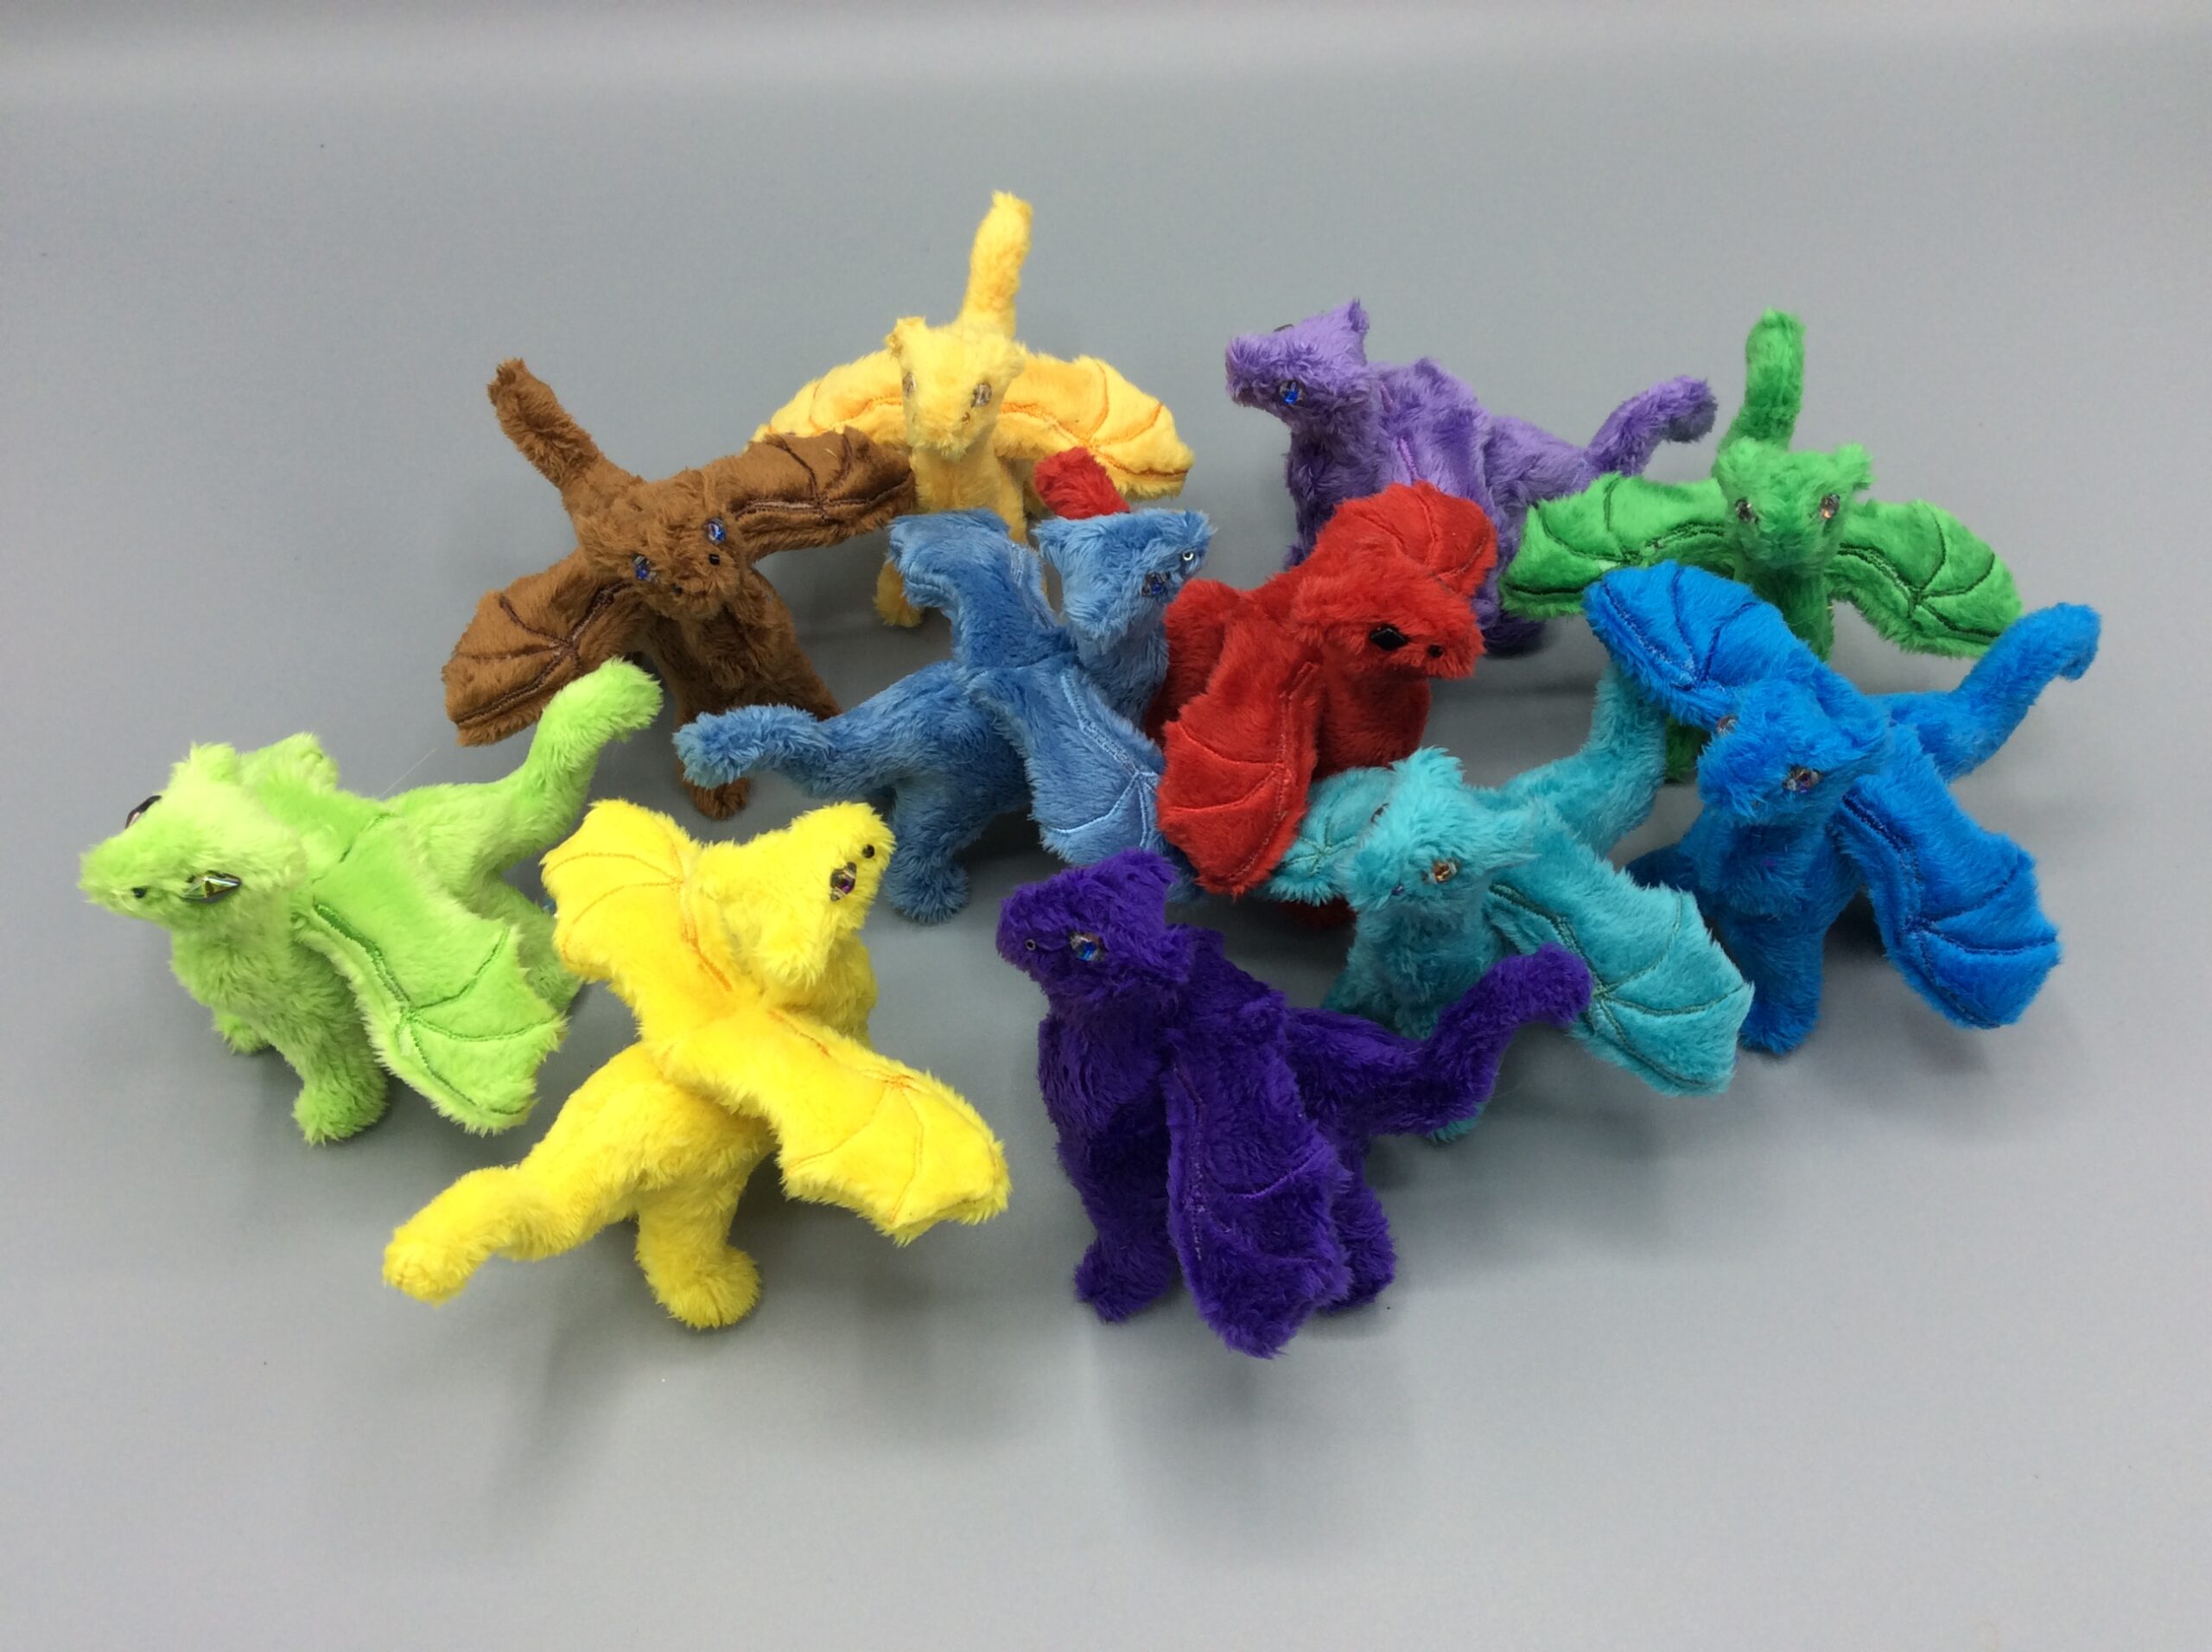
Home embroidery machines are just regular sewing machines with an embroidery arm: a carriage that moves the fabric around under the foot in synch with the needle going up and down. You can stitch out pictures… but you can also stitch regular stuff, which is the basis for a lot of in-the-hoop projects. All the dragons (SO MANY DRAGONS) get sewn this way; those critters are 3″ tall, there’s no way I could sew minky precisely enough in the conventional machine.
This came up in the BeeZeeArts group, because the famous bats involve tiny little feet, and after grumping about the Maker there I felt obligated to explain my alternative and, well, turns out a lot of people would happily switch. So here’s how it works in Ink/Stitch.
Most patterns arrive in PDF, which Inkscape can handle natively. Either use “Open As…” and choose Inkscape instead of your default PDF viewer, or go into Inkscape and open the PDF from the menu. It’ll pop up a dialog asking how you want to load it, most of which you can ignore – just choose the page with the pattern piece you want on it and open it up.
If the creator saved the patterns in vector form, half your work is already done for you. Ungroup the objects if you need to, and pull out the seam line (not the cutting line – though this also works for creating an SVG for your cutting machine). If it’s saved in bitmap, you can either do Path > Trace Bitmap to get a starting vector, or you can just manually trace it. For simpler stuff like the bat ears and feet, I do the latter. Make sure you leave the turning openings and whatnot open, because what you see is exactly what your machine is going to stitch out.
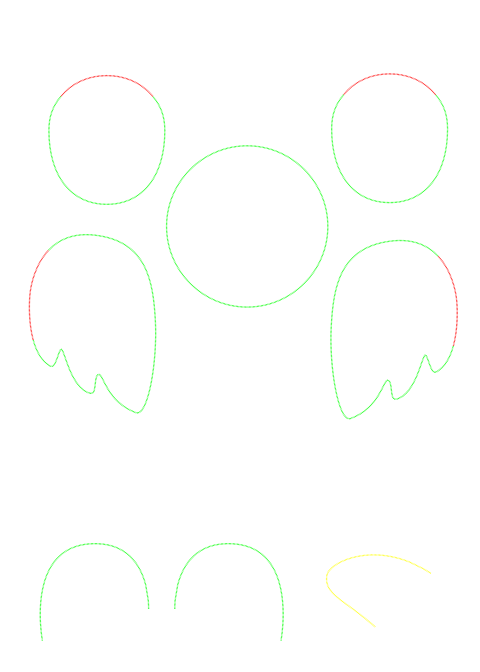
Once you have your stitching lines, you can add some things to make your life simpler. In the above, I have a big rectangle around the outside of the design. Stitching starts in the upper left. Sometimes I stitch this onto the stabilizer, but more often I position the needle to the start of it and just use it as a reference to align my rectangles of fabric. I then skip that color on the machine and never actually stitch it.
The next color is the green separation line. The feet are all minky while the ears are lined with cotton or a different color of minky, so this tells me where to put a small piece of minky below and a small piece of cotton above, and then a larger piece of minky to cover them both (right sides together). It’s a little fussy, but it saves on stabilizer. But this is why you’ll see me do two or four dragons of a color: it’s much easier to group repeat items of a single color rather than to try to mess with putting a yellow wing and a green wing in the same hoop.
The next color is the red feet, and the last one is the green ears. Note that I’m not actually changing thread colors on the machine, and if my machine honored stop commands I could have used those. I also double-stitch the seams; you can use conventional thread/bobbin and set your thread tension so that it sews like a normal sewing machine and get away with a single stitch on the seam. But the robot’s doing the work, so double-stitching is no big deal.
Update: Brittany has decreed that the ears and feet are fine to distribute on their own, so here are the stitch files. Use your preferred ZIP file manager to extract the best format for you.
[Ear/Feet Combo, 4×4] [Six Bat Feet, 4×4] [Eight Bat Ears, 5×7]
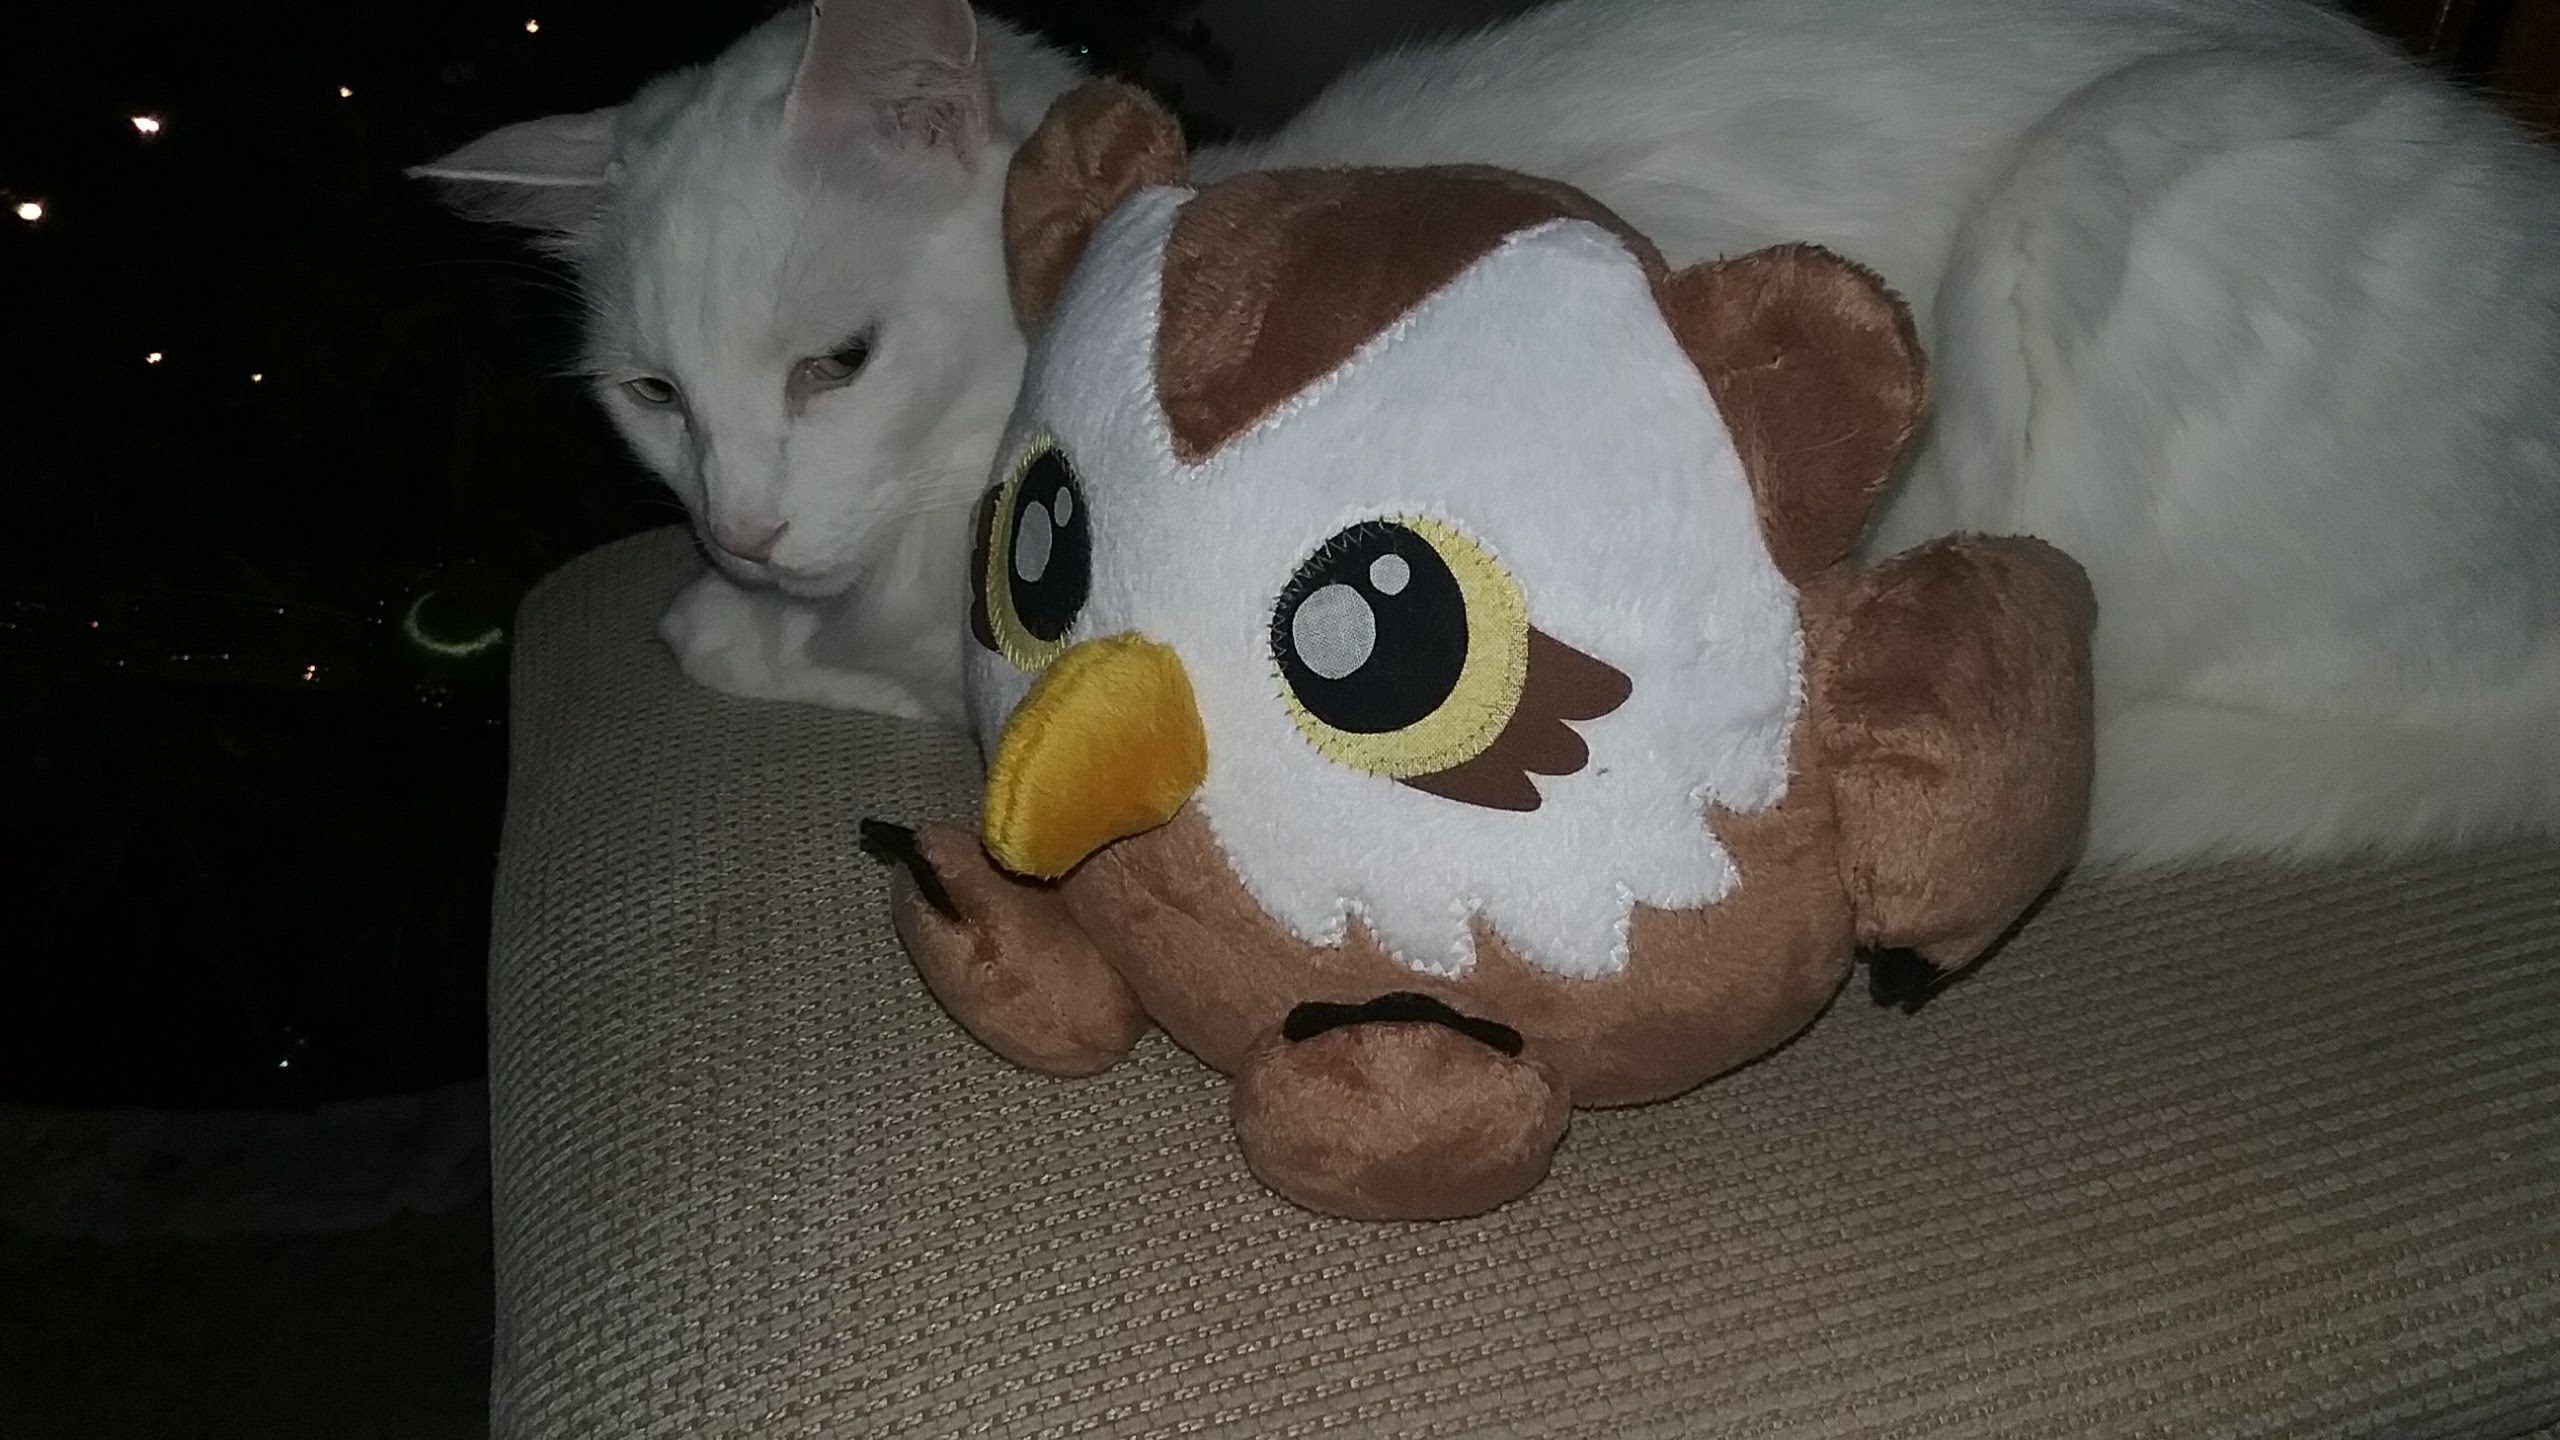
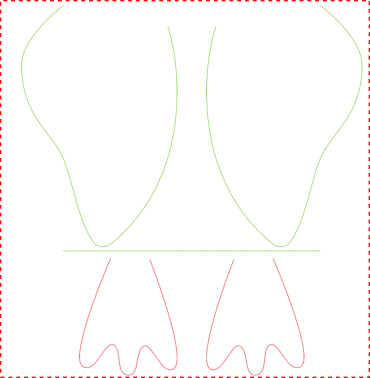
You can get pretty fancy with the stops and starts. Choly Knight’s owlbear has a lot of fiddly bits, including claws in the feet and wings. My design looks something like this:
Instead of leaving a turning opening, the limbs and round tail pieces get a slit cut in the side that will be against the body. First a single piece of minky gets placed, and the red lines are stitched out. This gives me placement for the claws. I tape the claw pieces down in each spot, and stitch the red lines again to tack them down. Then I put the second piece of minky on top, right sides together, and sew the red and green lines to attach everything together.
It’s not nearly as fiddly as it sounds, and is much much easier than transferring a pattern to minky, cutting out pieces, and then relying on your cut line to determine your stitching line.
And yes, the featured-image owlbear was made right before I got the embroidery machine, and was done the hard way. Don’t tell.
Comments are not available.