
Roundup: Jointing Bears and Plush
Fri, 03 Jul 2020
I started out to make a roundup of bear-making instructions, but realized there are so many different ways to joint bears (or dolls or plushies) that it deserved a whole post of its own.
There are a wide variety of joint types:
Thread joint – suitable for floppy joints that don’t get much stress
Button joints – internal or external, this is a step up from the thread joint
Safety joints – these come in all sizes, but can be problematic for tiny creations because their posts are long in proportion
Cotter pin joints – the original traditional teddy bear joints
Bolt joints – a modern variation on cotter pints
Thread joints
These are suitable for floppy joints that don’t get much stress. For tiny critters, especially felt, they’ll suffice to keep limbs in position. They usually depend on sewing the limbs in pairs, which means they loosen as and when the body stuffing compacts.
Jointing the arms and legs
Sadly, the Internet Archive doesn’t seem to have captured the PDF for this little bear, but at least the instruction text is still around, including a brief explanation of thread jointing it.
Button joints
A step up from the thread joint, these can be decorative or hidden. Sometimes they’re closer to disc joints, with paired buttons on the inside of the body instead of paired buttons across limb sets.
Button jointing for beginners
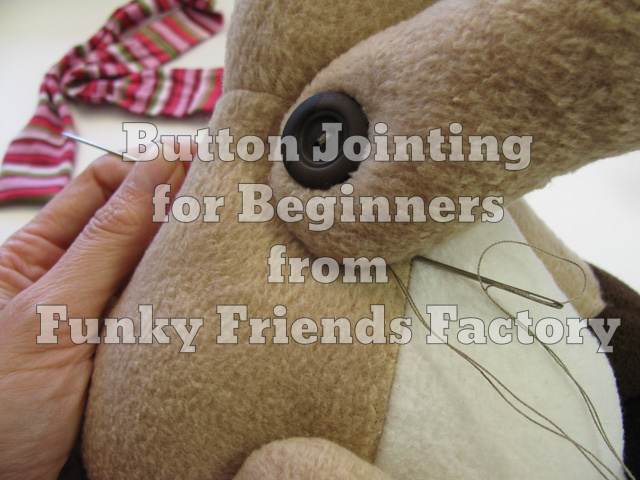
Funky Friends Factory has a really great step-by-step on external button jointing, with a key tip: make a thread joint first.
Hidden button movable joint
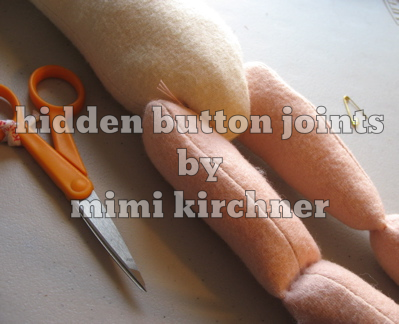
Mimi’s doll joints are paired but hidden. She links to another tutorial on a defunct site at the end – Internet Archive has it but it doesn’t add much.
Three ways to attach jointed limbs
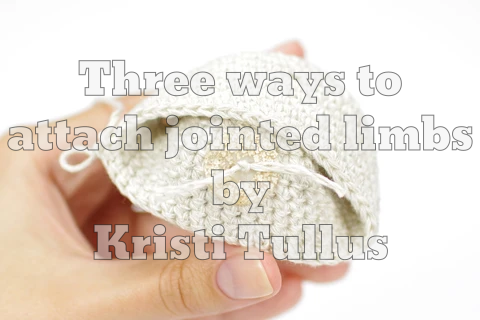
Kristi’s tutorial is for amigurumi but applies just as well to sewn creations. She addresses safety joints and thread joints, but I want to draw particular attention to the paired button joints.
How to fit Cotter Pins and Safety Joints
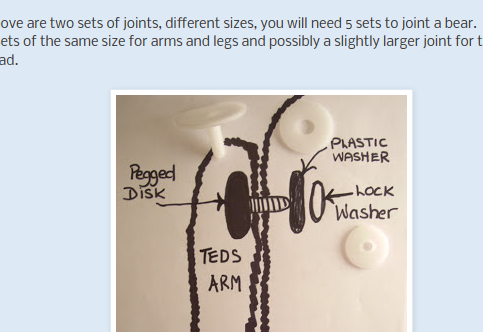
Soggibottom has a good overview of safety joints versus cotter pins, with nice diagrams. She doesn’t show how to actually achieve the crown joint, but there’s no real secret: you just have to grab the pin leg with your pliers or cotter key at exactly the right point, and twist it. Knowing exactly the right point is the hard part. Also, you want a little more of the pin tucked under, to make a real “crown” shape” – the loop ends up touching the un-bent part of the pin, and the ends of the legs are usually parallel to the disks (bend them out of the way or clip them off if they extend past the disk edge).
Honestly, while crown joints are, well, the pinnacle of traditional bear jointing, they’re hard to get right and a good tight snail is perfectly adequate for a bear that isn’t going to see a lot of play. (Any bear that is going to see a lot of play should be using a safety joint nowadays anyway.)
Insert a Cotter Pin Joint Into a Teddy Bear (video)
I am torn between disliking video tutorials (I have no patience) and accepting that a well-done one really makes it easier to see things. This YouTube video shows how to insert a traditional snail joint.
Wobble joints
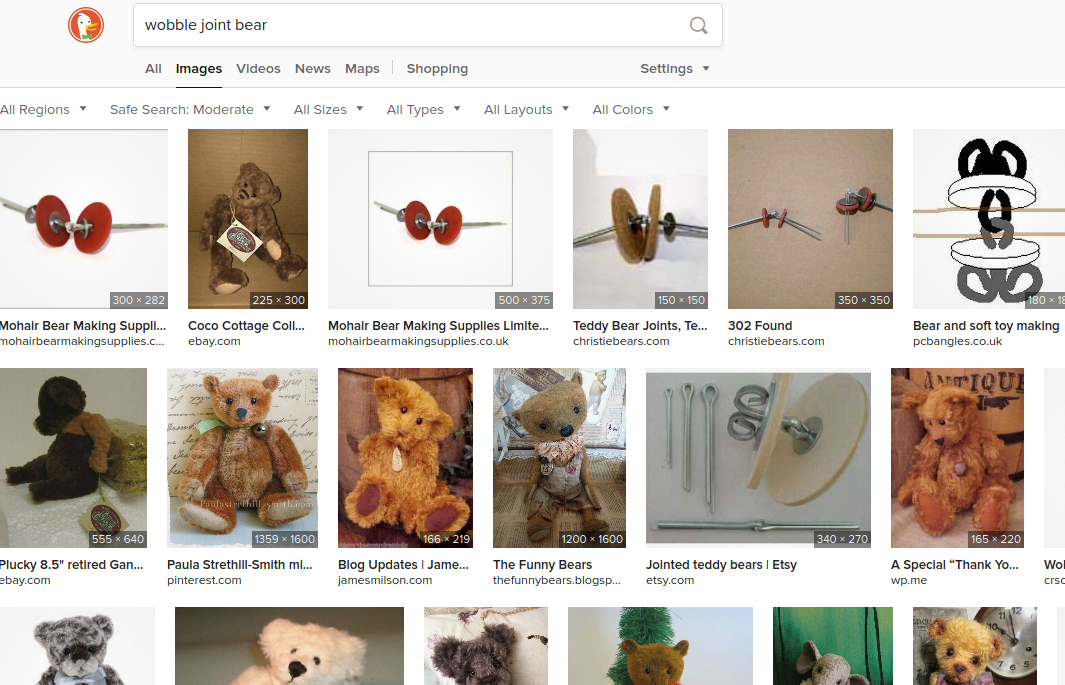
If you do a quick image search, you’ll learn almost everything you need to know about wobble joints. Only the cotter pin loops (T-pins won’t work for this) stick out of the two pieces to be jointed. The joint is loose and floppy (it’s often used as a neck joint on a “distressed” bear) but very secure. It’s a good place to practice your cotter pin bending skills (crown or snail), since the tightness of the cotter pin to its disk isn’t nearly as critical.
Lock nut jointing heads (How-to thread)
Teddy Talk is pretty great about leaving forum threads up forever. This 2010 thread discusses the various techniques of bolt joints, which replace the cotter pin with (variously) lock nuts, grub/set screws, or just gluing a standard nut once it’s tightened down.
Comments are not available.