
Color-sorting with Ink/Stitch
Mon, 27 Jul 2020
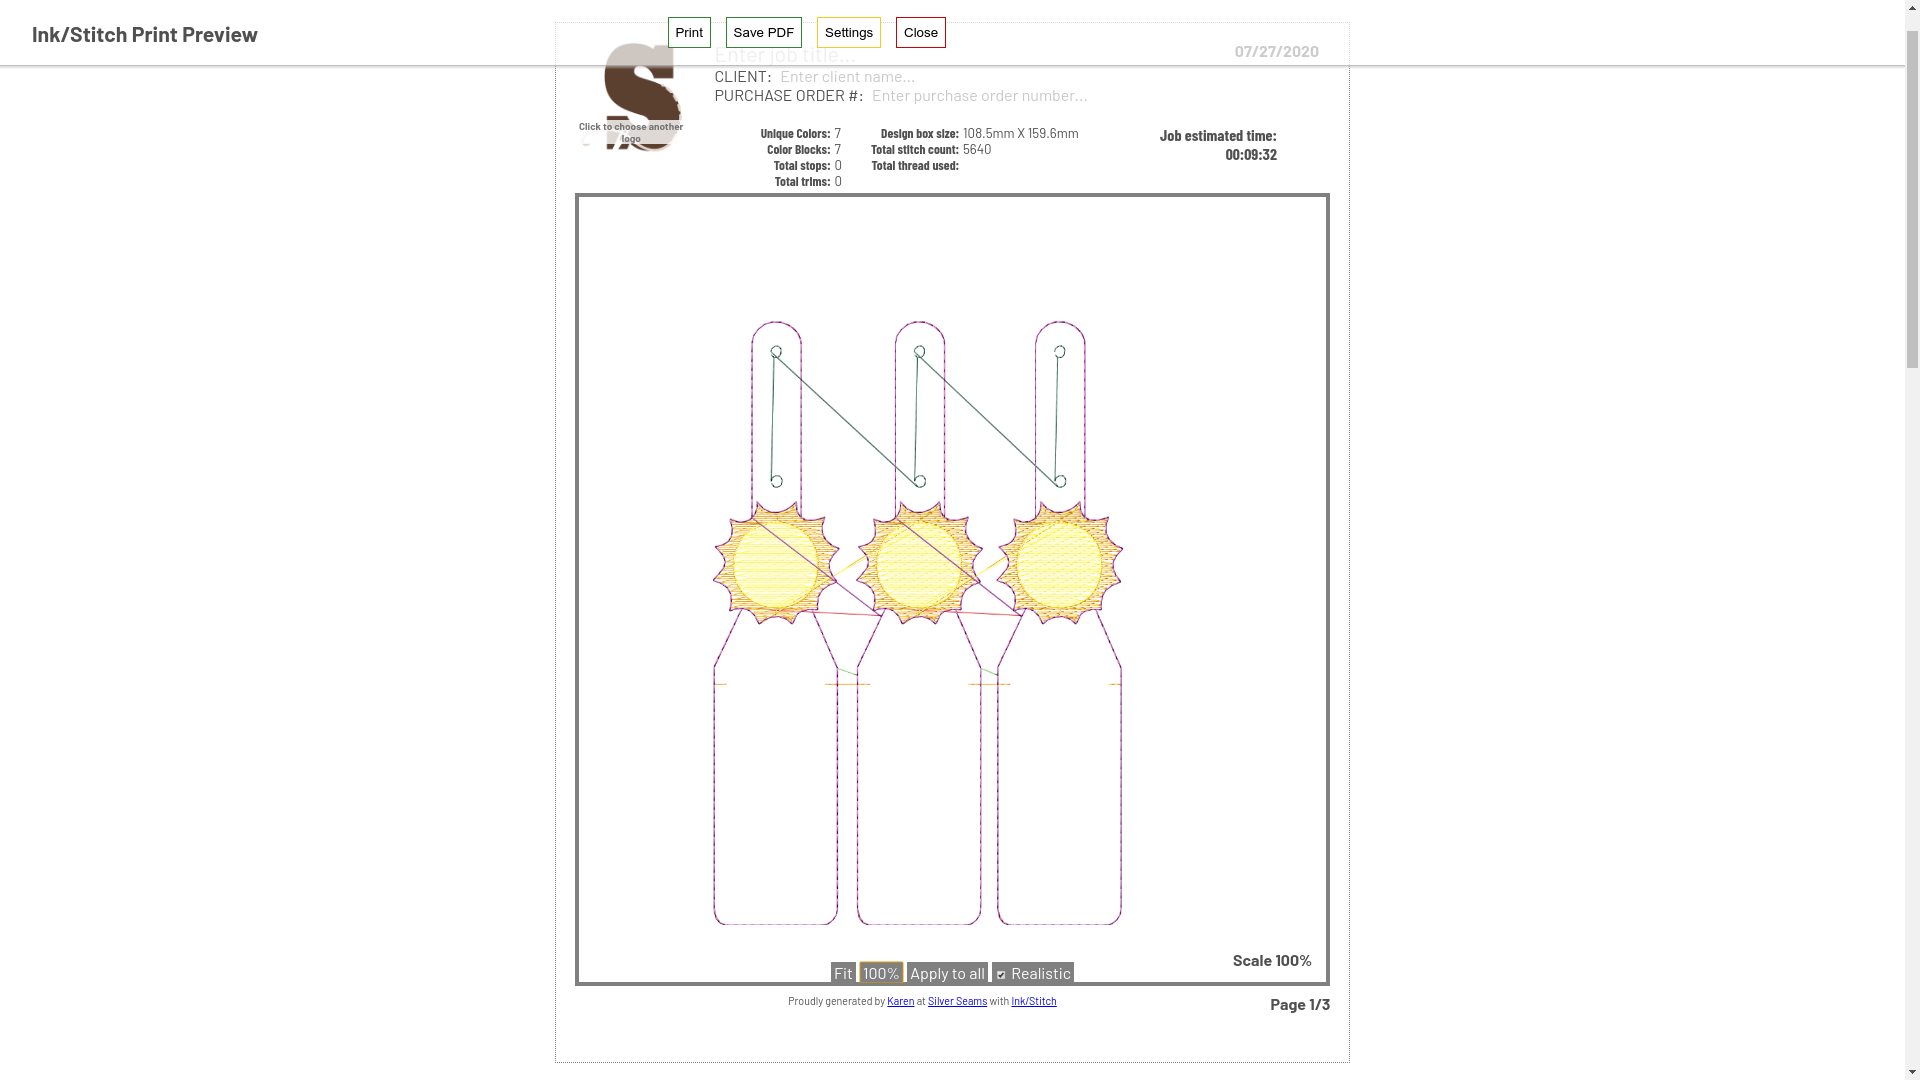
This entry is now in the tutorials though it's also mostly been obsoleted by Ink/Stitches built-in Panelization.
Comments are not available.
Mon, 27 Jul 2020
This entry is now in the tutorials though it's also mostly been obsoleted by Ink/Stitches built-in Panelization.
Comments are not available.