
Flower Bear In The Hoop (sort of)
Fri, 15 Mar 2019
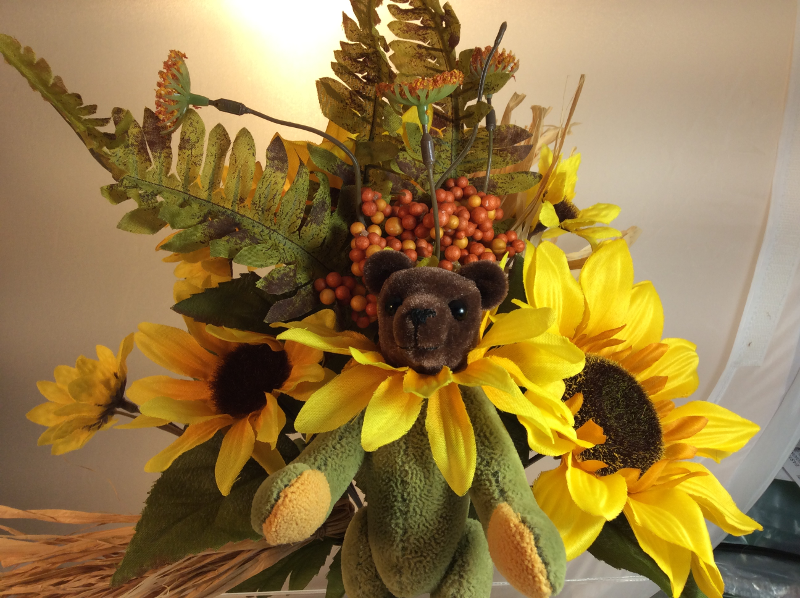
As much fun as I’ve had doing (relatively) conventional things on the embroidery machine, my real intention has been to use it as a sort of CNC machine. One of the first tests I did of this capability was with a single-color version of the venerable Flower Bear pattern.
A large part of teddy bear/jointed plush sewing is simply putting two flat pieces together and sewing around them. That makes it ideally suited to in-the-hoop work. Of course, the rest of the sewing means matching some very different pieces together — foot pads, head gusset. This can be challenging on a sewing machine, virtually impossible on an embroidery machine (I’m still trying!), but pretty easy when hand-sewing. In the small scale of Flower Bear, it’s not too onerous.
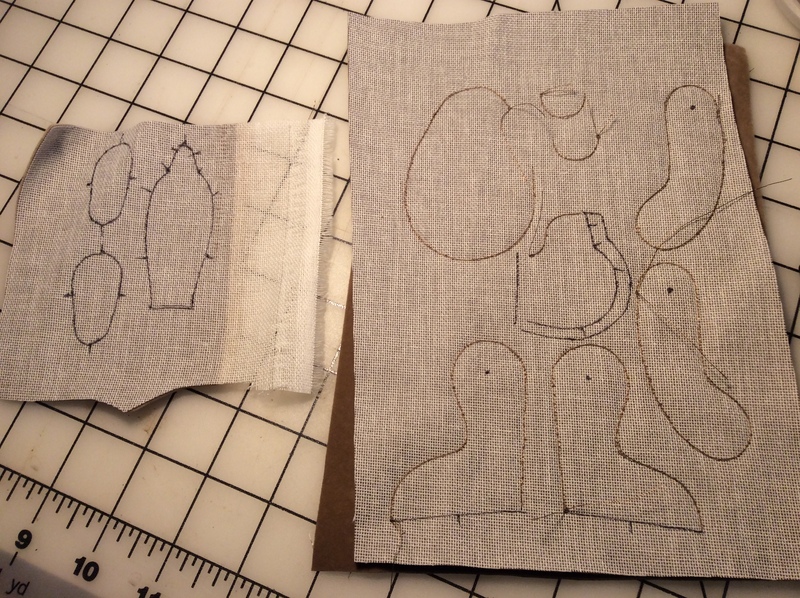
Hoop up a piece of stabilizer, then put down two pieces of fabric right-sides-together on top. Although it’s hard to see here, I’m using an upholstery velvet — what you’re seeing is the coarse white woven backing.
A smarter person would have gotten a picture of the stitchout without all the clutter, but not me. Clockwise from the upper left is the body (with a turning opening), the ears, the arms, and the legs. In the middle there’s a little S-squiggle that is the chin seam. That’s the only part of the head that is sewn flat. You’ll need the pattern from the link above, because you’ll have to transfer some markings to the fabric. The arm and leg joint centers are pretty easy, but the head is a little more challenging.
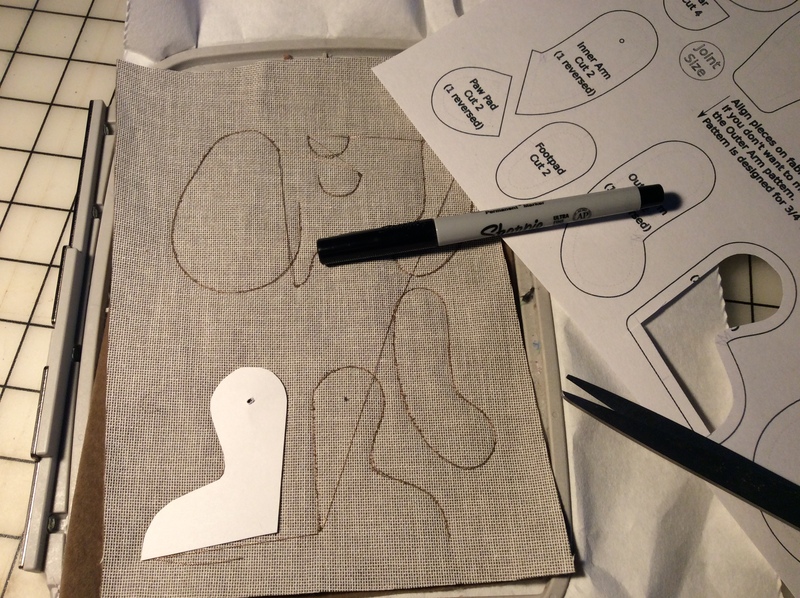
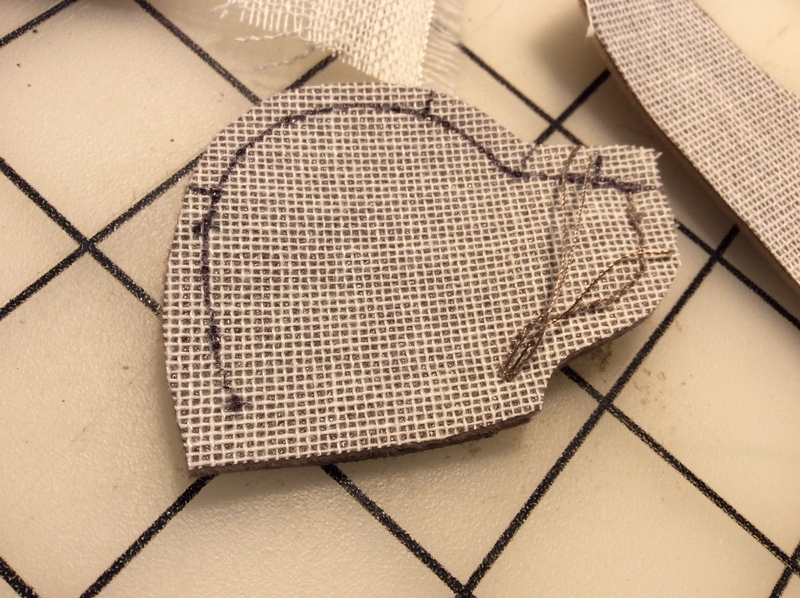
There are two ways to transfer the head markings. Either way, you’ll want to match up the pattern to the chin seam, so I cut the seam allowance on the pattern away. If you want to transfer the cutting line, perhaps because you have a light-colored fabric, trace that like this.
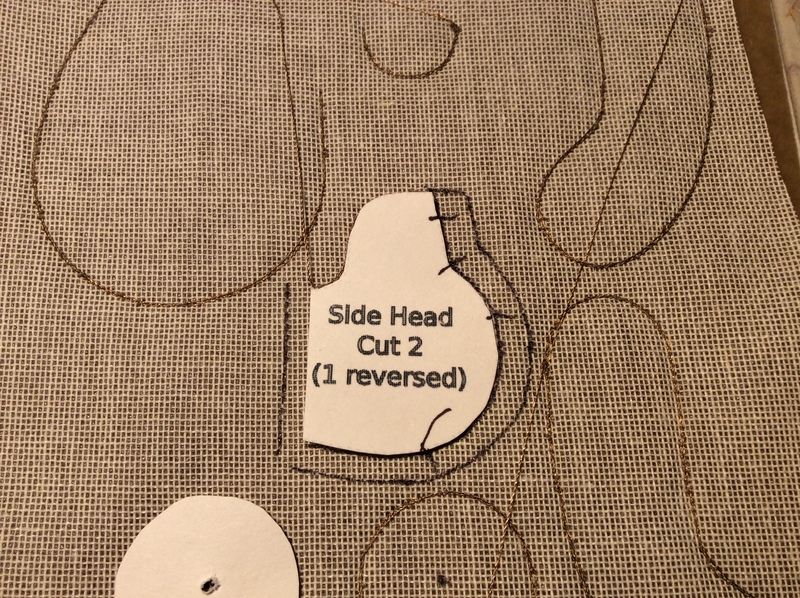
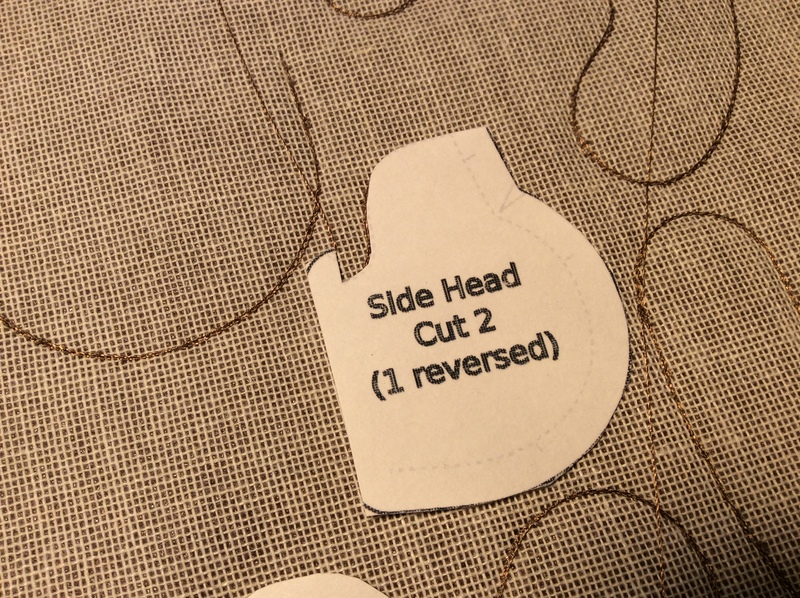
I recommend transferring the stitching line, though, which means cutting on that line on your pattern and tracing around it. I use a Sharpie here which seems counter-intuitive but on this fabric it just rides on top of the backing fibers and doesn’t come through to the pile at all. Test your fabric first, though. Worst case, if you end up with Sharpie on a finished piece, guess what? “Permanent” markers aren’t all that permanent: rubbing alcohol will re-dissolve the ink. If you work quickly, before the alcohol evaporates, you can rinse the color out.
You’ll need to transfer the foot pads and gusset to another piece of fabric.
Now cut around everything. Don’t forget whether you’re cutting on the cutting line, or around the seam line. Starting at the bottom of the chin should help remind you.
Most of the rest of the instructions are in the link above. Exception: you may have noticed that the arms and legs have no turning opening. Cut a slit just big enough to get the joint disc through, then whipstitch the slit closed around the pin.
If you’re making a proper Flower Bear, or if you have a 4×4 machine, you’ll want to shuffle the pattern pieces around. The SVG is in the archive. If you have trouble using Inkstitch, let me know and I’ll generate a version with the changes you need.
Cheater Bear 5×7 Embroidery Files (ZIP archive)
Comments are not available.