There are several versions of the snap trays: two corner styles, and many different sizes for everything from a 4×4 to a 5×7 to an 8×8 machine.
Each one has a series of layers, which correspond to steps. Except the 4×4 version (which only works tabbed), both corner types are included in the SVG so if you’re planning to use it in Ink/Stitch you only need to download one of a size – the only difference is which layers were hidden to produce a single corner type.
If you’re using the already-created embroidery files from the ZIP files, there will be two colors, one for the interior rectangle
and one for the outer topstitching and snap placement marks. You can merge a design in the SVG and re-export it, or you can just
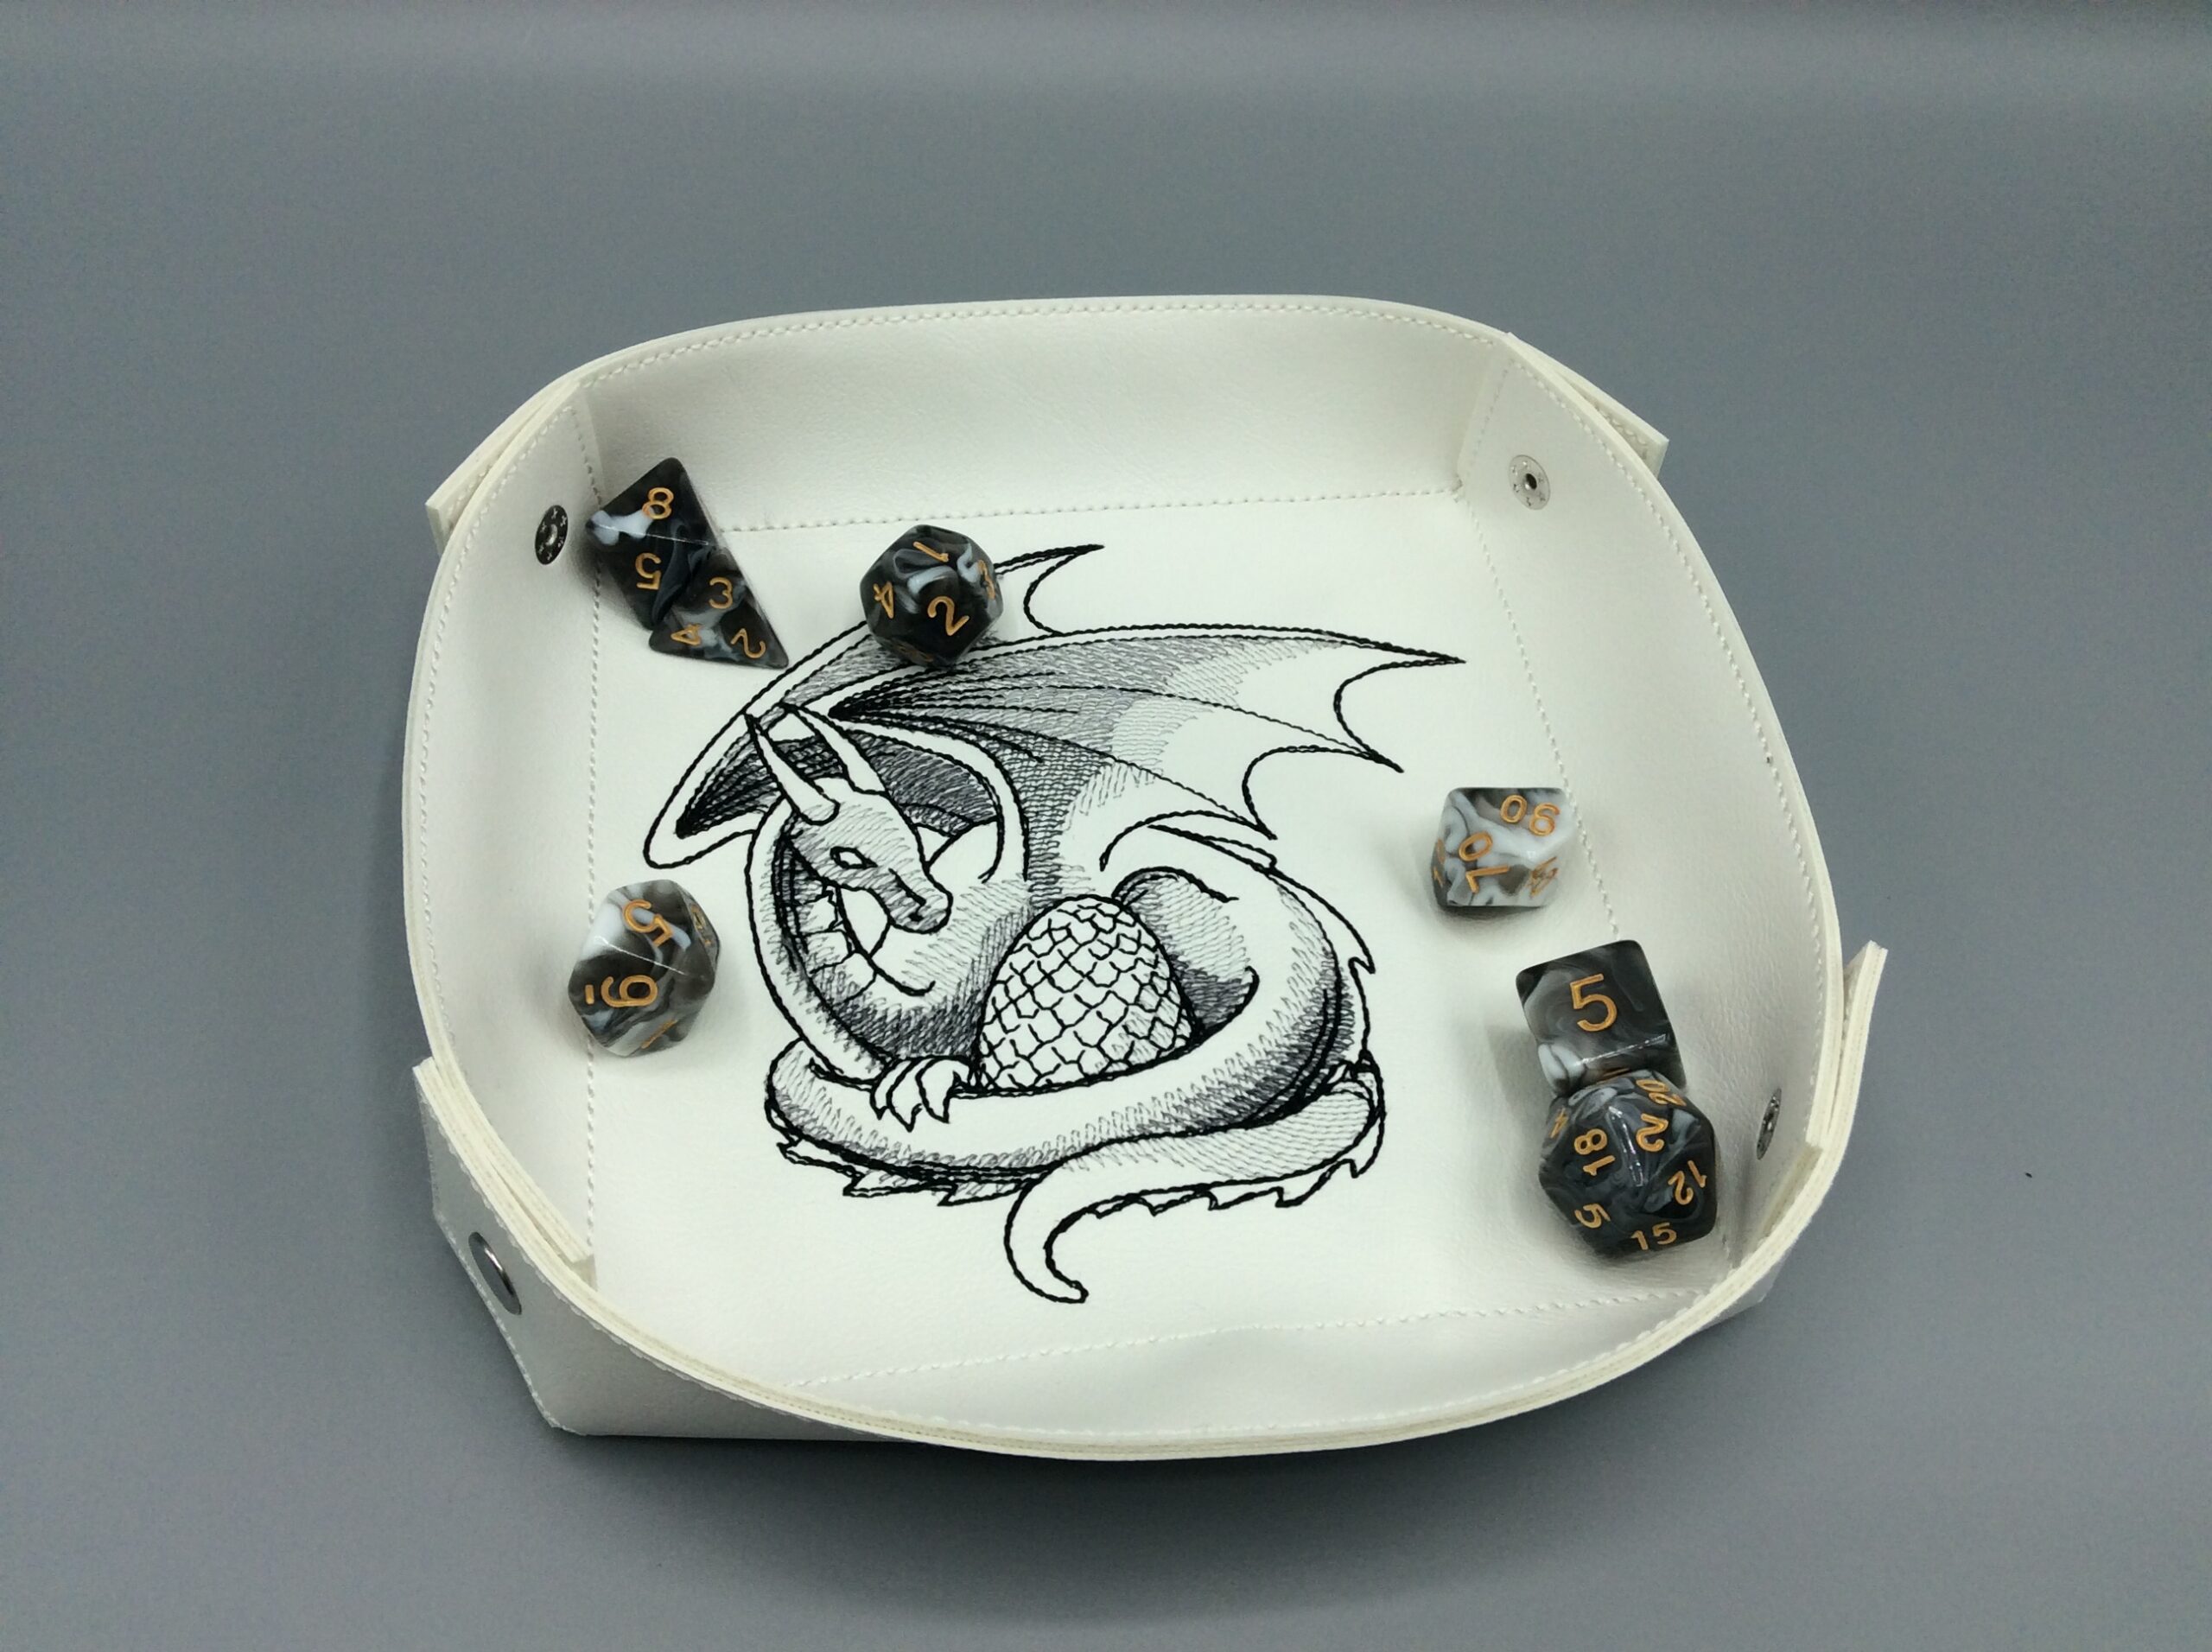
stitch it out centered when the time comes. Or you can just use a fancy vinyl or patterned fabric with no design at all.

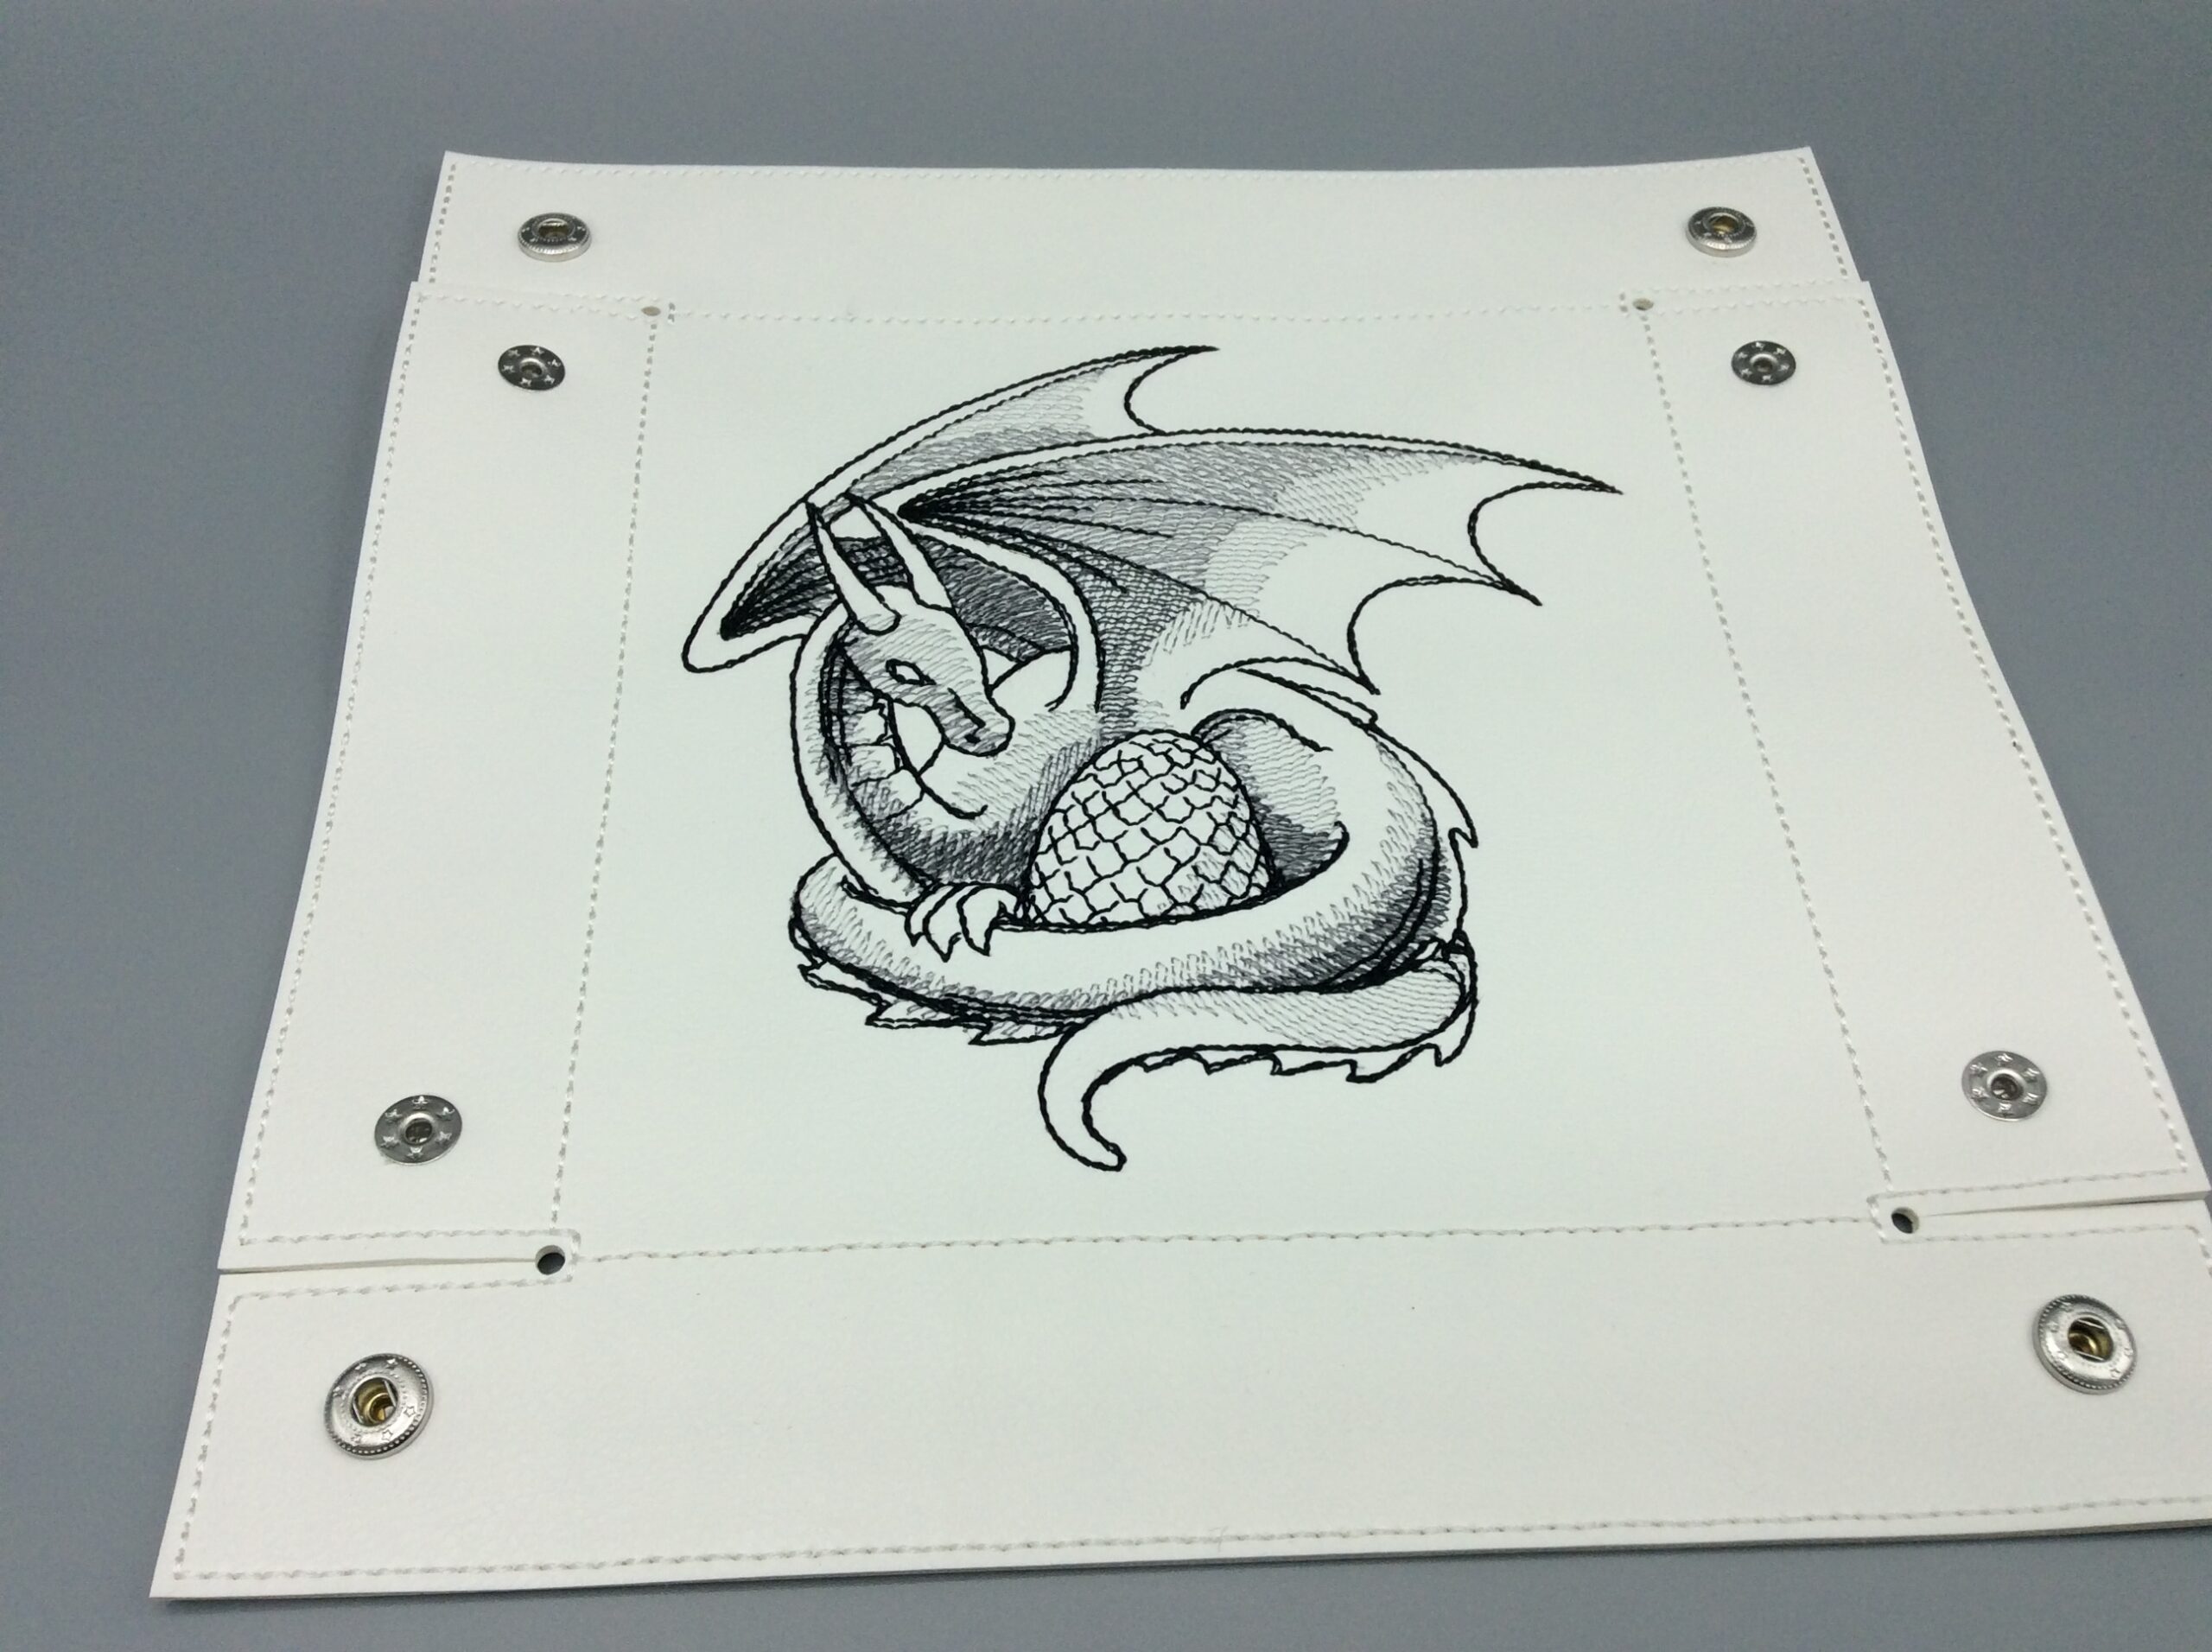
You’ll want a piece of vinyl (or cork fabric, or felt, or whatever you want the inside of your tray to be) at least a quarter inch, preferable a half inch, larger than the outer edge of stitching. Center it in the hoop, floated on top of a piece of stabilizer (cutaway or tearaway). I usually stitch out the center rectangle first, to provide a good anchor for the design stitching. If you want that rectangle to stitch through both layers, stitch the design first. If you’re not doing a design, stitch the rectangle through both layers to stabilize your inner tray and keep it from rippling.
Once you’ve stitched whatever you want to on the first layer, take the hoop off the machine and center the outer tray piece on the underside of the stabilizer and stitch the outer layers and snap markers. Then take it out of the hoop and trim the vinyl 1/8″ or so from the top-stitching. For the tabbed trays, snip into the slot, being careful to align the cut with the inner rectangle. I punch a hole at the end of the slot to reduce corner bulk, but it’s not strictly necessary.
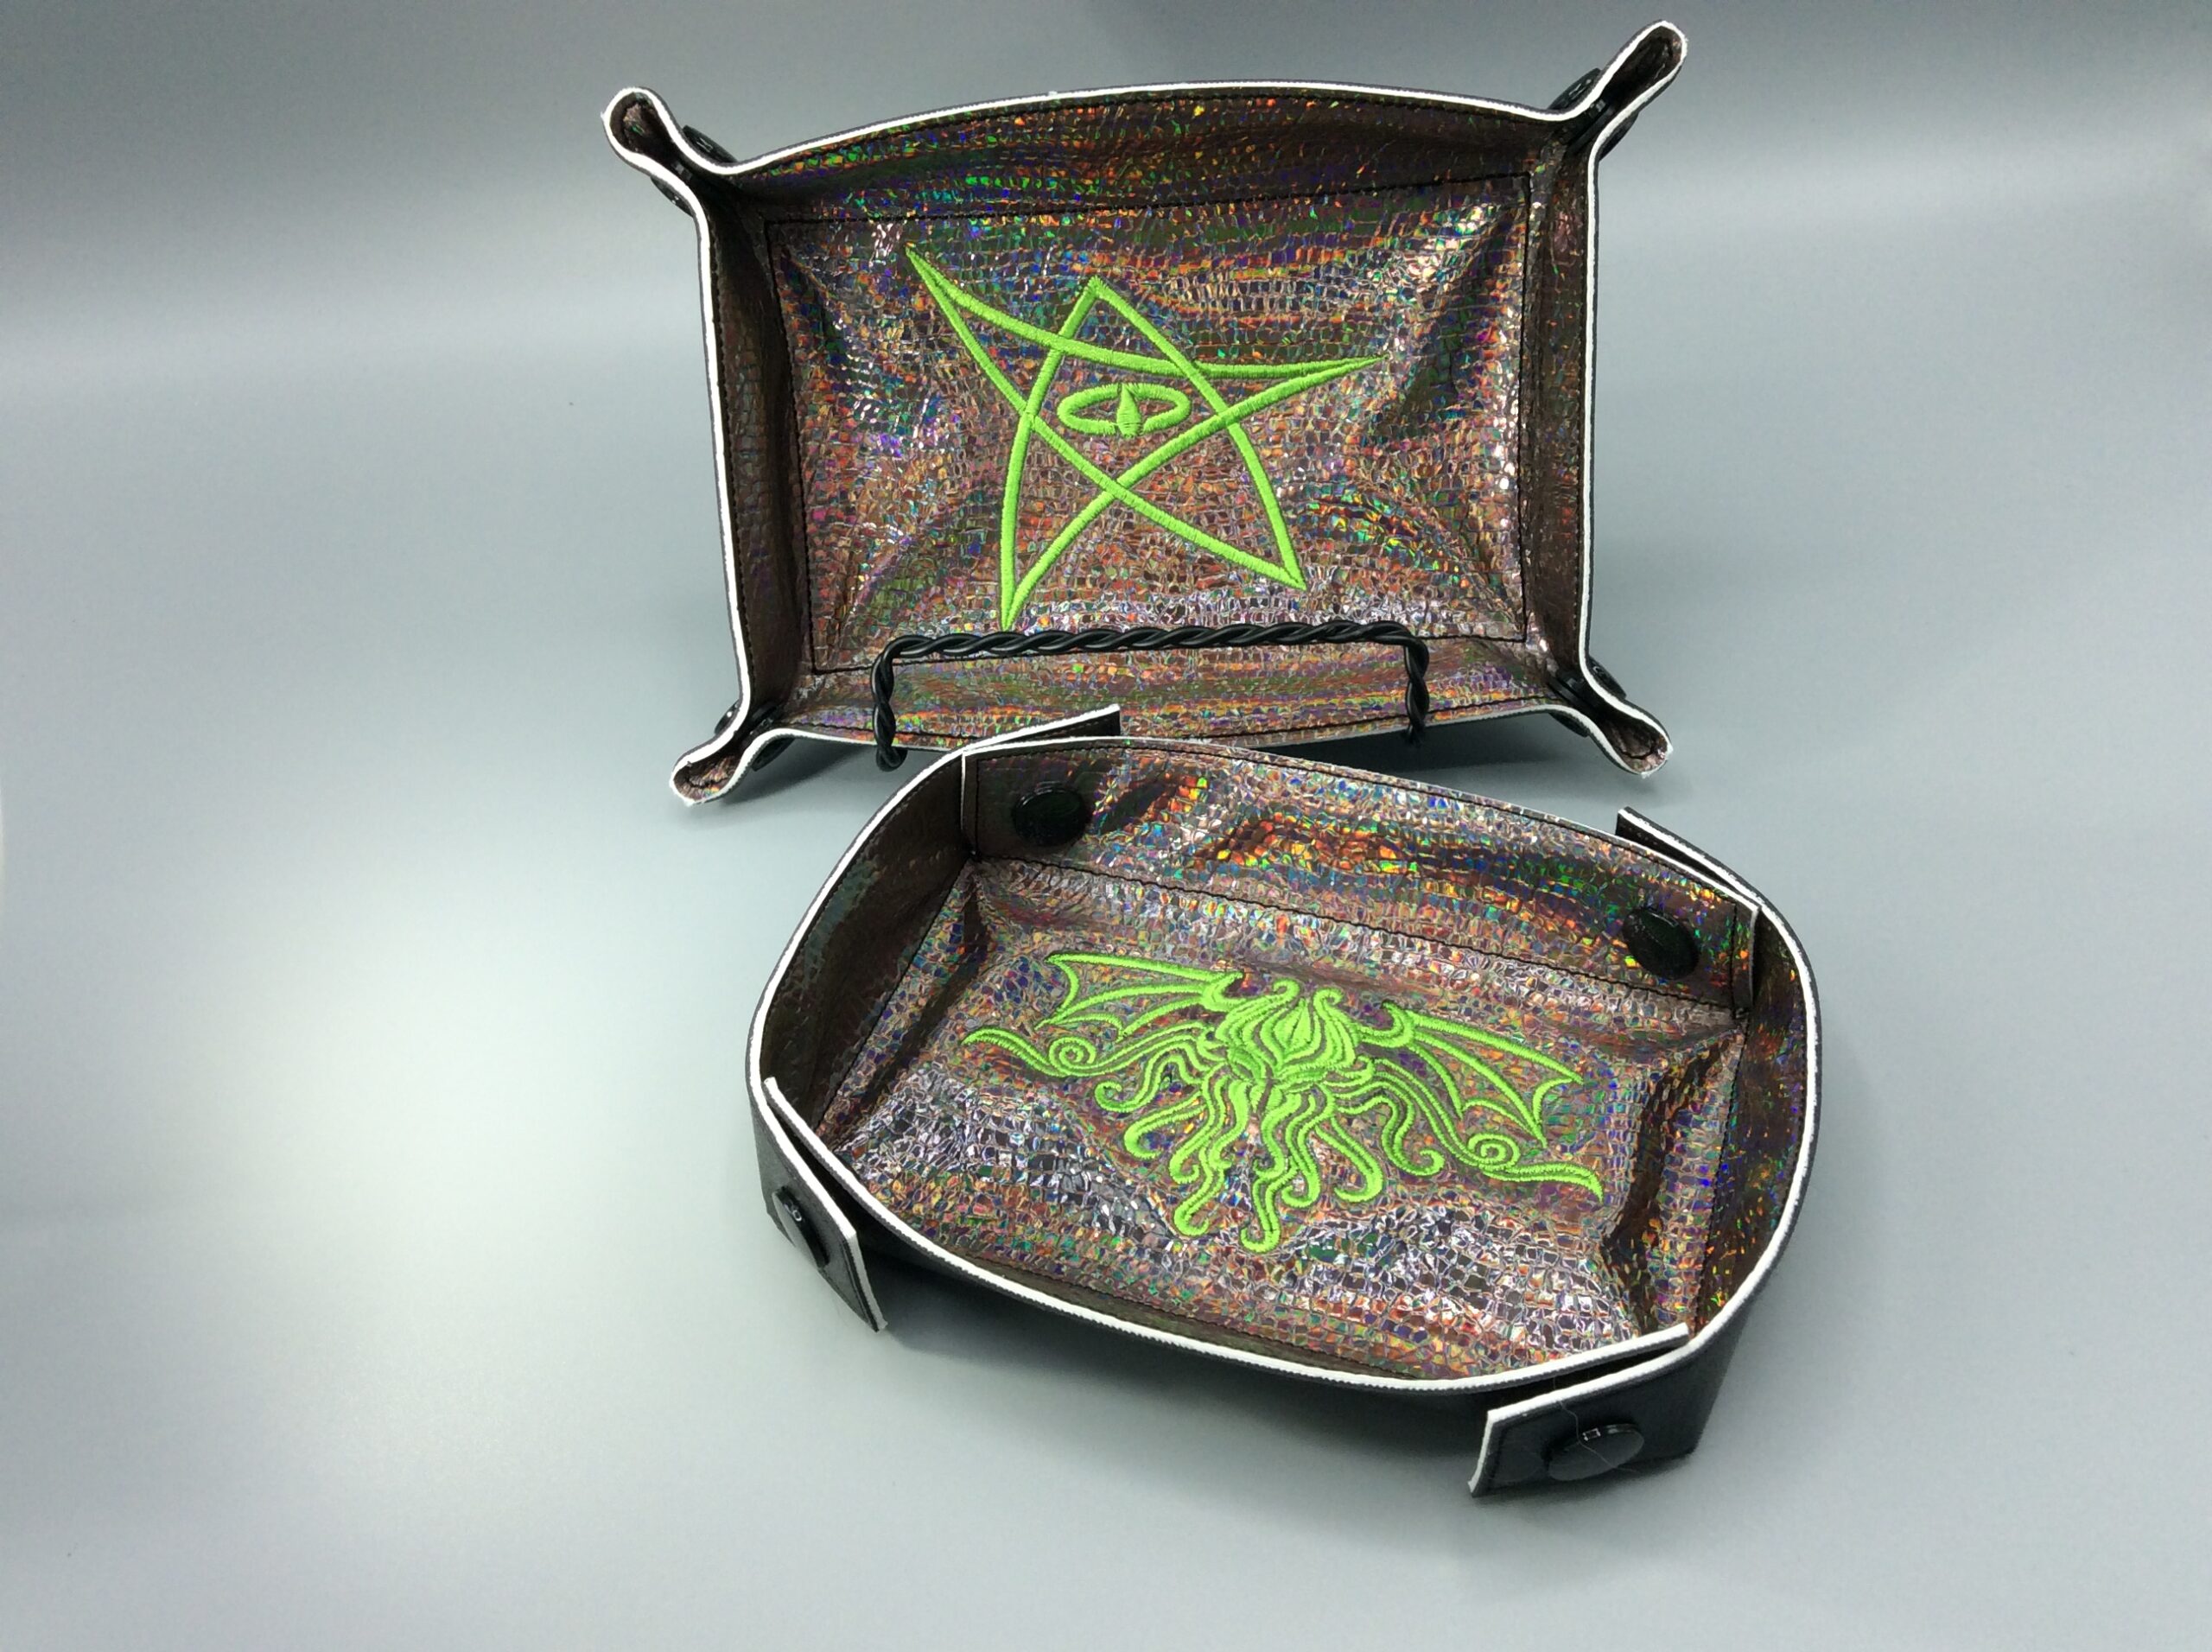
For the pinch trays, the snap caps all go on the outside, and all you have to worry about is making sure each pair has both an innie and an outie – if you’re using metal ones with different cap types, you probably want to be consistent/symmetrical about which one has the raised cap and which one has the flat one, but that’s it. For the tabbed trays, getting the snaps aligned correctly is a little more challenging. Just remember that the tab wraps around the corner and so should go on the outside to round things out.
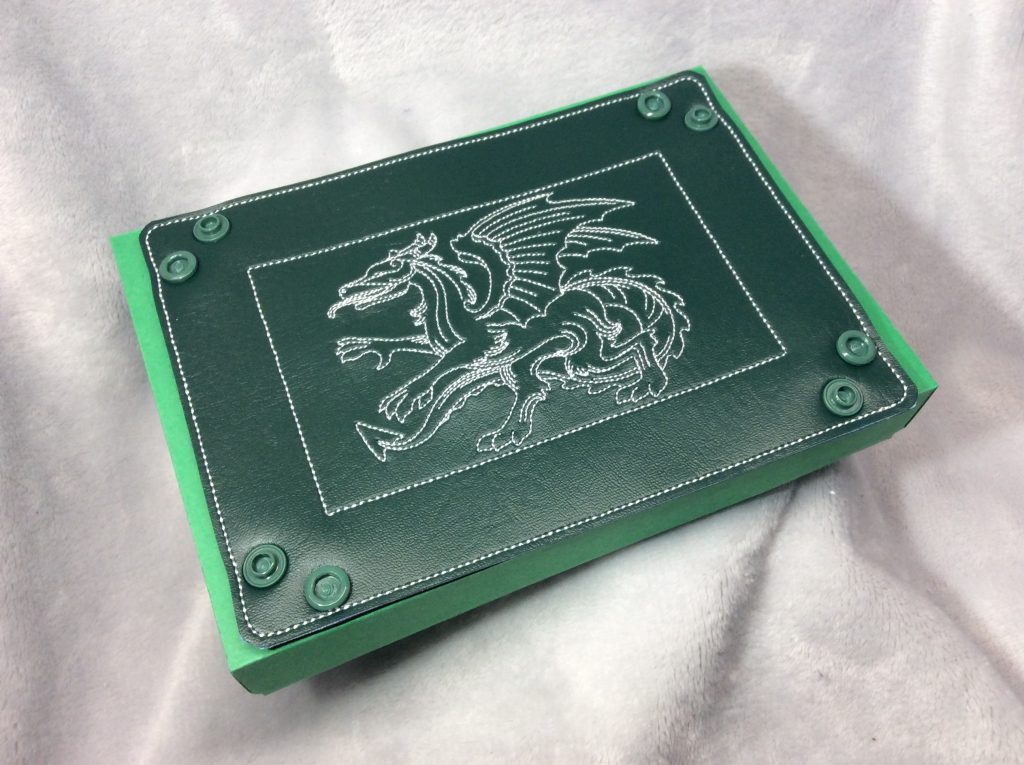
If you don’t have snaps, or don’t care that the tray can flatten out, you can rivet either design, or fold each corner in turn to
a point and stitch perpendicular to the edge (at a 45-degree angle to the fold) to make a permanent tray.
[Snap Tray for 4×4 Hoop (Tabbed)]
[Snap Tray for 5×7 Hoop (Tabbed)]
[Snap Tray for 5×7 Hoop (Pinch)]
[Snap Tray for 8×8 Hoop (Tabbed)]
[Snap Tray for 8×8 Hoop (Pinch)]
This is copyrighted by Silver Seams in the year noted in its URL, and licensed under Creative Commons’ [CC-BY-SA](https://creativecommons.org/licenses/by-sa/4.0/). This basically means you’re free to sell items you make from it, provided you give reasonable attribution, and that if you modify it you’re required to share your changes with the world under the same license (the actual legal bits are in the link).
As with other free embroidery patterns here, the SVG file is included in the ZIP package so you can modify it in Inkscape and produce your own variations/sizes/etc.
Toss a coin to your stitcher! (Ko-Fi)