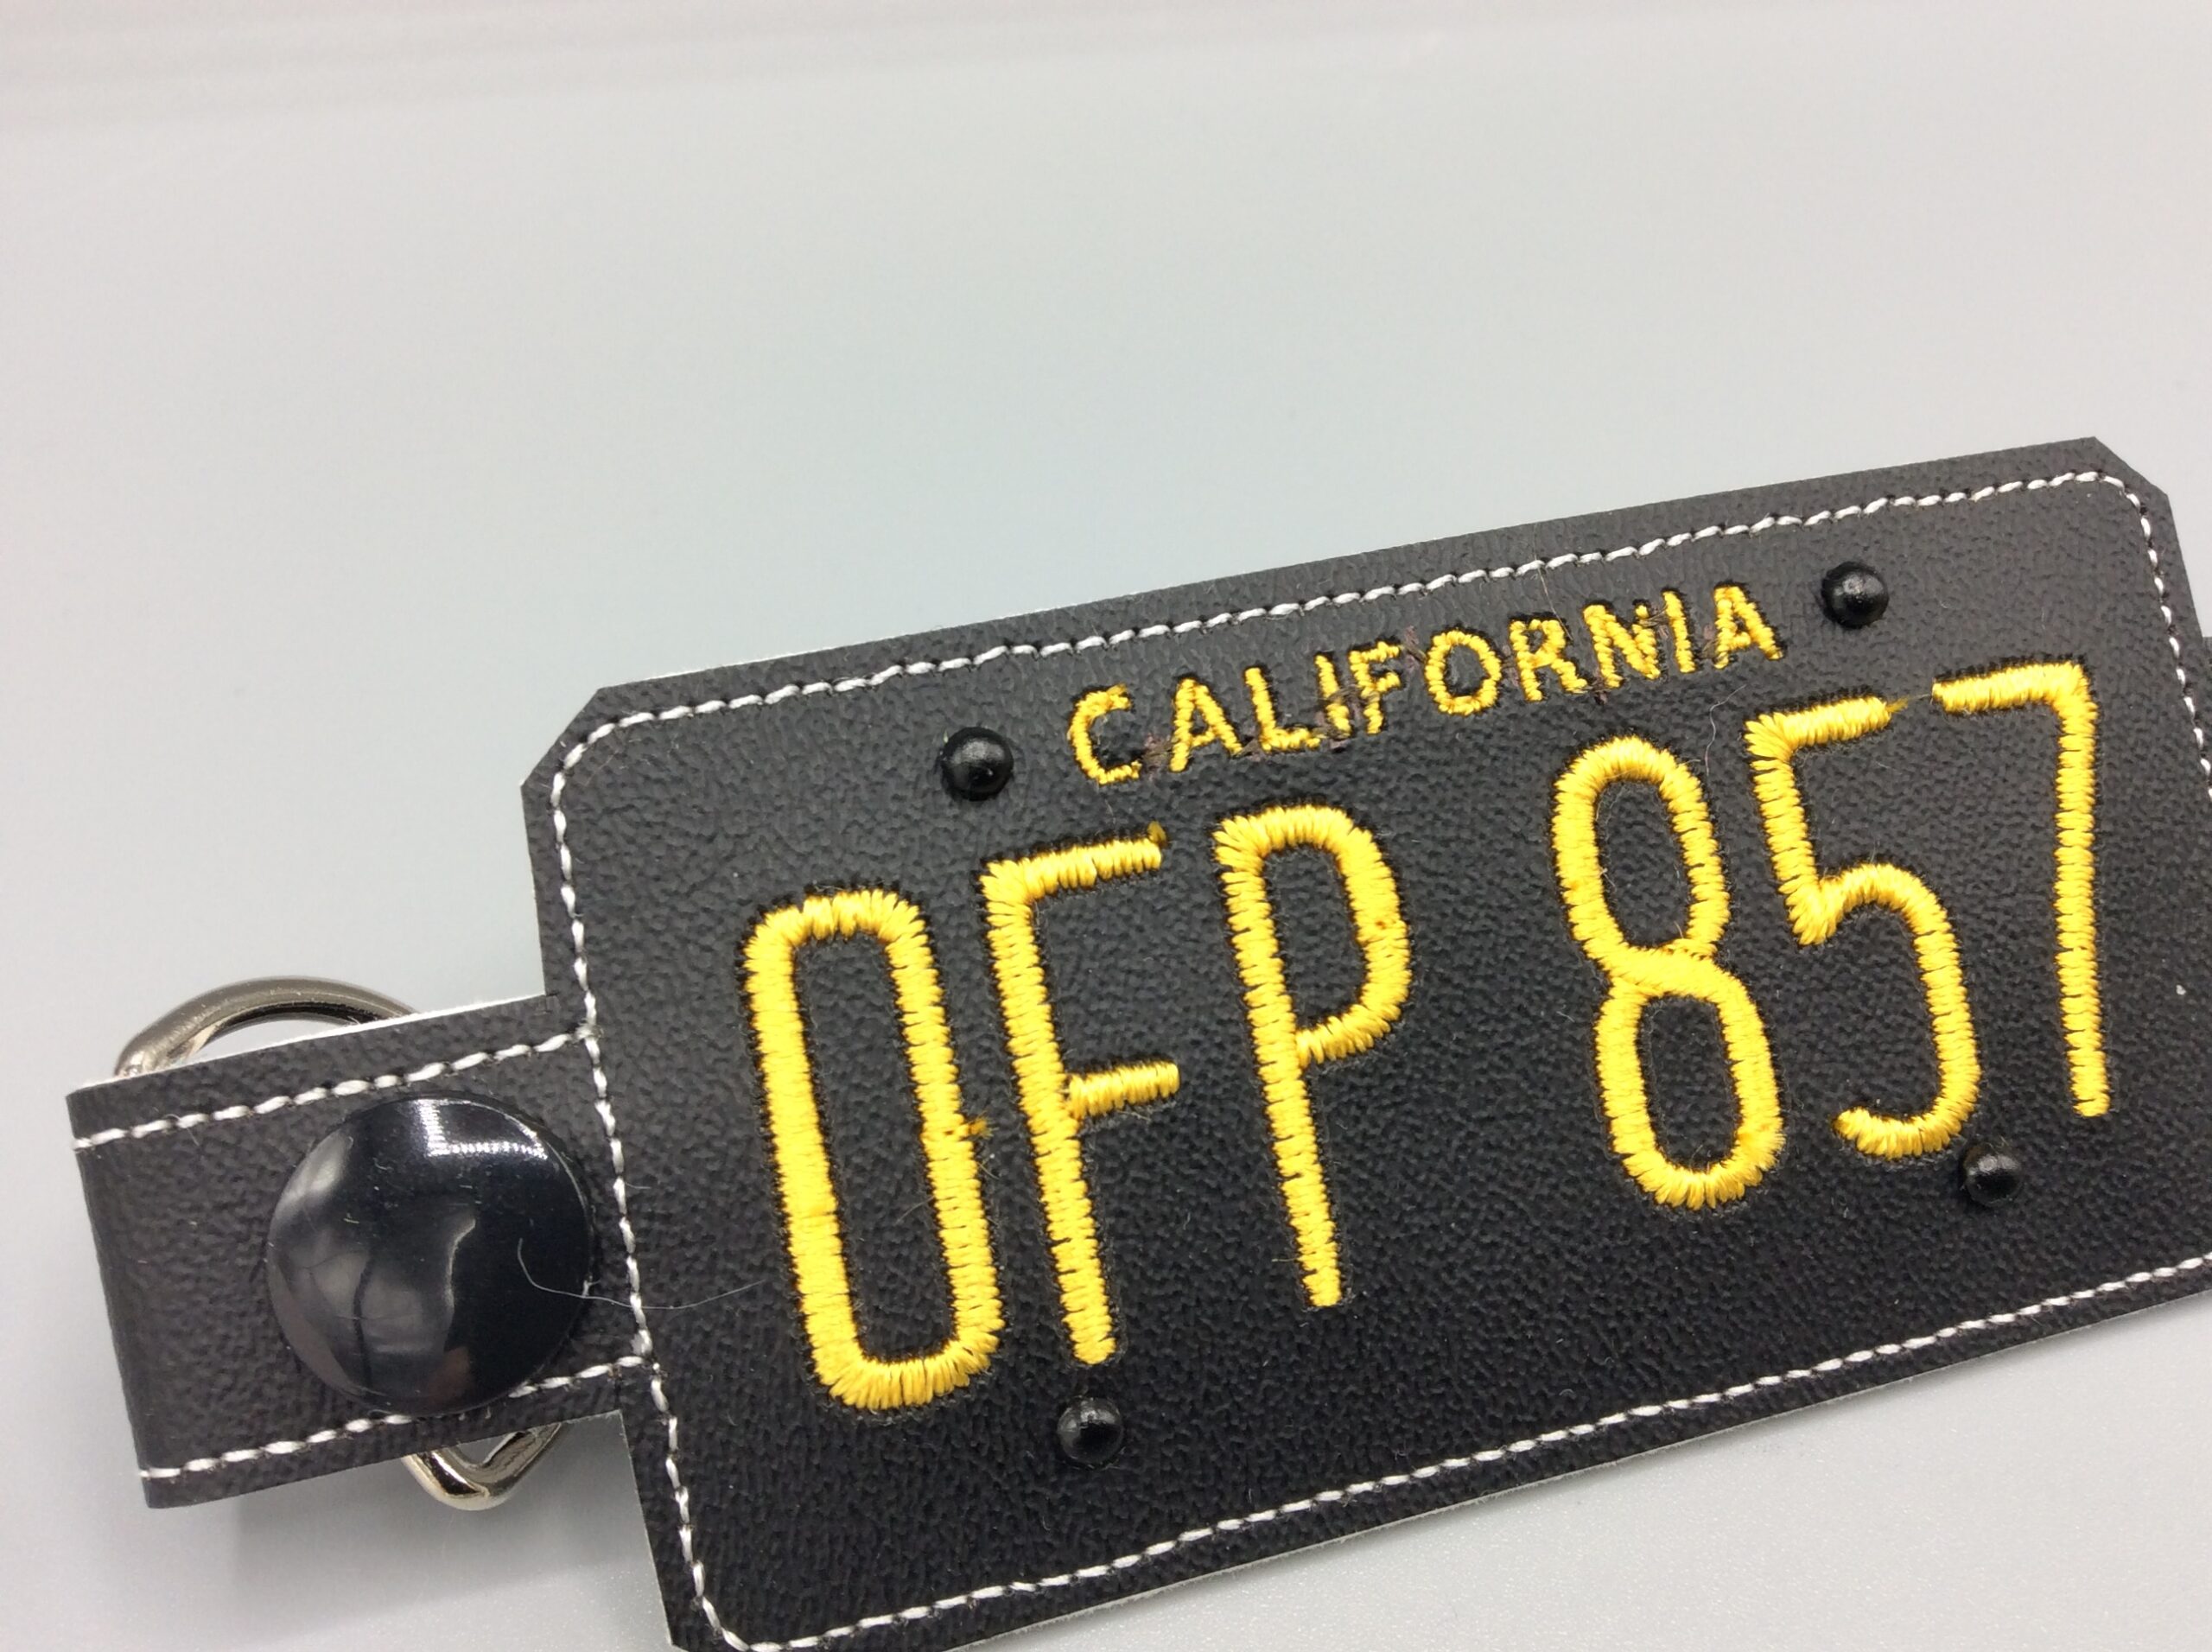
Love Bug License Plate Snap Tab
The SVG has a blank layer for the back so you can add your own text; the sample tabs were made for Gabe and his Herbie. After that there is an optional placement layer (the first stitch color in the pre-generated files), to be stitched on the stabilizer (or skipped altogether).
If you’re putting on brads, do that once the plate lettering is stitched, being careful to keep the legs inside the plate outline. Make sure you skip the silver-gray thread color so your machine doesn’t try to stitch the embroidered plate screws on top of the brads! If you’re not putting on brads, you can stitch out the screws before or after your backing vinyl, depending on whether you want them to appear on the back or not.
Then attach the backing vinyl, being careful with placement of any pre-stitched text (the sample tabs were why the placement layer was added!). The final stitch color will probably bump the brads, depending on the size/shape of your machine’s foot. Be ready to lift it slightly, or to mash that stop button if it gets in trouble. A bit of cardstock is handy to give it a ramp up onto the brad if you have a very large foot.
[Love Bug License Plate Snap Tab (ZIP, 4×4)] [Love Bug License Plate Snap Tab 4-up (ZIP, 5×7)]
This is copyrighted by Silver Seams in the year noted in its URL, and licensed under Creative Commons’ CC-BY-SA. This basically means you’re free to sell items you make from it, provided you give reasonable attribution, and that if you modify it you’re required to share your changes with the world under the same license (the actual legal bits are in the link).
As with other free embroidery patterns here, the SVG file is included in the ZIP package so you can modify it in Inkscape and produce your own variations/sizes/etc.
