Wireless USB stick update

Hopefully the last time I’ll take up time with this, but I’ve built the pre-configured image for the SD card. The from-scratch steps were all just copy-pasting but it is a lot of copy-pasting so it sounds pretty intimidating. So here’s all you’ll need to do to make a USB-type embroidery machine (or any other flash-drive-using 3D printer, for that matter). I’ve updated the instructions to tell you what all you can skip, but here’s the short version of how it works now:
- buy a Raspberry Pi Zero Wireless, from Canakit or Adafruit or wherever
- modify a USB cable with a scrap of electrical tape so it won’t provide power
- flash the SD card with the pre-built image
- edit a file to tell it your wifi network/password
- put the SD card in the Pi and plug it all in.
That’s pretty simple!
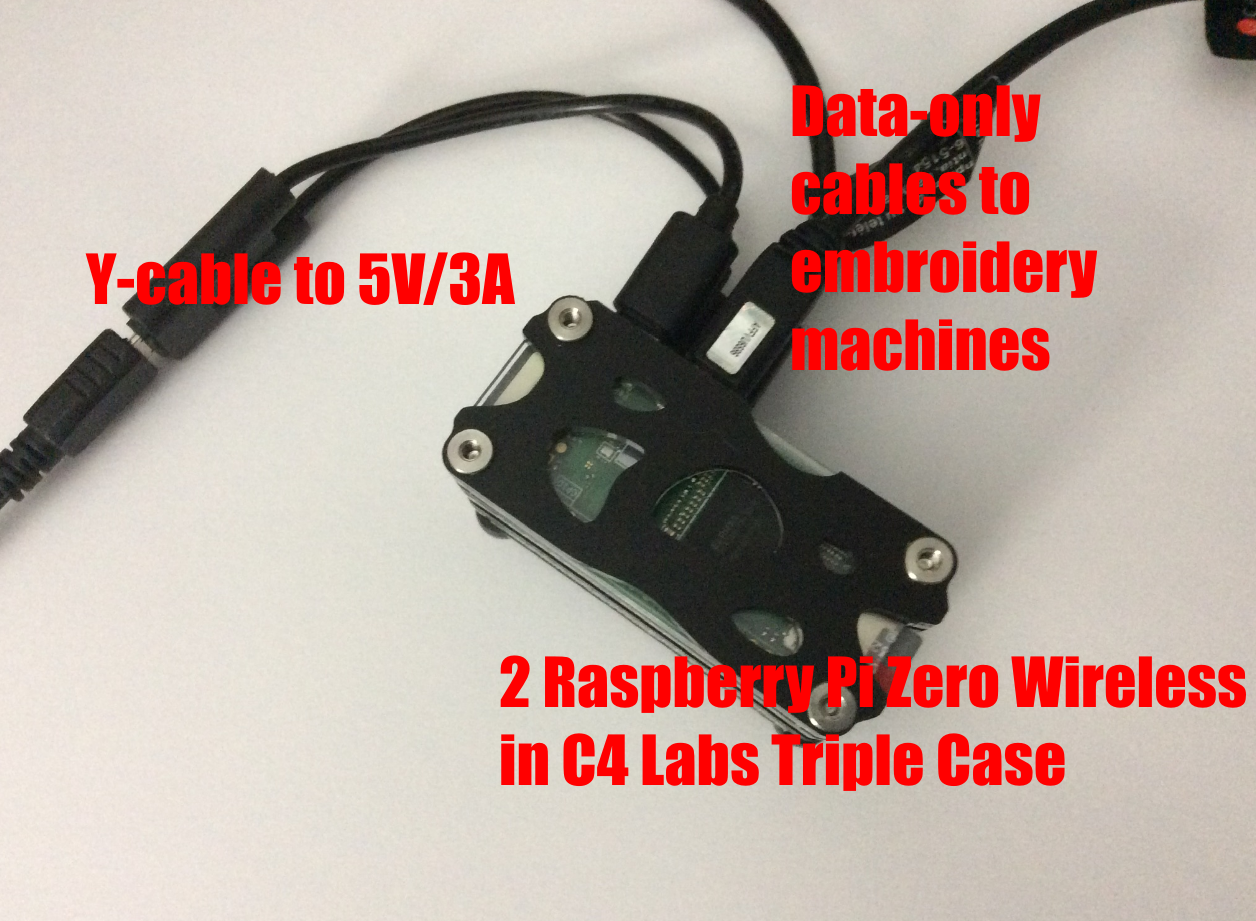
(Oh, and note that the picture shows a dual setup, since I have two embroidery machines.)