Knockdown stitching

In my personal-projects embroidery, it’s getting to be time to work on Christmas gifts. (I know, right?!) To that end, I bought a big ol’ Costco pack of white hand towels, because everybody can use fun hand towels especially in these days of constant hand-washing.
Melissa at Designs By Little Bee just did an article on knockdown stitching, which is pretty handy because I have somehow misplaced my roll of top stabilizer. A grid of same-color stitching is another way to pin down the pile of minky or terry so the decorative stitching shows clearly. It has the advantage over water-soluble stabilizer that it will also keep neighboring pile from overhanging the stitching. It’s a built-in feature of Embrilliance, but for those of us who can’t use that for financial or compatibility reasons, it can be done in Ink/Stitch too. Here’s how.
Open your design in Inkscape. If your design has an outline of some sort, congratulations! You can just follow the same steps you would for creating a dieline to produce your knockdown shape. If not, create a layer (Layer > Layers and hit the +) called “Knockdown.” (You may also want to clean up your imported design just as we did before color-sorting.)
Select the outermost stitching all around the outside of your design. You can just select everything in every color and it’ll still work. It may just take your computer a lot more time and/or memory to figure it out.
Duplicate the stitching objects, and move them to the Knockdown layer (Layer > Move Selection to Layer...). Hide the other layers for now (Right-click on Knockdown, select Show/hide other layers).
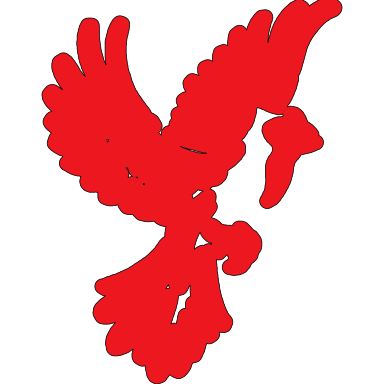
Open the Fill/Stroke toolbox (Object > Fill And Stroke). Select the Stroke style tab. Select all the stitching objects. Decide how wide you want your knockdown margin to be, and set the stroke to double that – for the cardinal, I used 4mm to get a 2mm margin. If your Join is set to bevel, you probably have some spiky points around the edges, Click the button for round joins.

If you stopped here, Ink/Stitch would try to stitch out a 4mm satin path – emphatically not what you want. There’s a tool to convert the strokes to outlined shapes, though: Path > Stroke to path. (Pause a moment to regret that there’s no easy way to convert the other way, because that would make font conversion much easier.) Update: since I wrote this, Ink/Stitch has added satin-to-stroke. Yay!

Now you have shapes that Ink/Stitch can fill, but they’re a bunch of weird overlapping linear ones. (I turned on an outline just so you can see what’s happening.) You want to flatten them down into a single shape without overlaps. Path > Union will do that.
Depending on your shape, you may have some interior gaps. If you want a little fluffy pile to show there, that’s fine. Otherwise you’ll want to delete them, either by using the node tool to mark and delete the nodes or, if you don’t want any interior gaps, doing a Path > Break Apart, shift-clicking to deselect the main shape, and hitting delete on all the rest.

Now you have a knockdown shape! You probably want to do a Path > Simplify on it, and you may want to do a little cleanup with the node editing tool. Once you have the shape you want, just set its parameters (Extensions > Ink/Stitch > Params) for the level of fill you want. For the cardinal, I set the Angle of line of stitches to 45, the Spacing between rows to 1mm, and (on the Autofill Underlay tab) the Row spacing to 1mm. This will give me a square grid of stitching, on the diagonal.
Turn the design layer back on, set your knockdown shape’s fill color to match your ground (white, in my case), turn off any outline you set on the fill, and build your embroidery file.
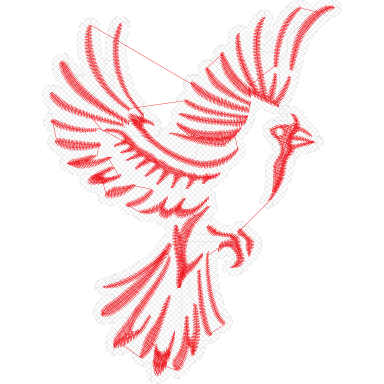
I left underpathing on because terry is stretchy and pathing around the edges might wander too far. The crazy path-finding squiggles may look scary on the previews, but they disappear in the terry and under the design. If you’ll have large areas of not-stitched-over knockdown, you may want to turn underpathing off (don’t forget the underlay tab too).
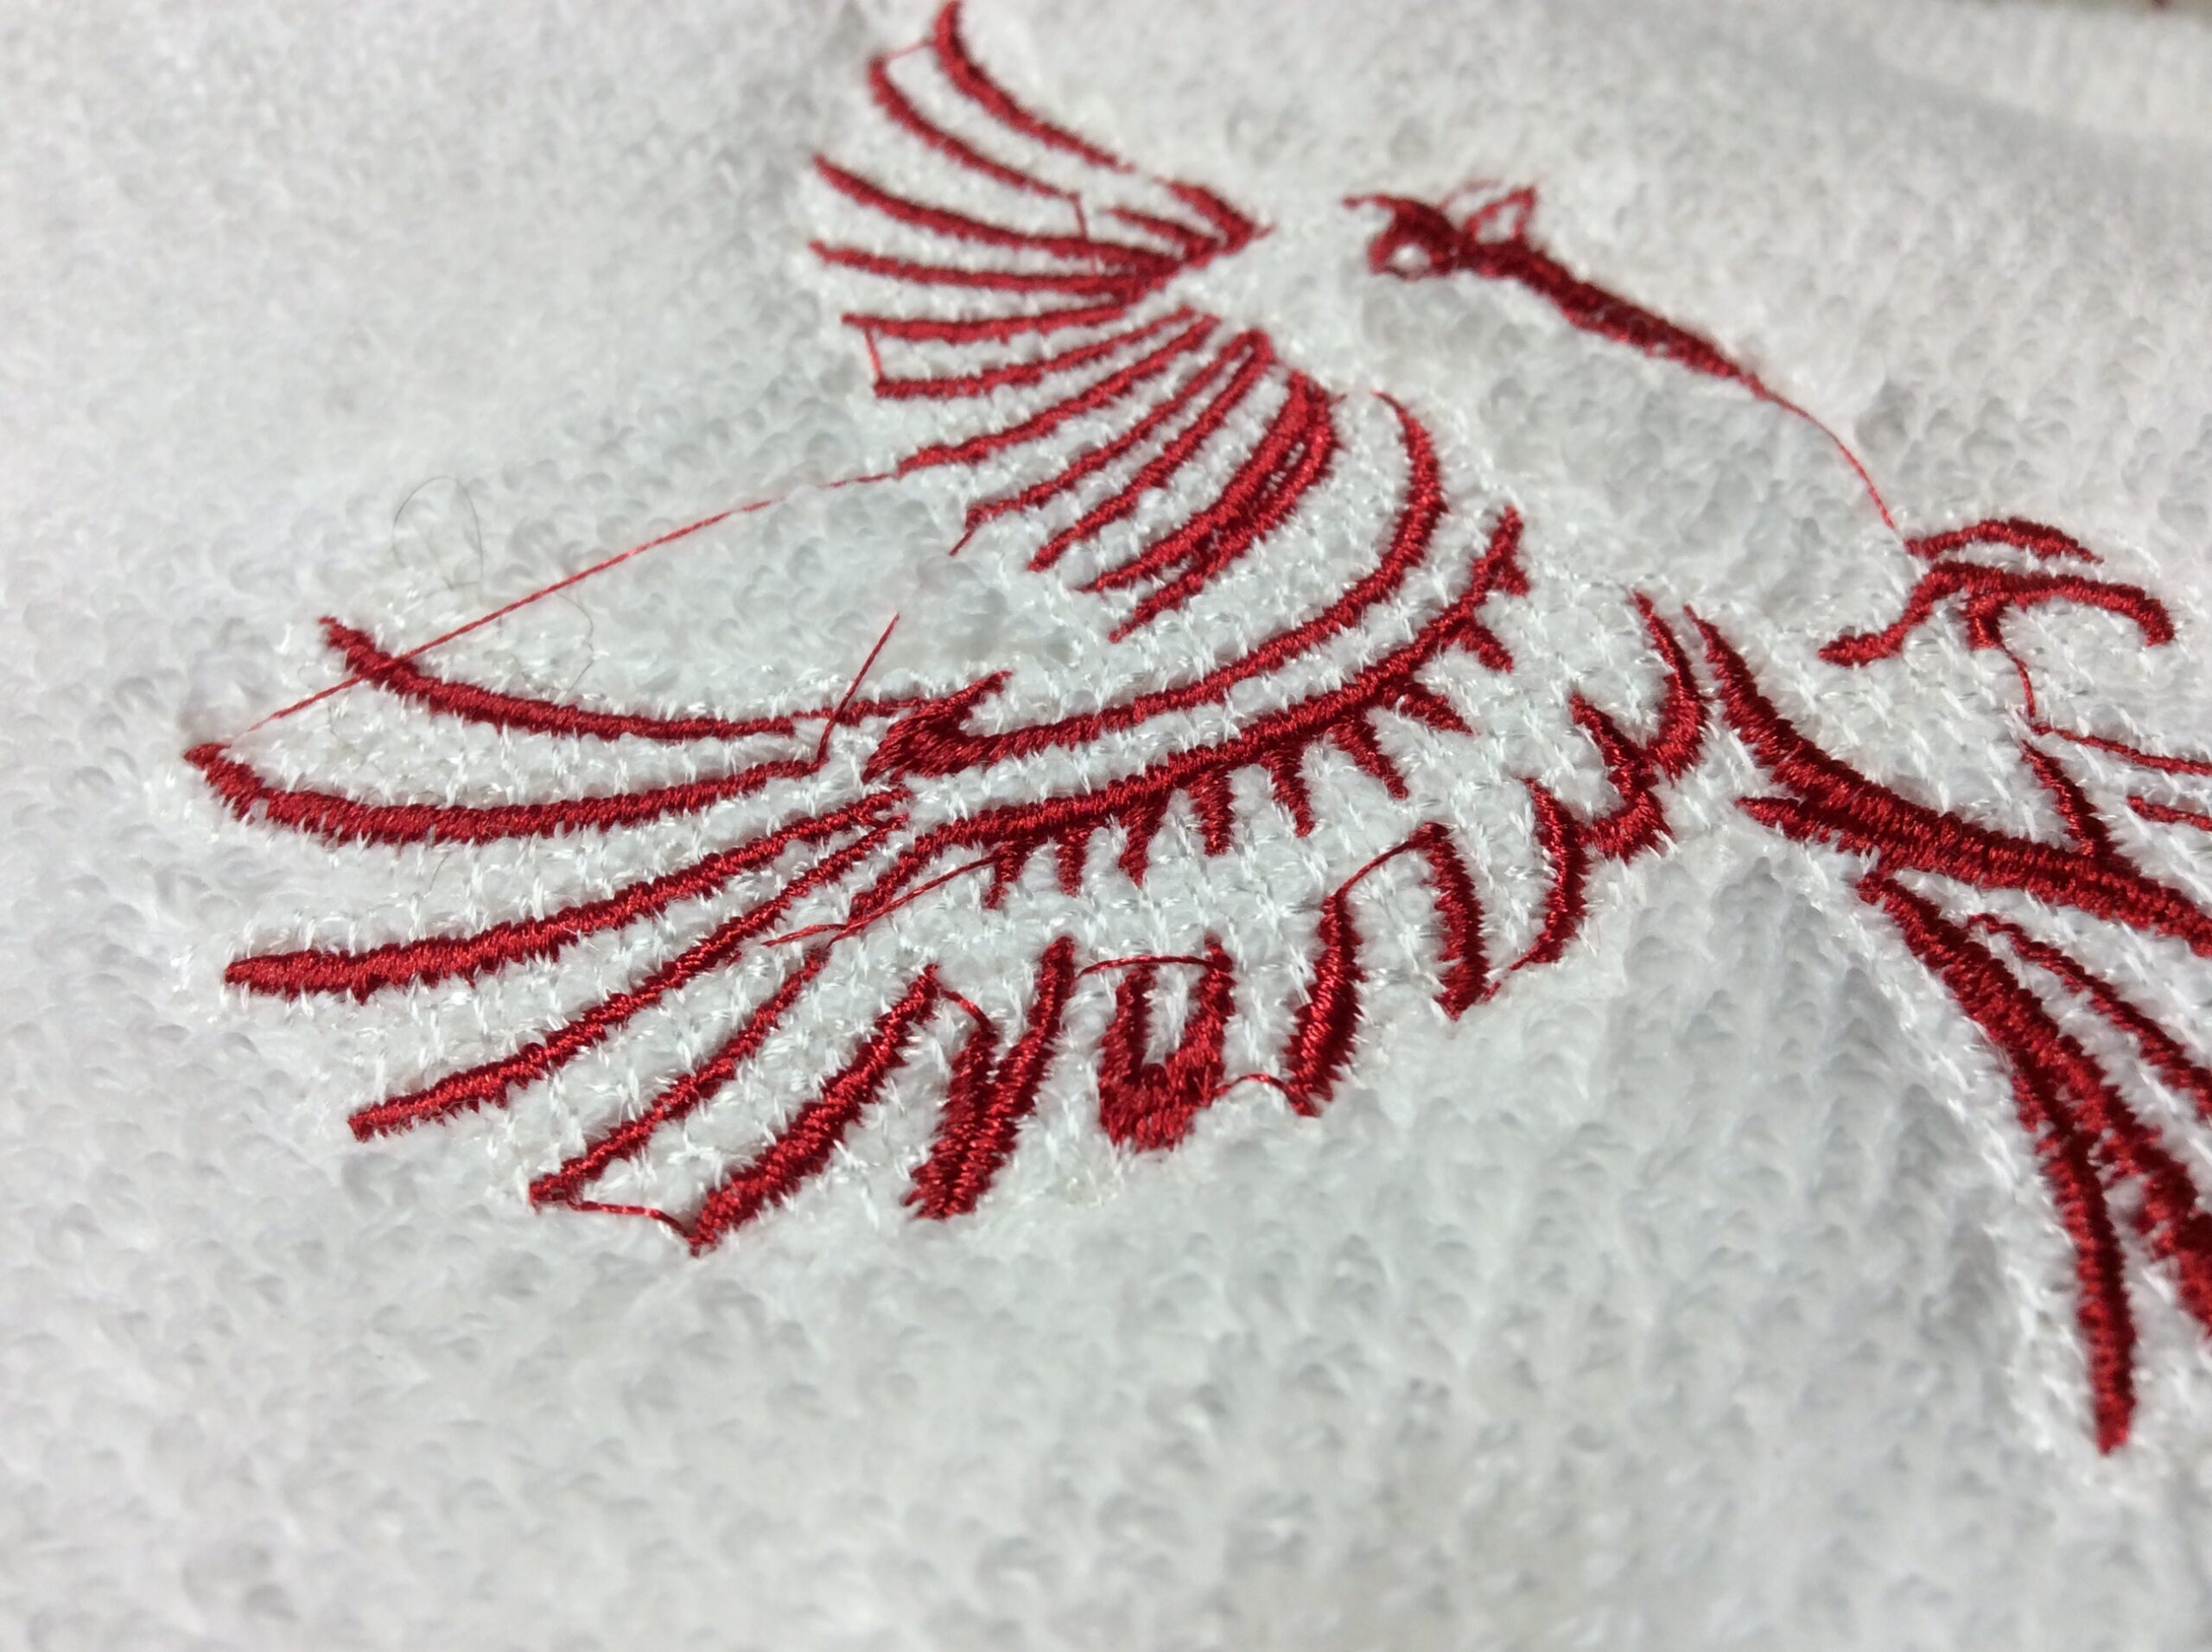
I got adventurous and sewed the cardinal “naked”: hooped the towel directly, and stitched it with no stabilizer at all, top or bottom. It came out without a hint of a pucker. One Christmas present down!