Color-sorting with Ink/Stitch

When you have a single-color embroidery machine, sometimes you want to sew a bunch of identical items to make the most of your thread changes. But if you just duplicate an item, sometimes your machine wants to stitch each one out in series, defeating the purpose. Pricey embroidery software like Embrilliance will group the colors for you, but so will free stuff like Inkscape with the Ink/Stitch plugin.
Let’s use a freebie from Designs By Little Bee as an example: the Sunshine Lip Balm. Melissa includes pre-grouped items for 4×4 and 5×7 machines on most of her designs, but not on this particular freebie. I’m going to use the PES, though Ink/Stitch can import all kinds of stitch files.
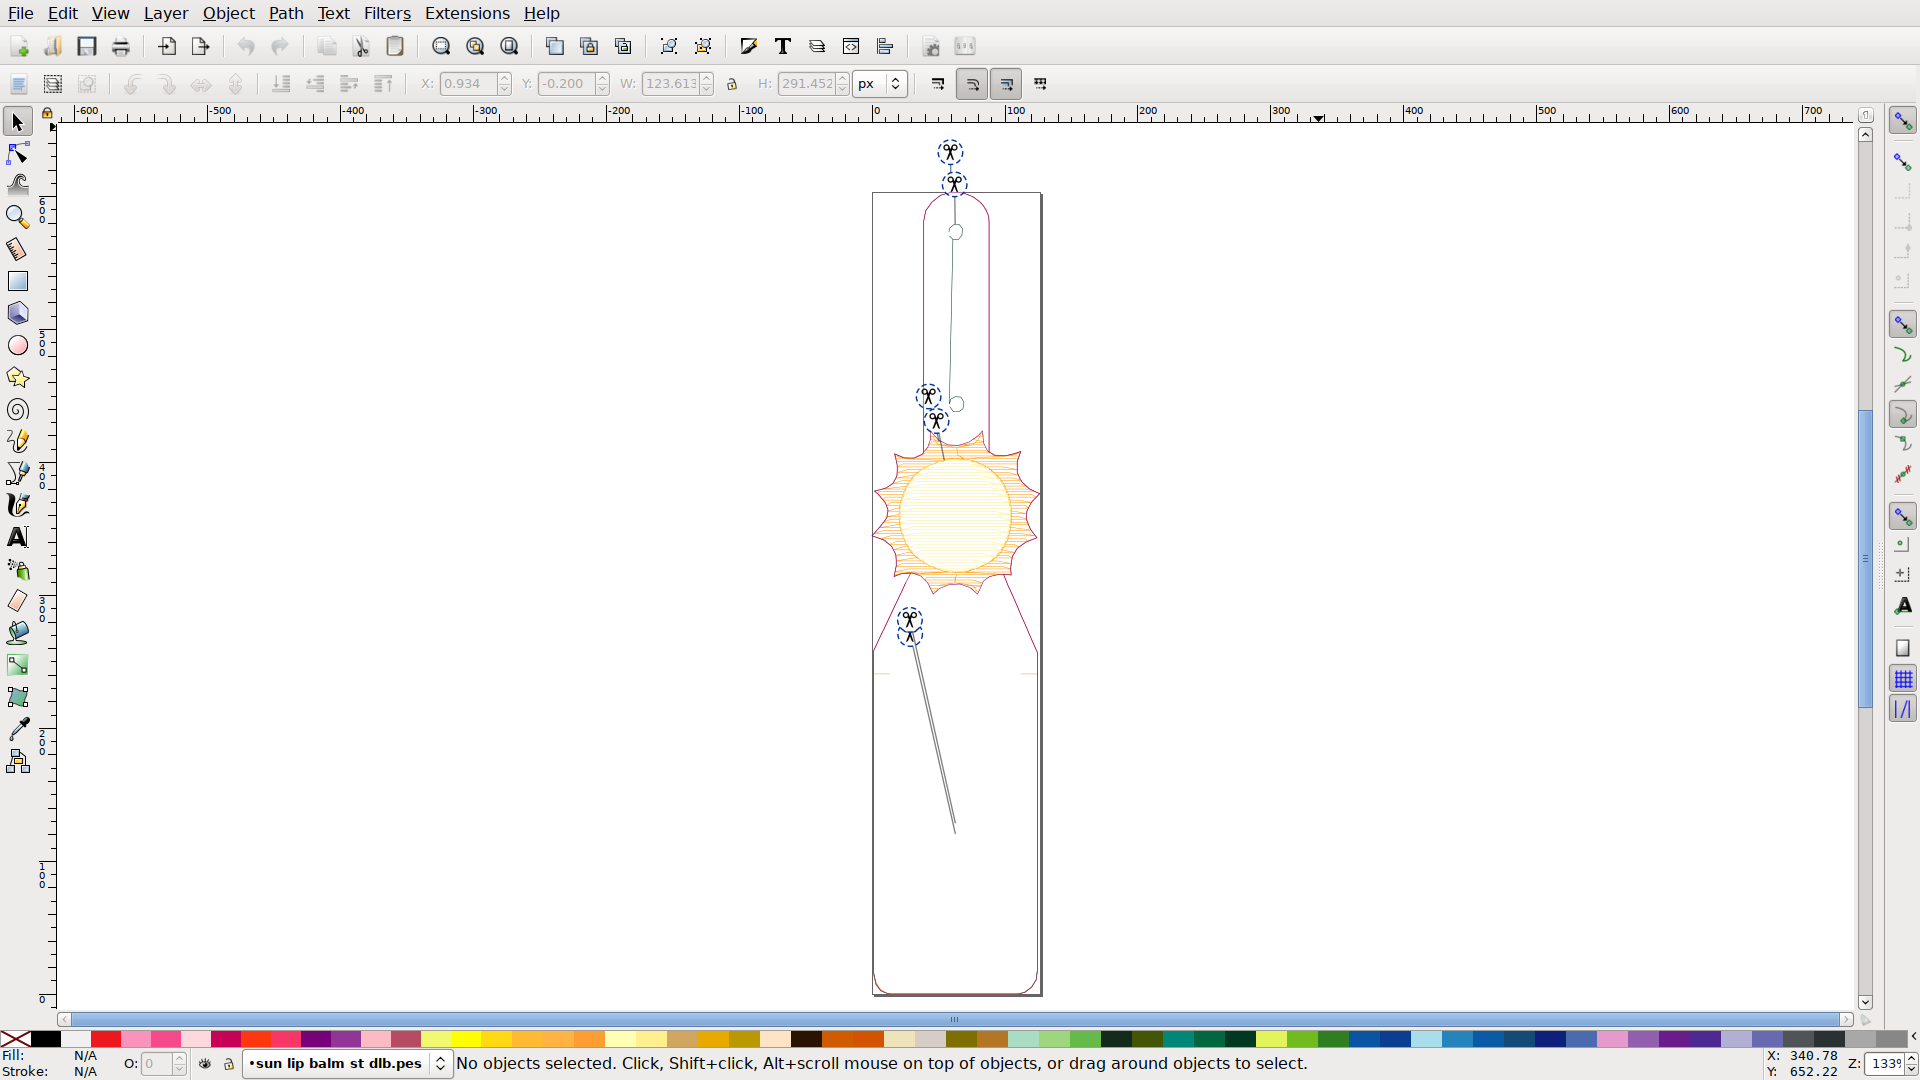
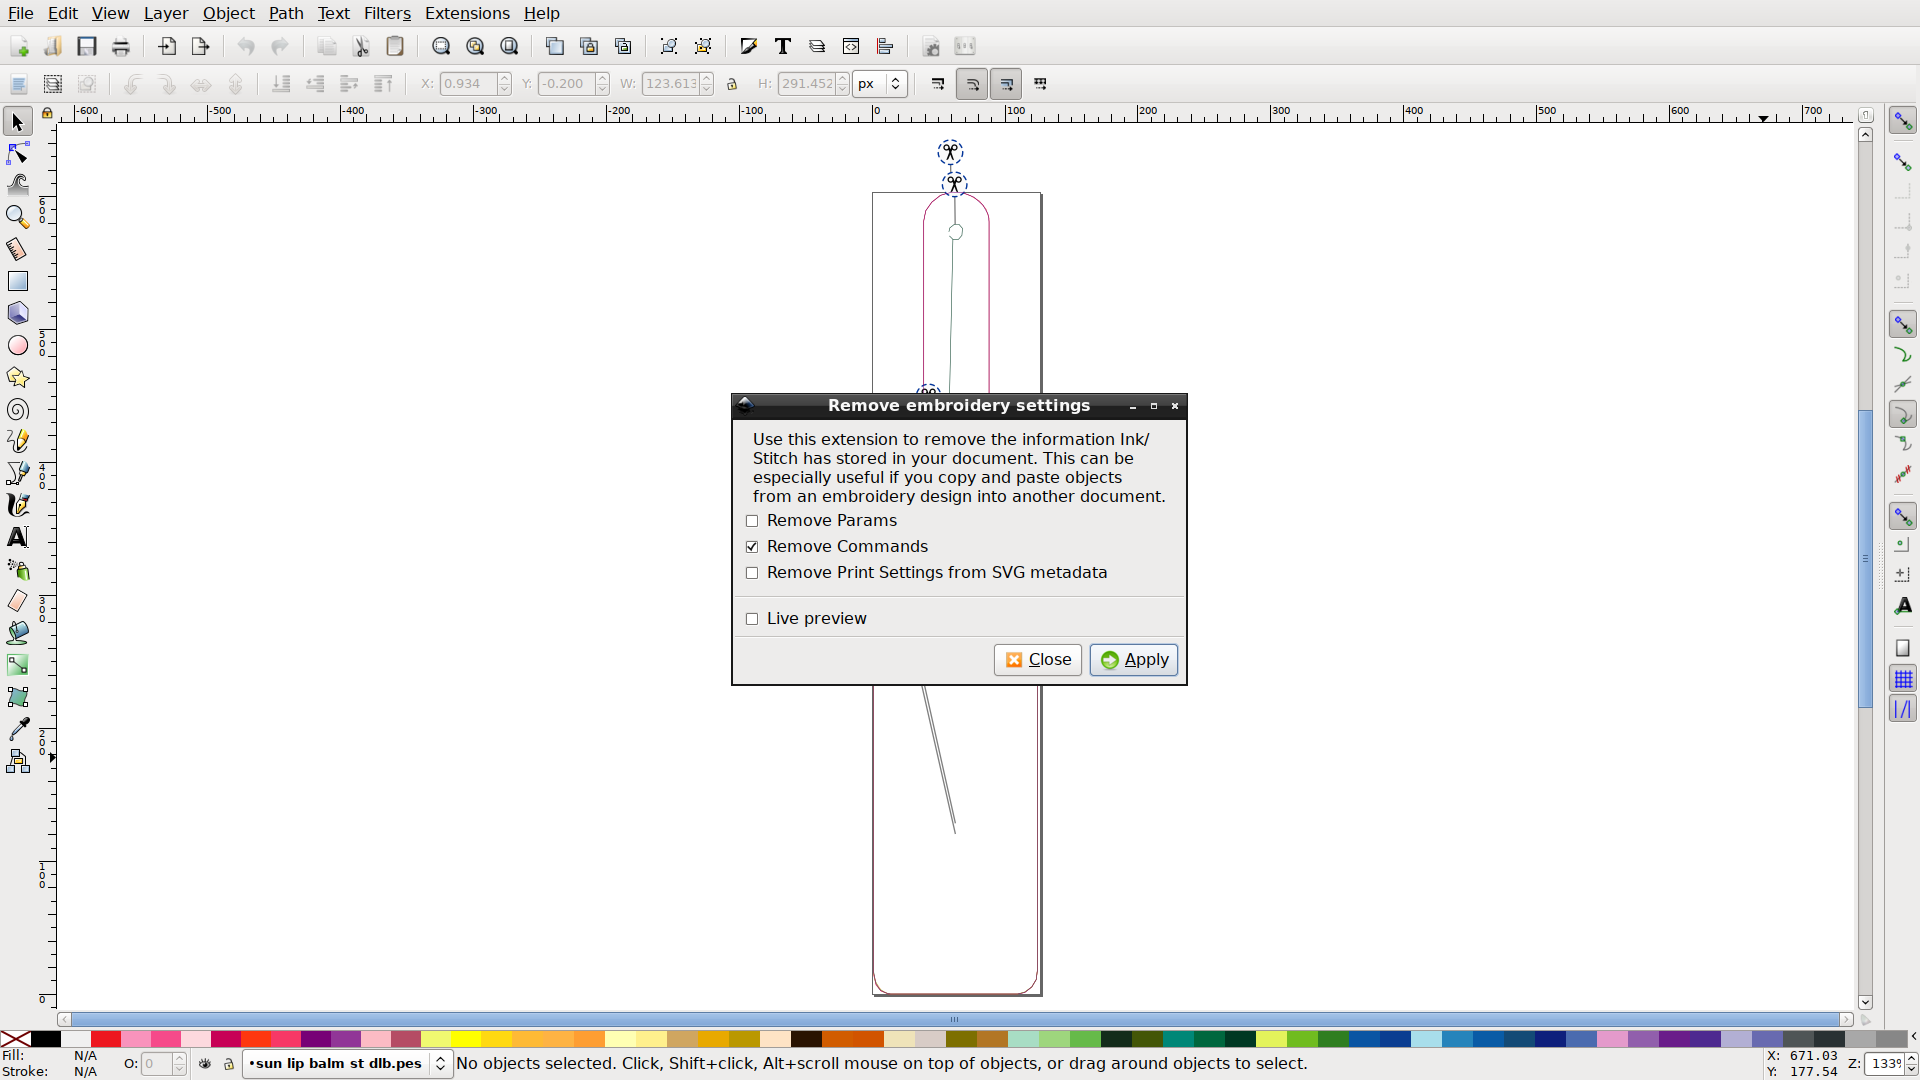
When the file comes in, it has each color as a group. The first thing I do is remove the cut commands, since my machine doesn’t honor them. Your mileage may vary. (Extensions > Inkscape > Remove embroidery settings.)
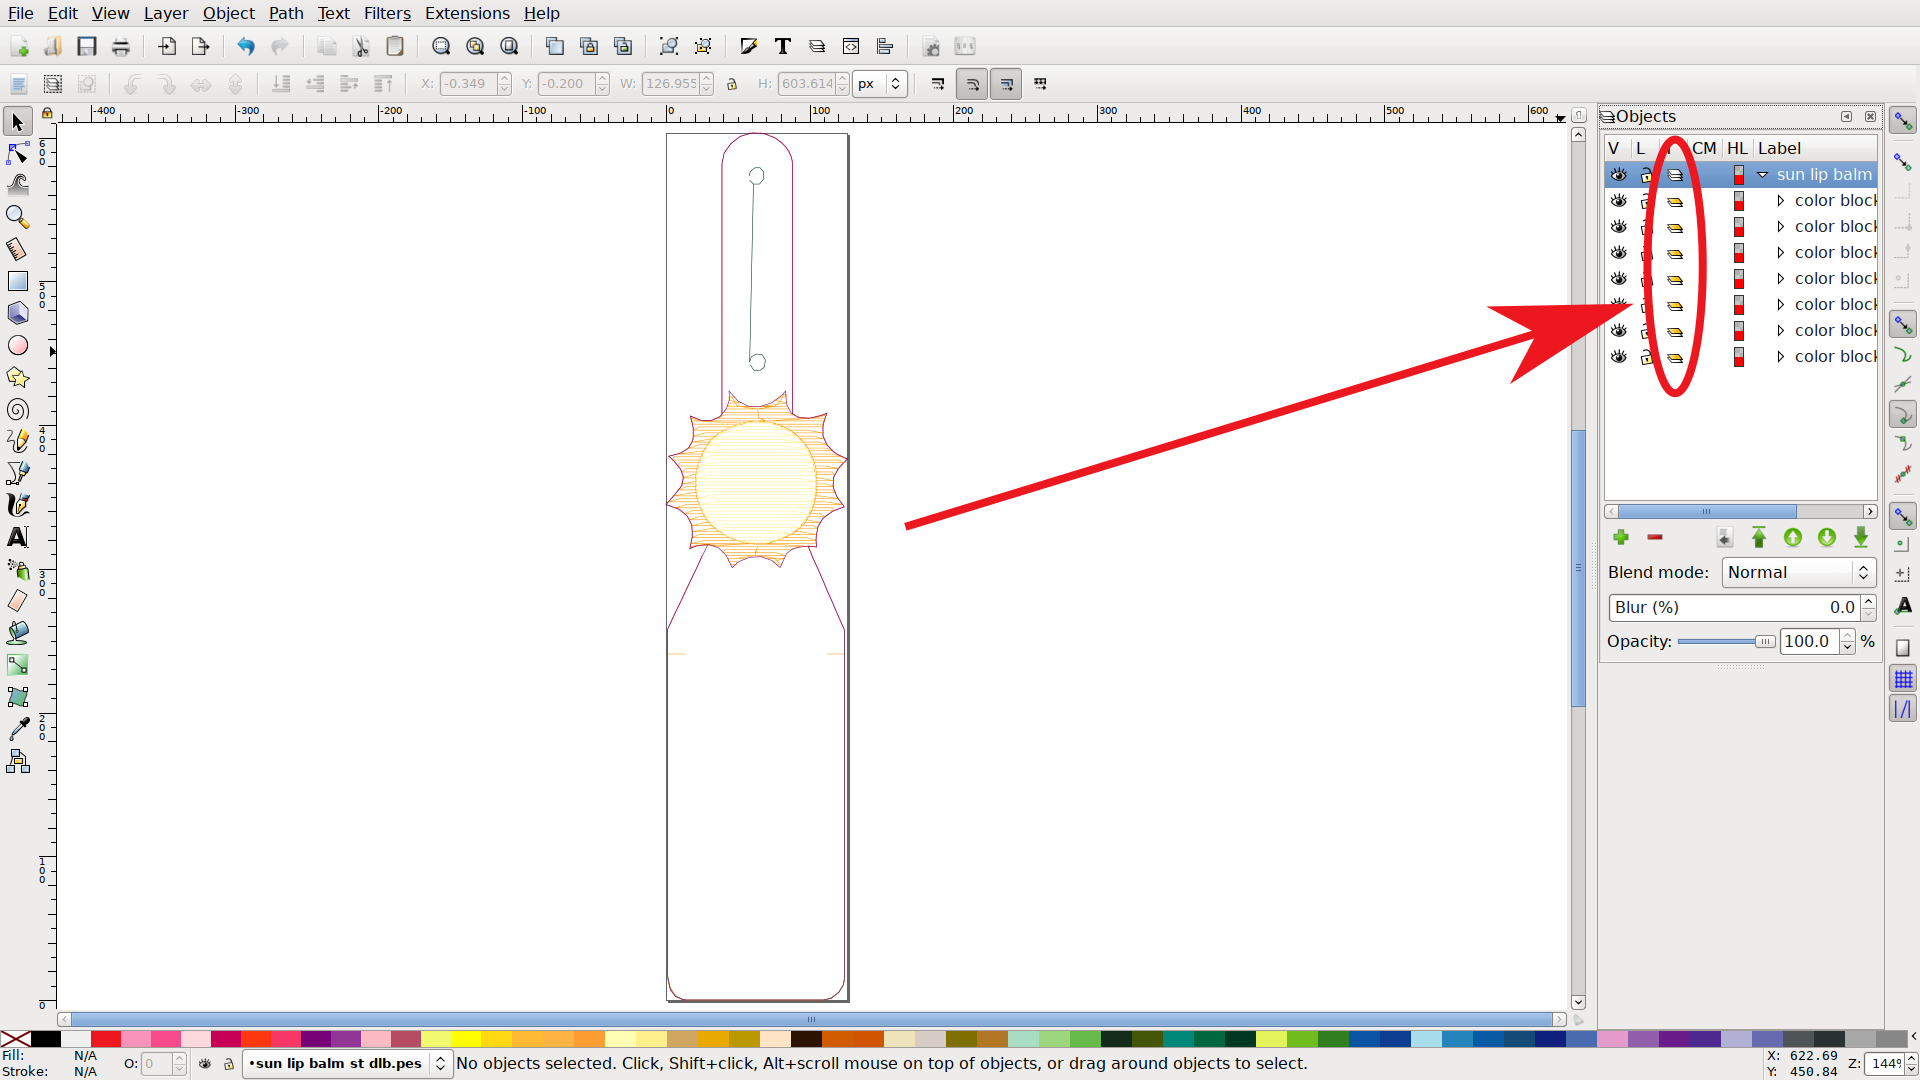
The next step is to convert those groups into layers. (Object > Objects.) Click all the little yellow-and-white icons, which represent a group within a layer, and turn them into stack-of-white icons, which represent layers.
For some reason my install doesn’t let me resize the Objects menu unless all the other side menus are closed, so if you run into that, close everything else.
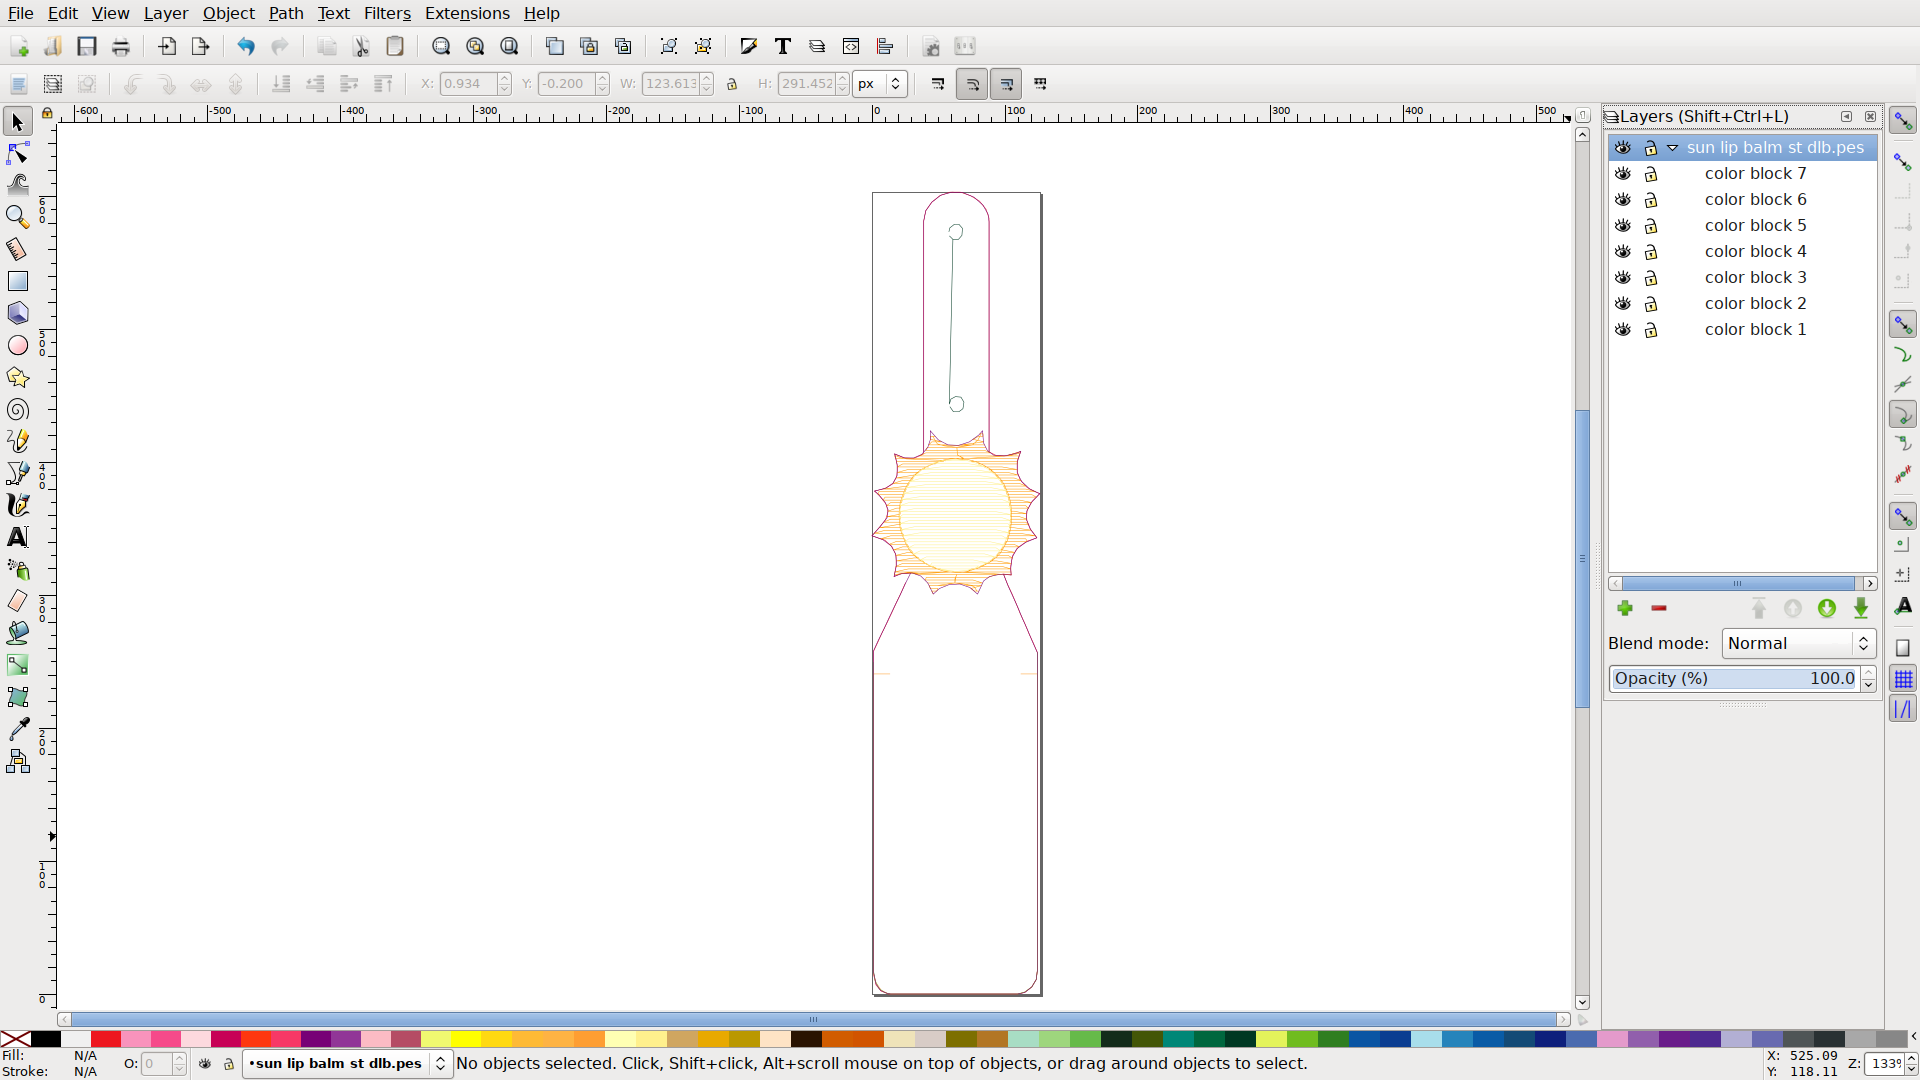
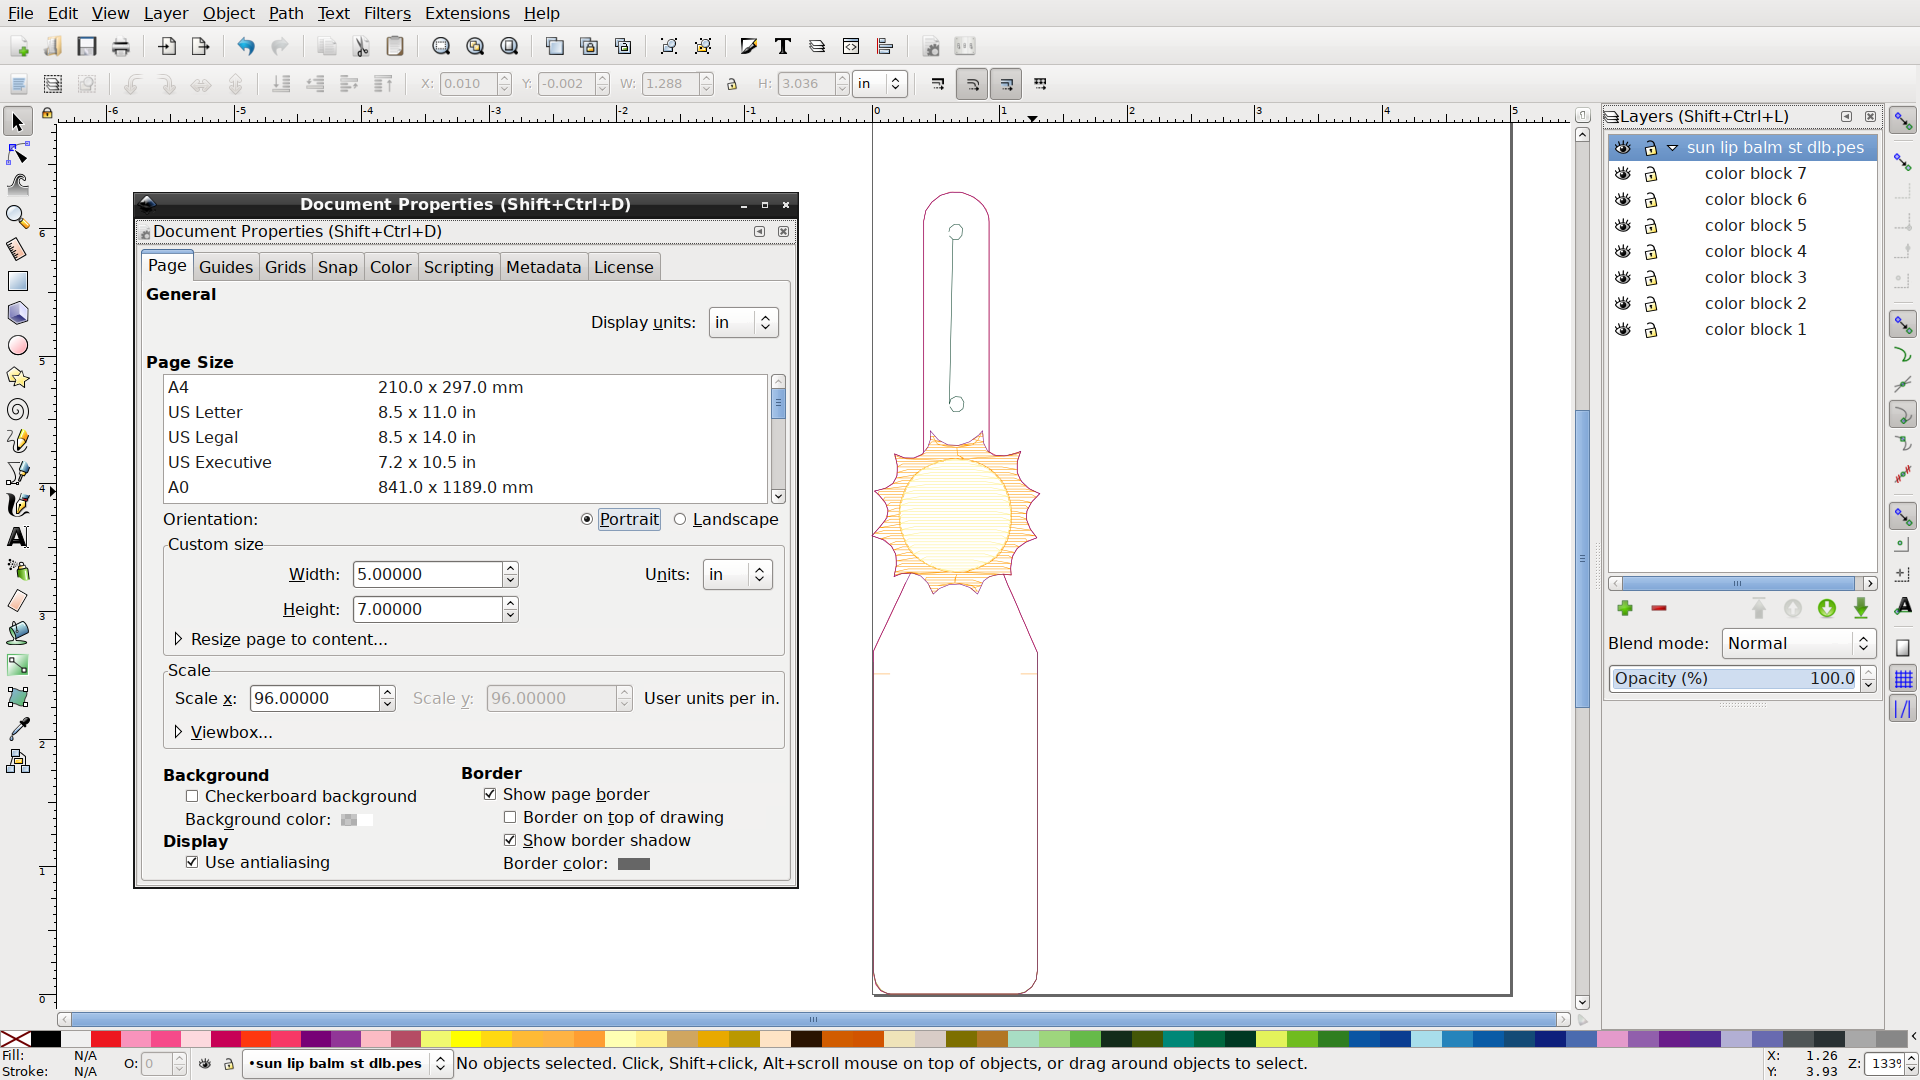
Now if you look at the Layers (Layer > Layers) you’ll see that every color block has its own sub-layer. I like to rename the blocks based on their color or function, if it’s a design I’m likely to use/modify in the future.
I like to resize the document to match the hoop I’m going to use. It generally doesn’t matter; it’s not saved within the embroidery file. Also a 5×7 hoop isn’t really 5×7, but it’s close enough. (Update: if you want the exact hoop sizes as document-size presets, the Basting Boxes freebie tells you how to set that up.)
That’s pretty much it: to select objects across layers, you can either drag the selection rectangle around them or use Edit > Select All in All Layers to get everything. Then just Ctrl-D to duplicate it, drag it to where you want it, and repeat.

You can check your work by hiding layers. Three outlines, all together. Woo hoo!
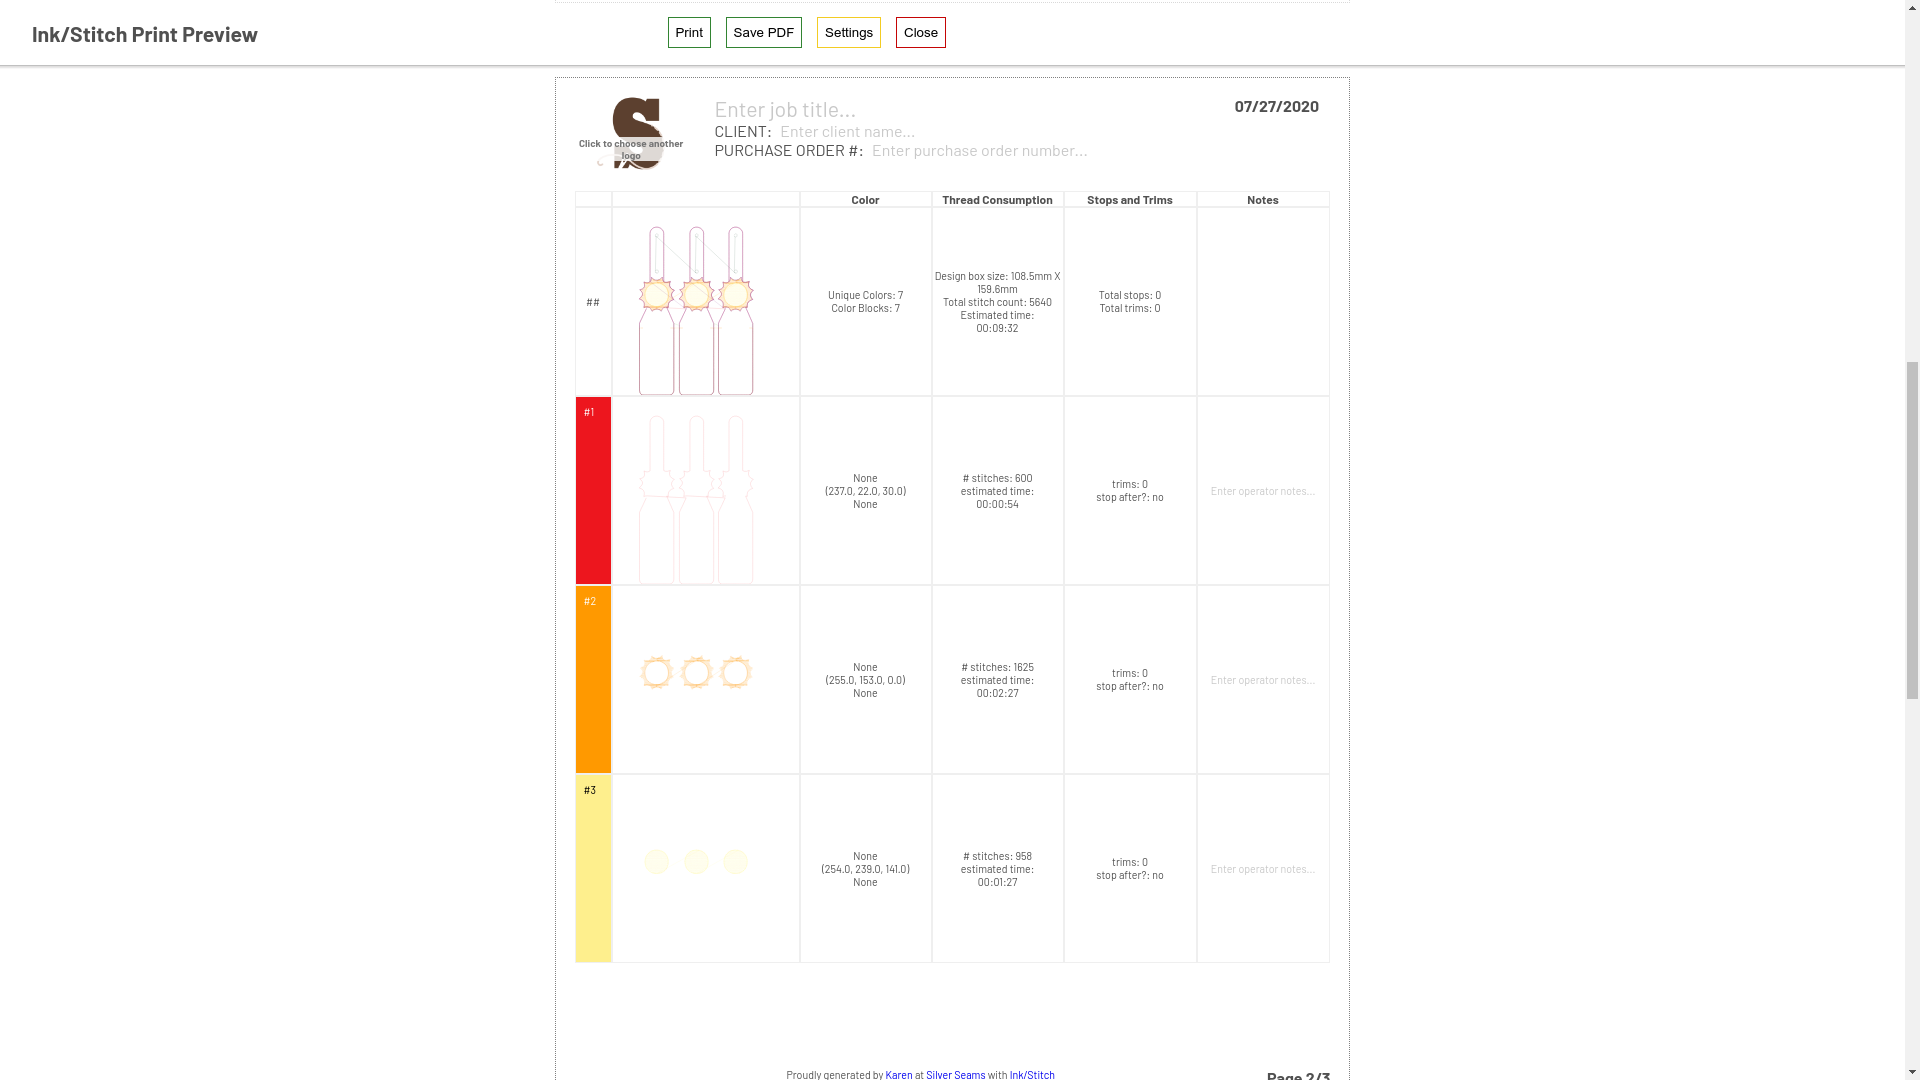
You can also go to the print preview, which will show you everything you’re going to stitch in each color and is good for catching mistakes.
Note that when Ink/Stitch exports the stitching file(s), it doesn’t care about layers. If you’ve changed the color of, say, one sunshine, it will make two (or three, if you change the middle sun) color changes even if it’s all on the same layer. It’s up to you to keep each layer a single color.
It’s also up to you to keep each layer a separate color. If your placement stitch is white and so is the first stitch of your design, Ink/Stitch will merrily run it together in the export (unless you manually add a stop command, and then only if your format/machine respects those). This is why the placement and snap-tab outline stitches are such wild colors in my designs: I don’t want things to run together.
If you want to import the design into a different Inkscape file (which I’ve been doing with the dice trays lately), you can re-collapse it from the Objects screen, copy, paste, and then expand it. My dice tray files will have a “Design” layer, a sub-layer that is the original design file’s base layer, and then sub-layers for each color. Even though I’m not ganging the trays, I often change colors and this helps keep everything organized.
One thing to watch out for: your imported file will be set to manual stitching. If you accidentally switch your lines to solid instead of dashed, Ink/Stitch can decide you wanted a ridiculously tiny satin stitch. Sanity-check your stitch count on the preview. If it suddenly explodes, check Extensions > Ink/Stitch > Params and make sure that the Manual stitch placement box is checked.
That’s it! Make the most of your time and materials by jamming as many items into a hoop as you can.