Adding die lines to embroidery designs with Ink/Stitch


I try to make my snap tab outlines as simple as possible, and made entirely of straight lines, but sometimes you just want a more “shapely” cut. Ink/Stitch makes this easy. Doubly so if you send to your cutter straight from Inkscape like I do. Both pieces of software are free and open-source, and run on Windows, Mac, and Linux.
Let’s go back to the sun lip balm I used in the color-sorting tutorial. Follow the steps there to get an SVG with a layer for each color, though you don’t have to duplicate it if you haven’t alreaady.
If your design provides a die line, you’re basically done: delete everything but that, duplicate it as many times as you want, save it as a separate SVG, and send that to your cutting machine the same way as any other SVG.
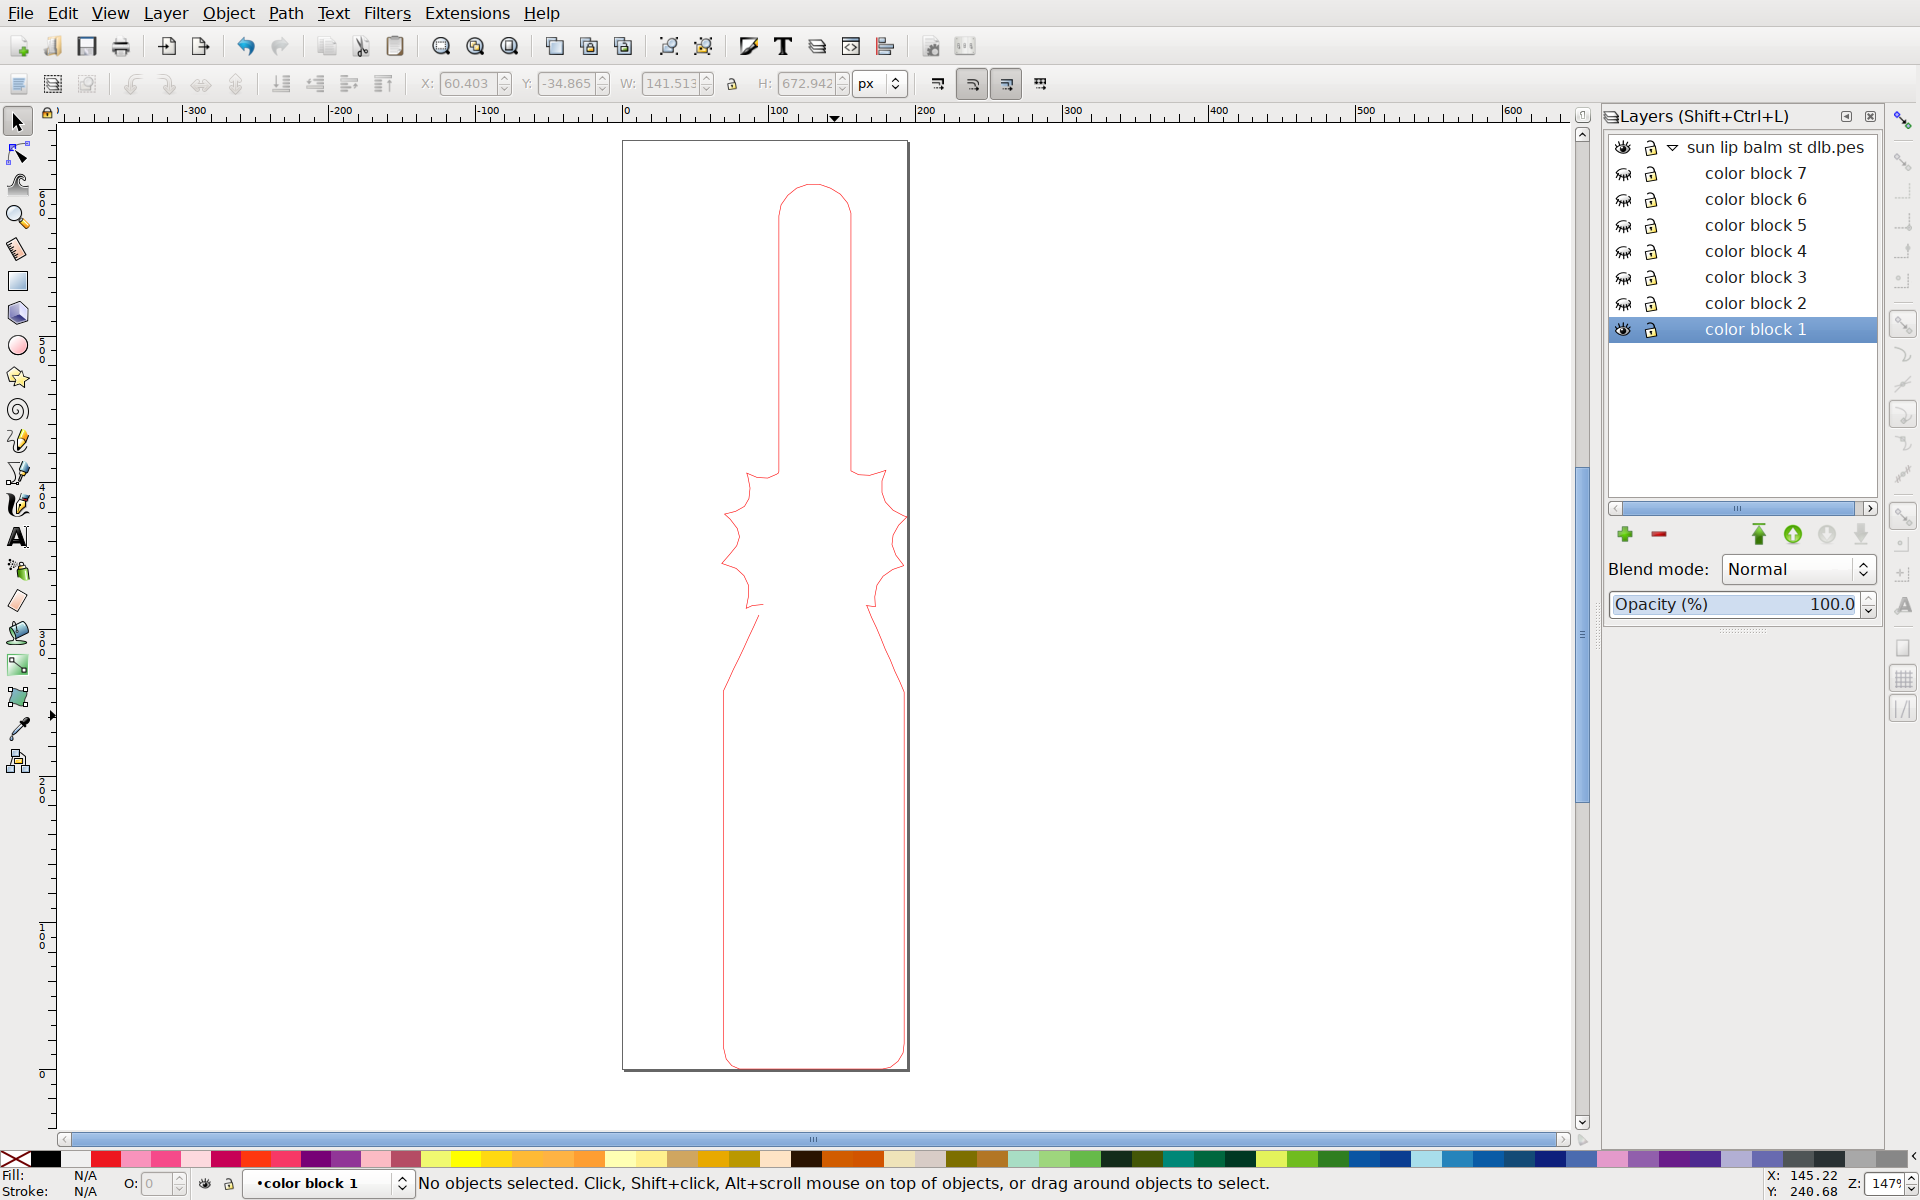
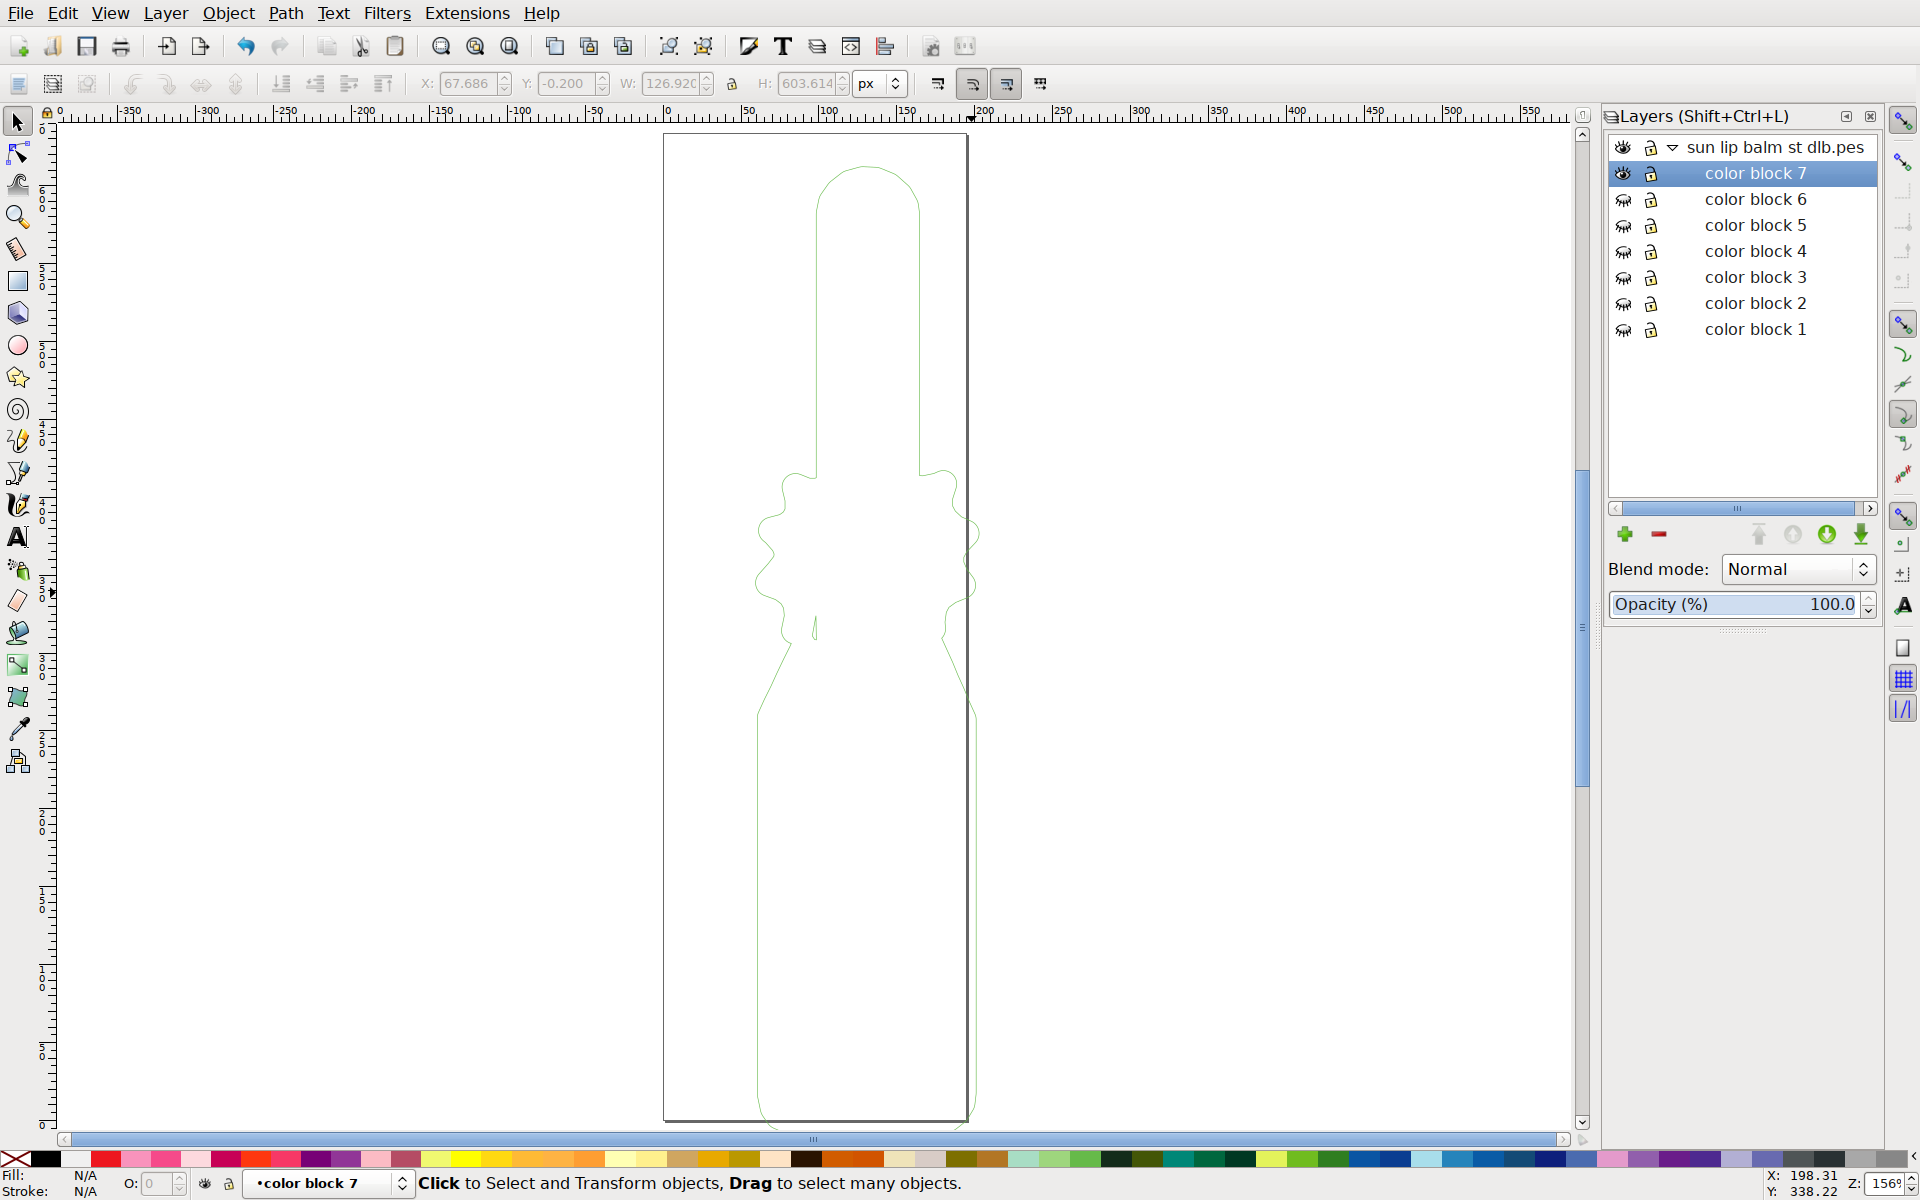
If it doesn’t, you can build it from either the placement line or the final stitching line. First, hide everything but the line you’re using.

You can’t just enlarge the placement line, unless it’s something simple like a circle or square. And if it’s that simple, why are you messing with a cutting machine? (Well okay, circles are my nemesis too.)
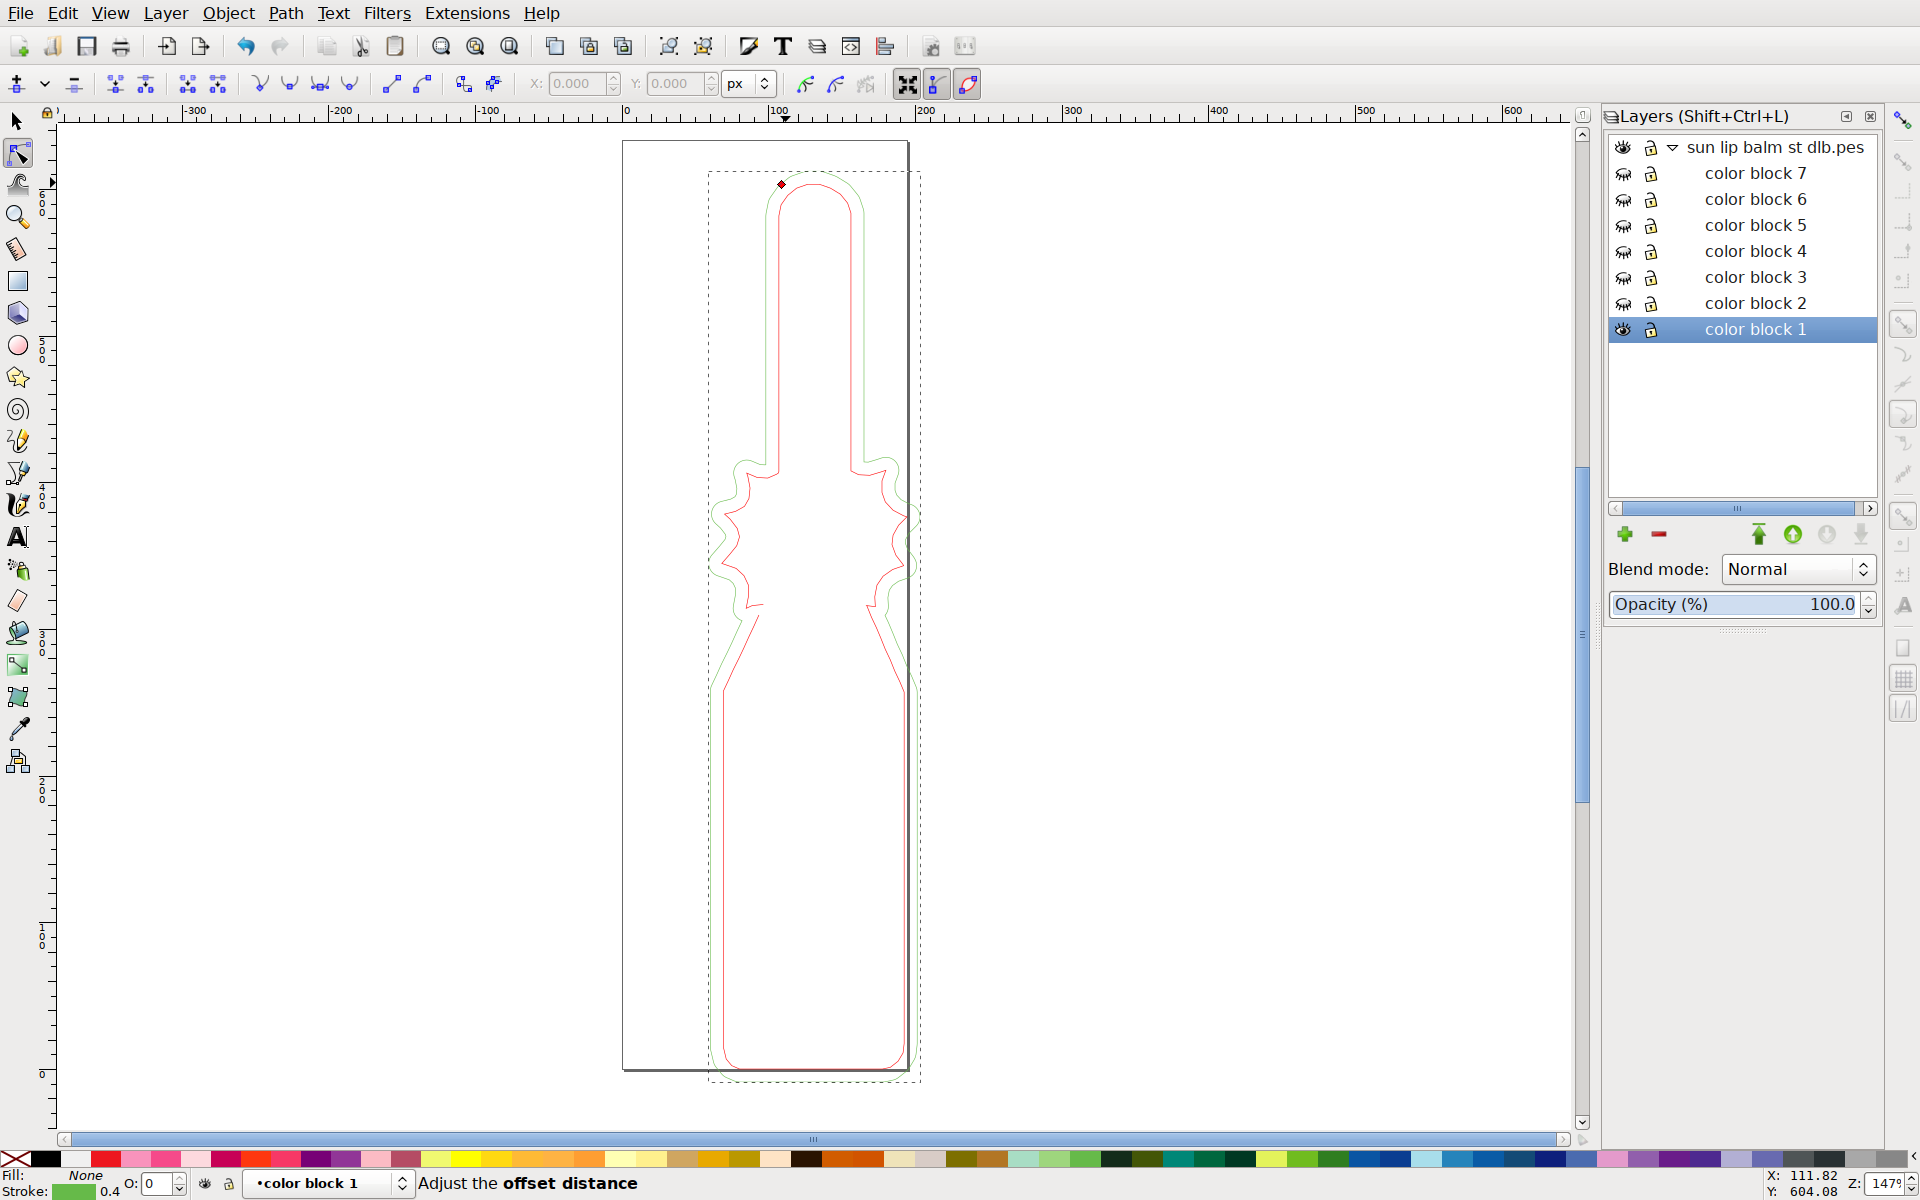
Instead, you want to use an offset tool. Duplicate your placement line (Edit > Duplicate) and maybe change its color so you can keep track of it. Now start an offset (Path > Dynamic Offset). The cursor will change, and your path will get a little square somewhere on it. The square will turn red when you hover over it (my cursor isn’t visible in screen shots) – just grab it and drag it out as far as you want your die line to be. Then, once you’re sure you like the offset, do Path > Object to Path in case your cutting software wants a plain path. That’s it!
Well, probably. If you want your sun rays to be pointy, or if there are any other oddities, you can edit the path to clean it up. You’ll notice I didn’t close the little gap in the lower left of the sun – Inkscape did it for me. If your design doesn’t have a placement stitch, you might have a stranger situation than that. Let’s pretend my Designs By Little Bee example doesn’t.
The ending bean stitch includes some interior lines. Sometimes this works fine, but this one doesn’t. There are two ways to solve this. I could break the path into two halves, and duplicate and flip the left half. If neither half was good, though, I could try cleaning up the starting path.
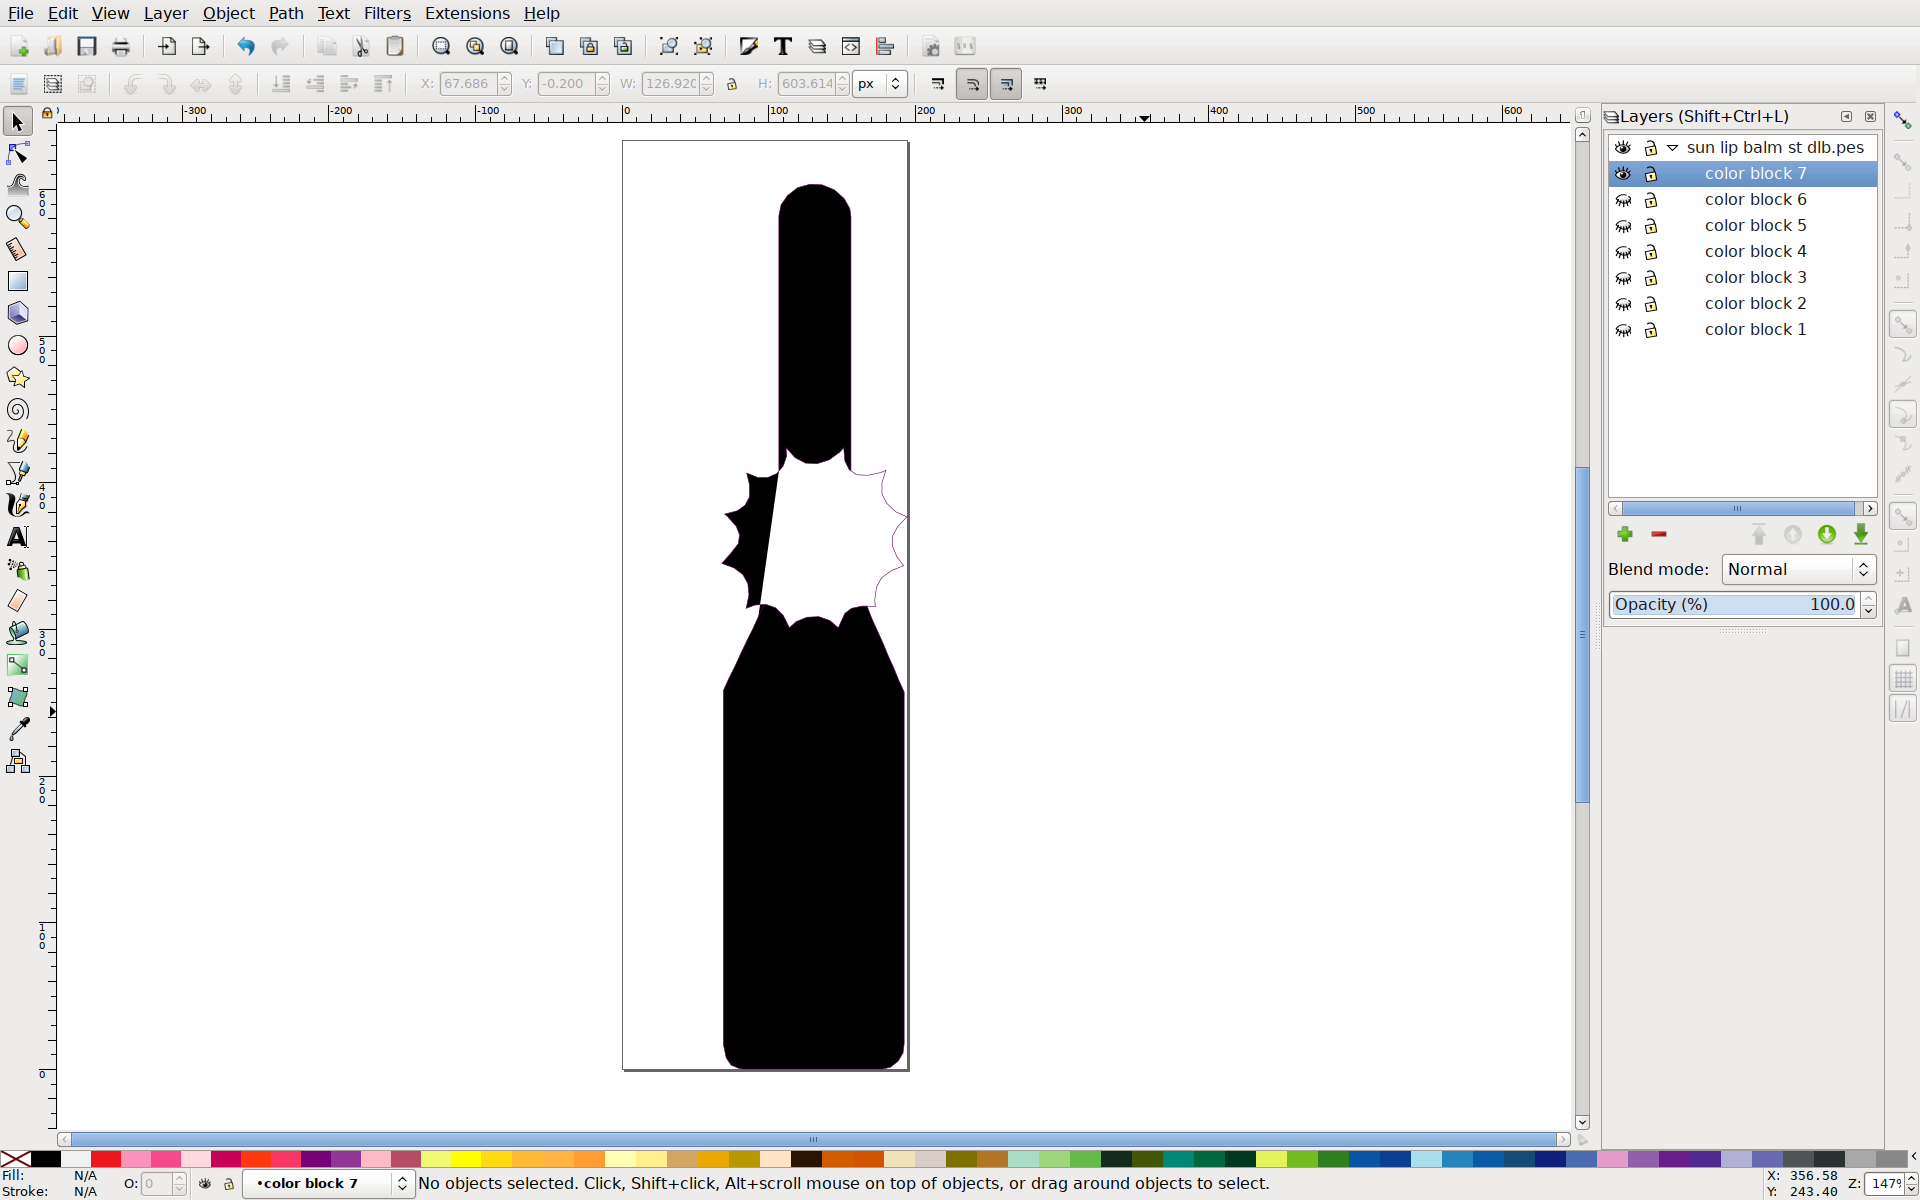
Adding a fill color to the path helps show what’s going on: for the dynamic path, Inkscape is starting with that shape and building the outline around it.
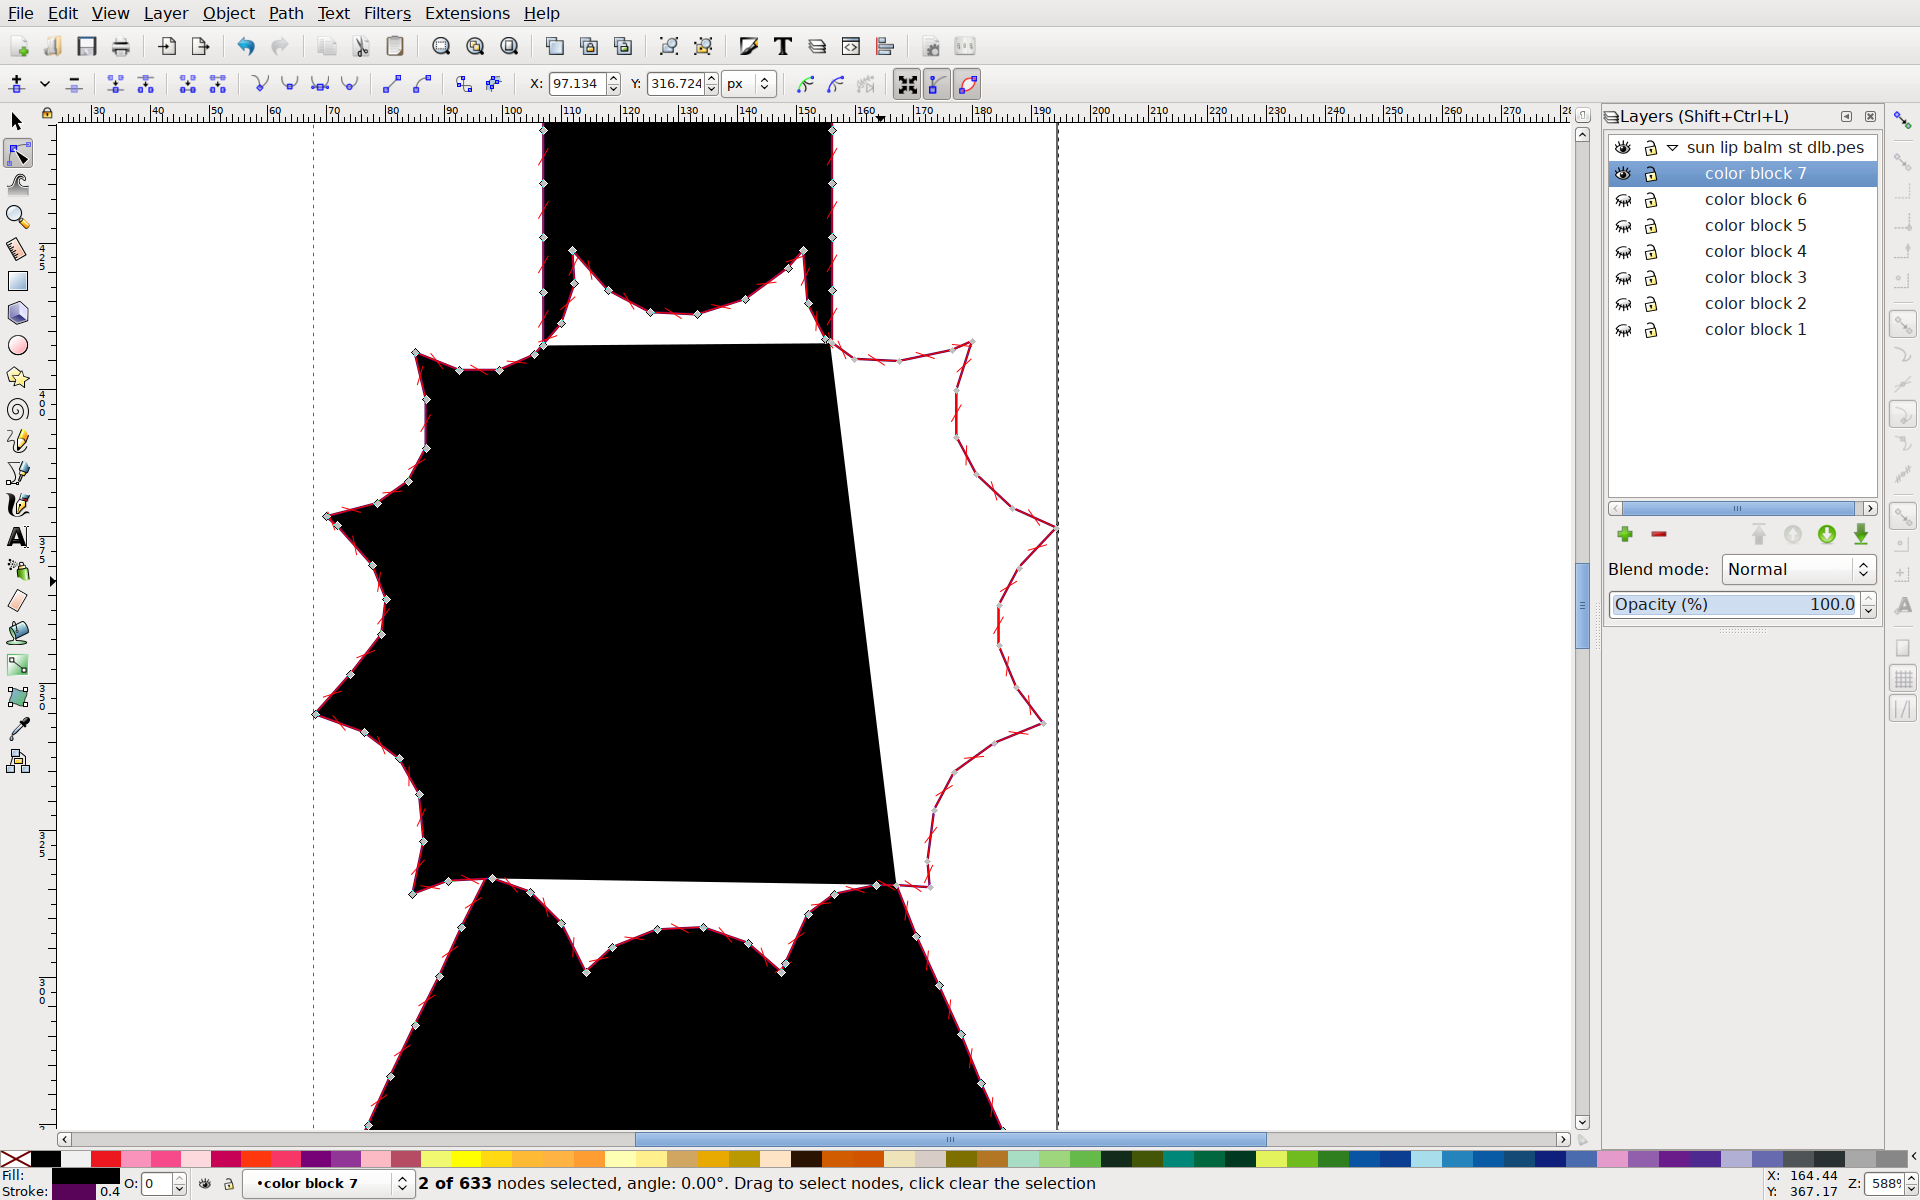
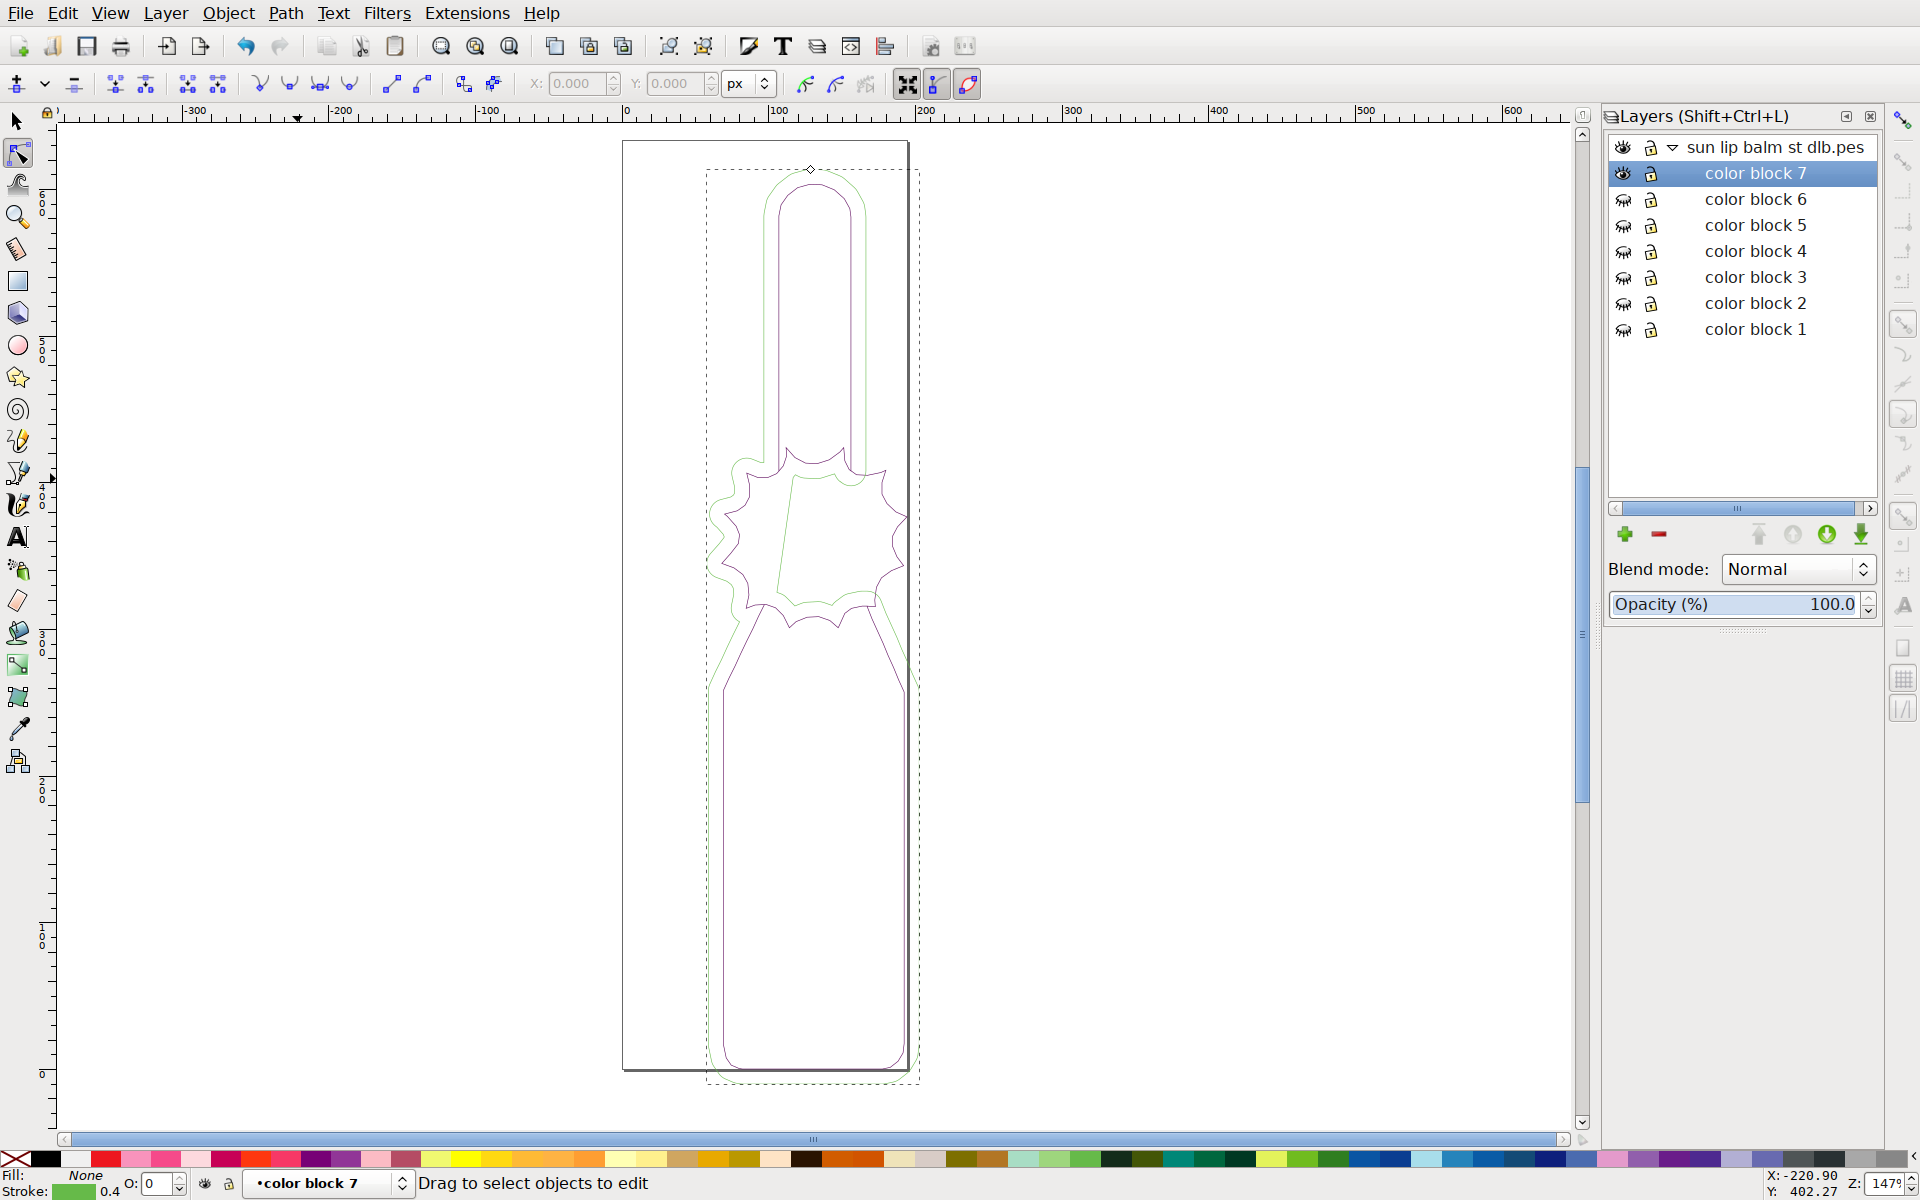
I switched to Edit Nodes mode (in the left toolbar) and dragged a box around the first of the points where the sun meets the tab body. There are a couple of identically-placed nodes here, so the node seems to disappear. I selected Break Path at Selected Nodes (in the top, tool-specific toolbar) to chop the line up into segments. I did this for all four intersections, and the fill changed for each one. It’s still not quite right, though.
The next step was to use Path > Break Apart to make each sub-path its own object. Inkscape tries to figure out the fill by connecting sub-paths with an imaginary line, but its choices for which path ends to pair up aren’t always what we want. Now Inkscape is creating the fill by drawing an imaginary line from one end of each path to its other end, and that works for us. Path > Combine will just put us back where we started, but Path > Union will make those imaginary lines real.
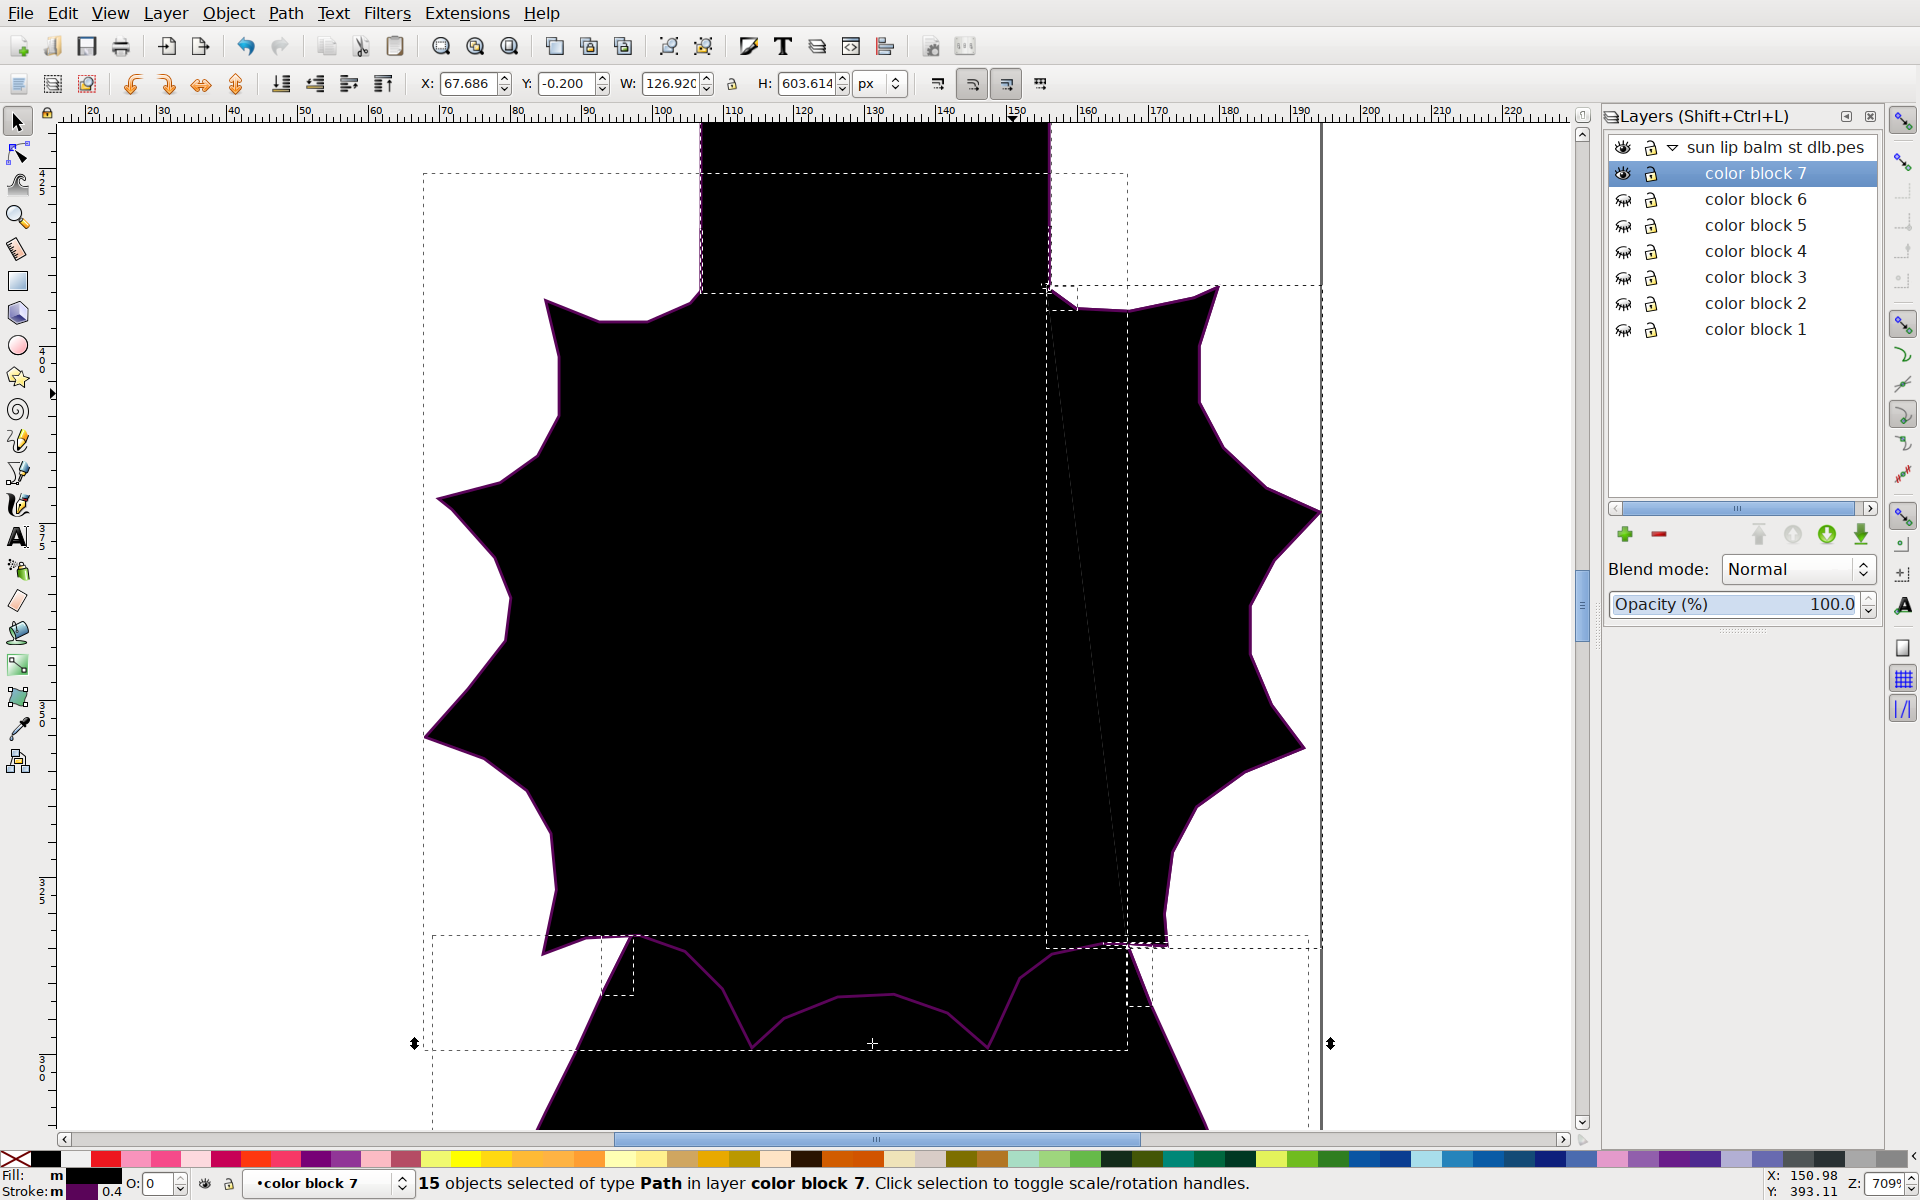
Now I can do the dynamic offset to create my cutting line. (Yes, I forgot to duplicate my path. This only matters if you cut directly from Inkscape and want to store your dieline in the same SVG. Copying the object to the clipboard and doing a whole lot of Edit > Undo would get me both the new and old object, but I’m not going to do that here.)
You can see there’s a little internal piece in the offset, an artifact of the break/union. I can either do another Path > Break (don’t forget the Path > Object to Path first) to separate the two subpaths so I can delete the unwanted one, or I can go back to the node editor to delete the internal nodes.
If you want your cutting to start/stop at a particular point, break the path there (adding a node first if there isn’t one). That’s all there is to it!