Basic Hipster Bag with Interchangeable Flaps
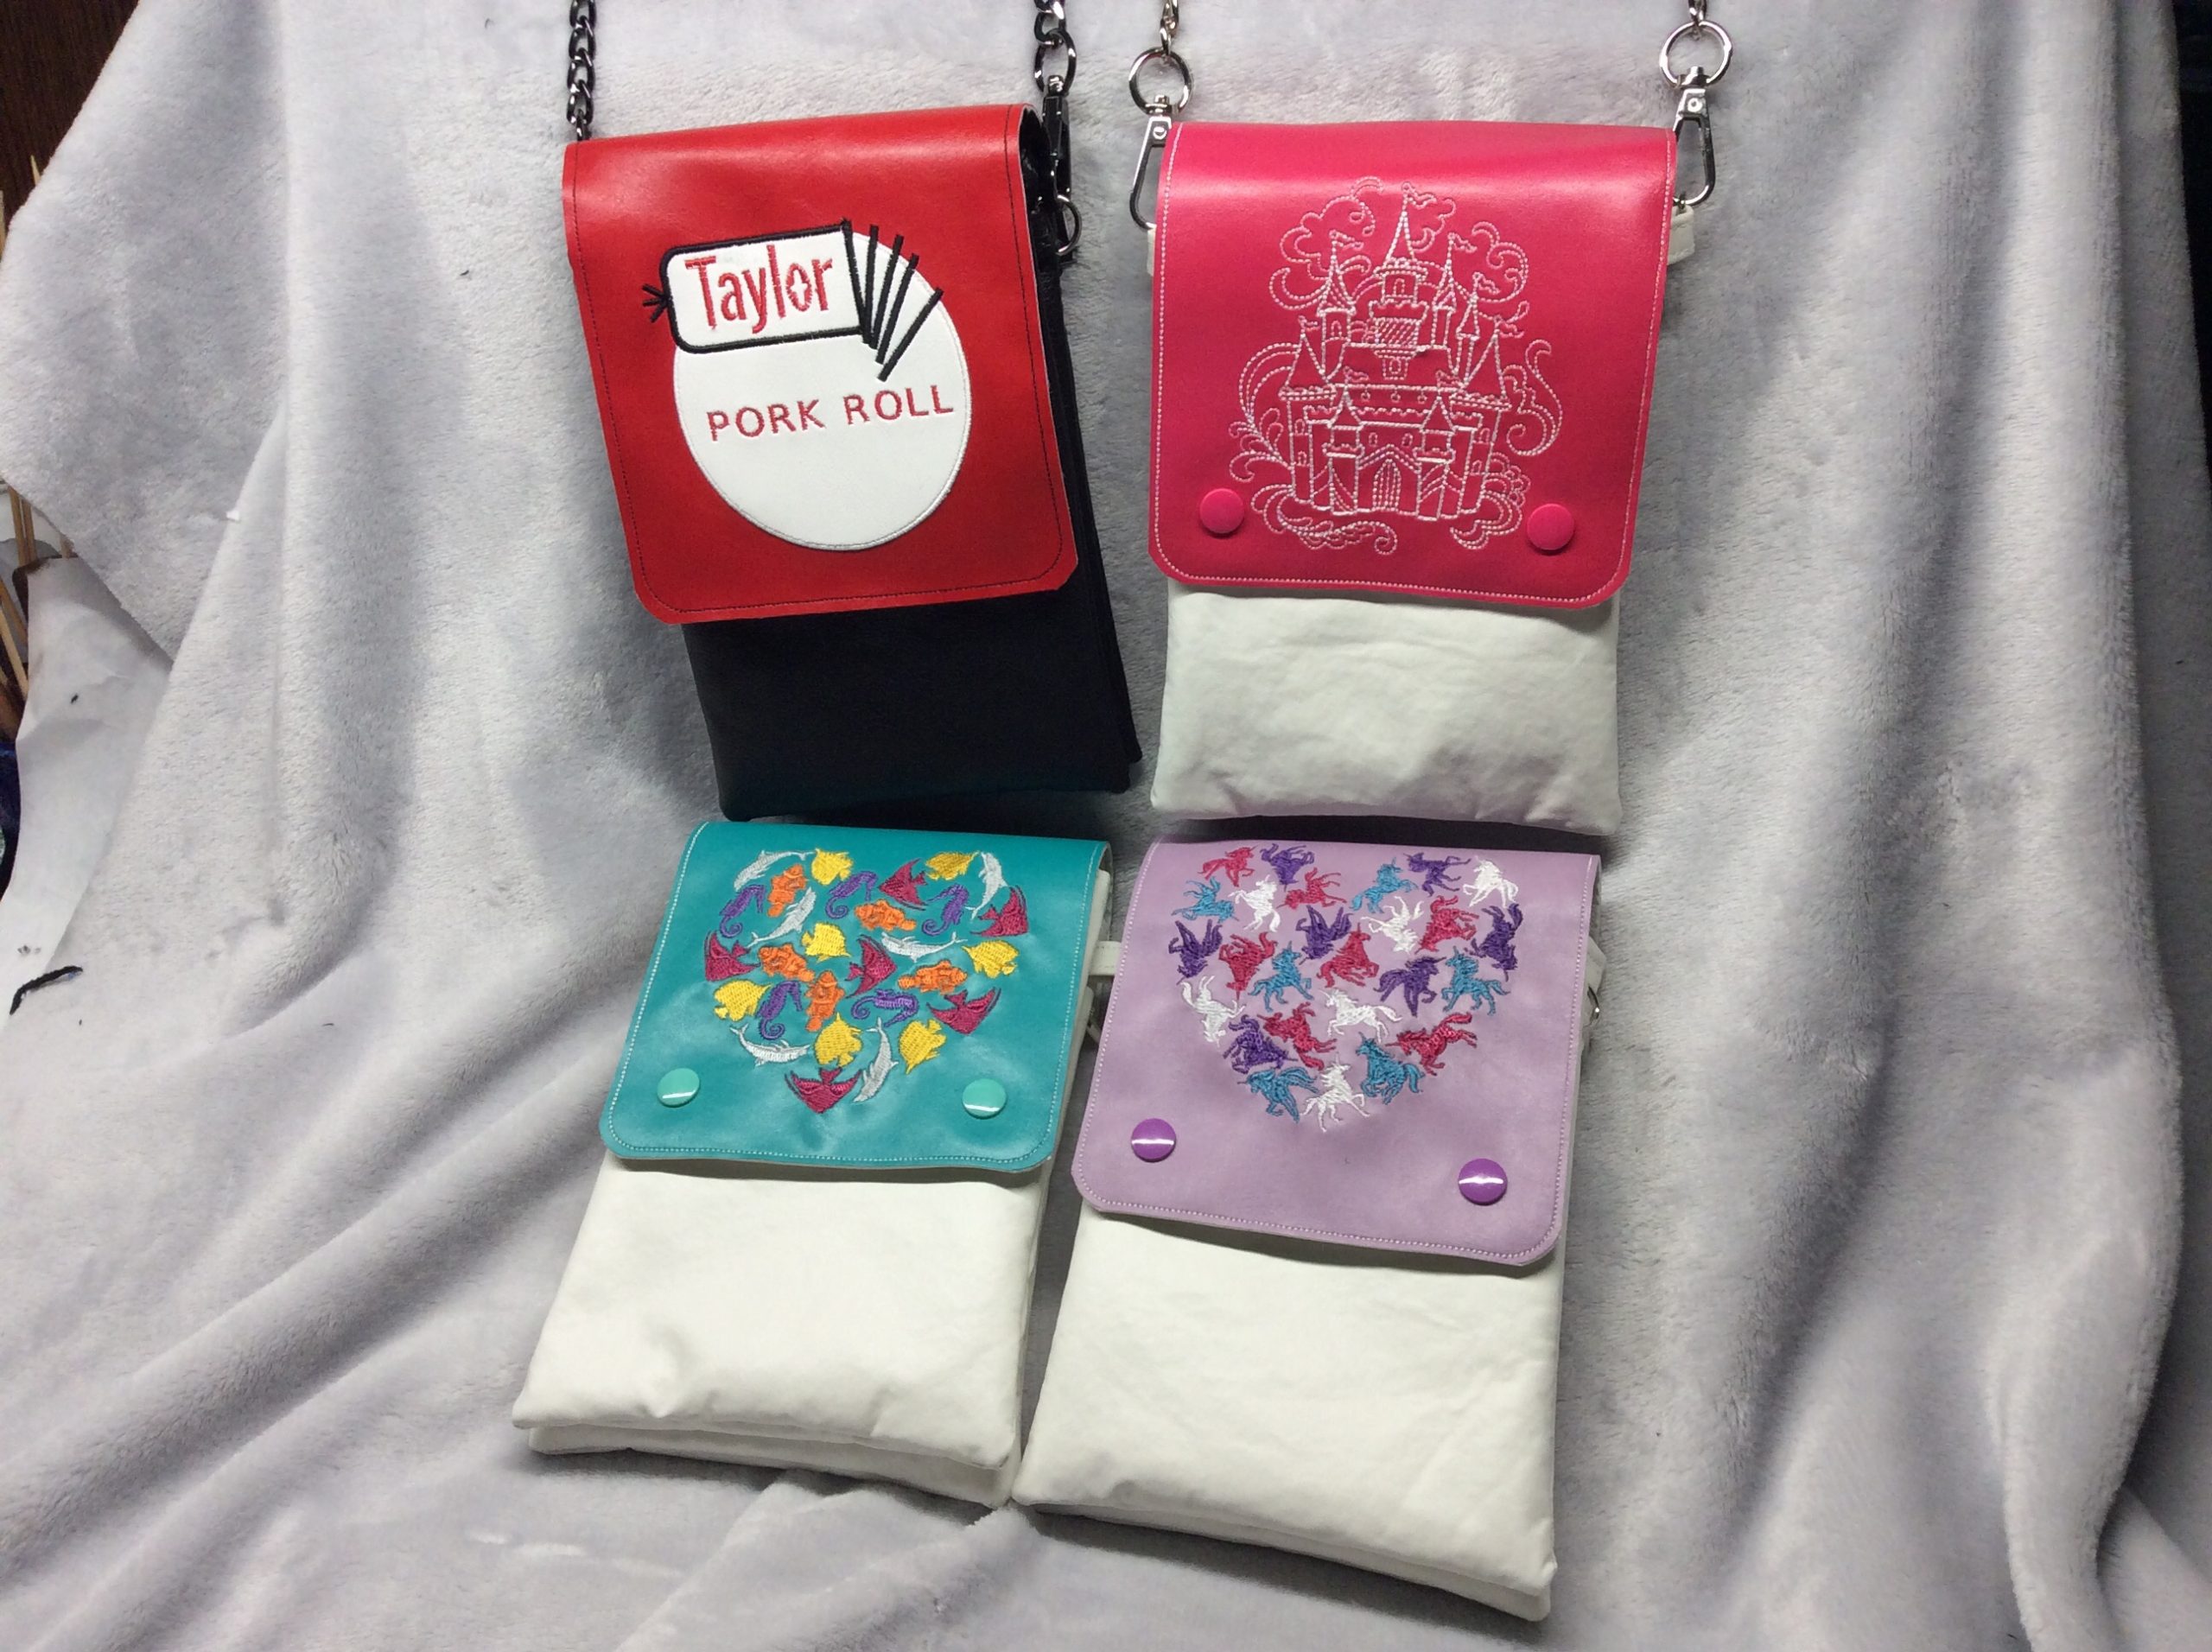

Advent 2019 Day 1
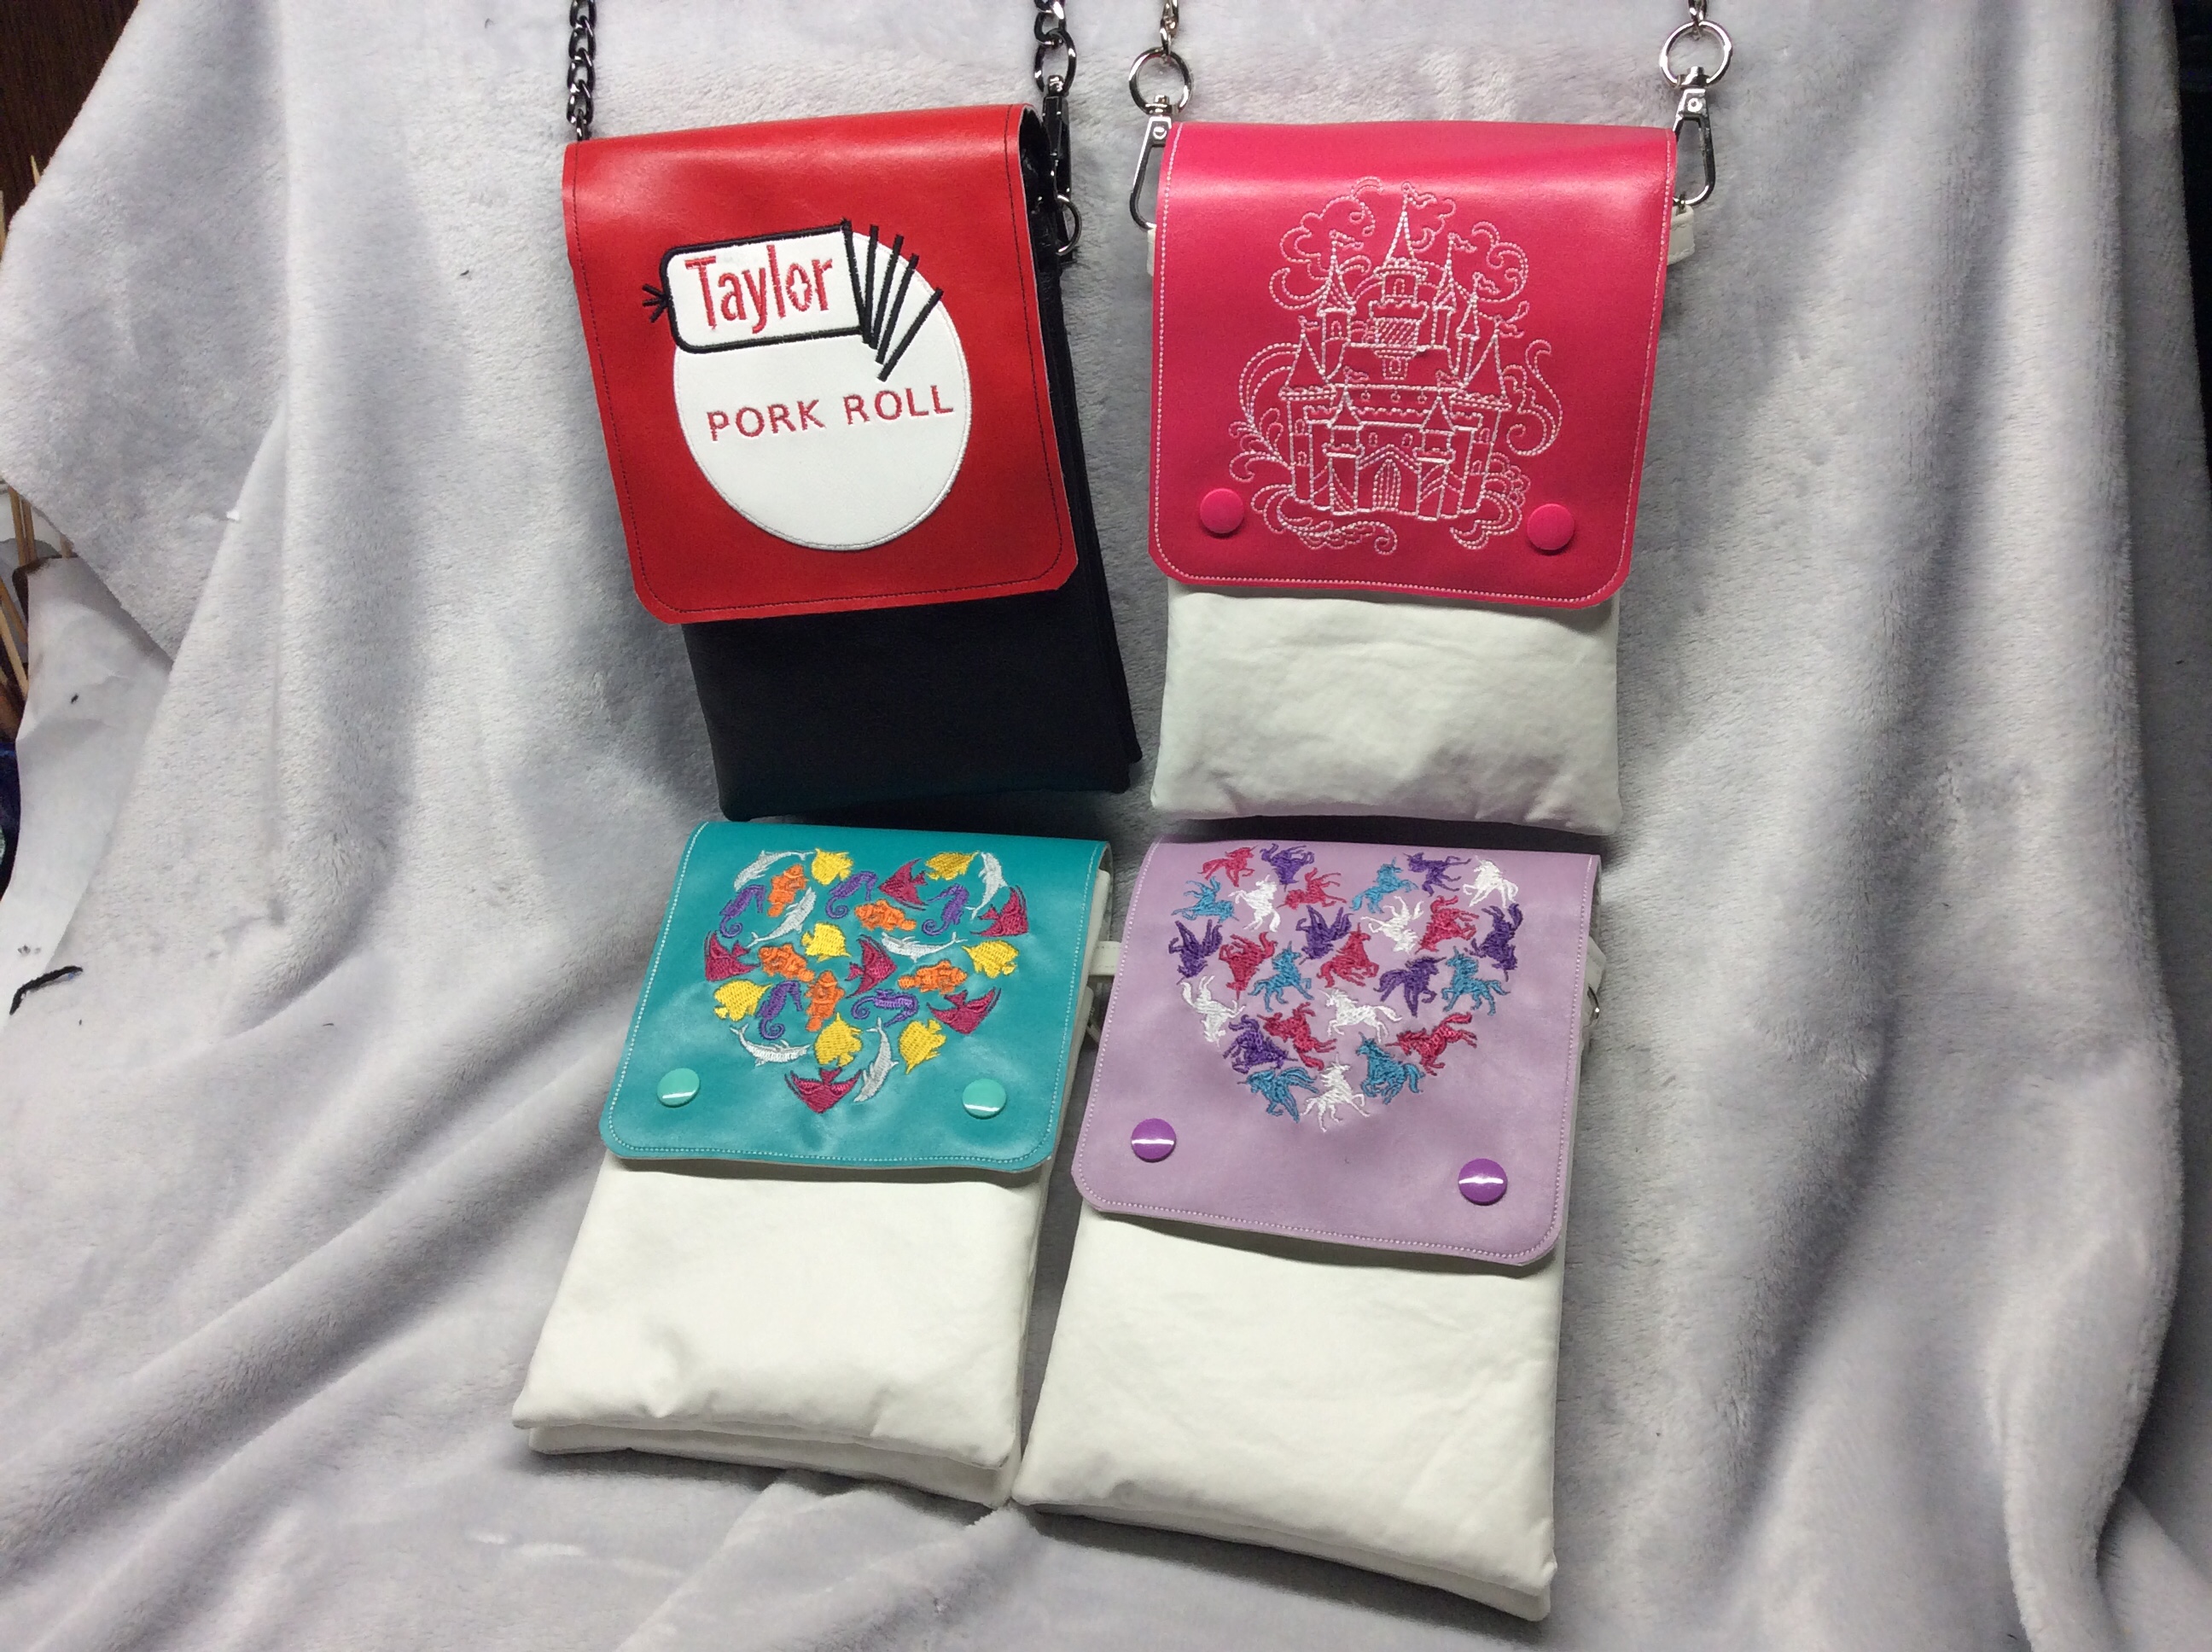
As I’ve mentioned in the past, I made a whole batch of little hipster bags for a Florida trip with my sister and nieces. I’m kicking off a little Advent calendar of different freebies, and the Basic Hipster is the first.
This is a picture-heavy post, though the actual bag isn’t very difficult.
I made this bag with lightweight vinyl lined with quilting cotton. Normally I’d recommend something with a little more body and a little less “grab” than the cotton, but the only ripstop nylon I had handy was black so I went with something that will show up well in photos. I’d also recommend changing the thread color to match the lining when it comes time to sew it, but I left it for visibility.
I also made one change to the pattern after taking all these pictures: the pocket that holds the snaps for the end of the flap is deeper on the final pattern, because the edge of mine tended to pop back out.
Here we go!
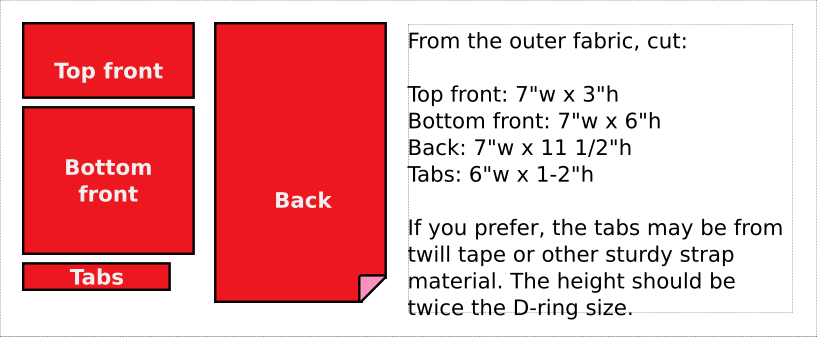
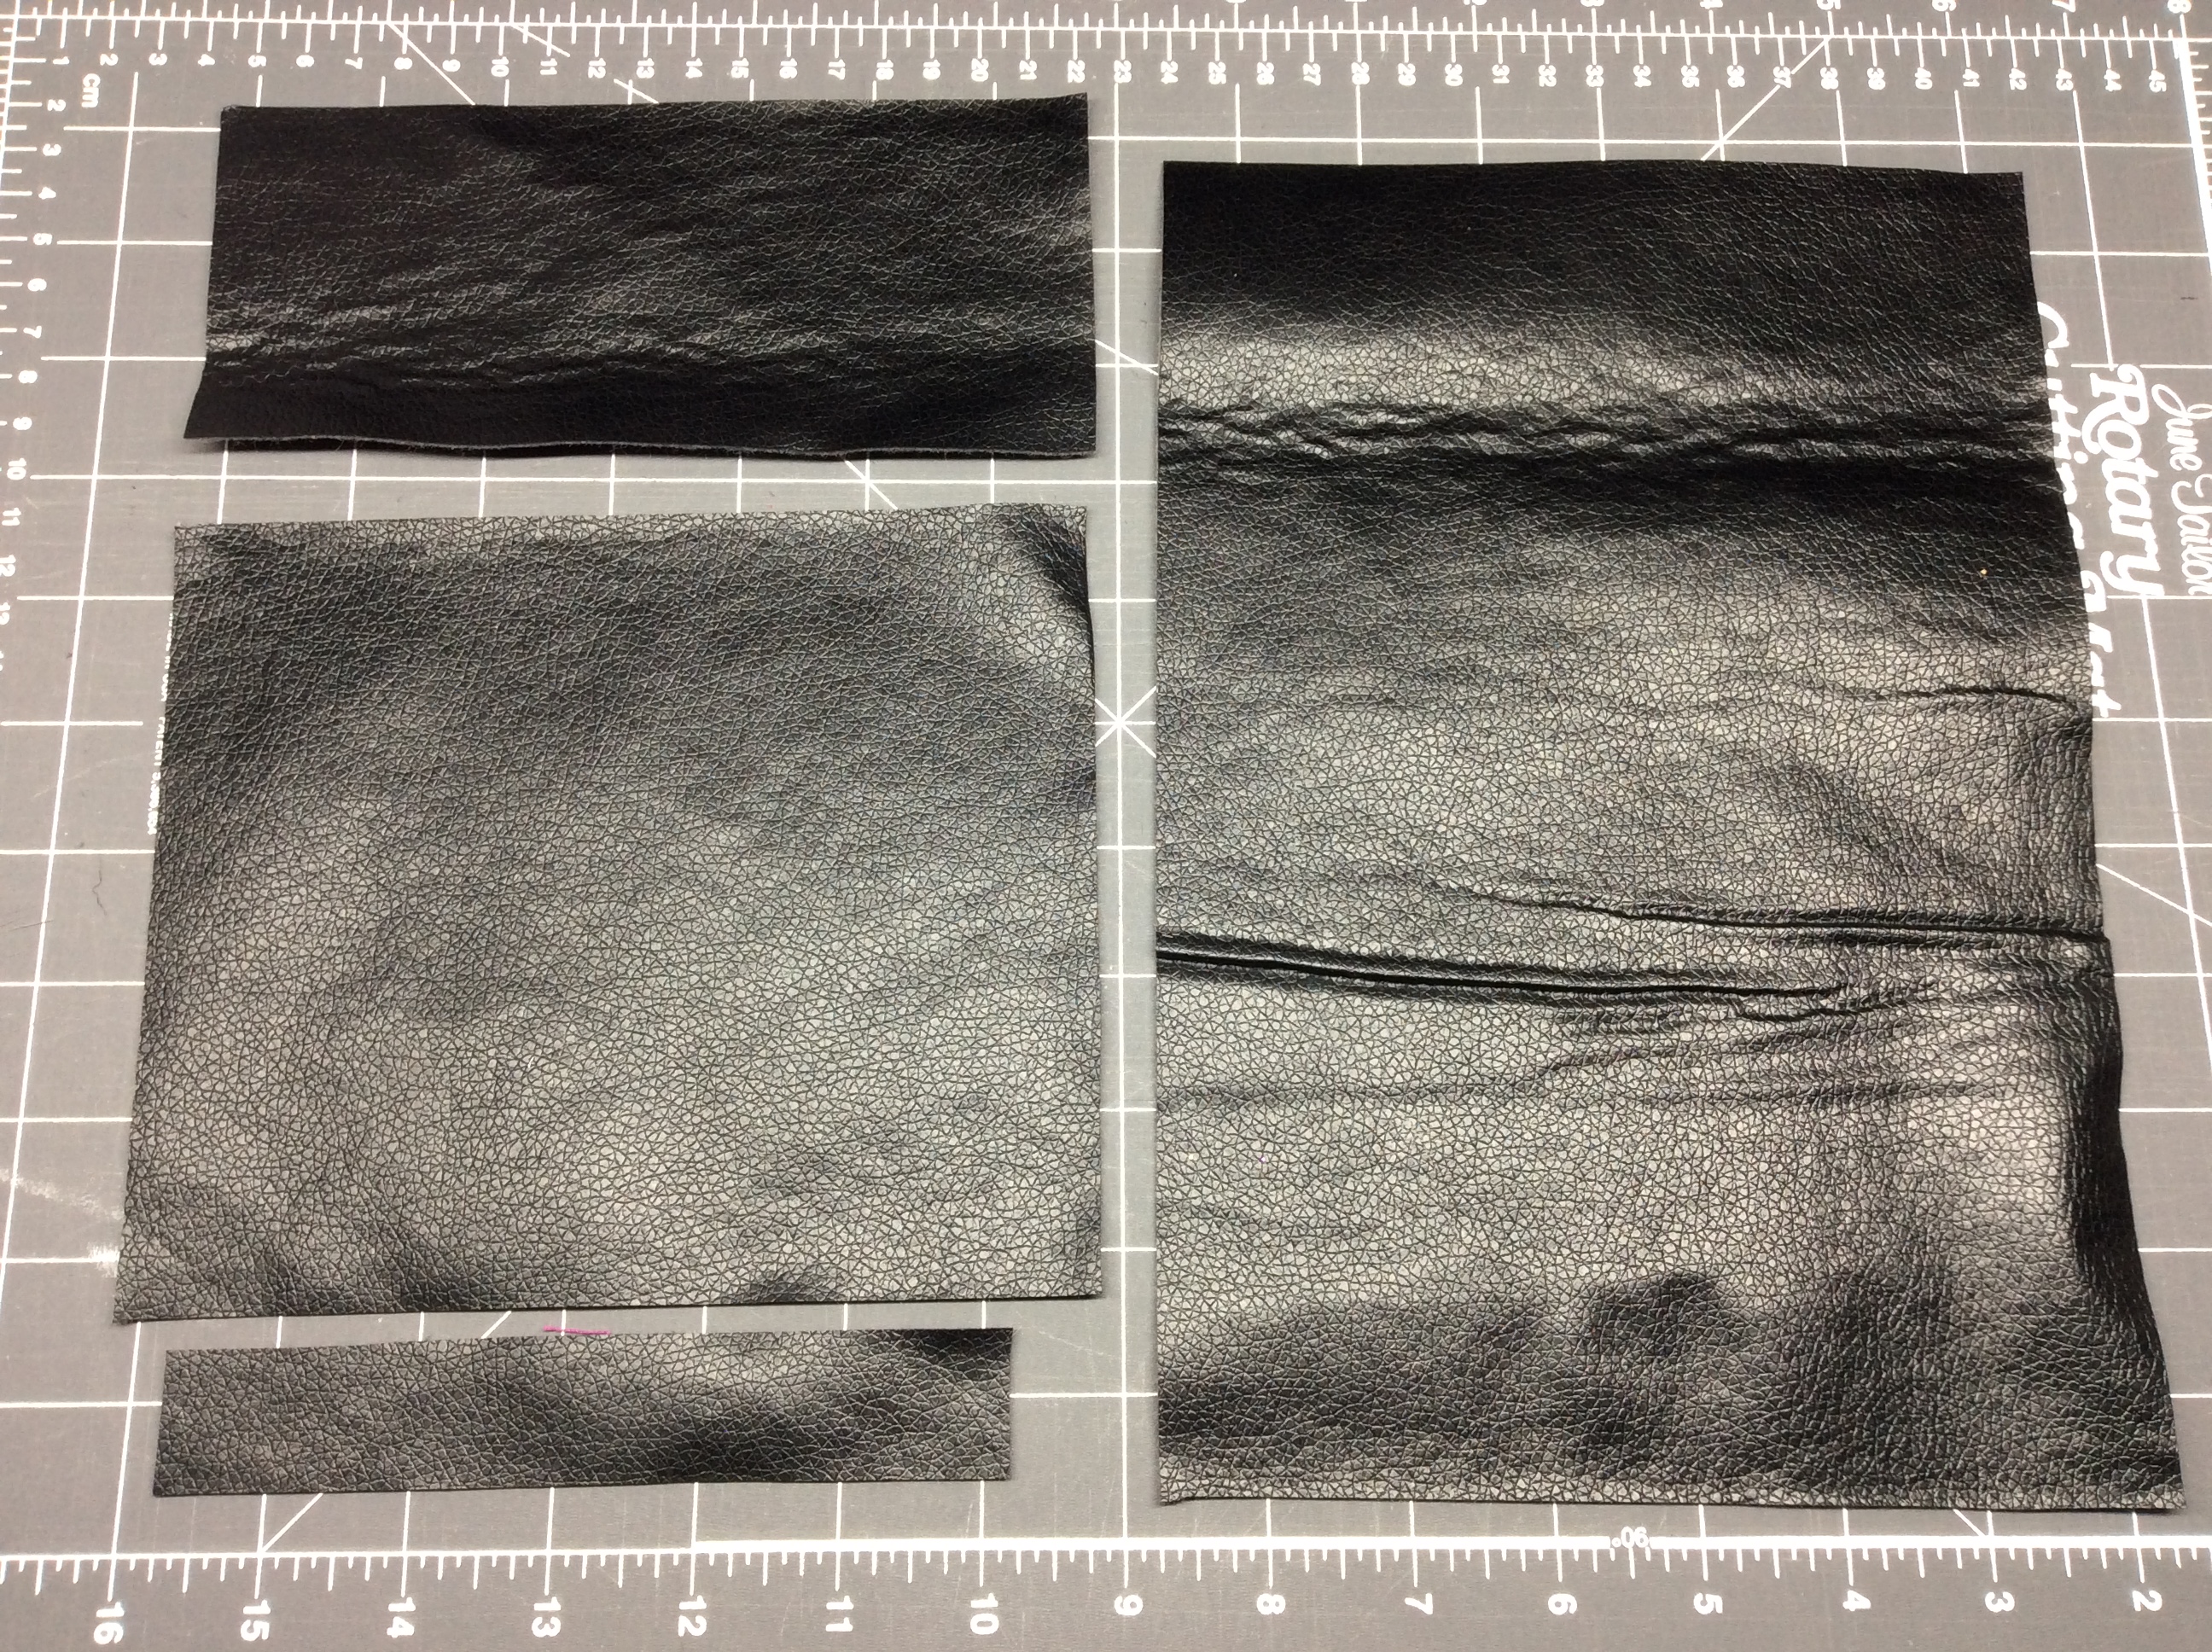
The vinyl I used was a remnant and has some permanent wrinkles and creases. For a real project I’d work around those.
If you don’t want to put in a pocket, instead of the two-part front just cut one 7″w x 9″h piece.
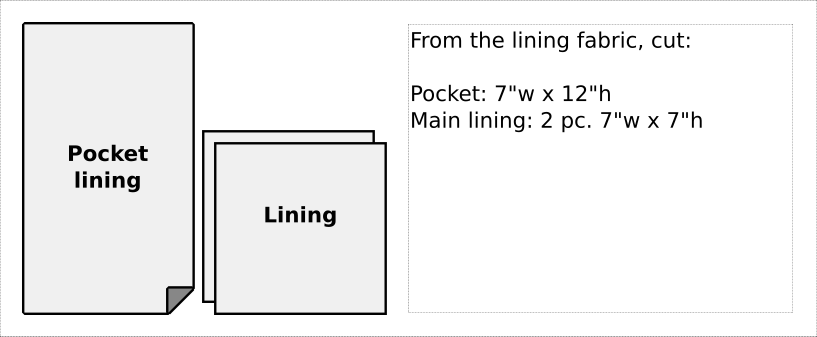
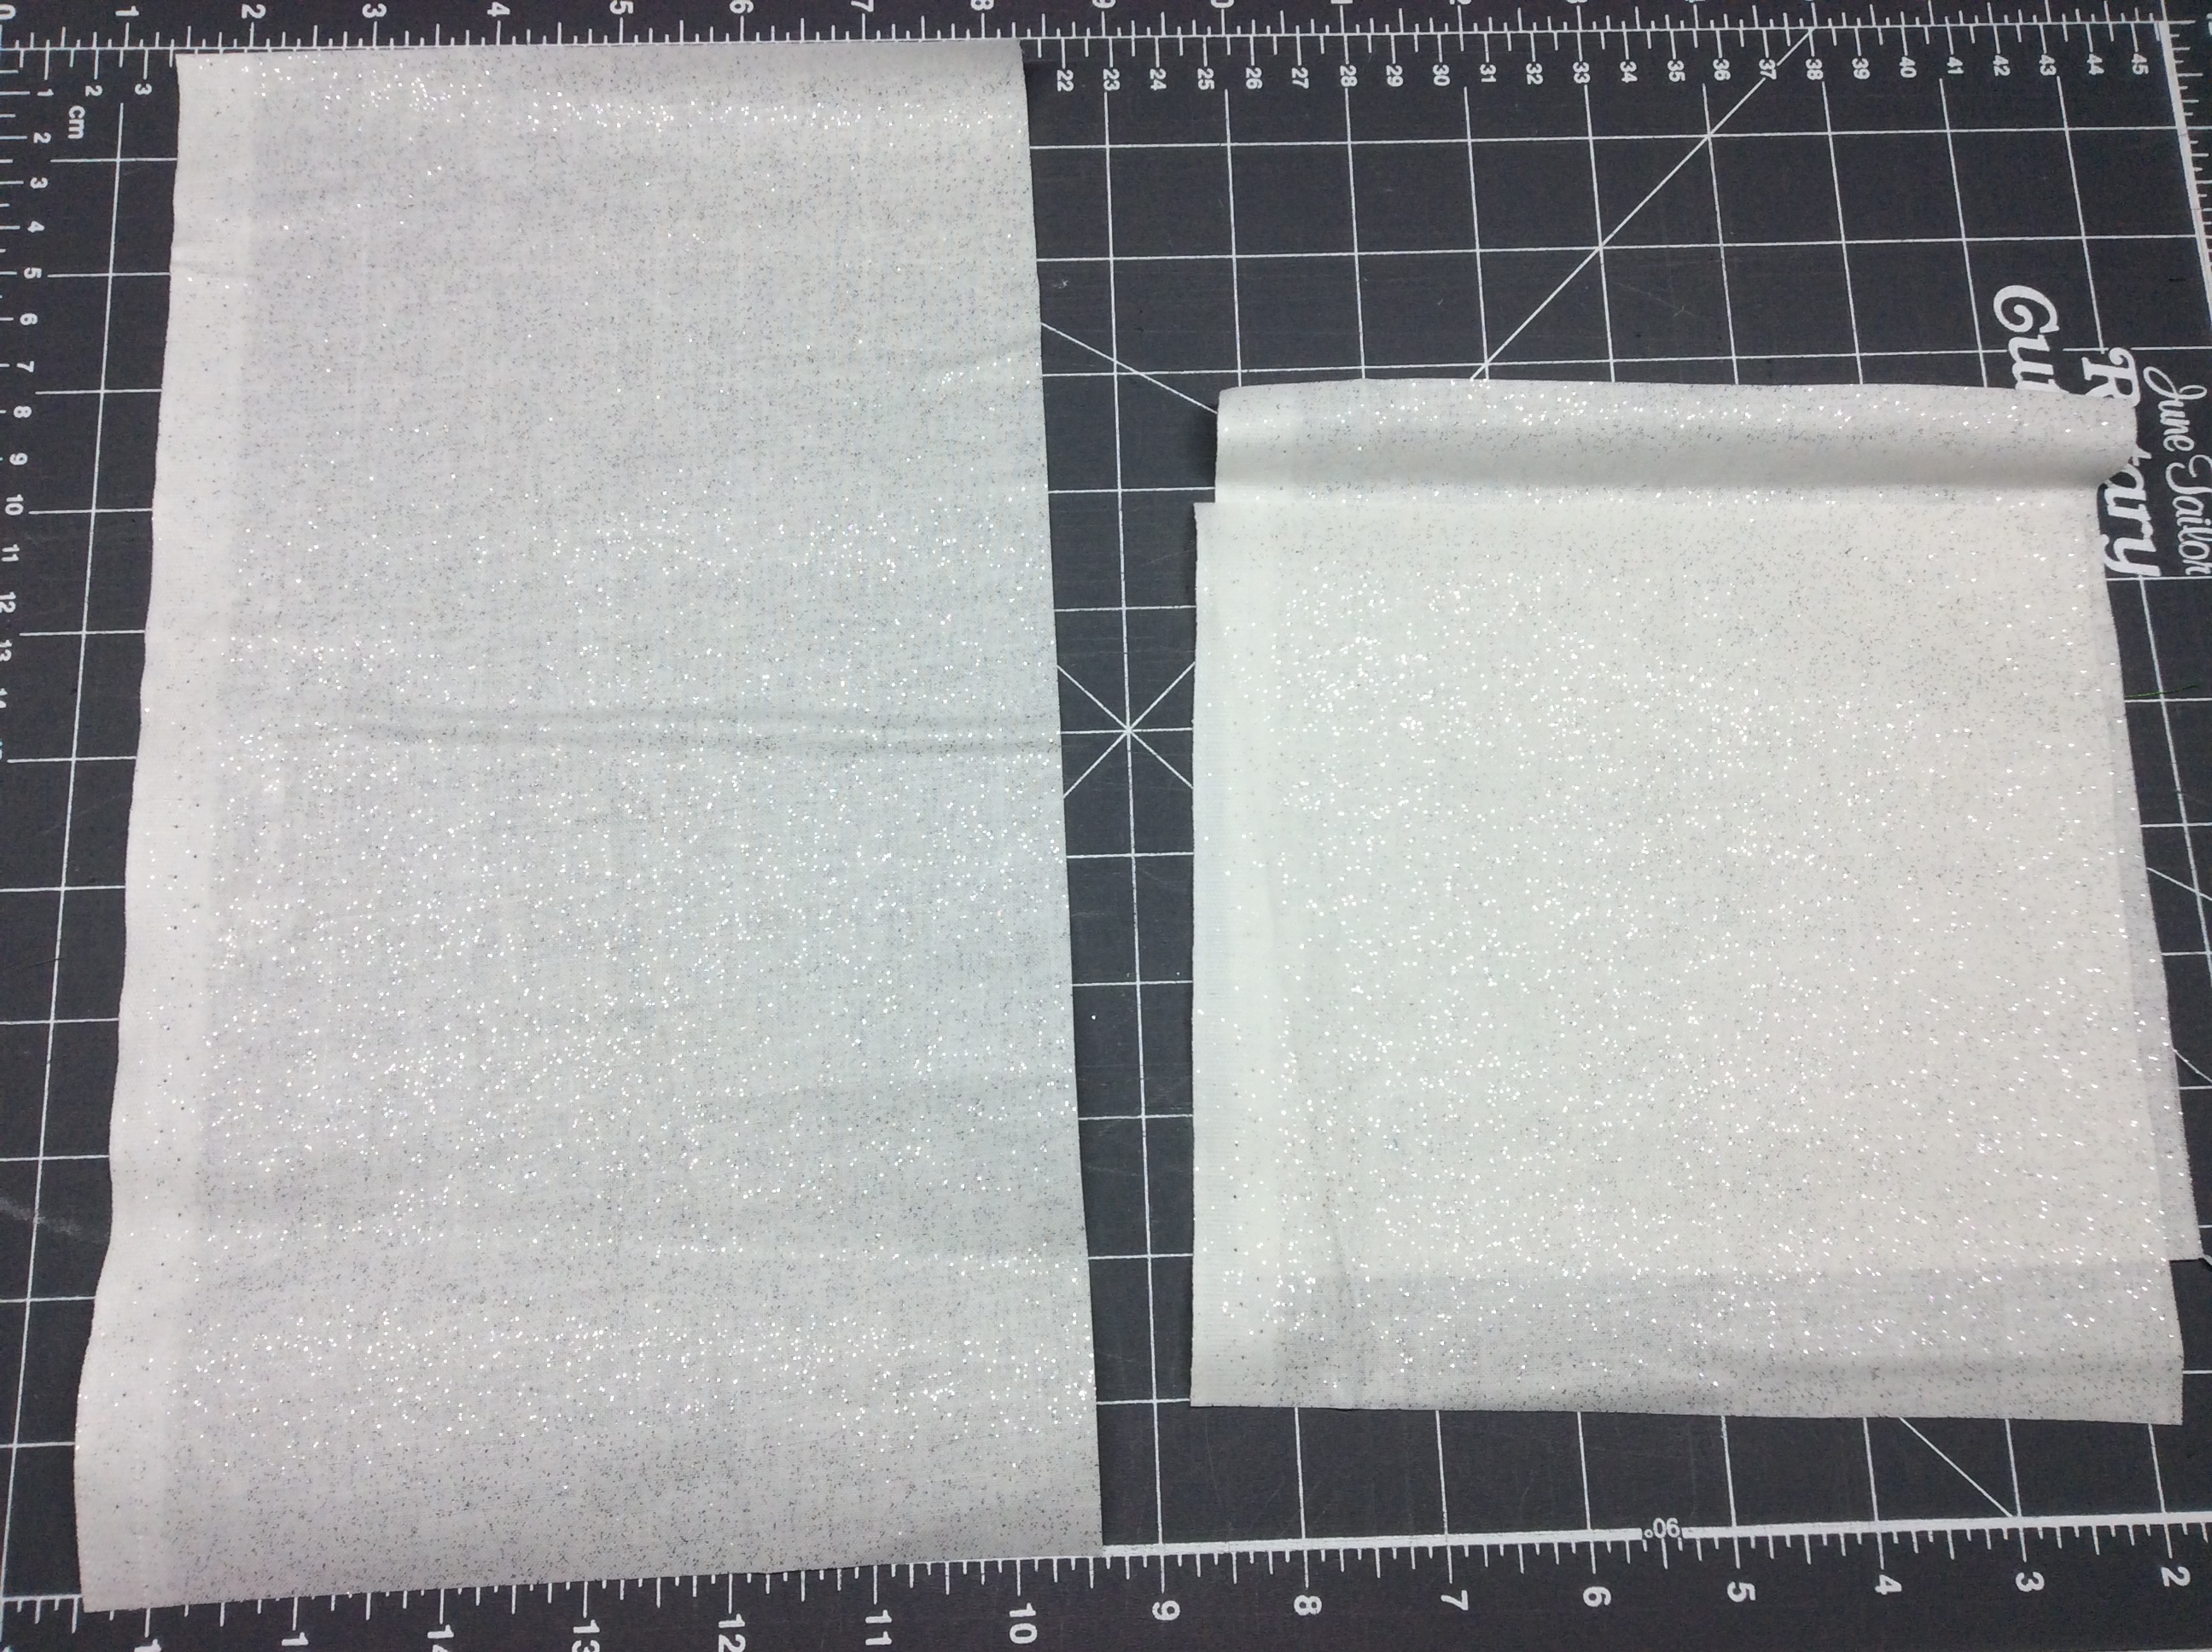
I’d also iron the lining pieces first. Notice I used the selvedge on these pieces; it’s fine for the lining, but I don’t make a practice of it.
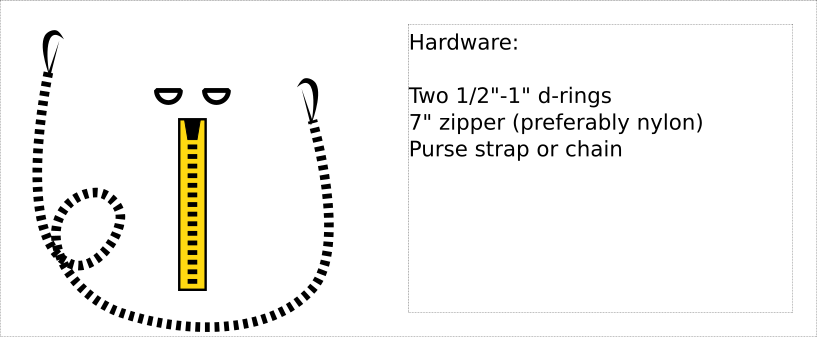
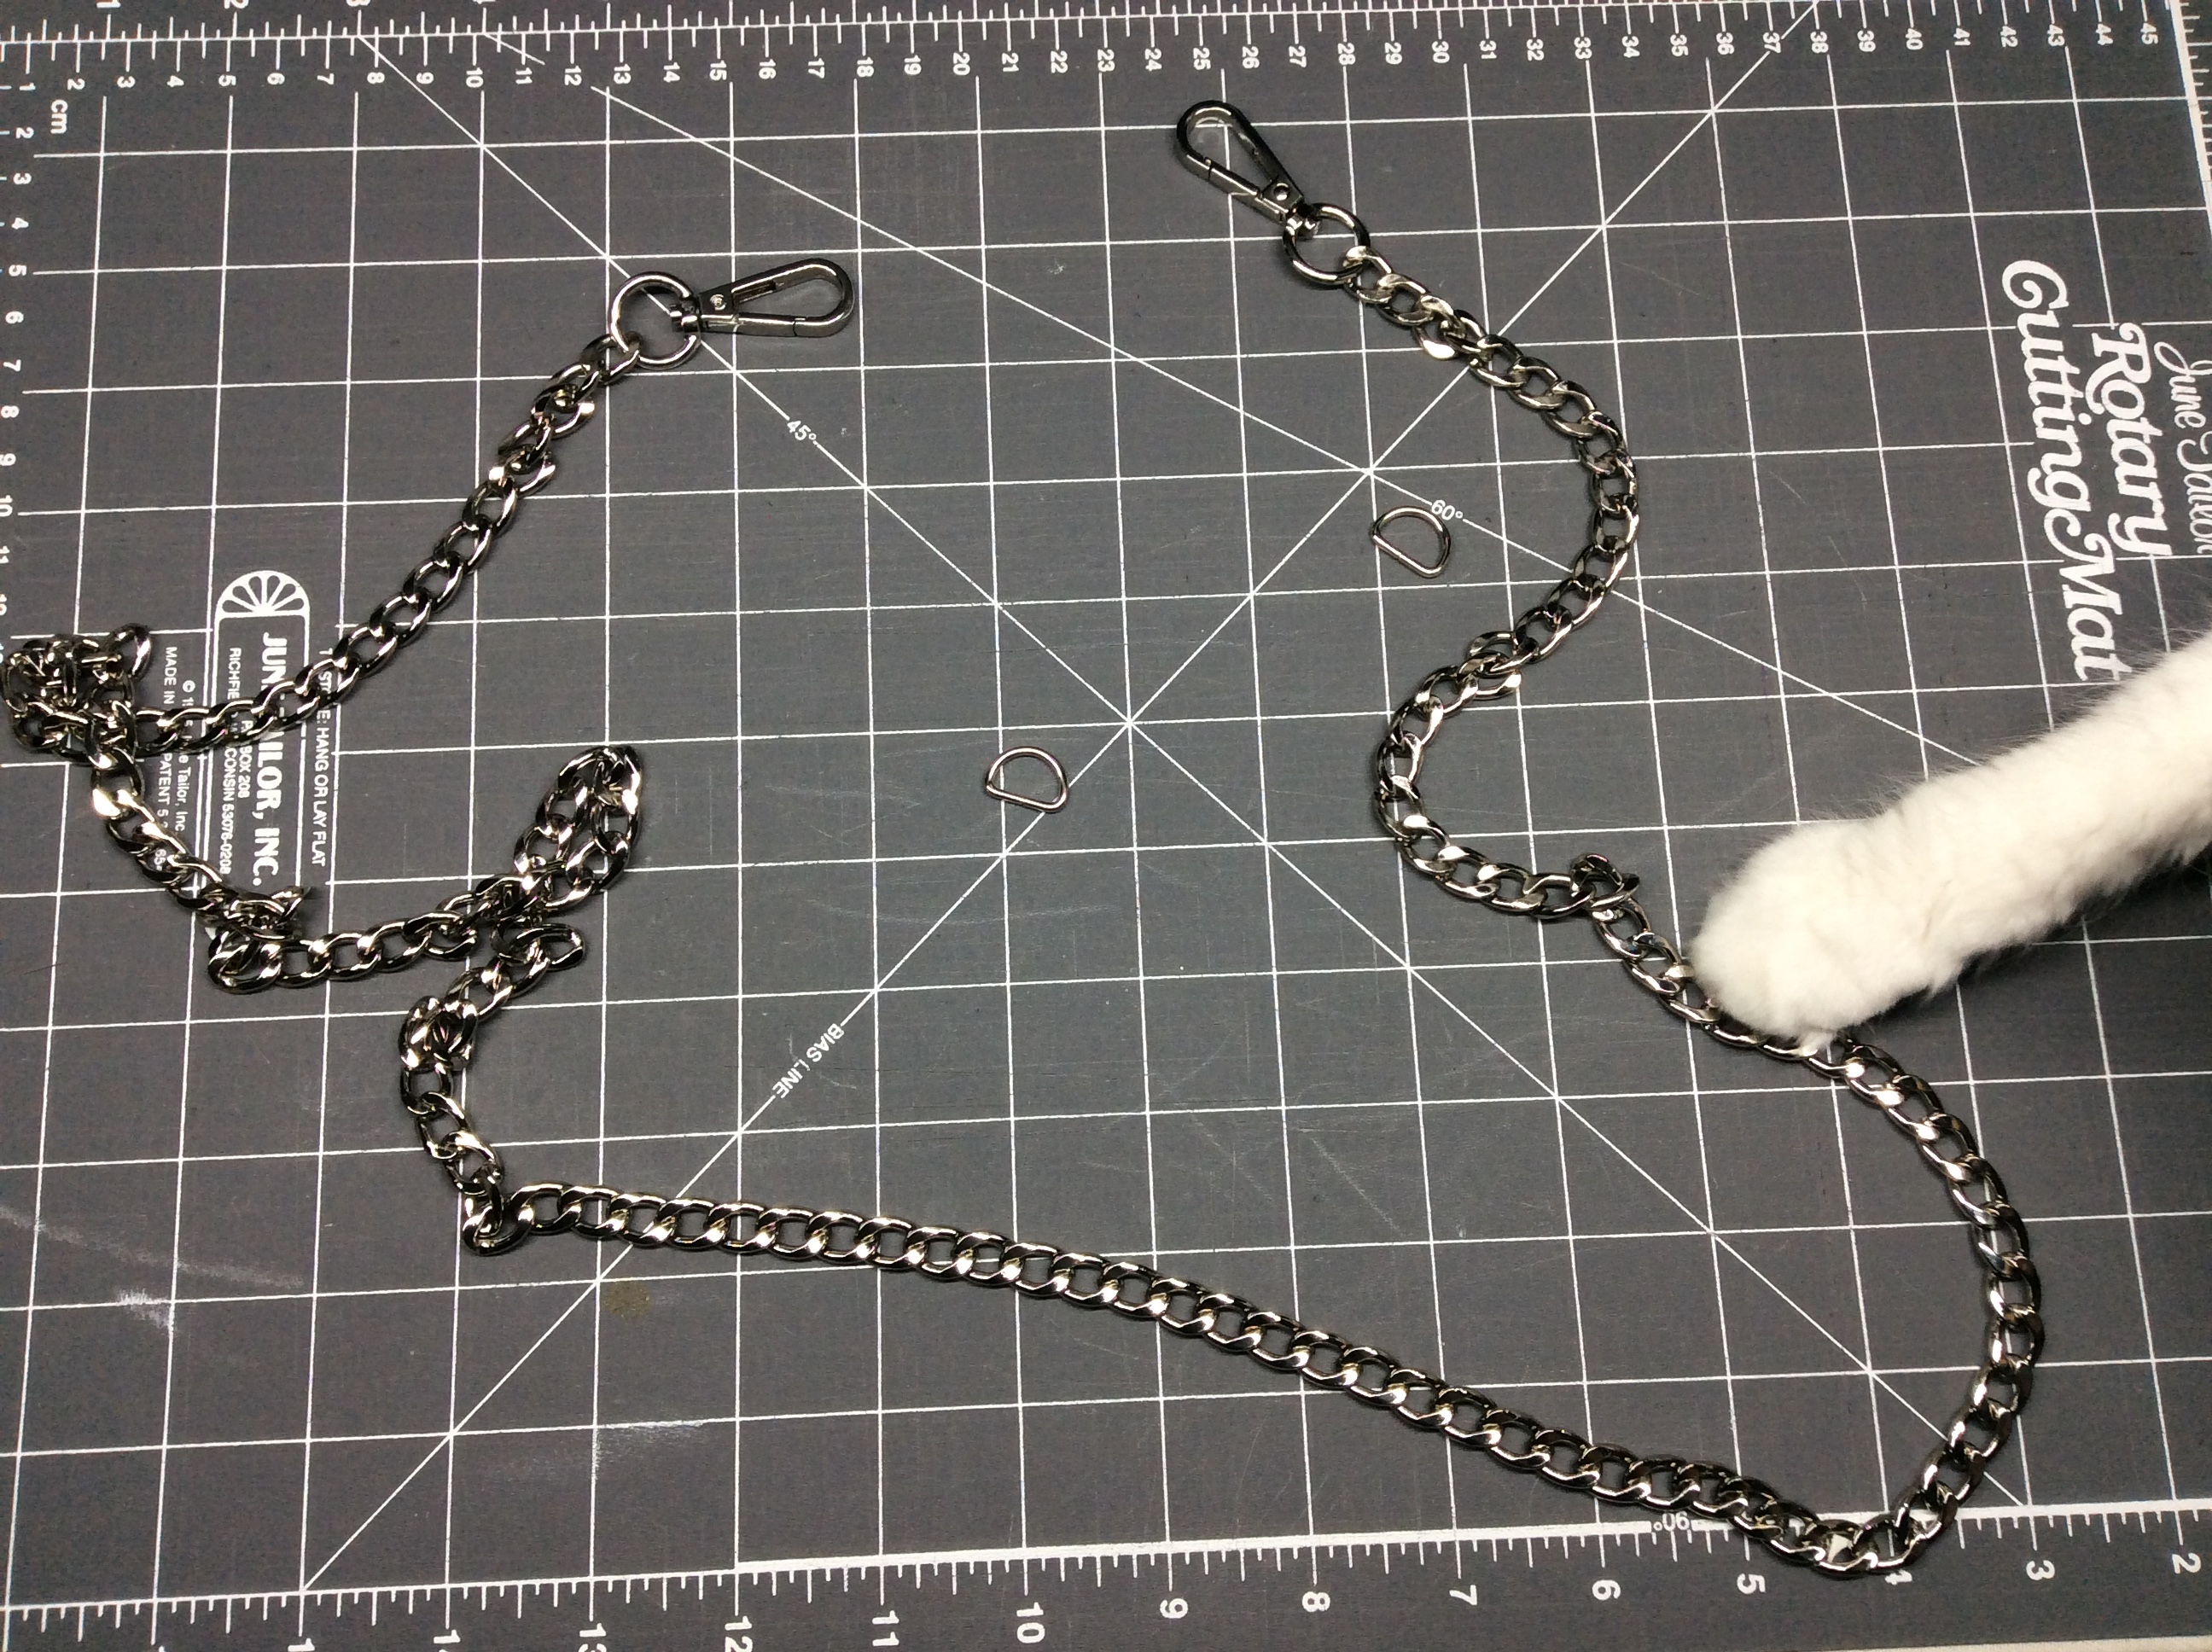
I’m using half-inch d-rings 📦 and a chain strap 📦 that I got so amused catching pictures of the cat playing with that I forgot to take a picture sans cat.
Front pocket
If you want a super-simple bag, you can skip this whole section. It’s actually pretty easy, though, and it’s nice to have a section of your bag that zips securely.
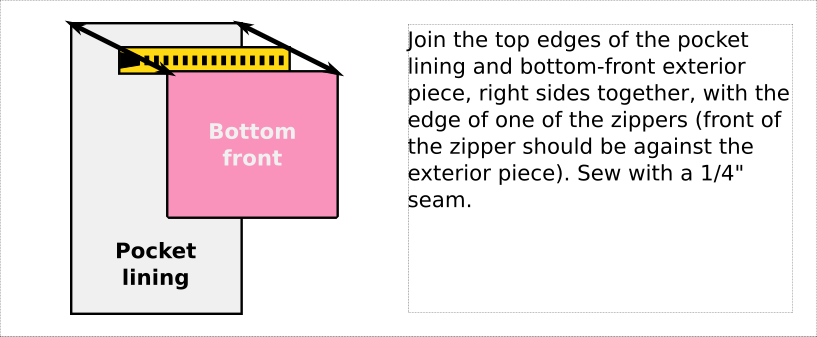
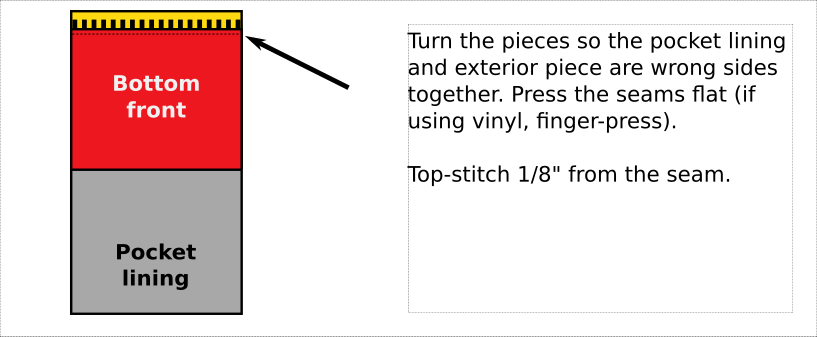
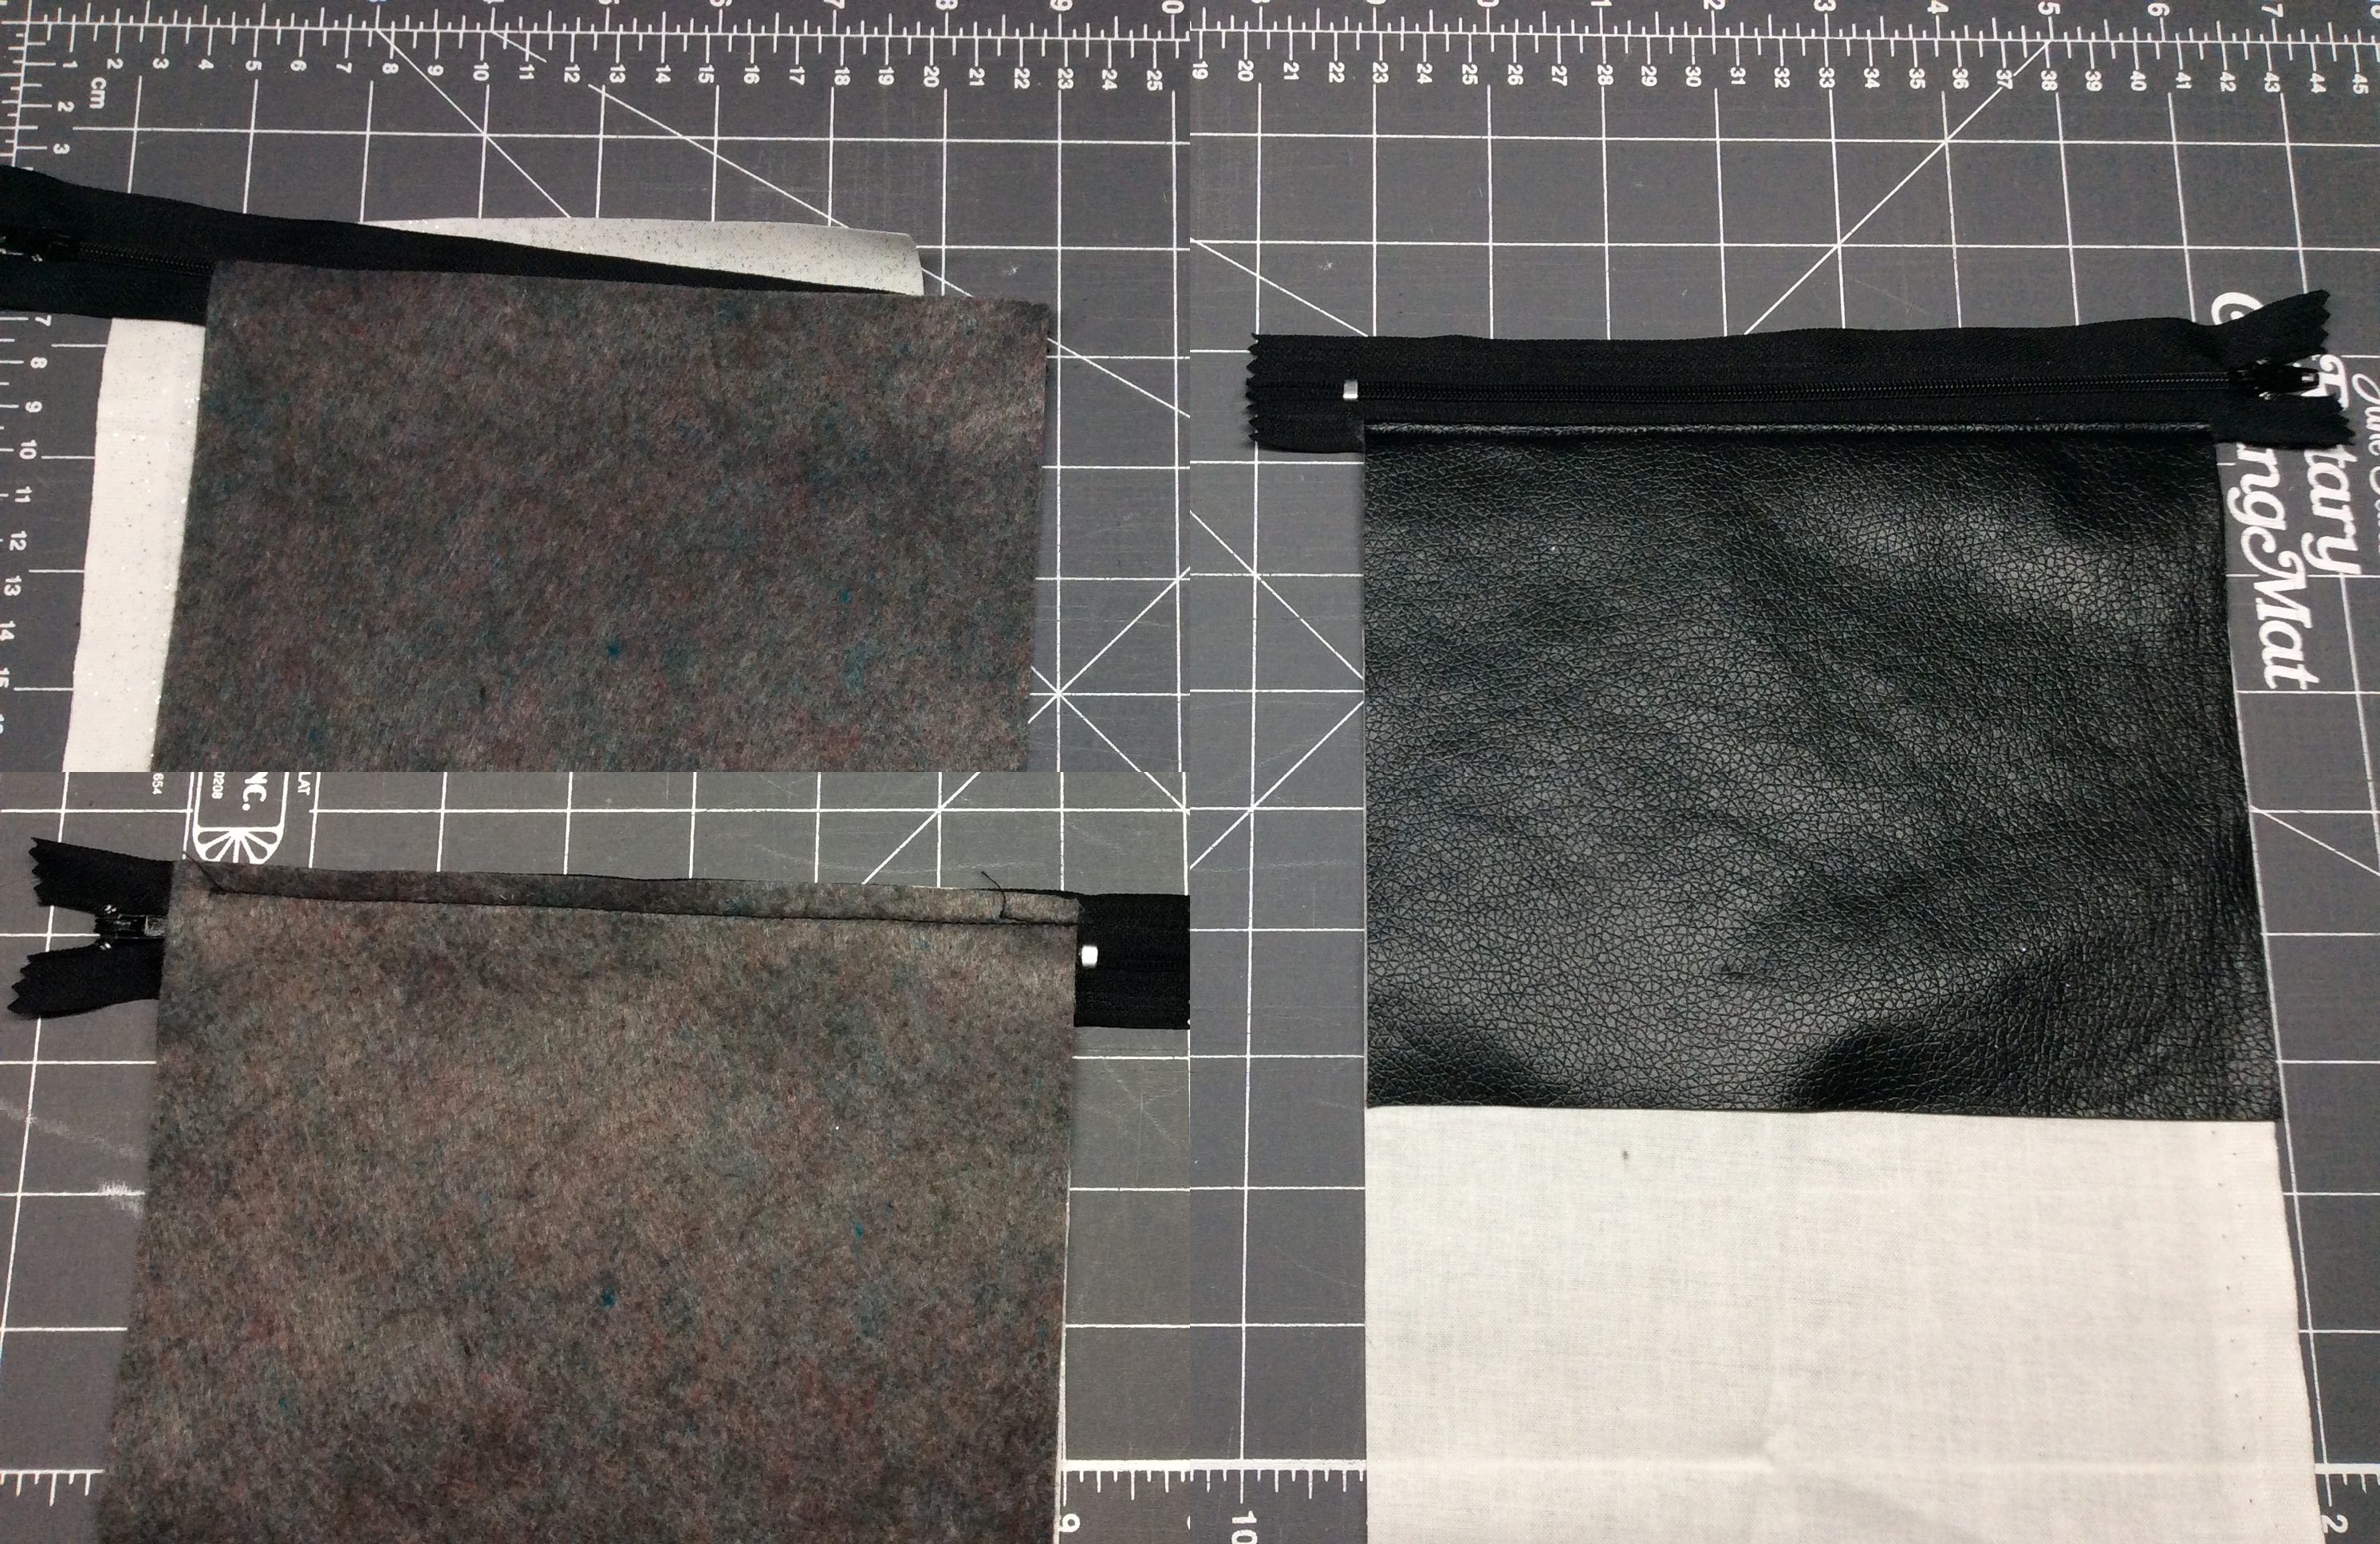
I’m using a 9″ zipper here, which refers to the end of the tape. As you can see the stops are about 7 1/2″ apart. You can use a shorter zipper if you extend it, though your pocket won’t be quite as convenient.
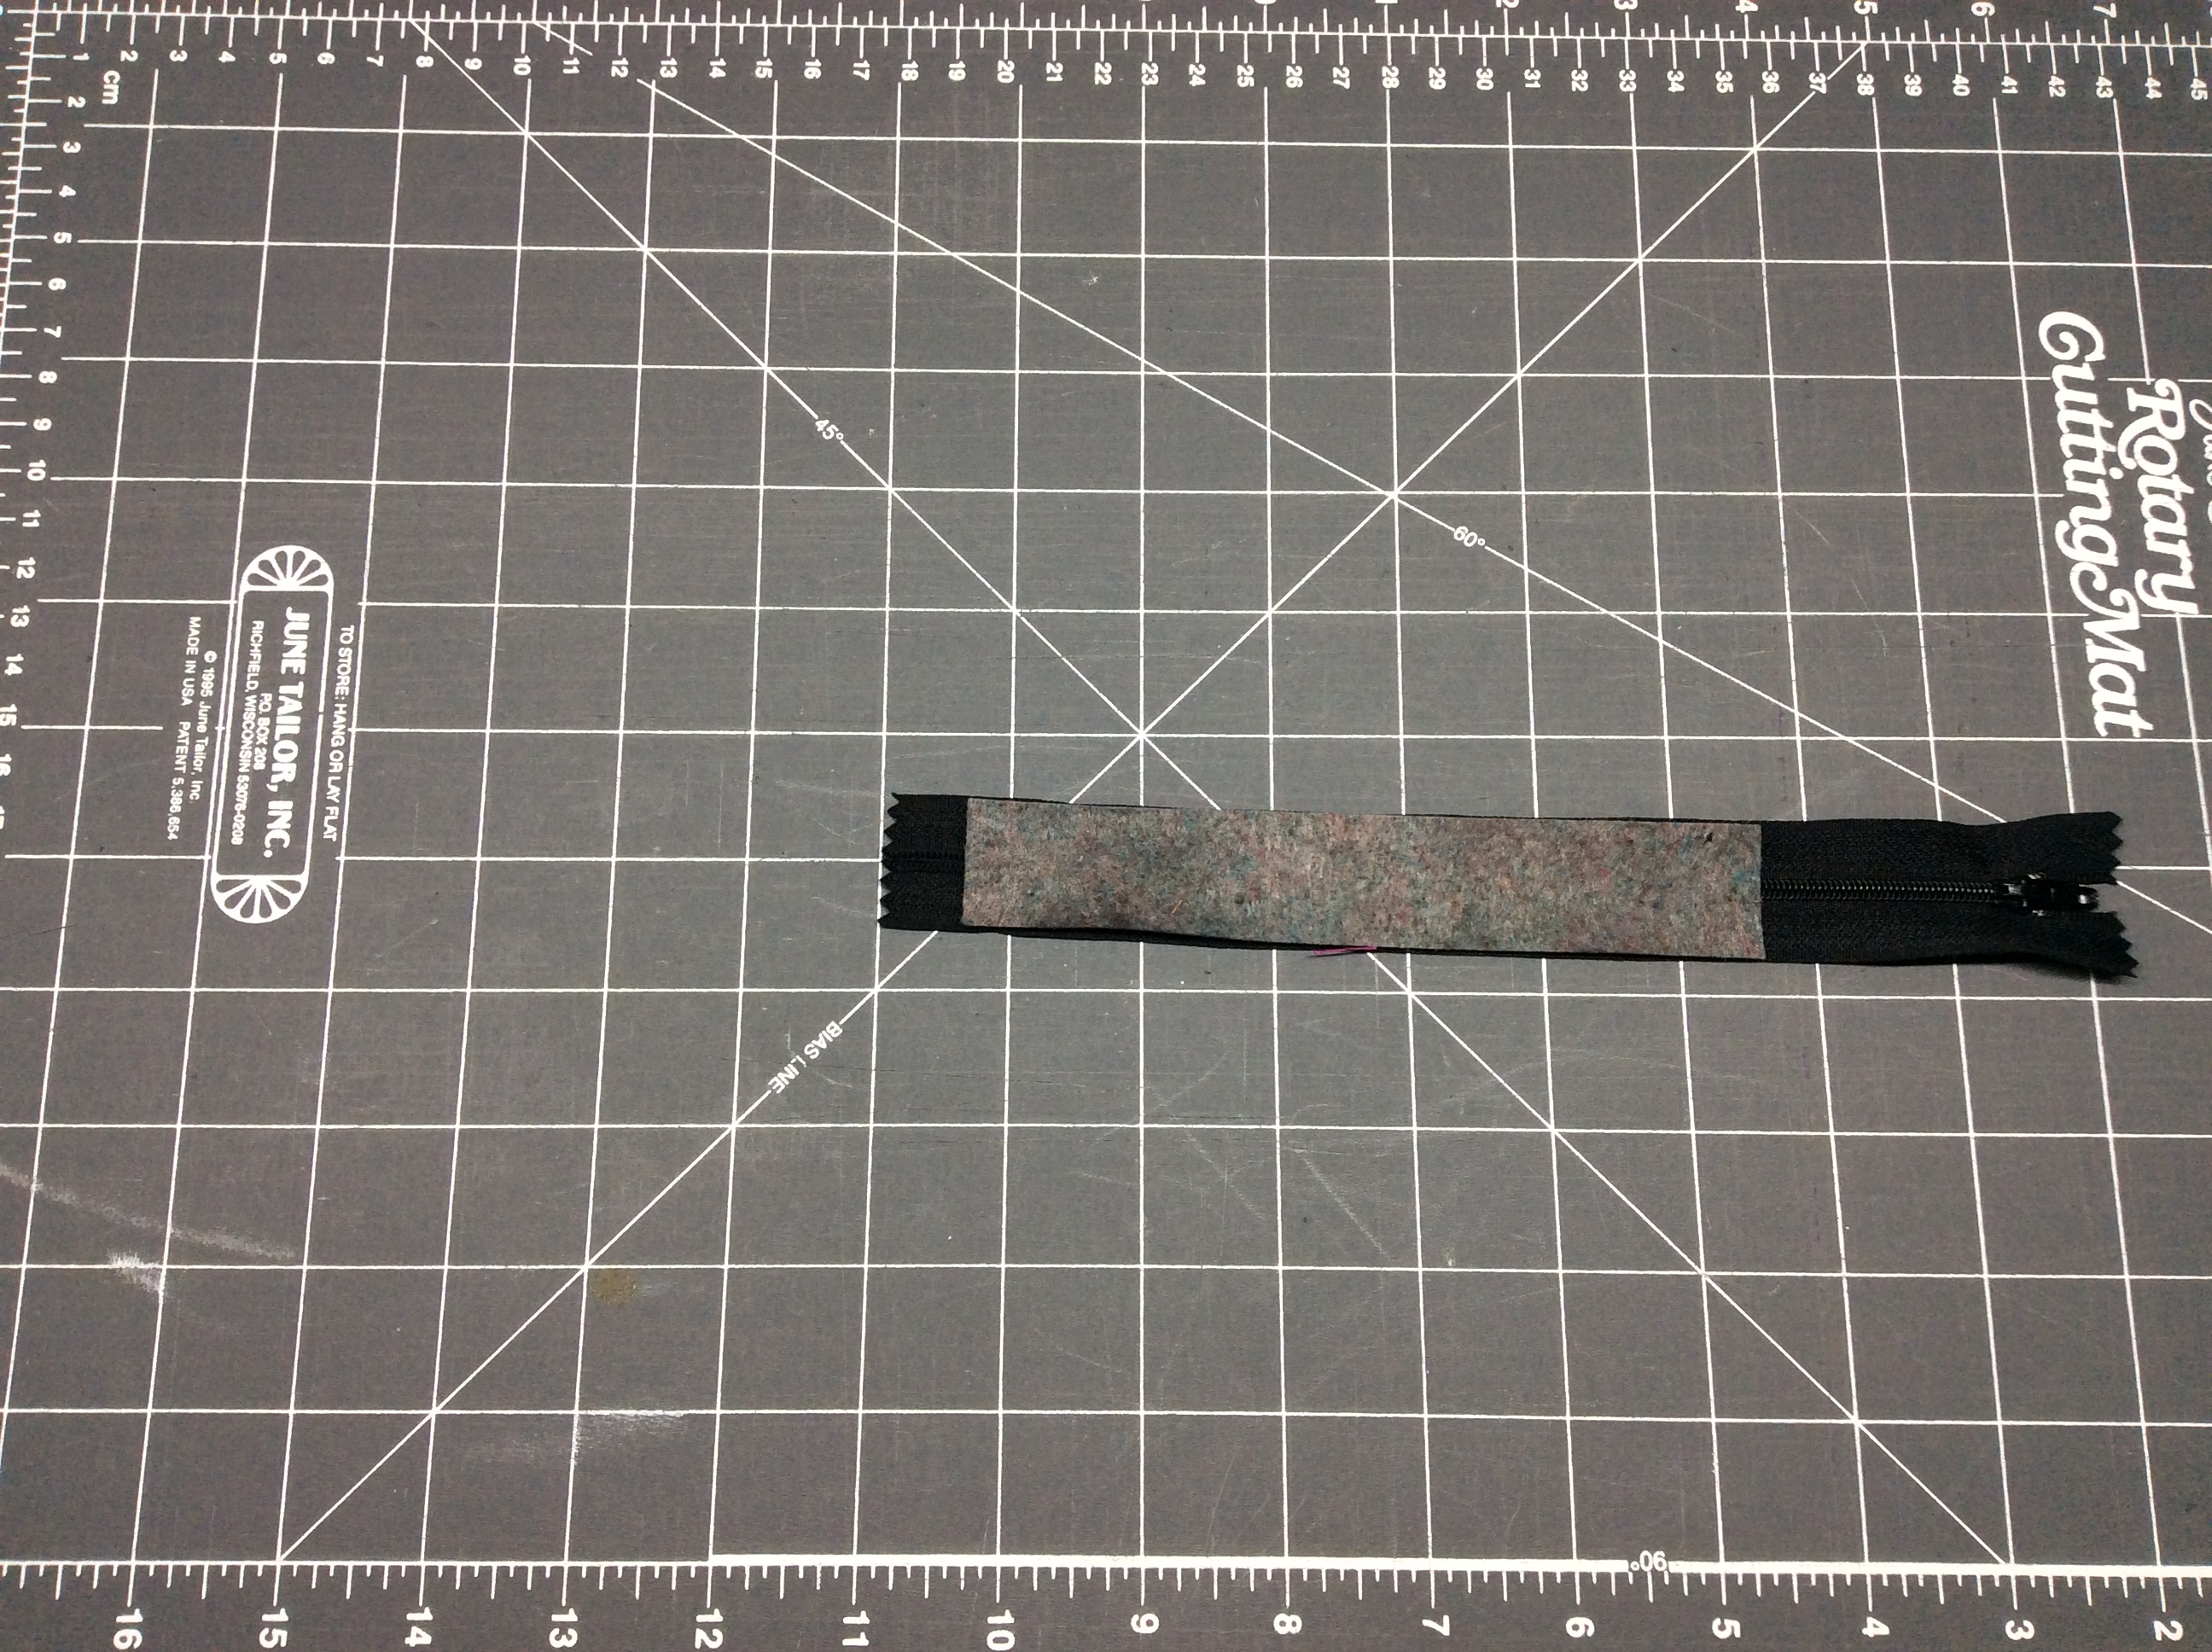
To extend it, use a 1″ strip of your outer fabric. Place it right sides together with the zipper, and sew a 1/4″ seam (not pictured). Make sure you miss the stop, and don’t sew through metal teeth. Open up the strip and topstitch 1/8″ from the seam. Do the same at the other end (open the pull a little and carefully align the two sides), then just treat the extended strip the same as the zipper in these instructions.
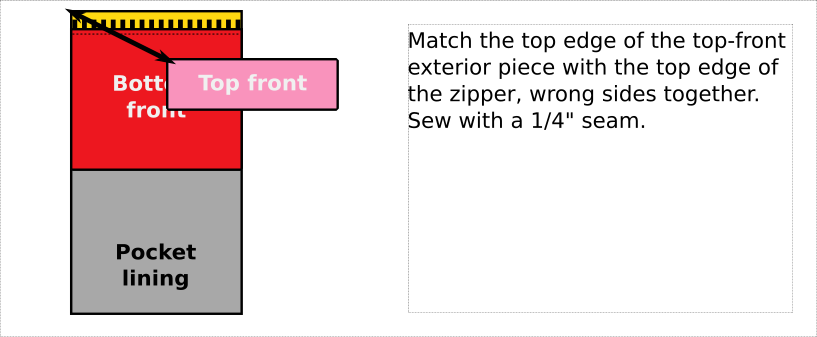
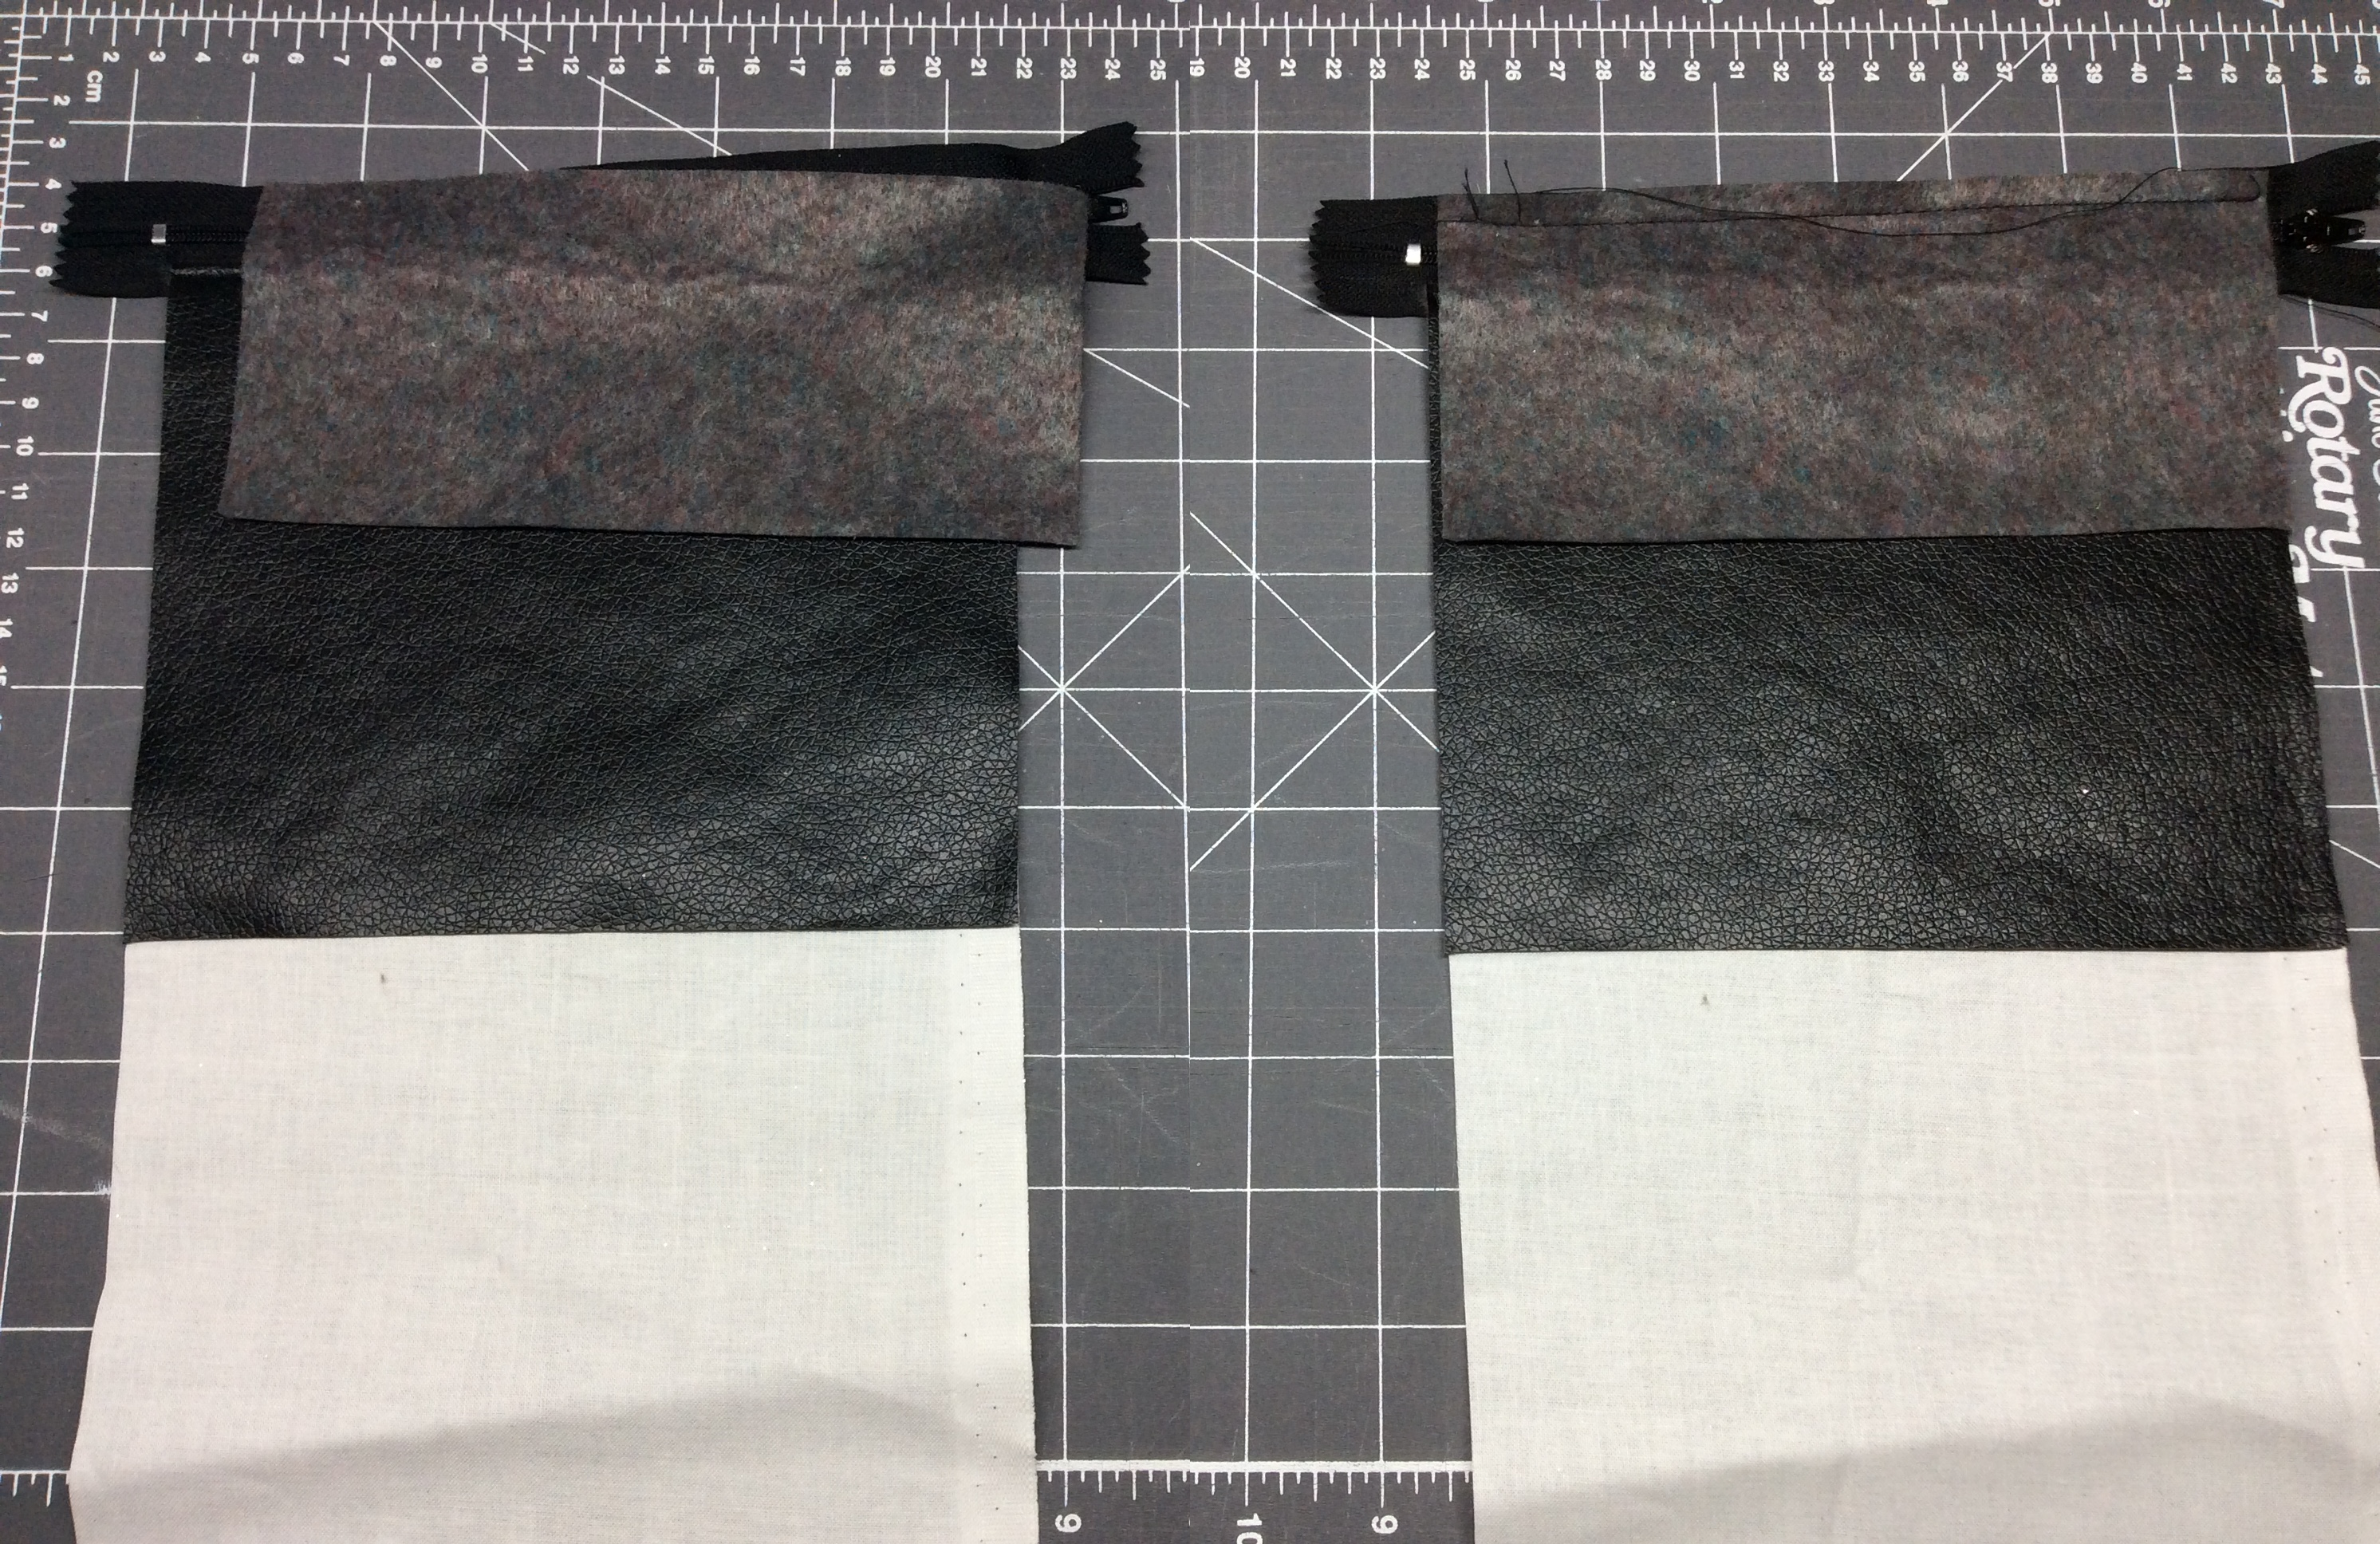
Here is where things get just a little tricky.
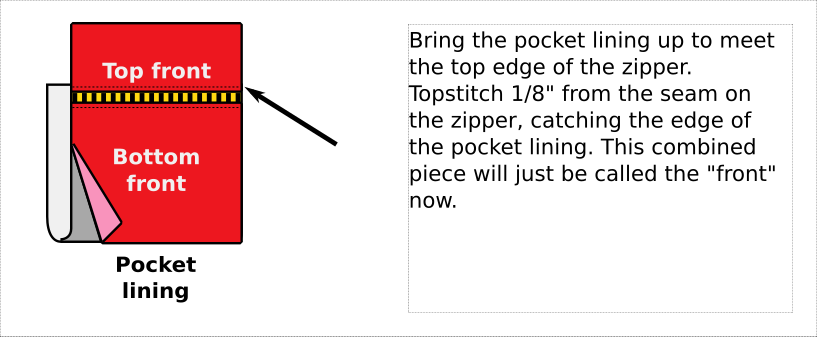
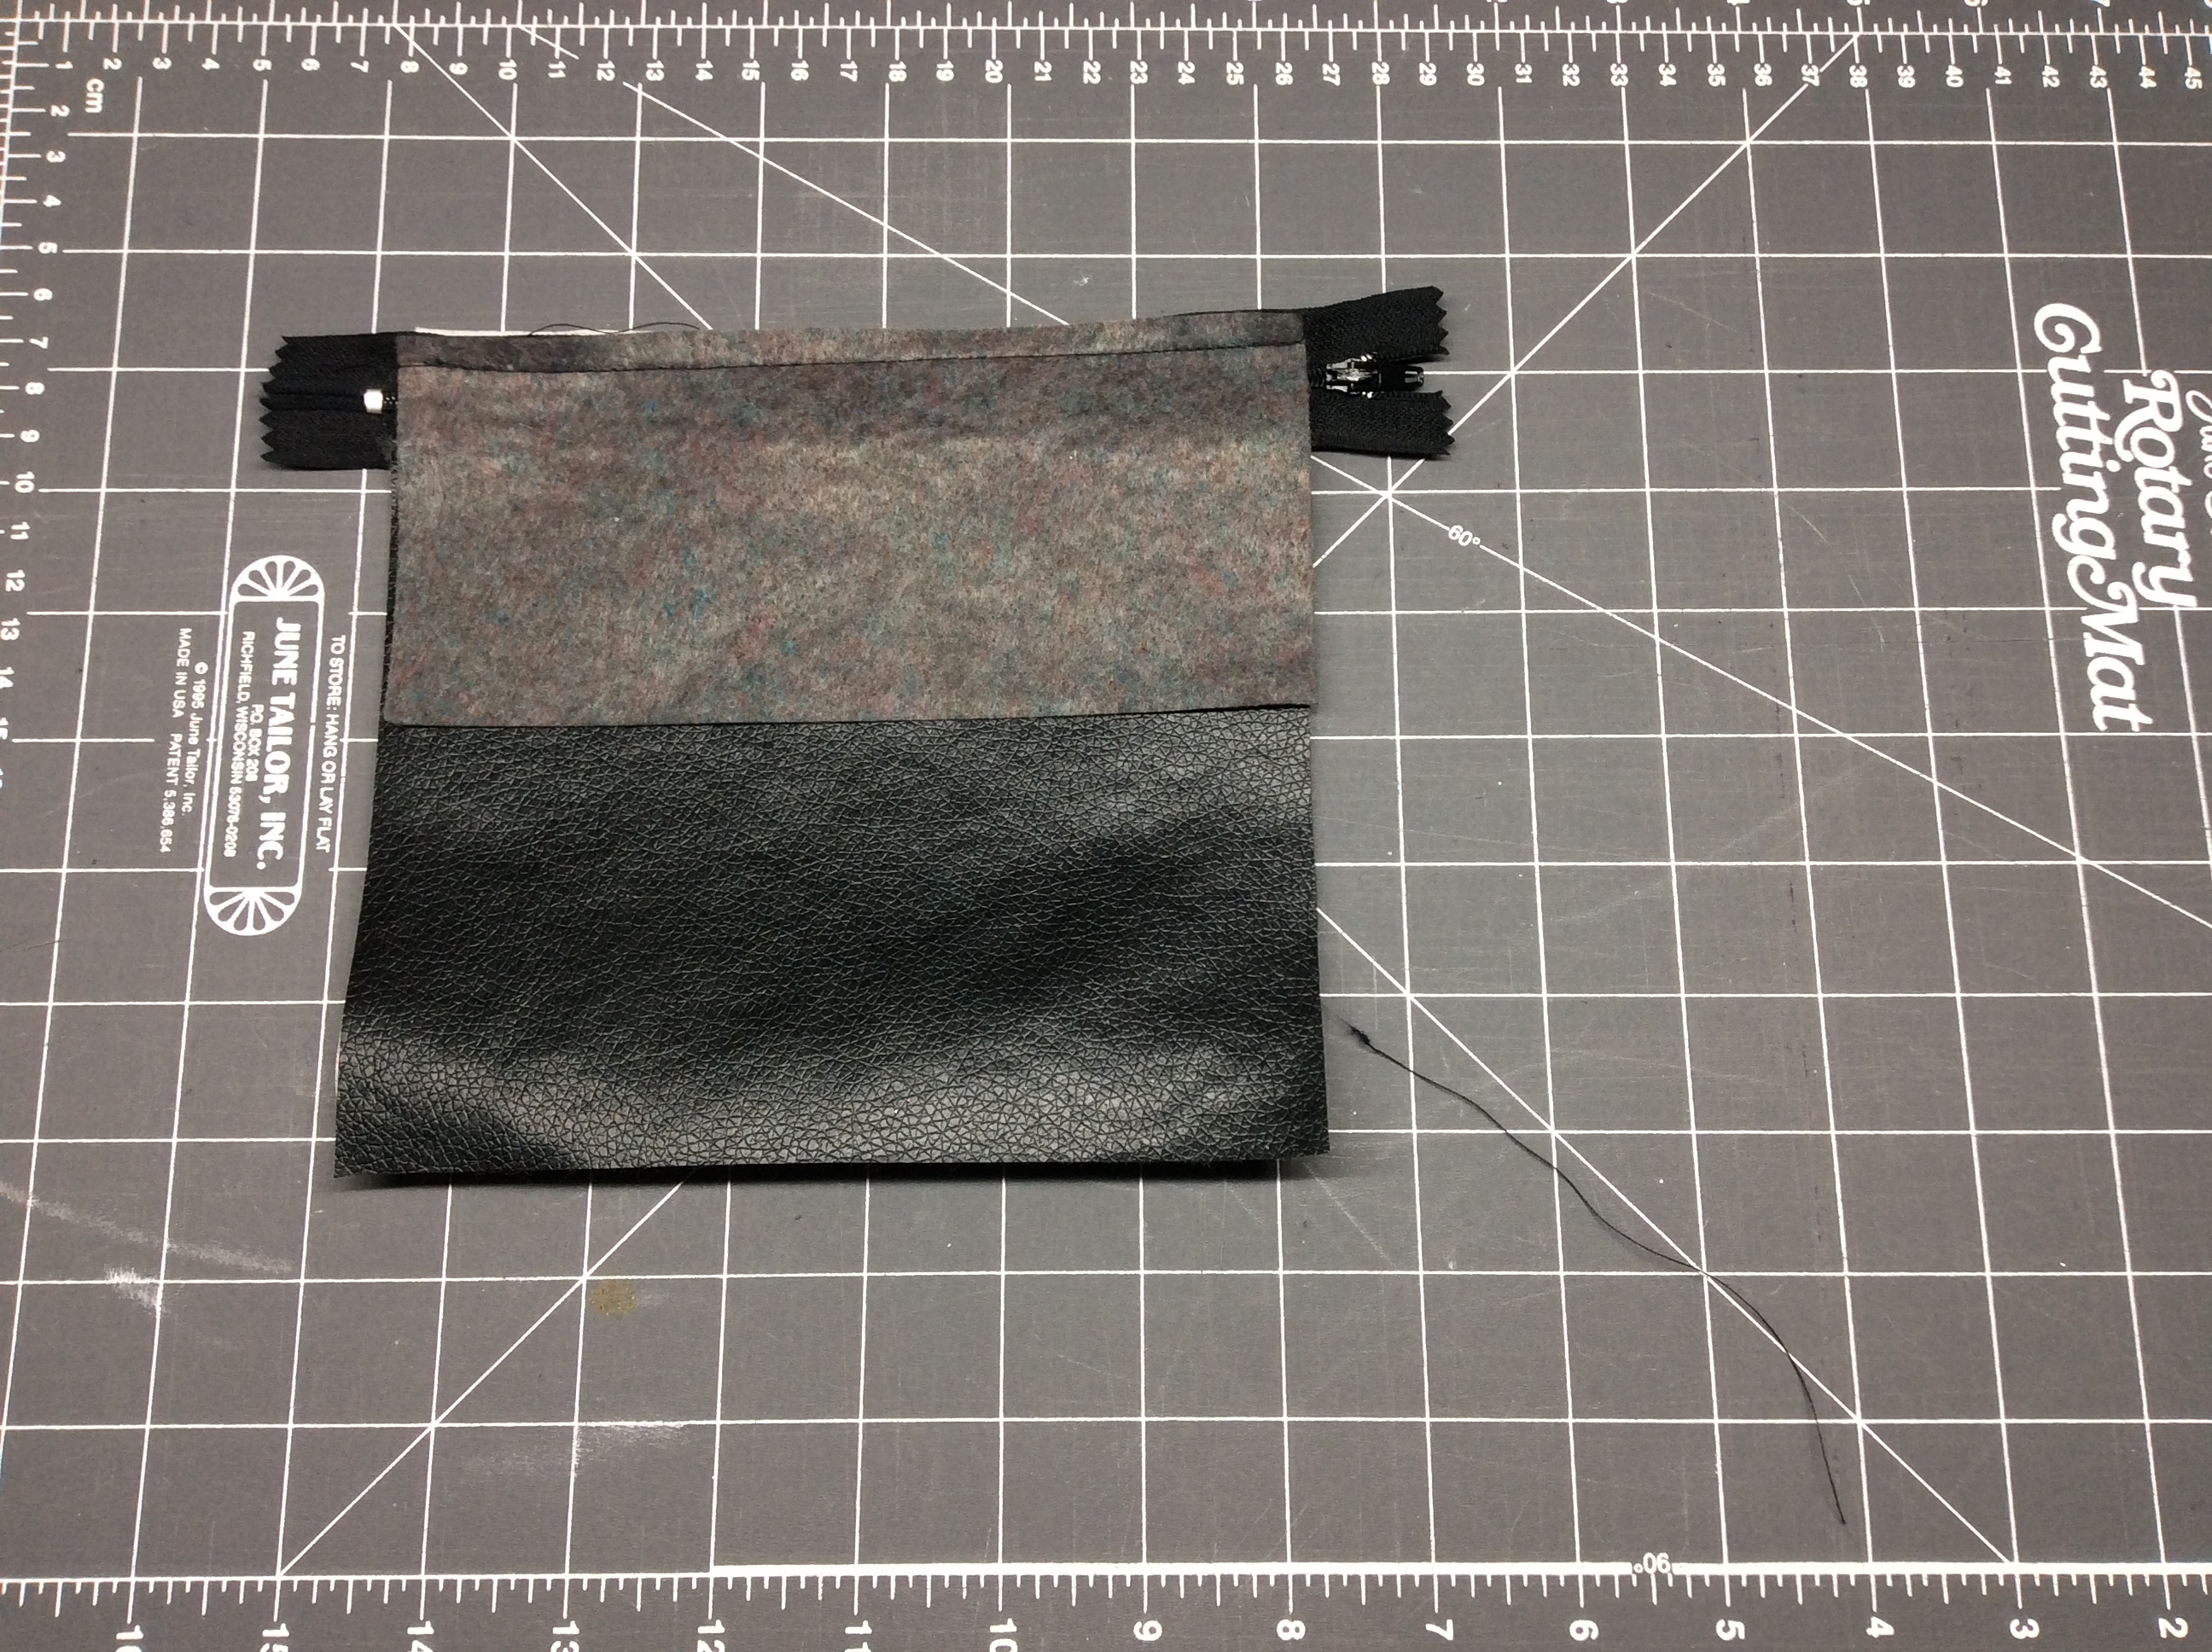
In the photograph, the top front is still folded down so you can see just the tiniest bit of the lining fabric peeking above the zipper on the left. You can see where the folded lining is lifting up the vinyl at the bottom (pointed to by the piece of thread which I promise was not there when I was looking at it in real life).
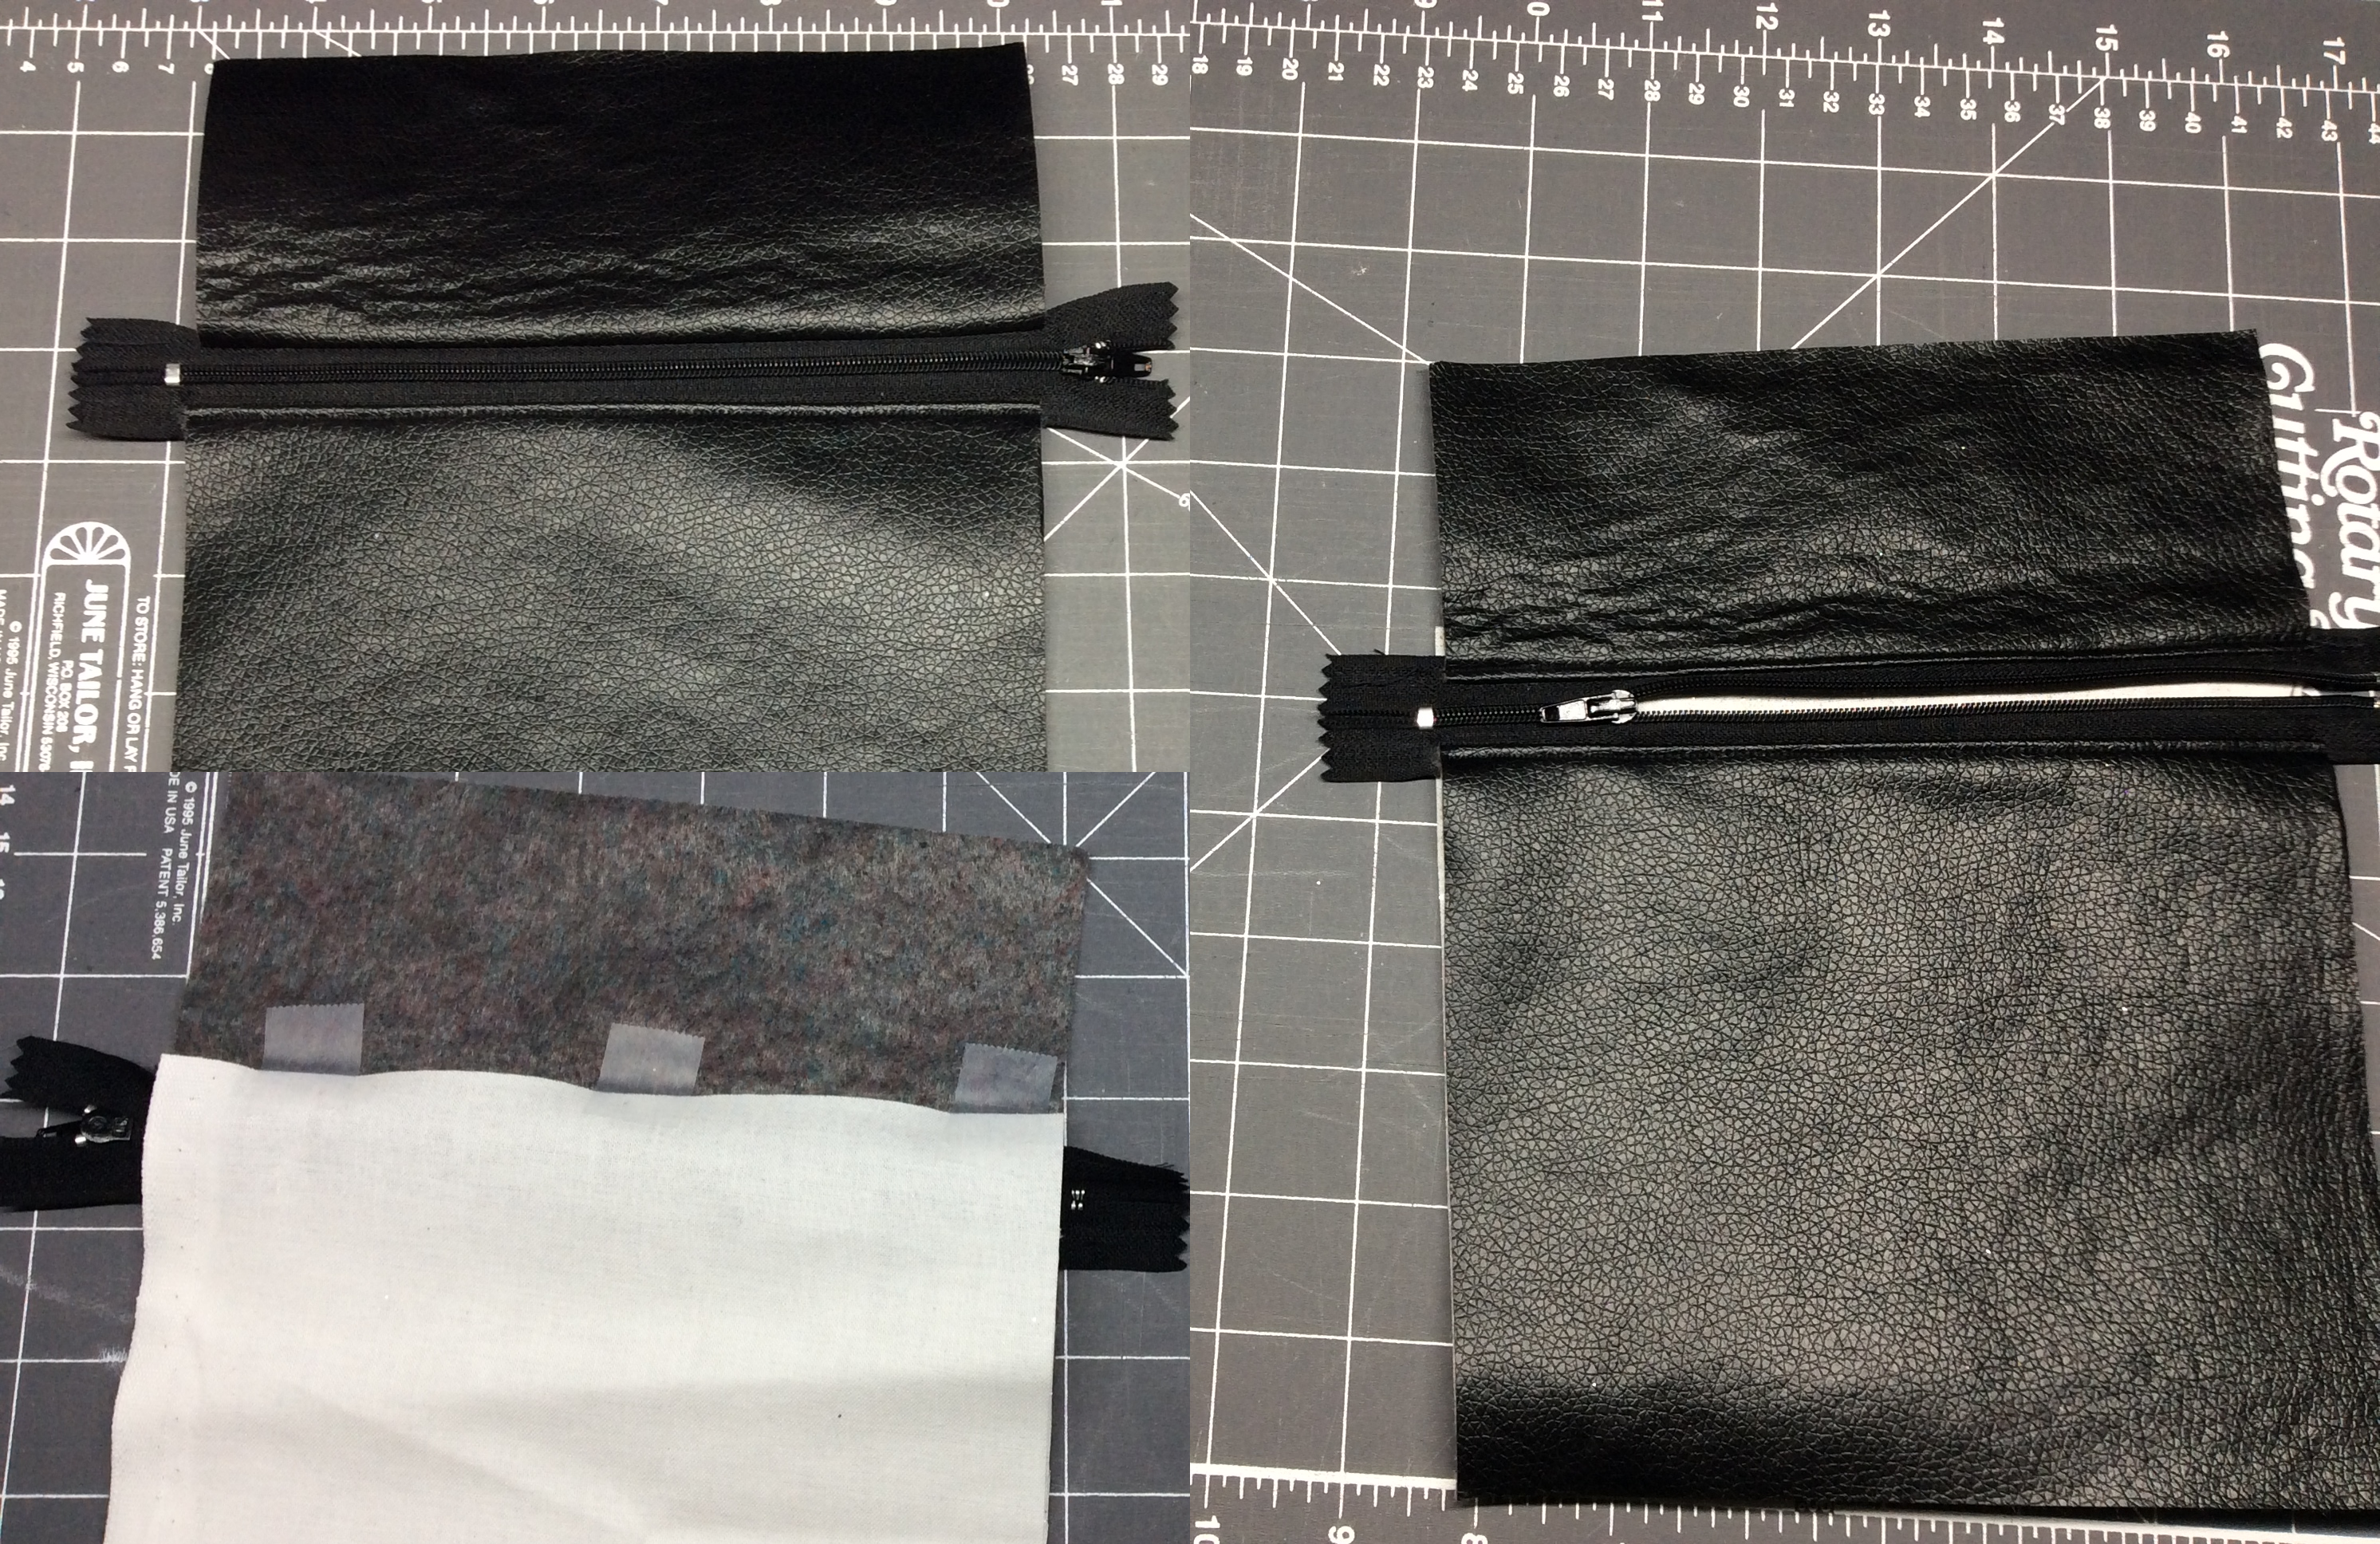
Sometimes I cheat a little. Here’s the front and back, ready to sew, with the lining taped in place. (Clips won’t reach and pins will leave holes.) I then flipped it back over and topstitched it, being careful to make sure the zipper stayed flat since it’s not caught in the tape.
Tip: if you don’t have a nonstick foot, a piece of matte cellophane on the underside of a spare presser foot will do a pretty good job. Another alternative is a piece of wax paper on top of the vinyl. Just remember to switch back to the regular foot to sew things like the lining, or it will slip all over the place.
That’s the end of the pocket.
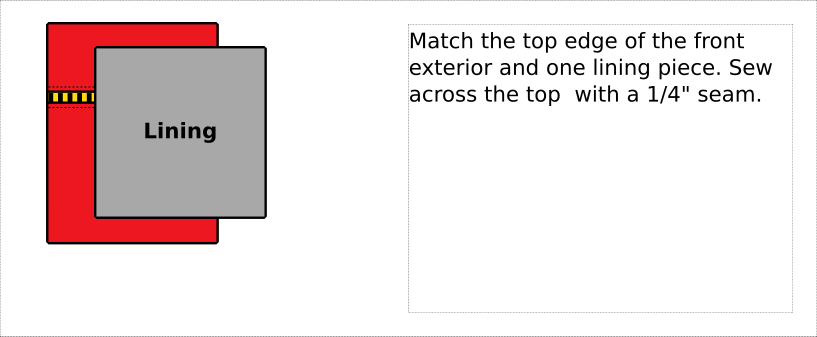
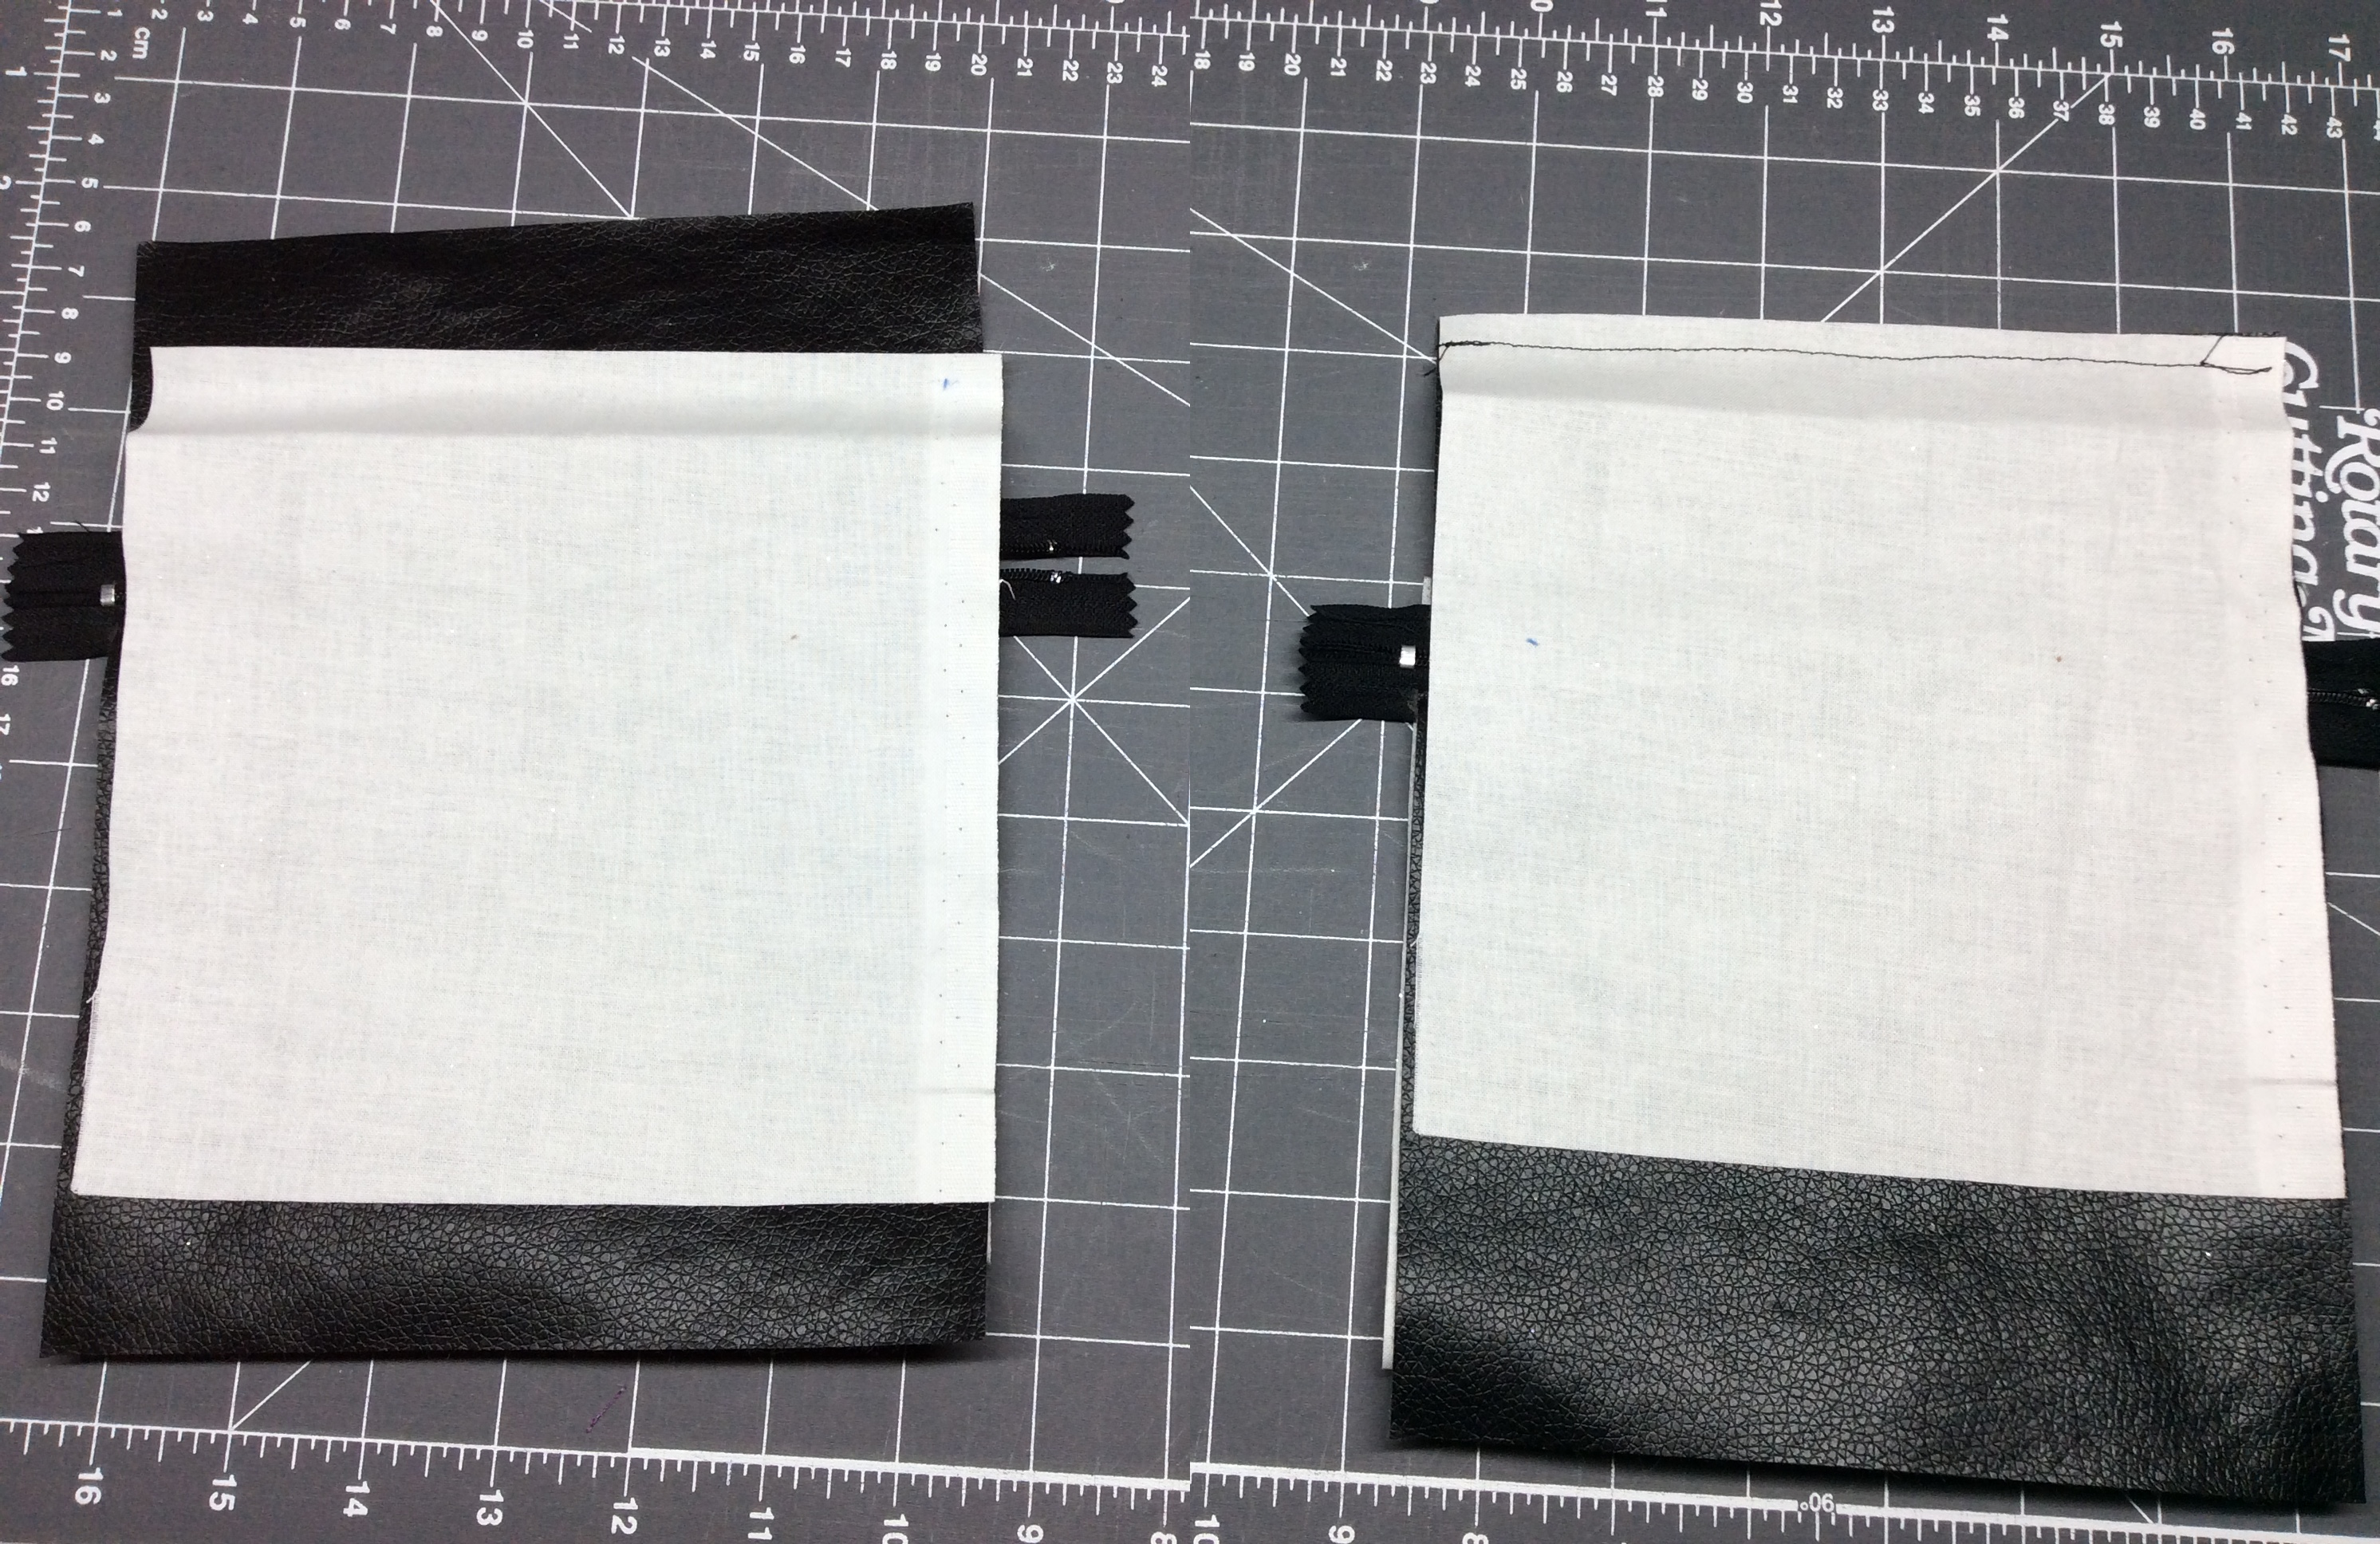
Pretty simple.
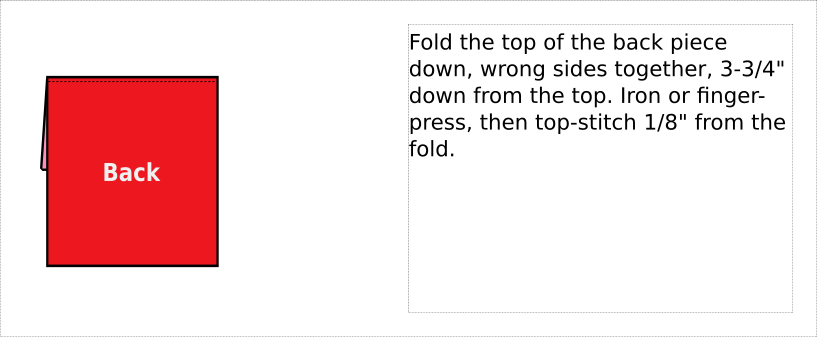
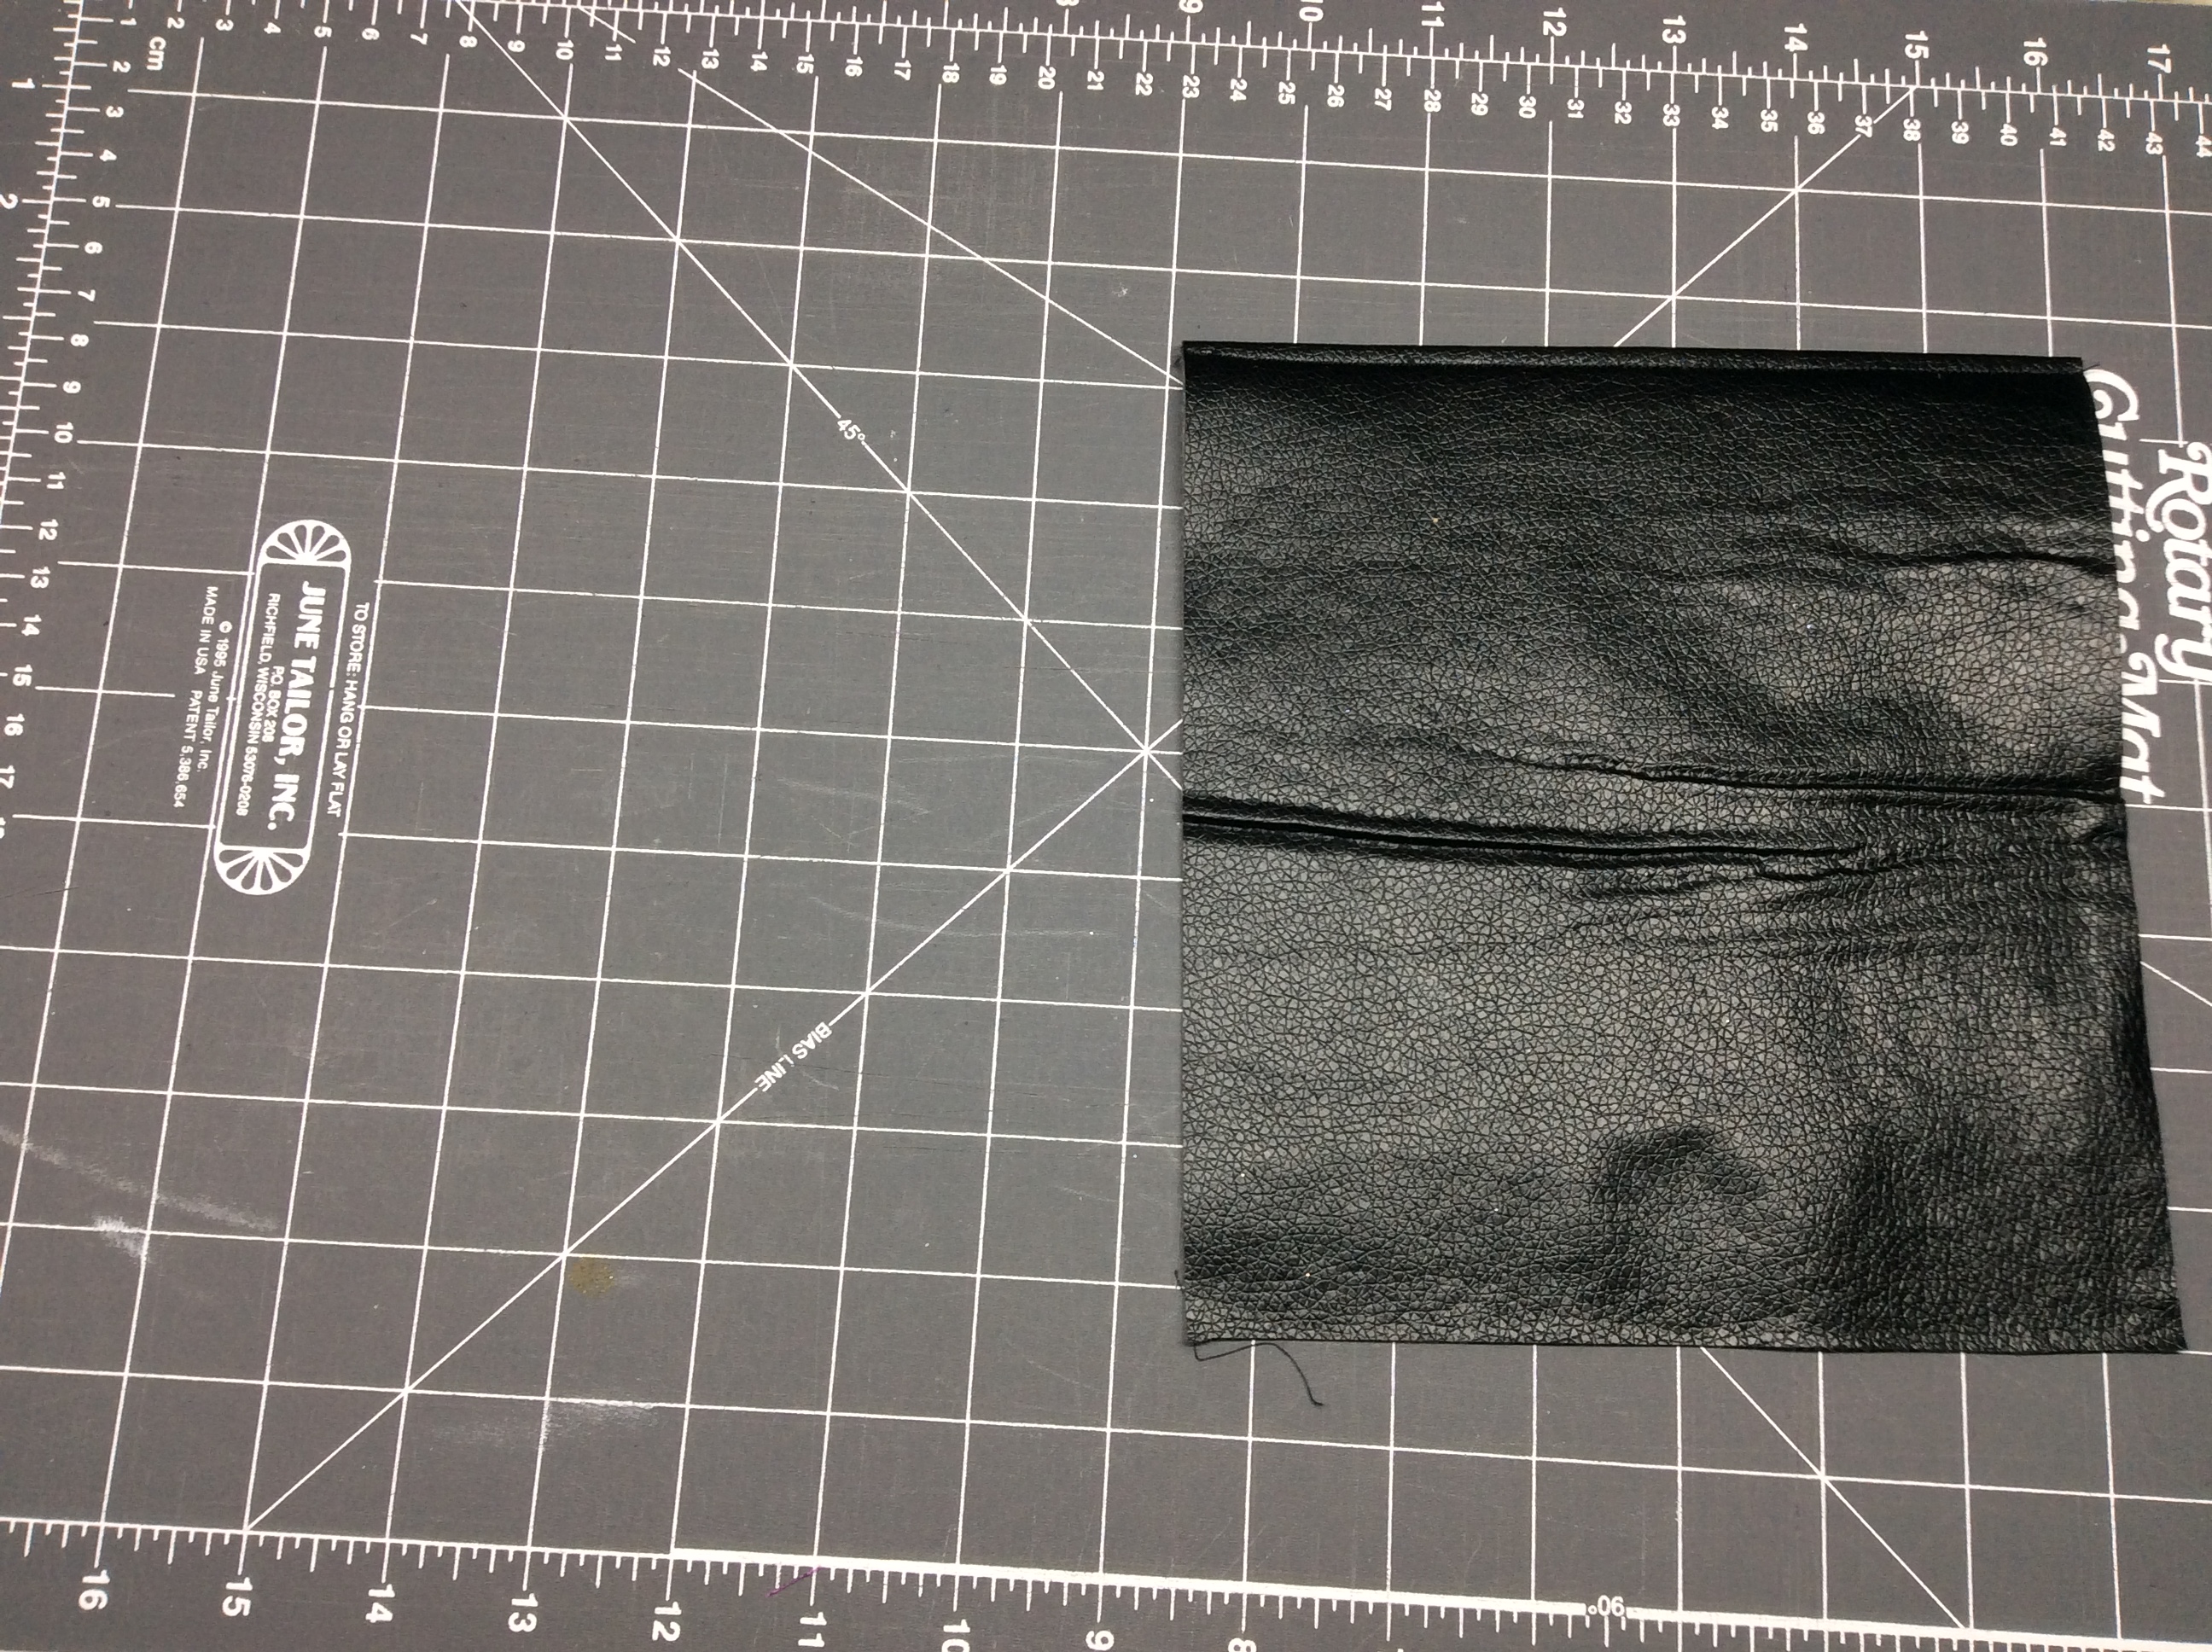
Another time to use that non-stick foot.
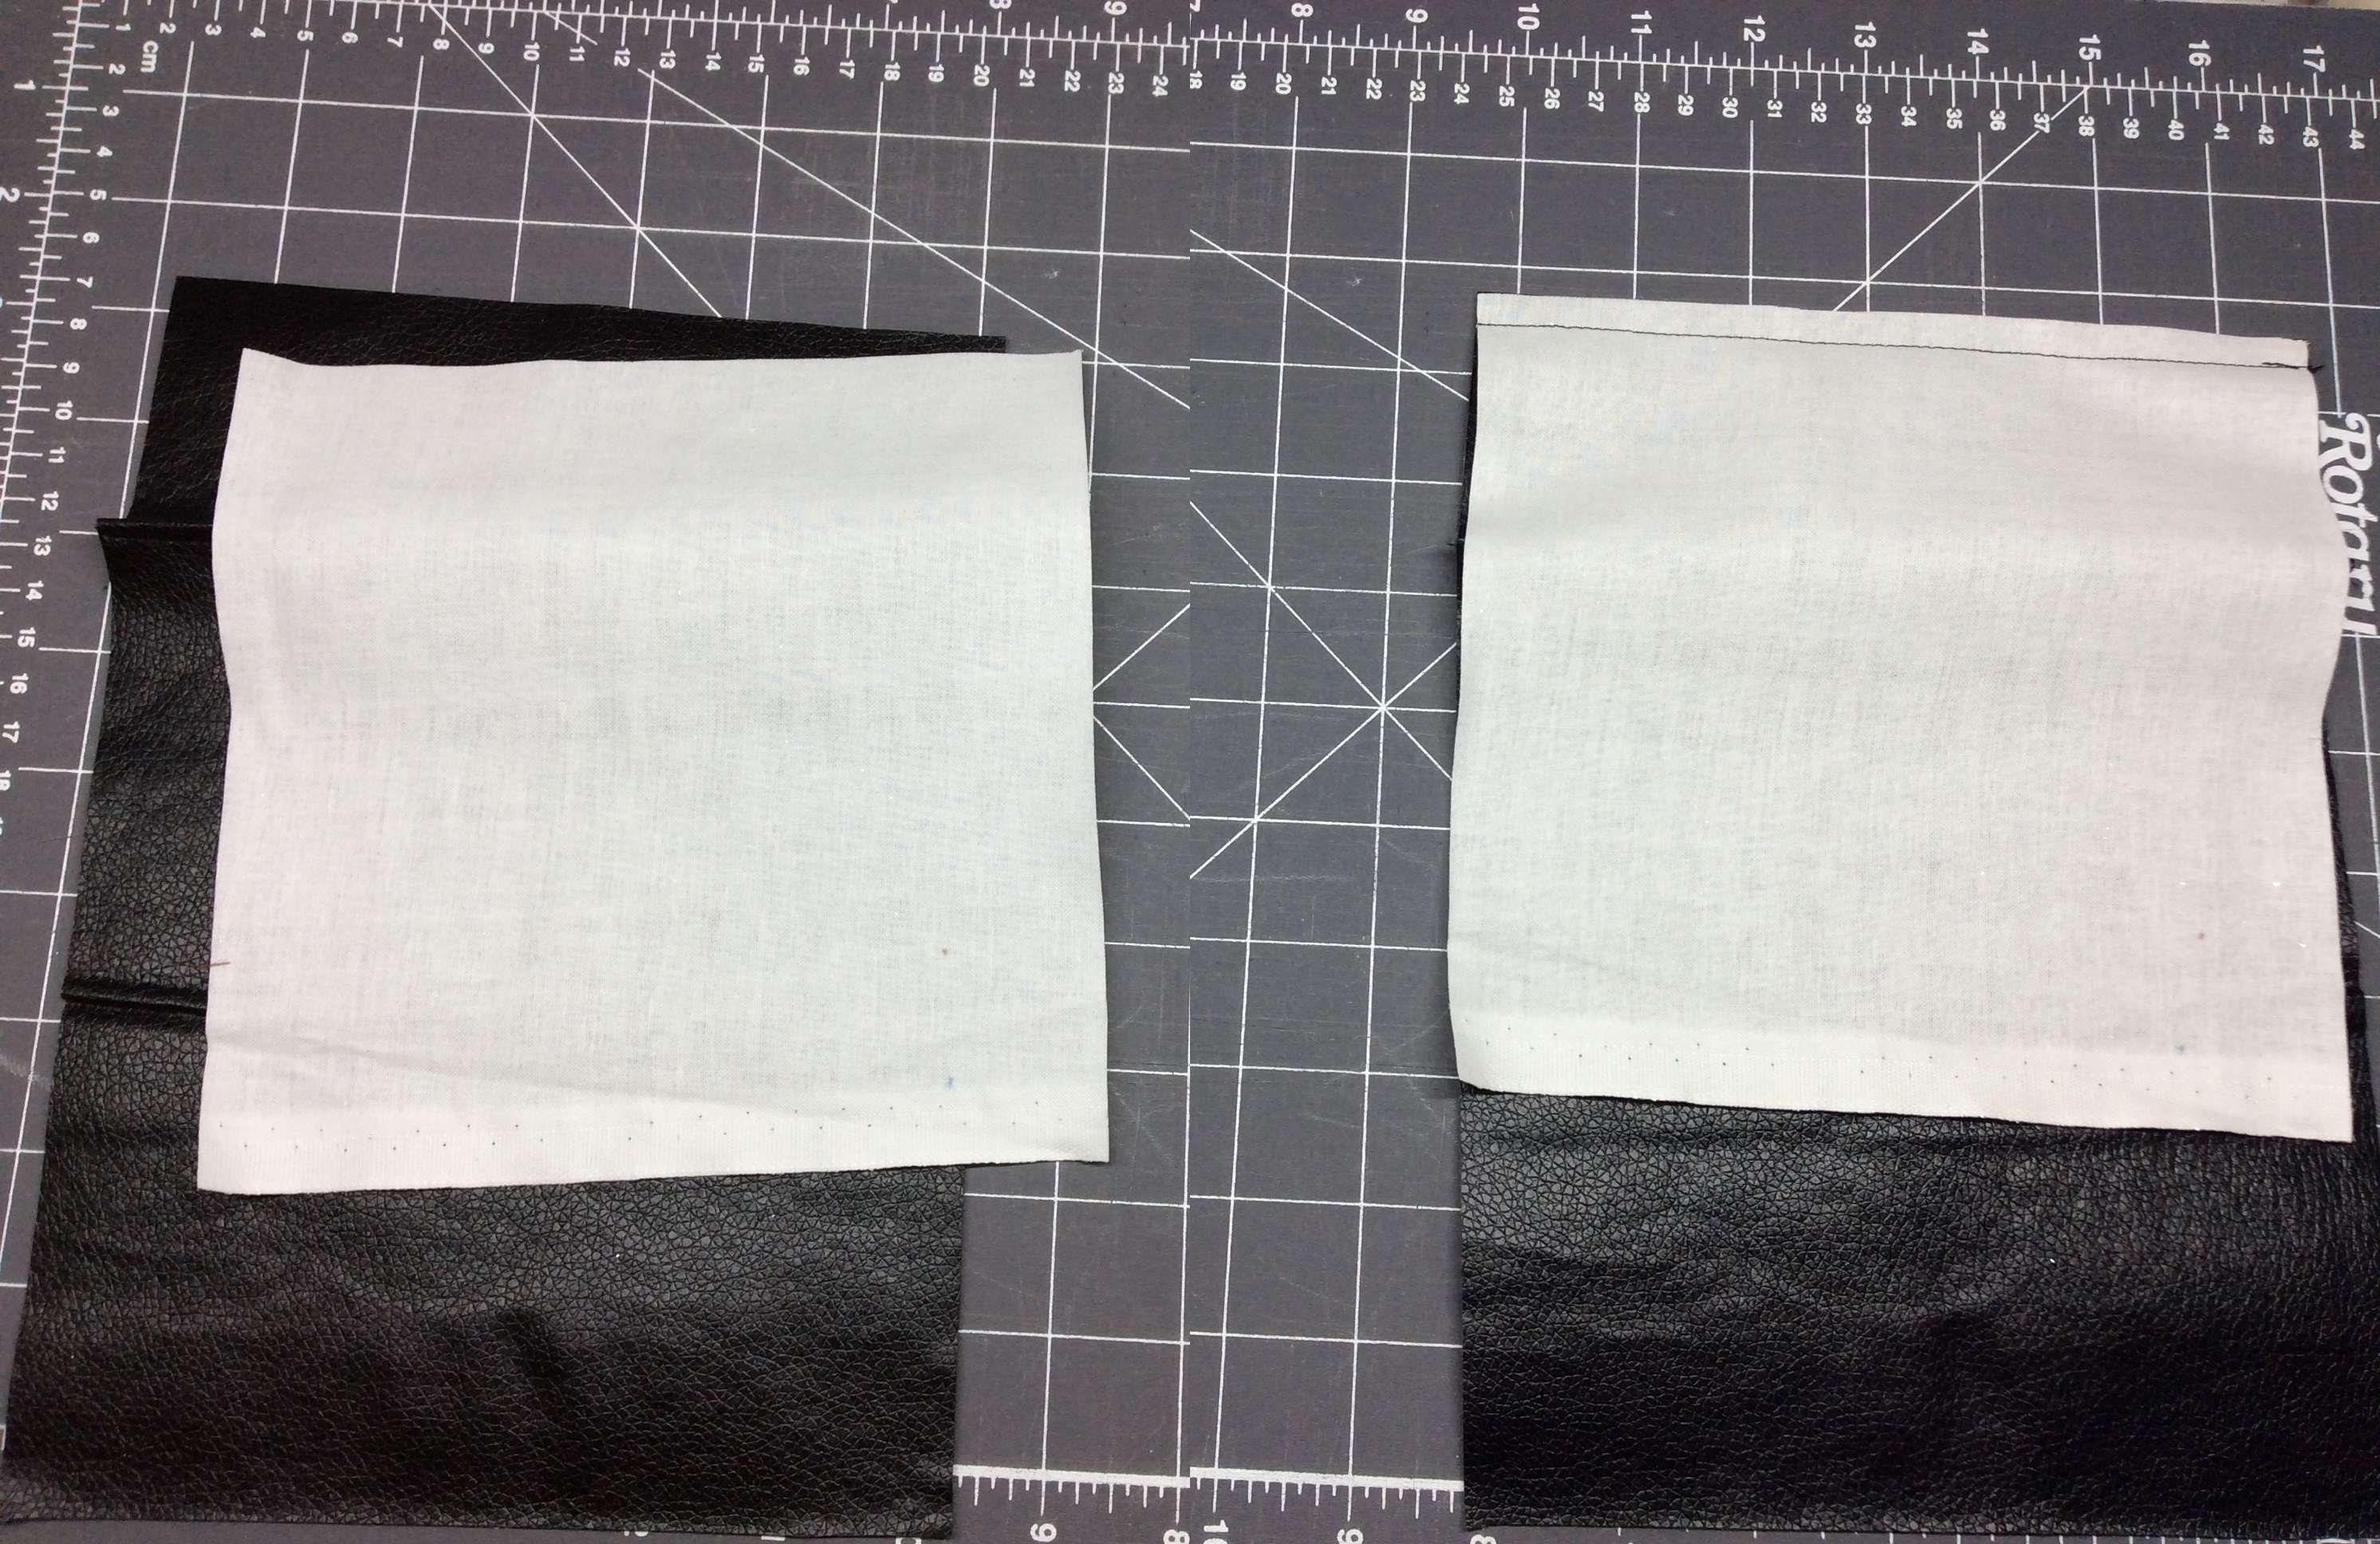
Now you have a front and back, each with lining attached.
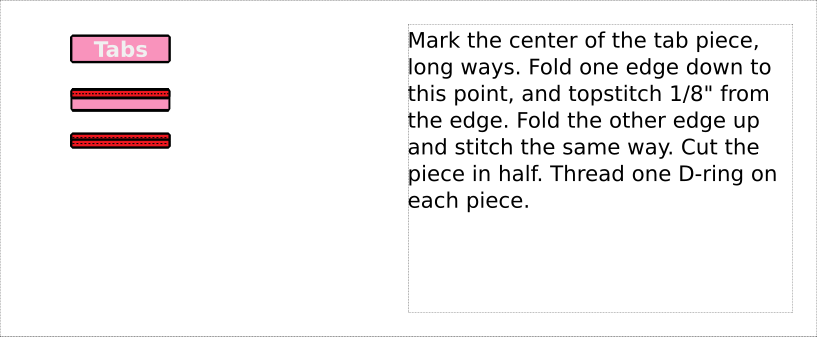
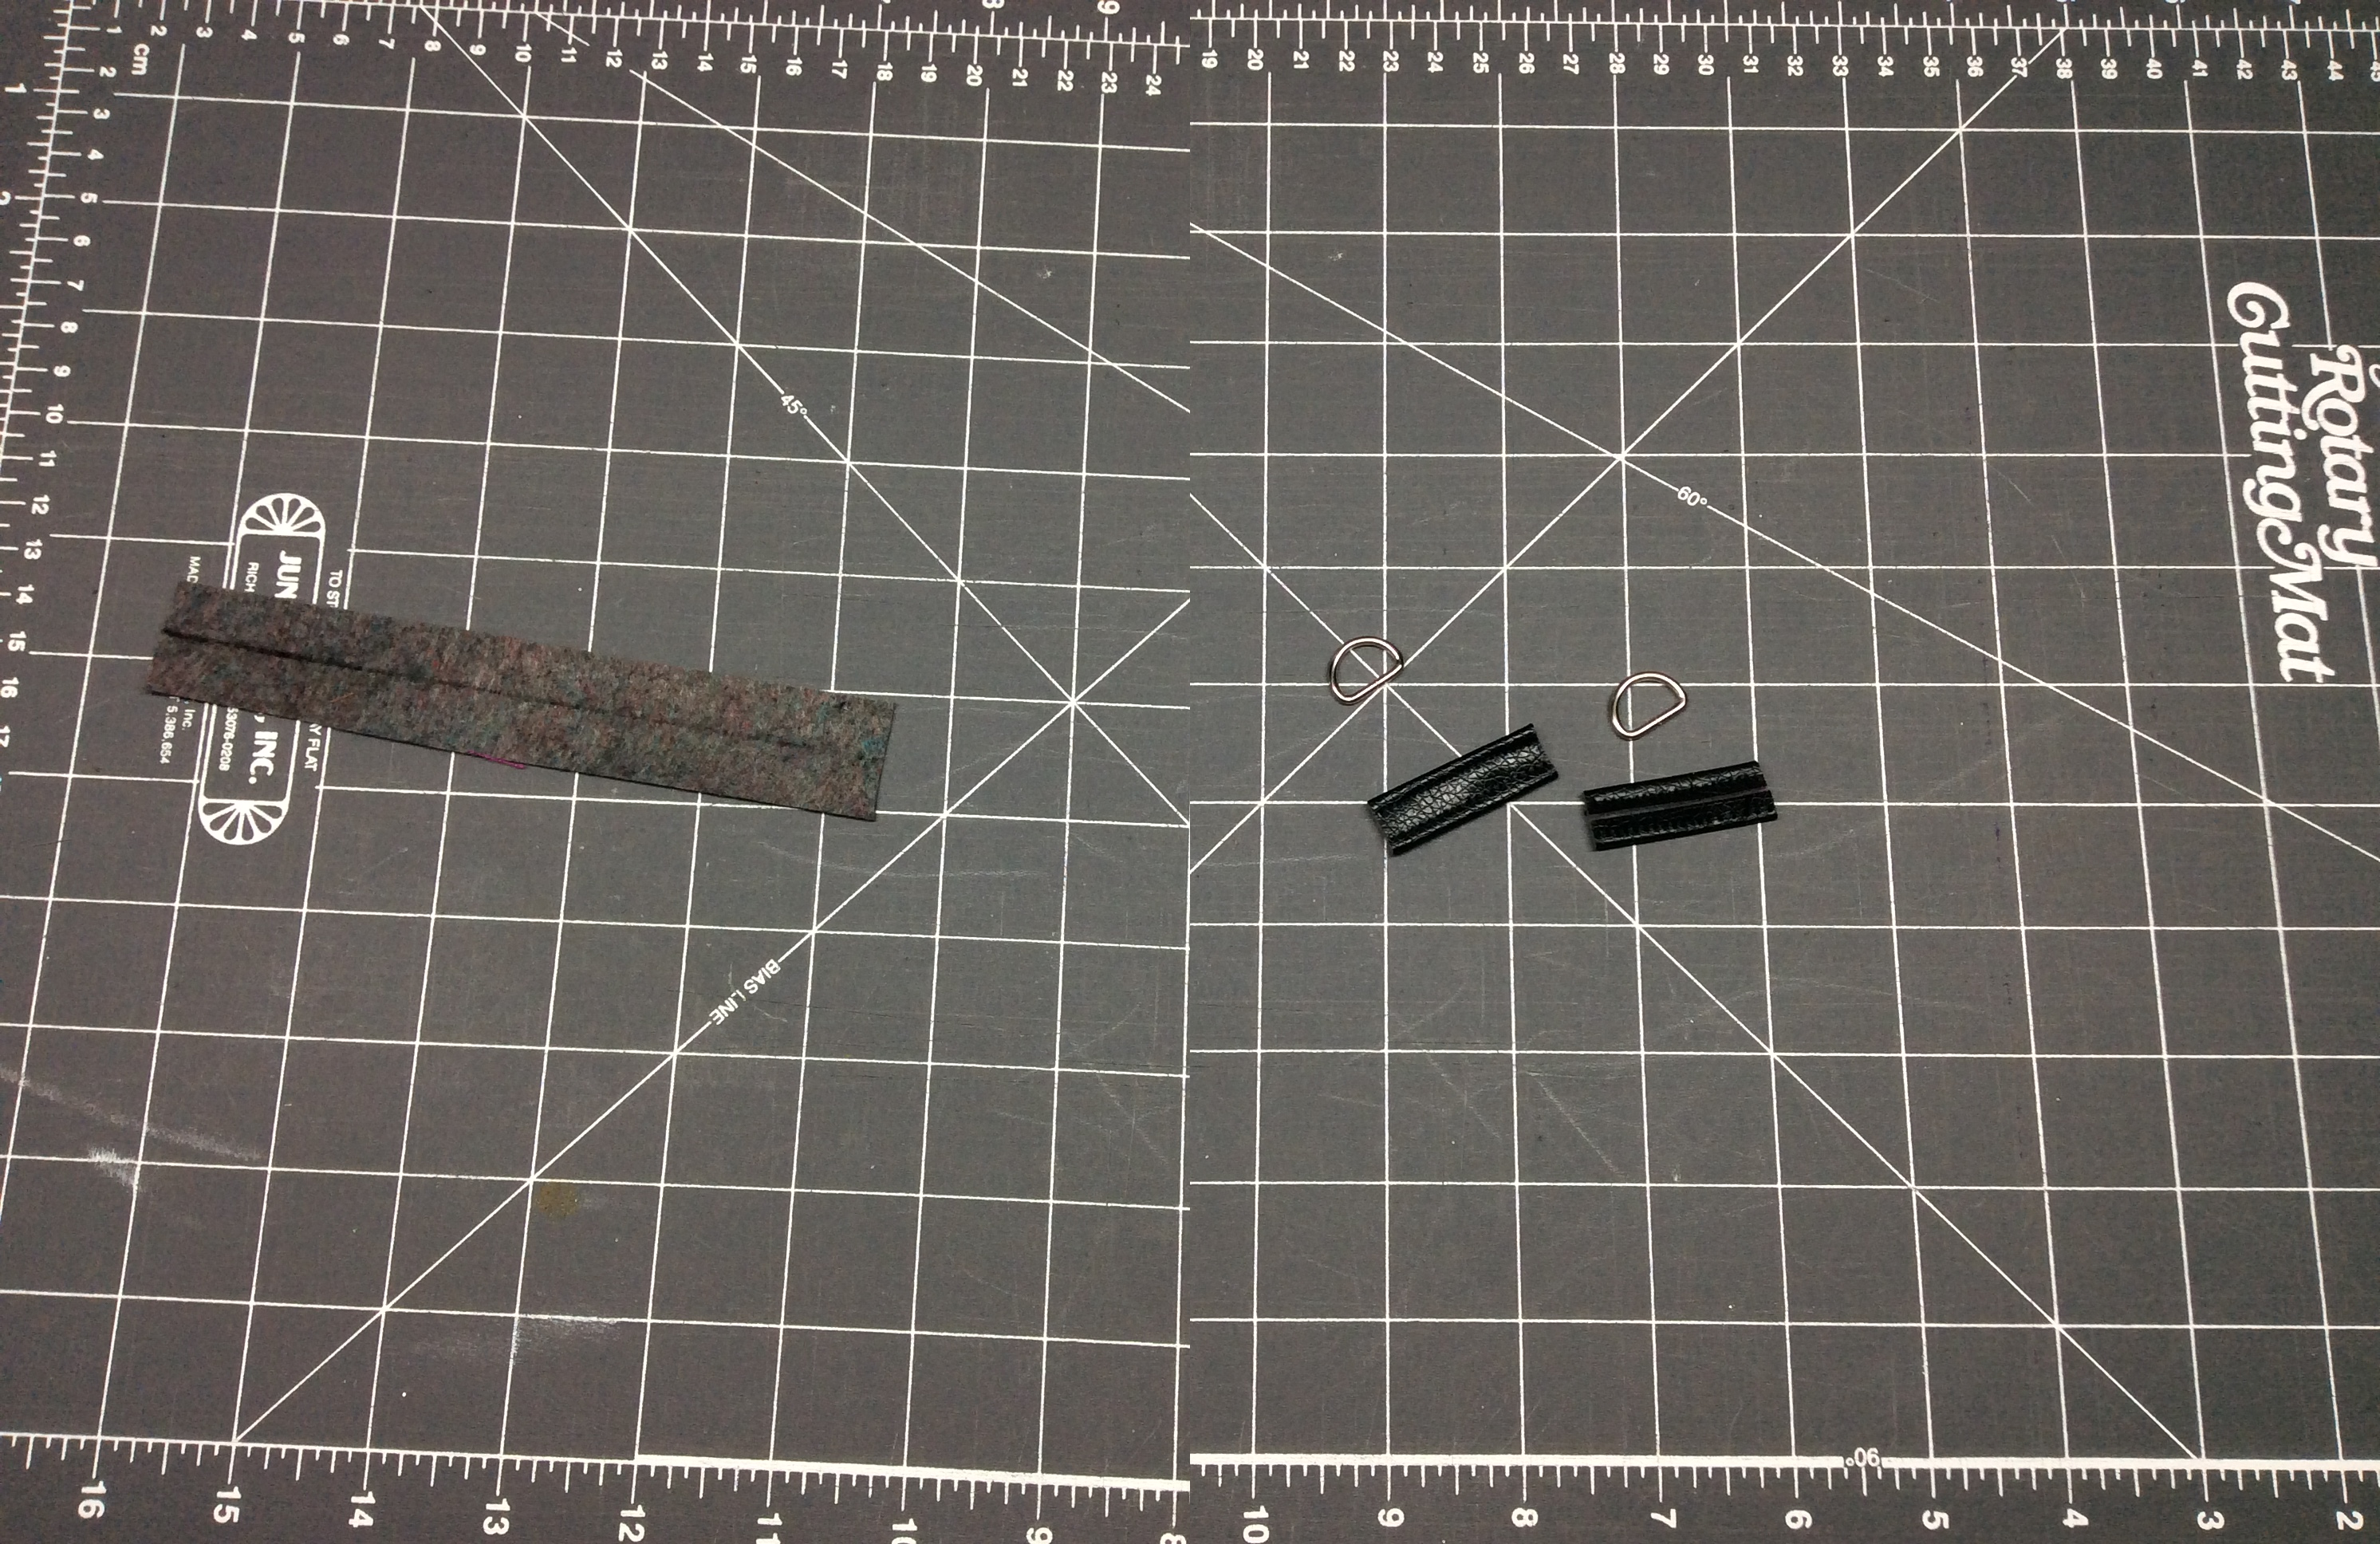
I trimmed mine by more than half – really the extra length is there because sometimes it takes a little bit of distance from the end before the top-stitching really smooths out. I went with about an inch and a half for each strap.
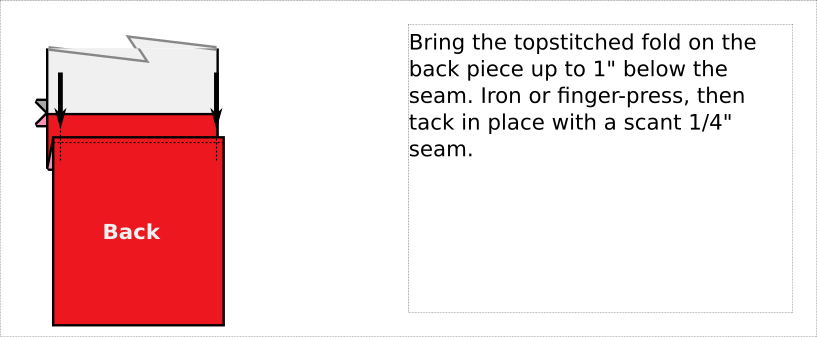
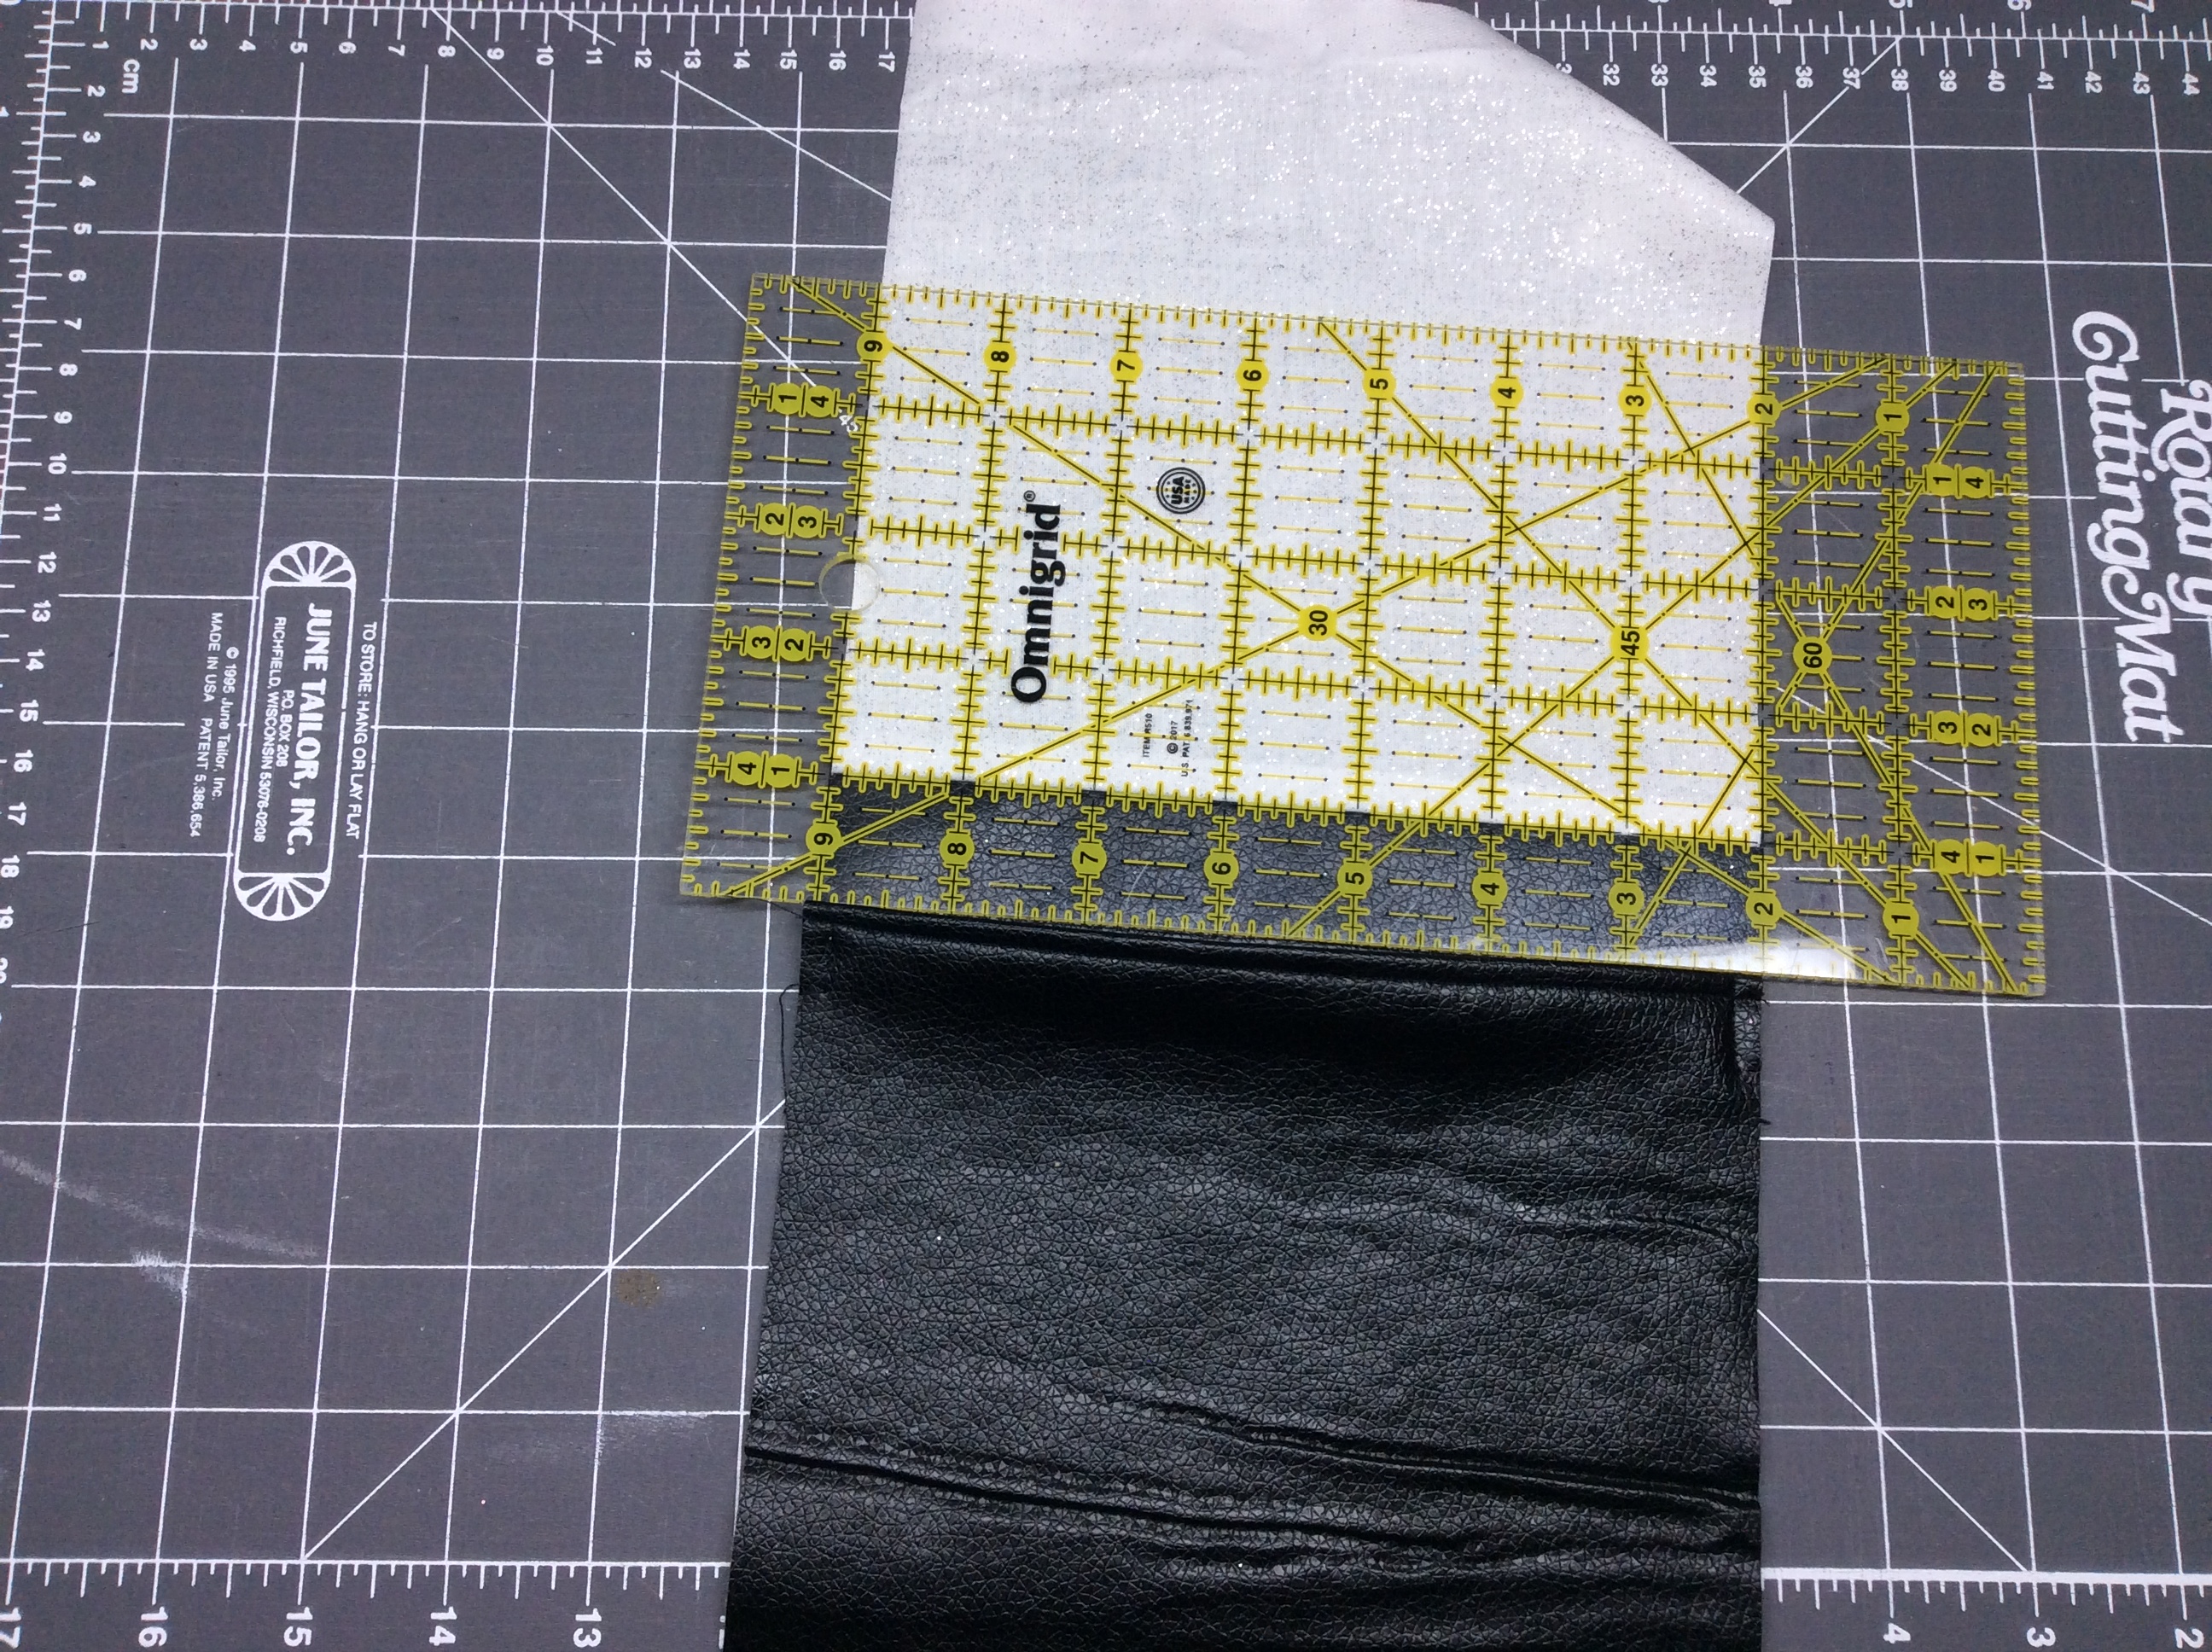
That topstitched edge will be the top back of the bag, with a pocket to hide the snaps.
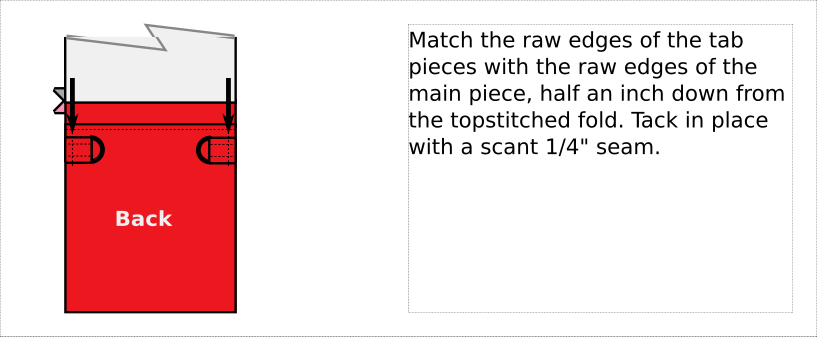
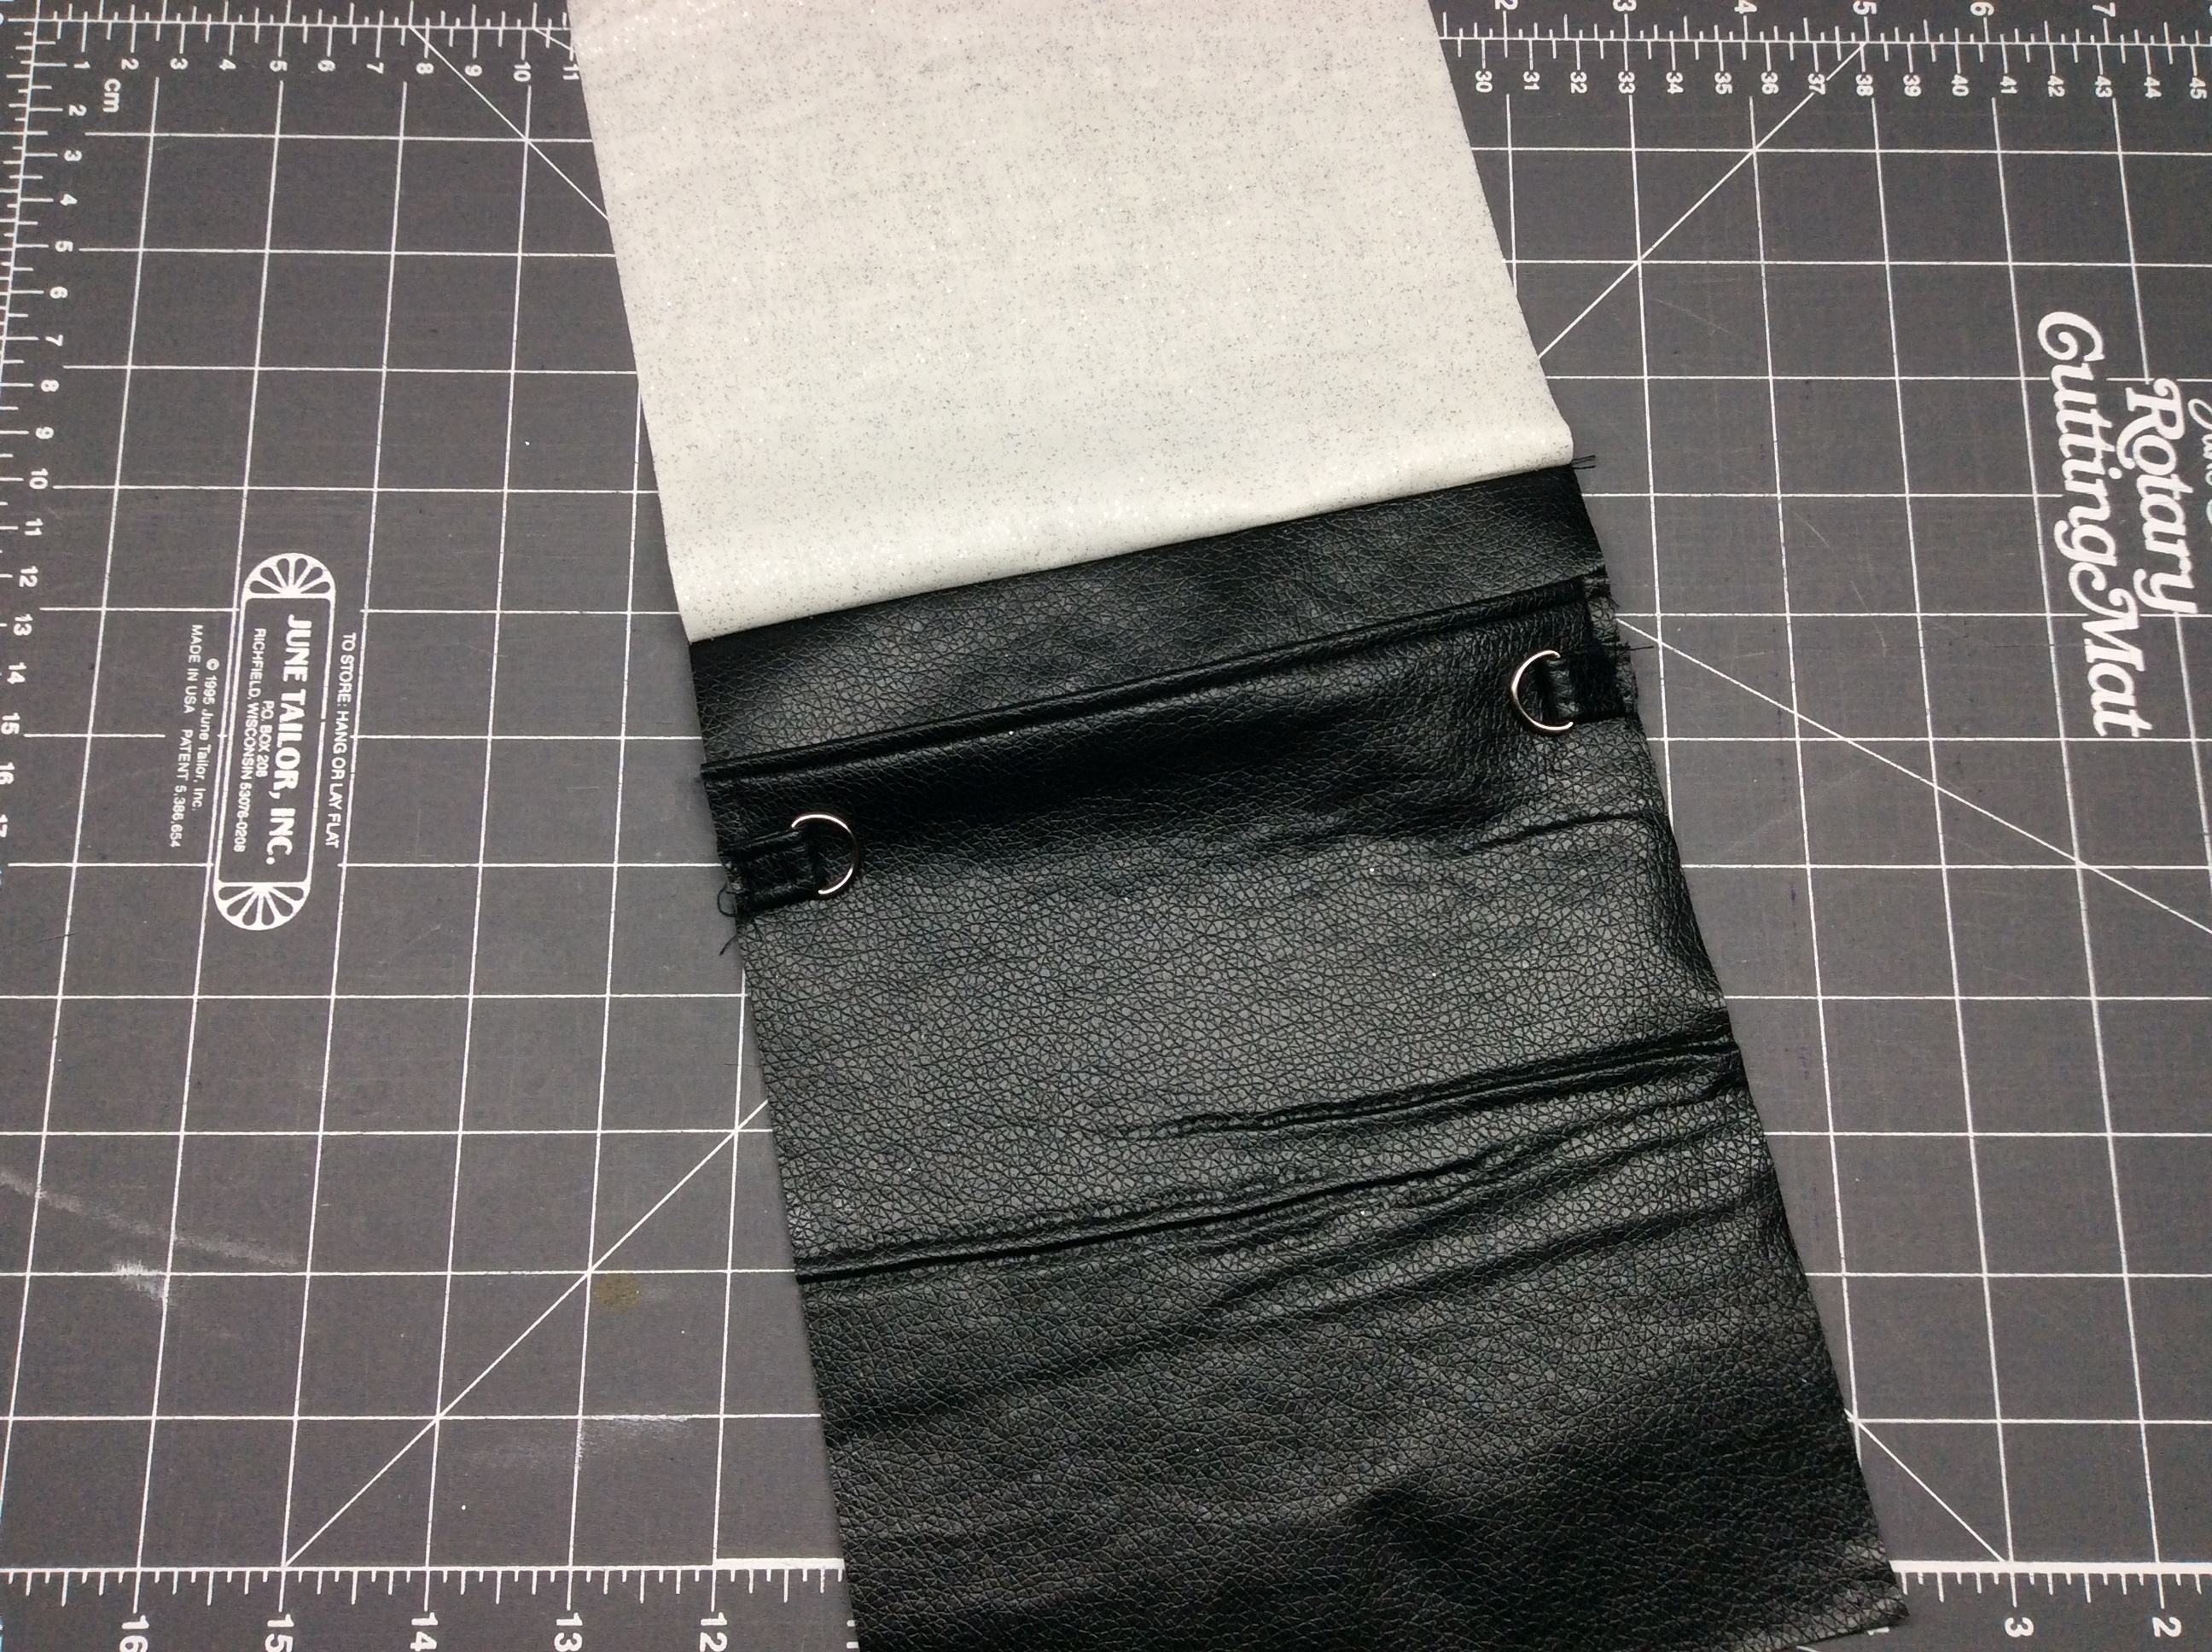
You might want to tape the D-rings in place now, if they seem prone to flip back and get in the seam. Open the zipper a little so the pull doesn’t get in the seam.
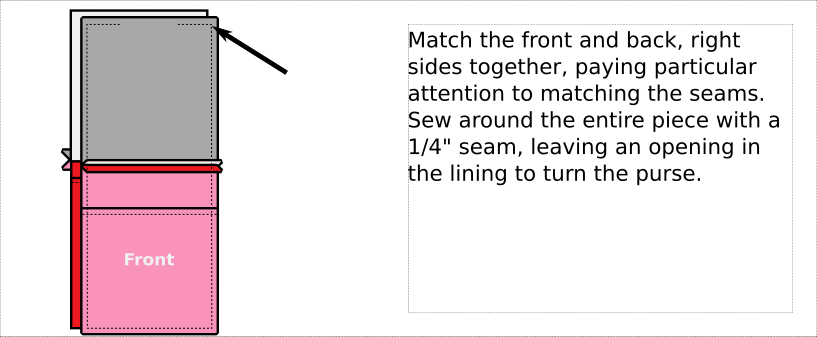
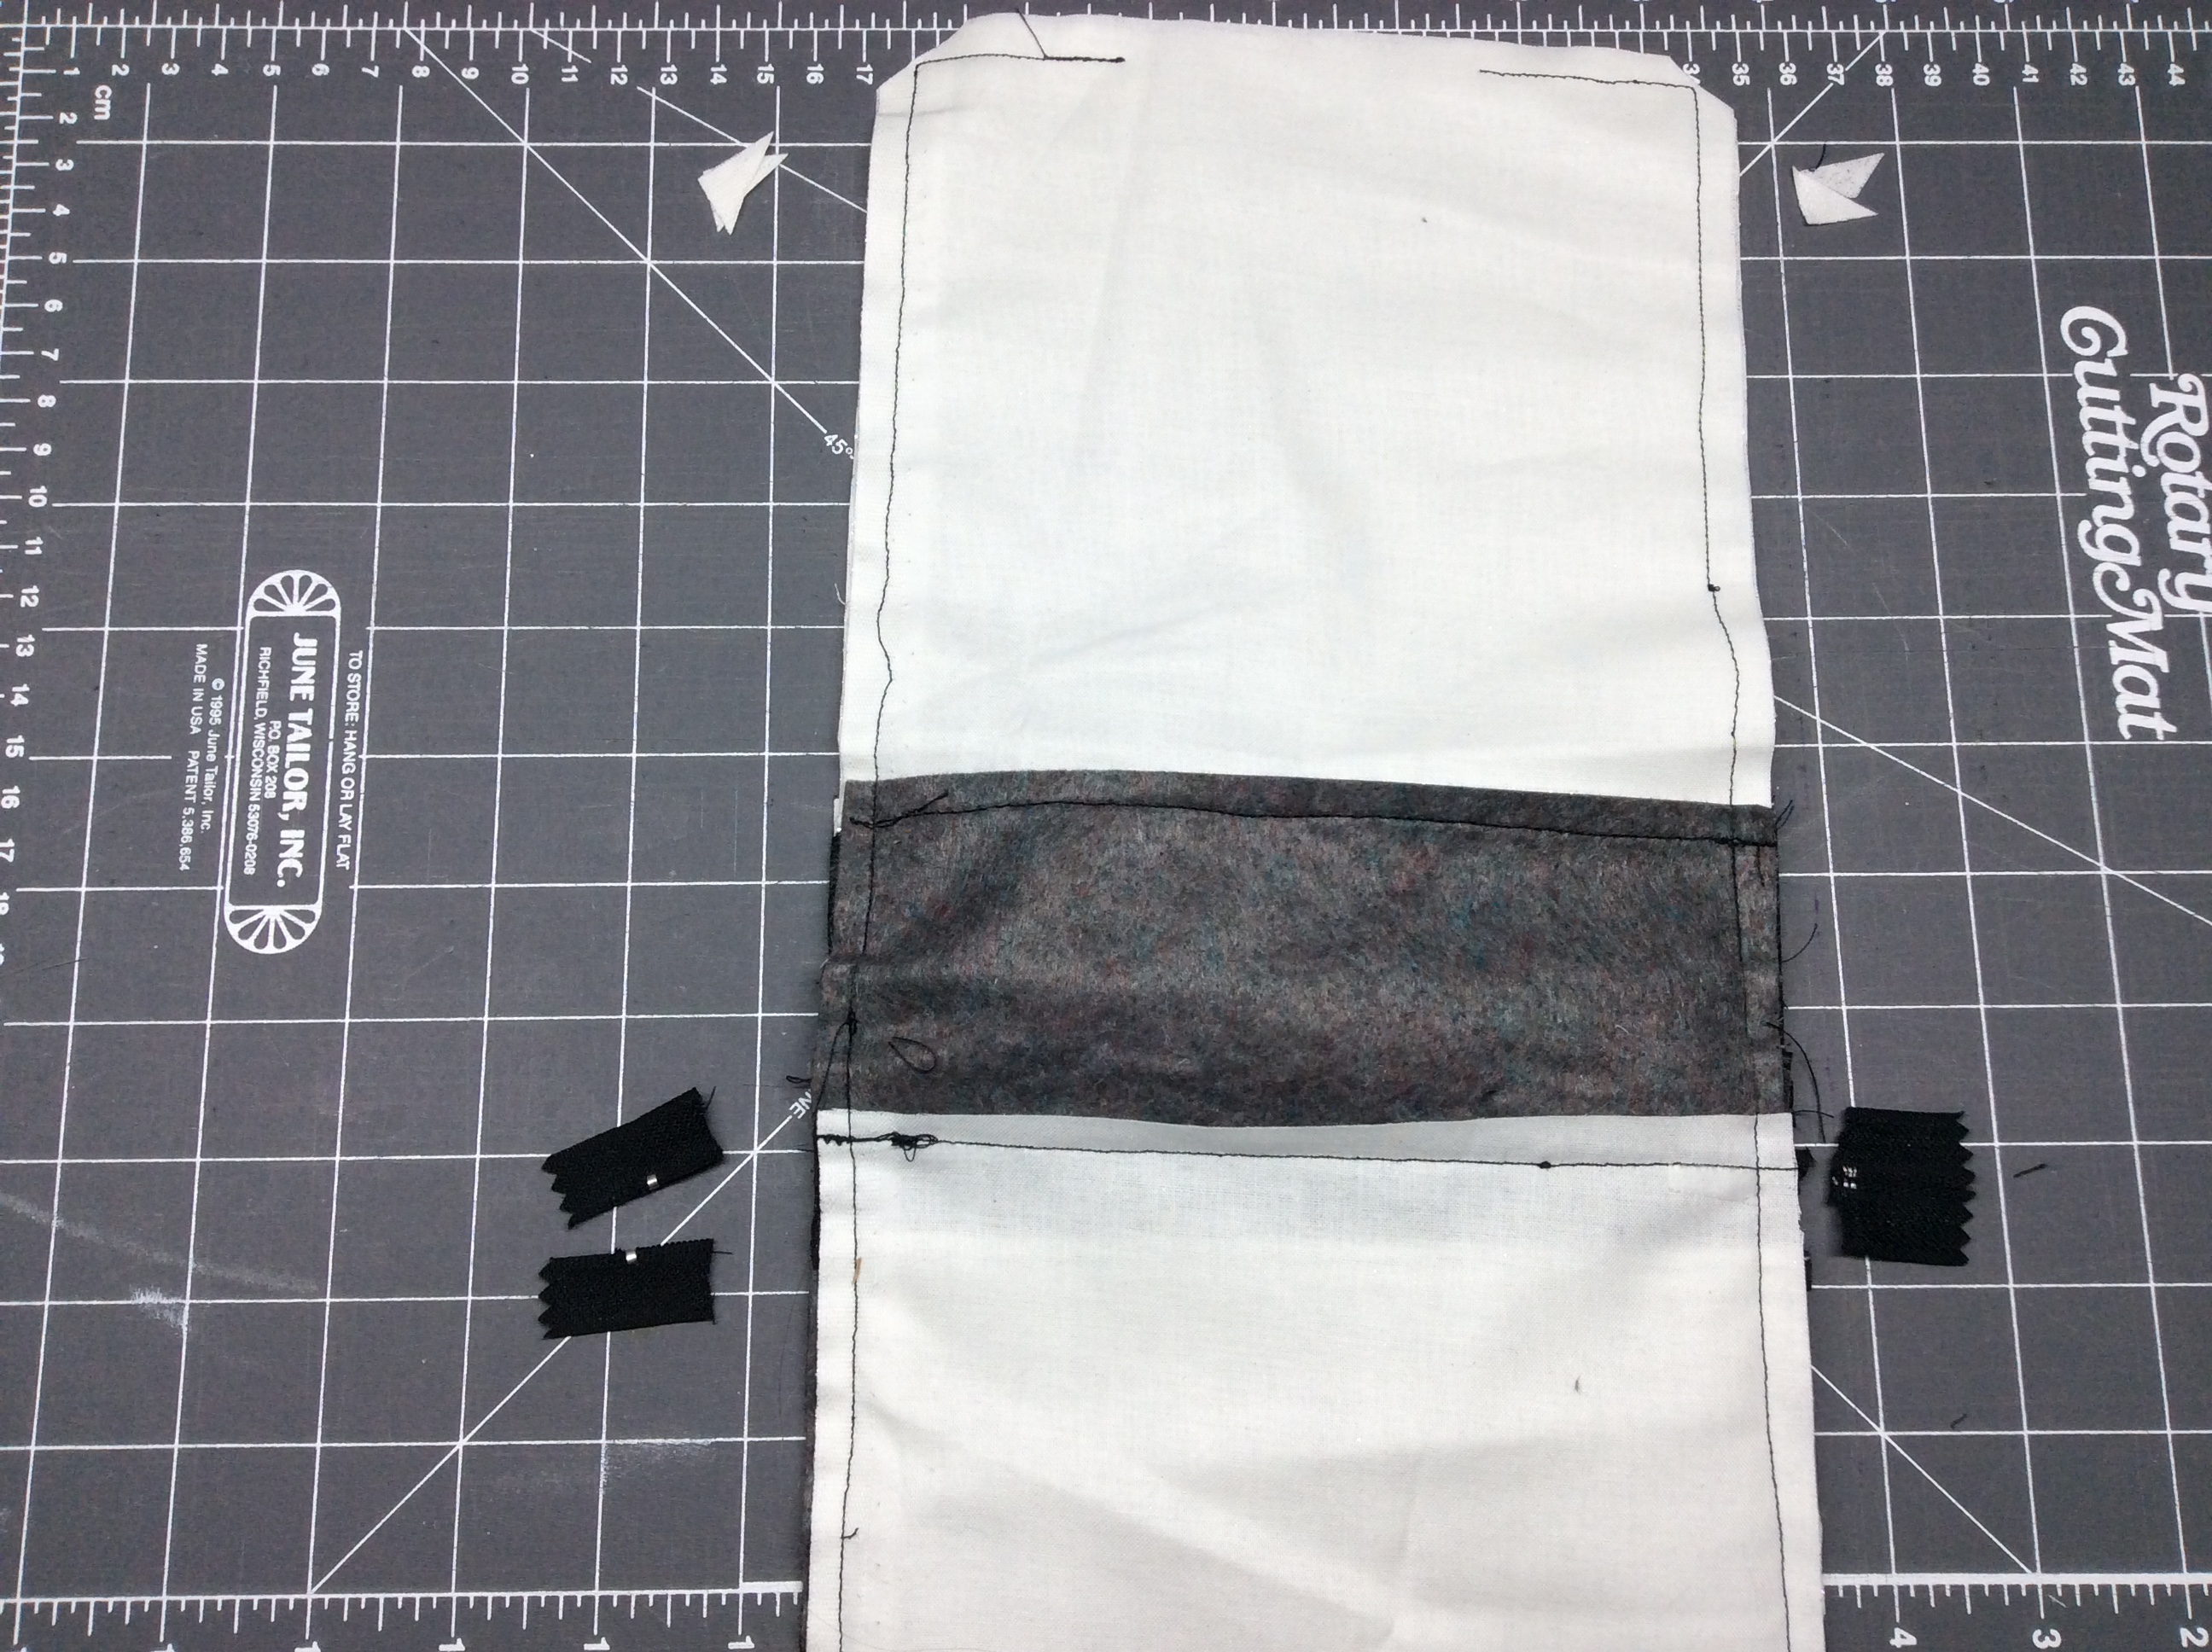
Remember how I said the non-stick foot will make the lining slip around? Guess who forgot to take the non-stick foot off before sewing this?
If you’re sewing a non-pocket version, don’t panic if yours doesn’t look like this: this is the pocket side, and that’s the pocket lining you see at the bottom. I forgot to color it that way in the diagram version.
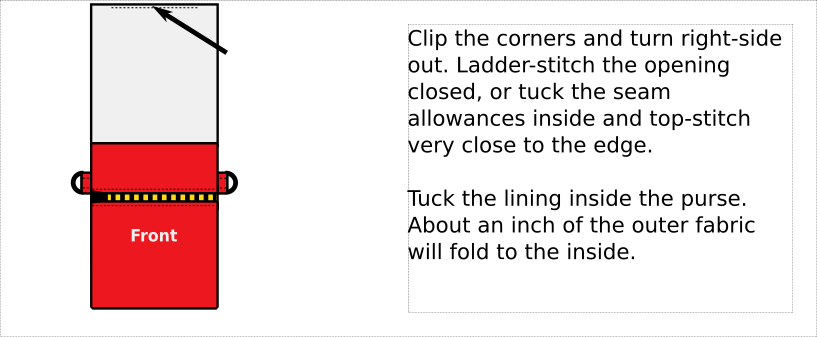
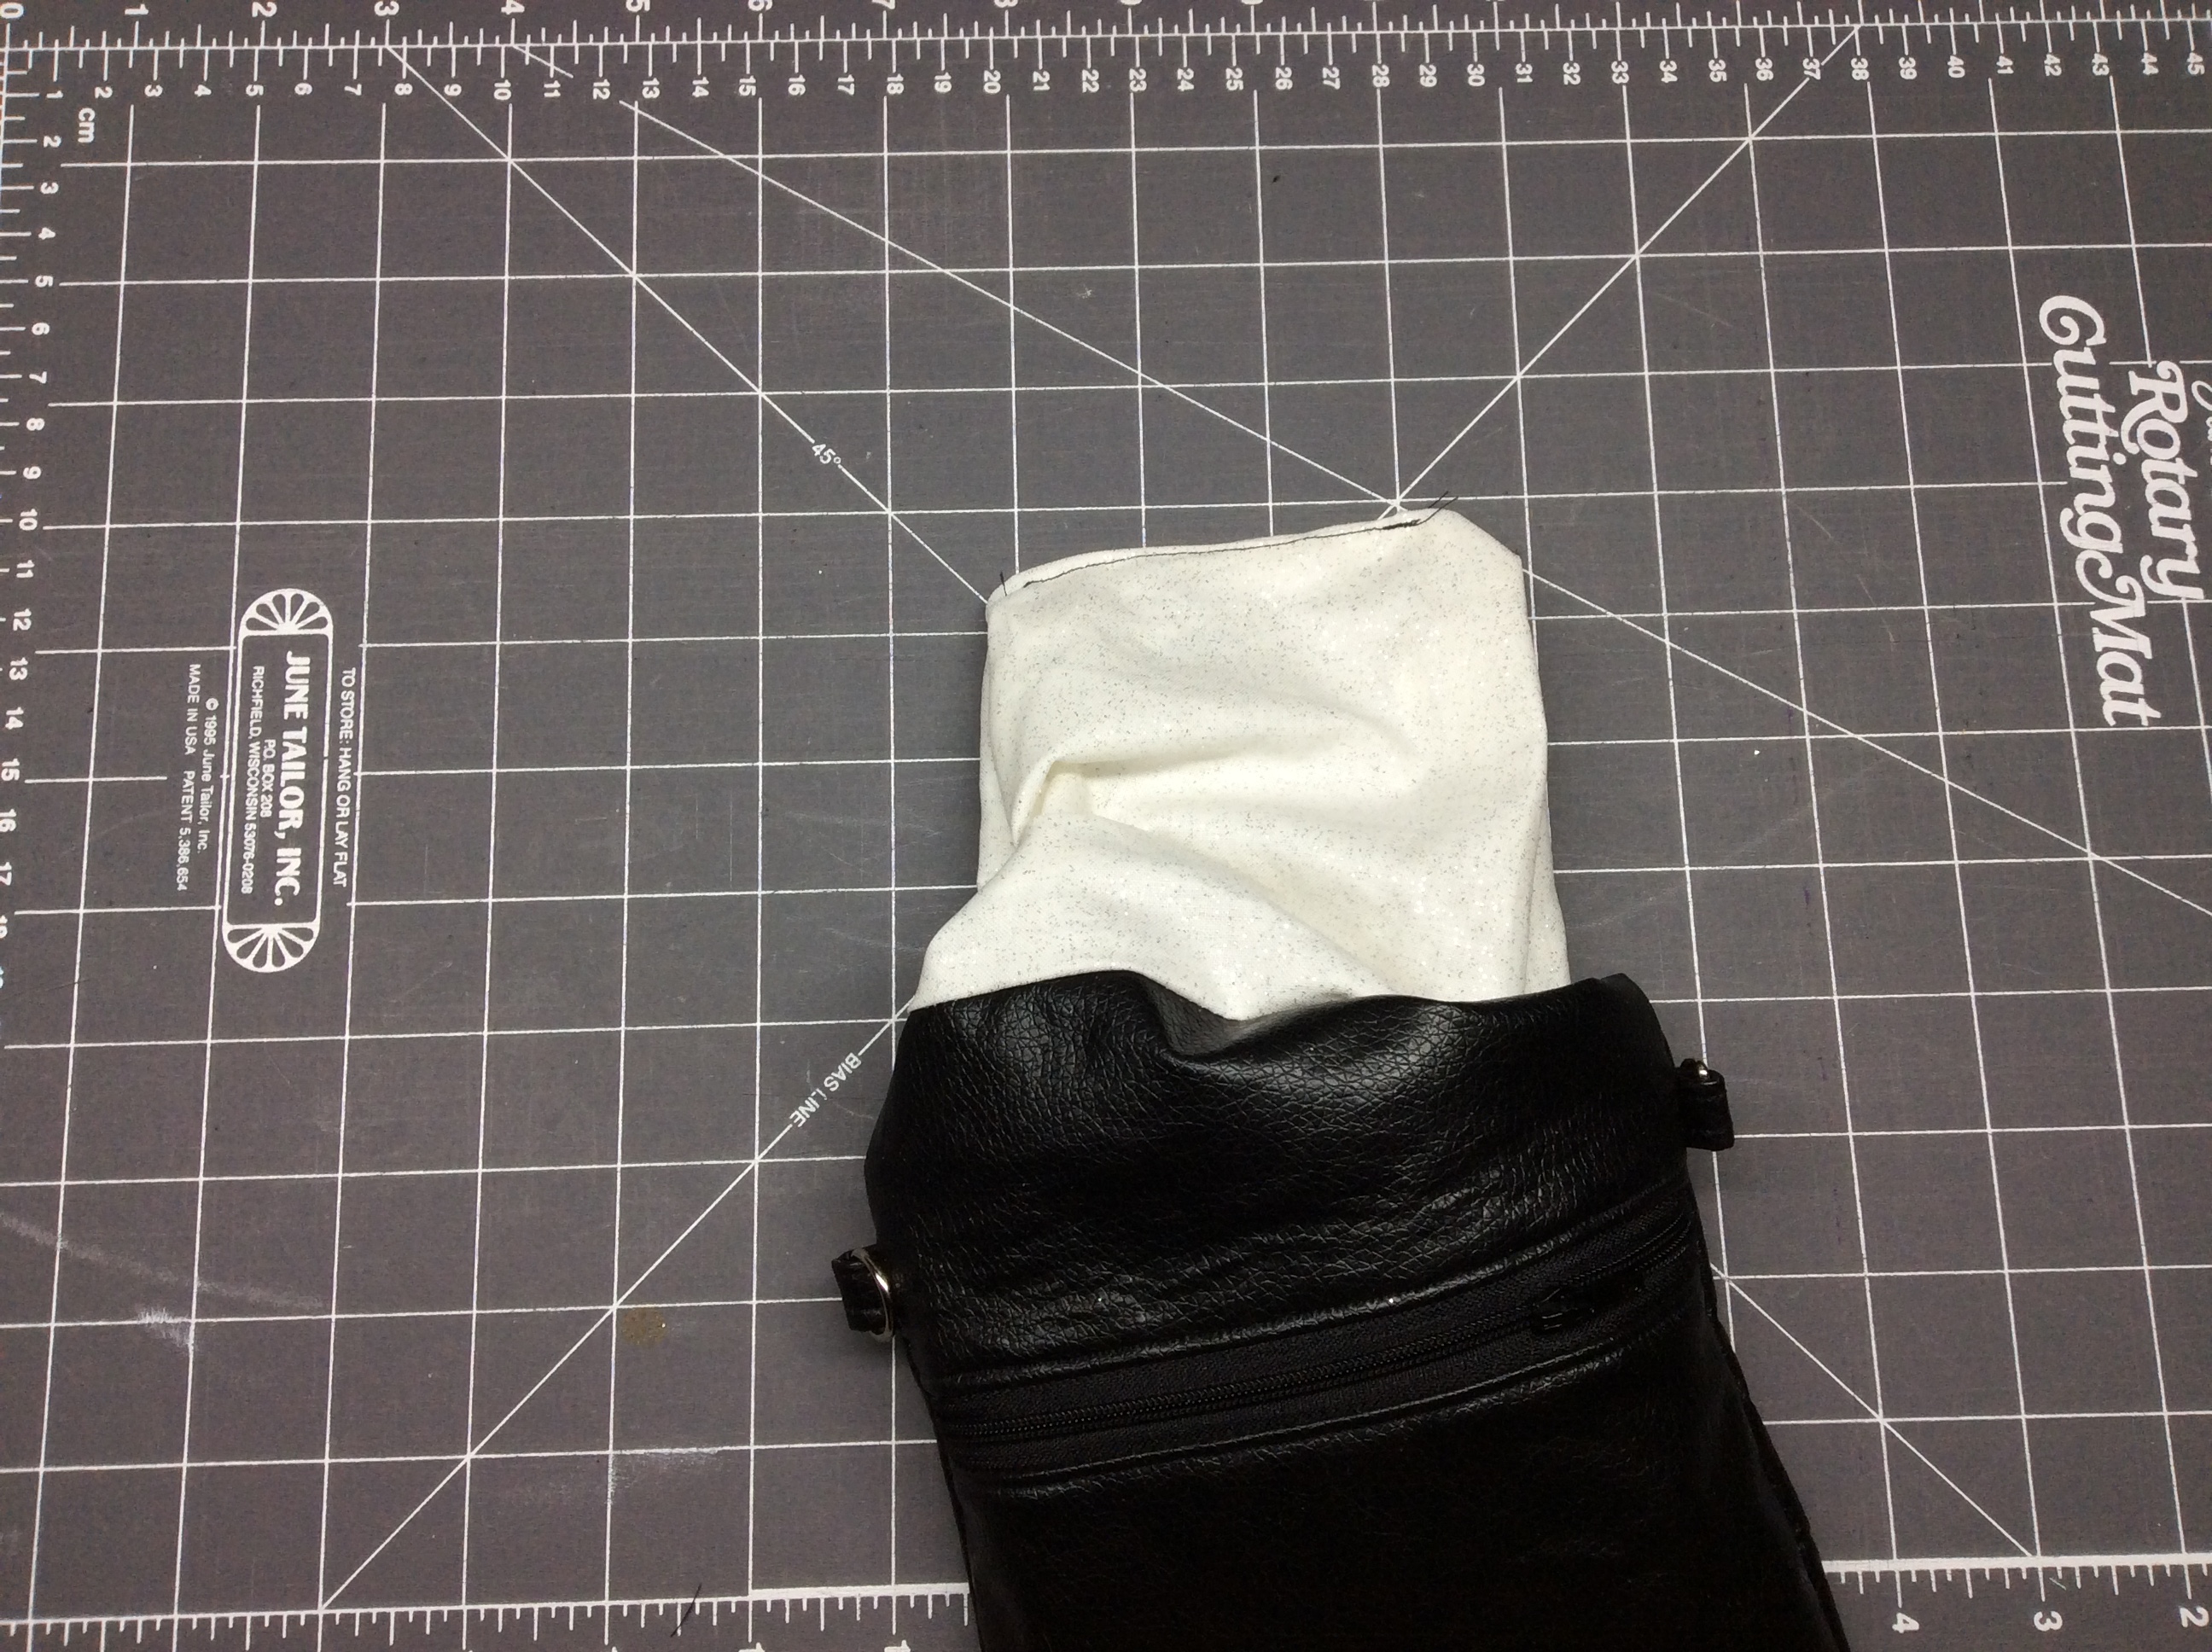
Turn the corners of the outer shell neatly, using a chopstick or turning tool if necessary, but don’t turn the corners of the lining because you’re just going to turn it right back in. Just turn them enough that you don’t catch it in your topstitching.
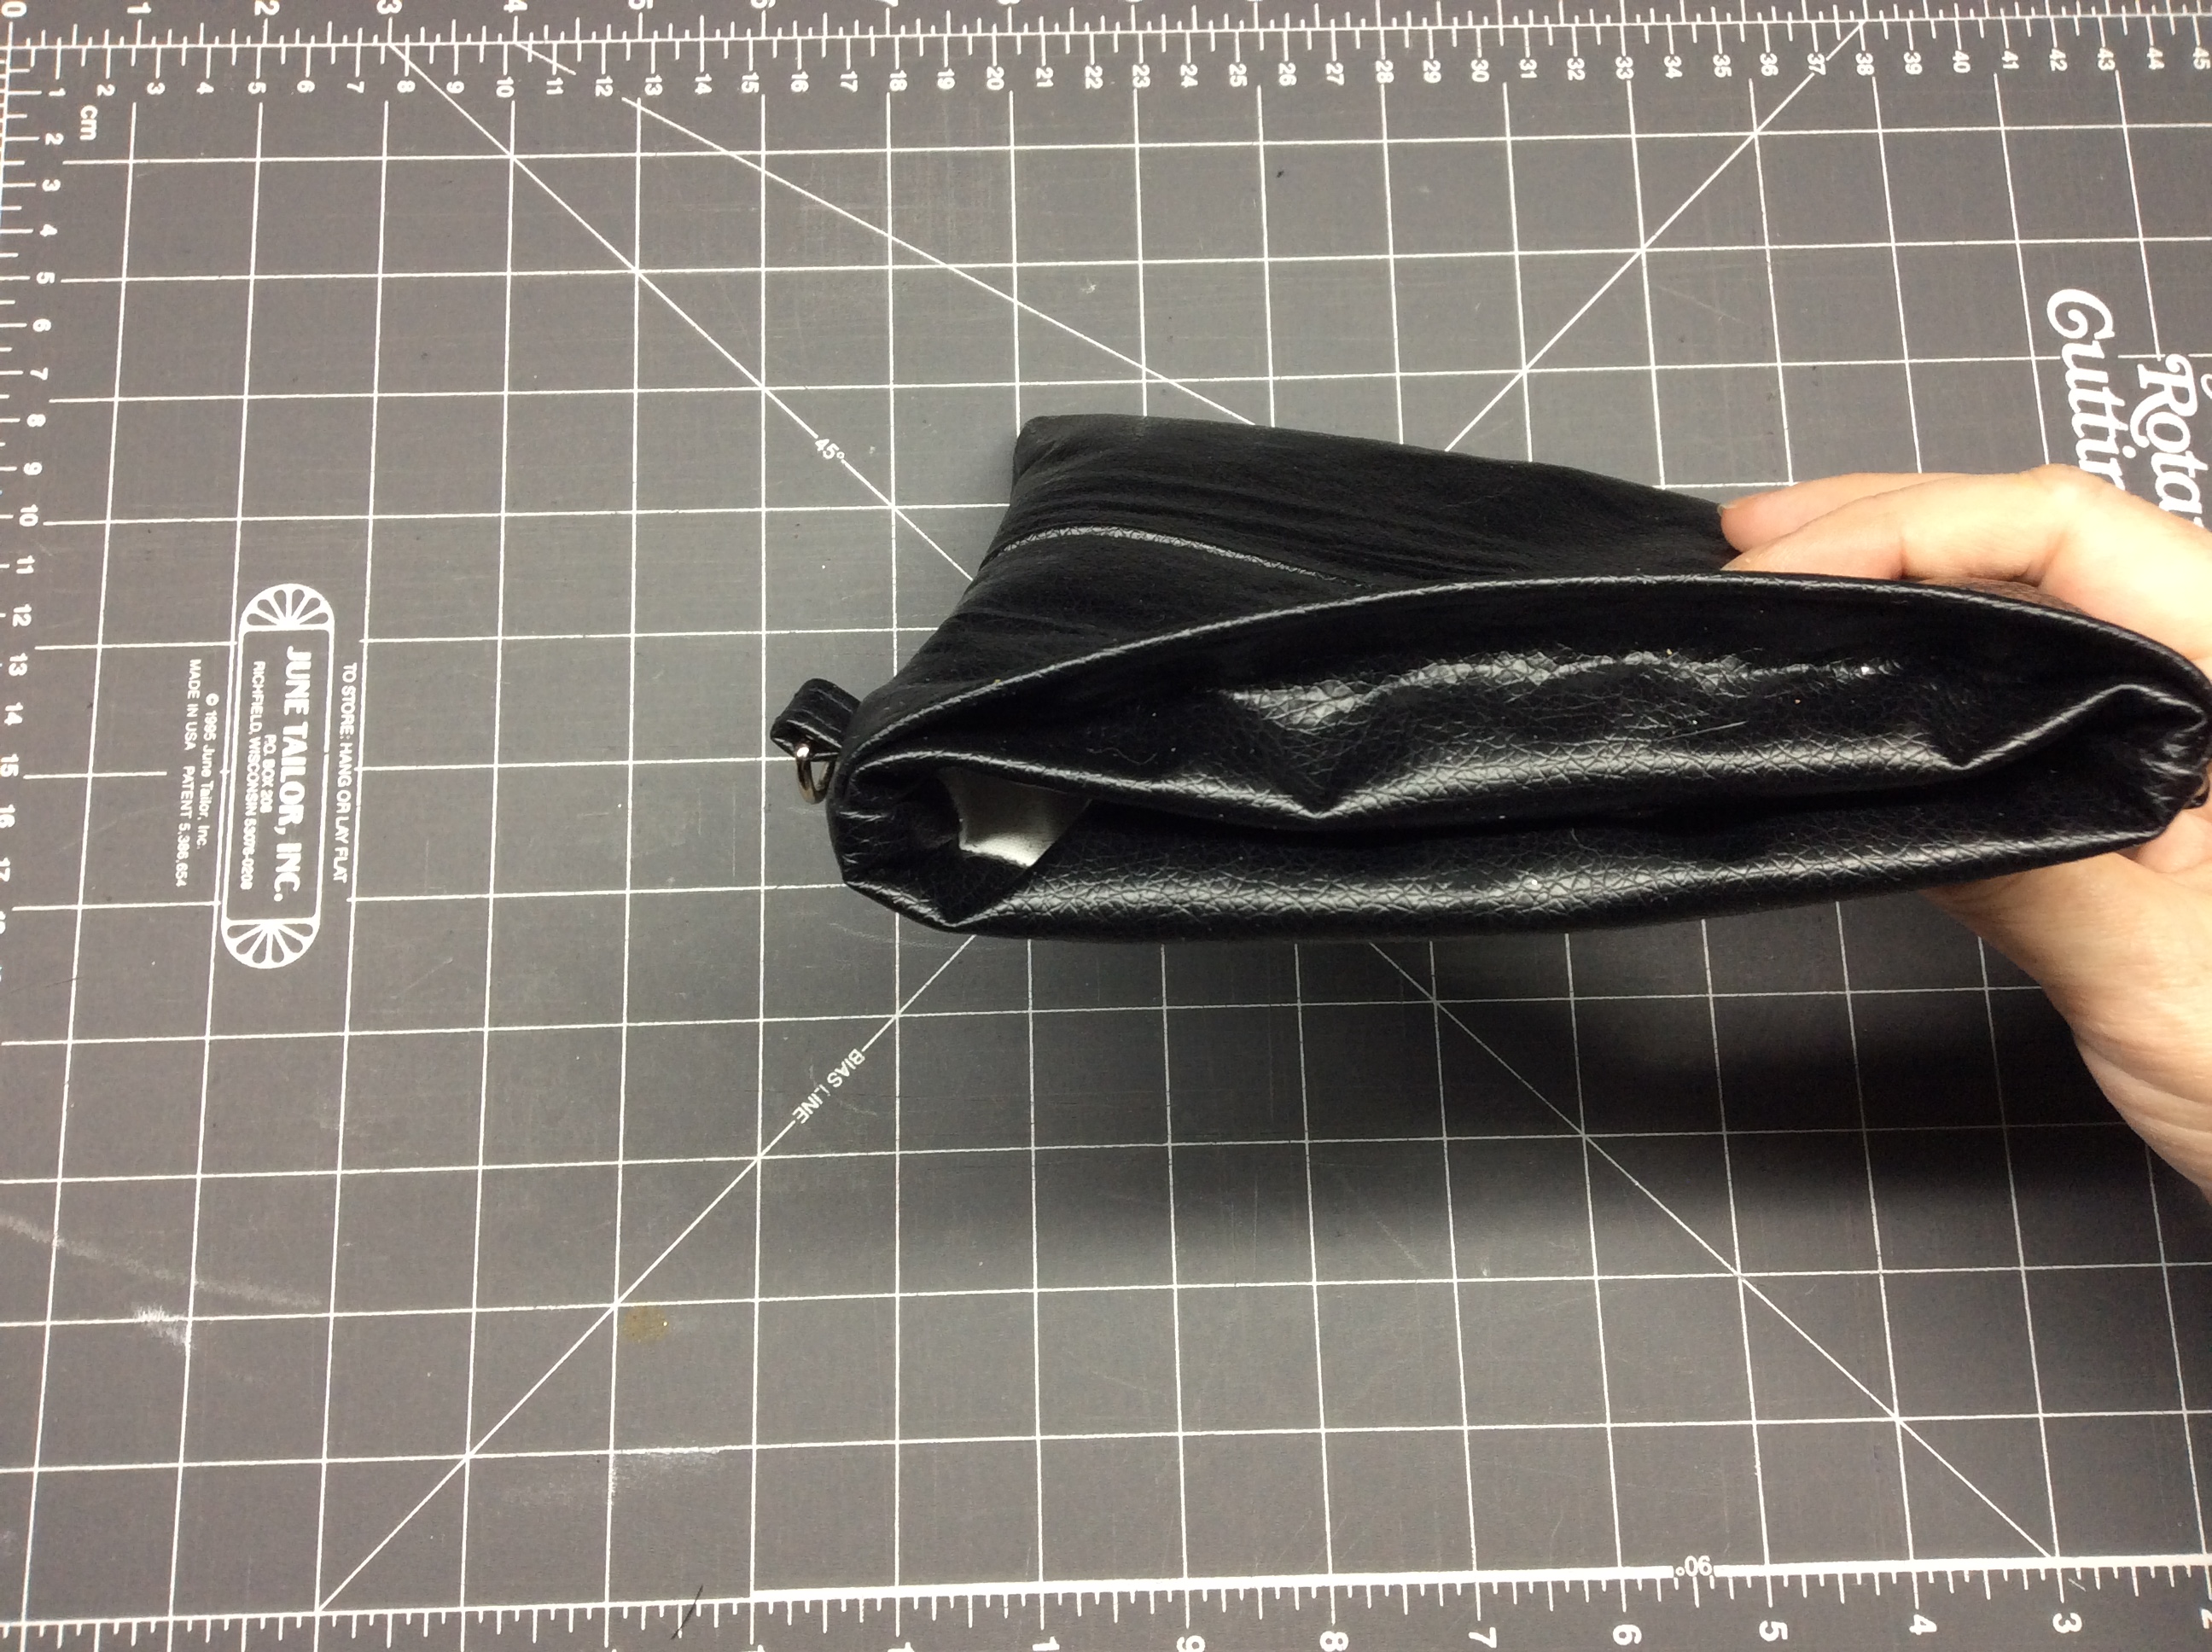
When you tuck the lining all the way in, the top of the purse should line up with the previously-topstitched bit of the back.
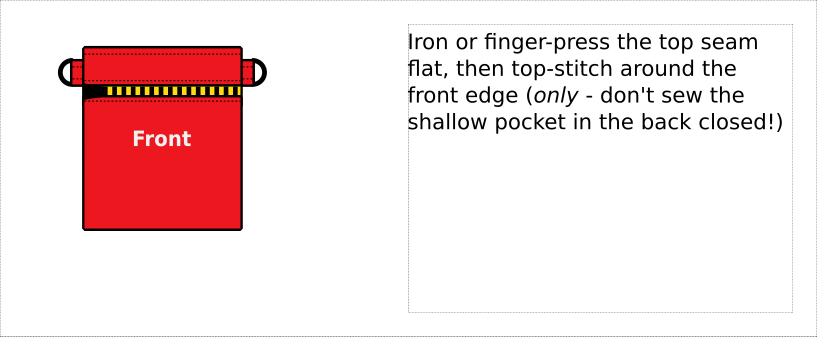
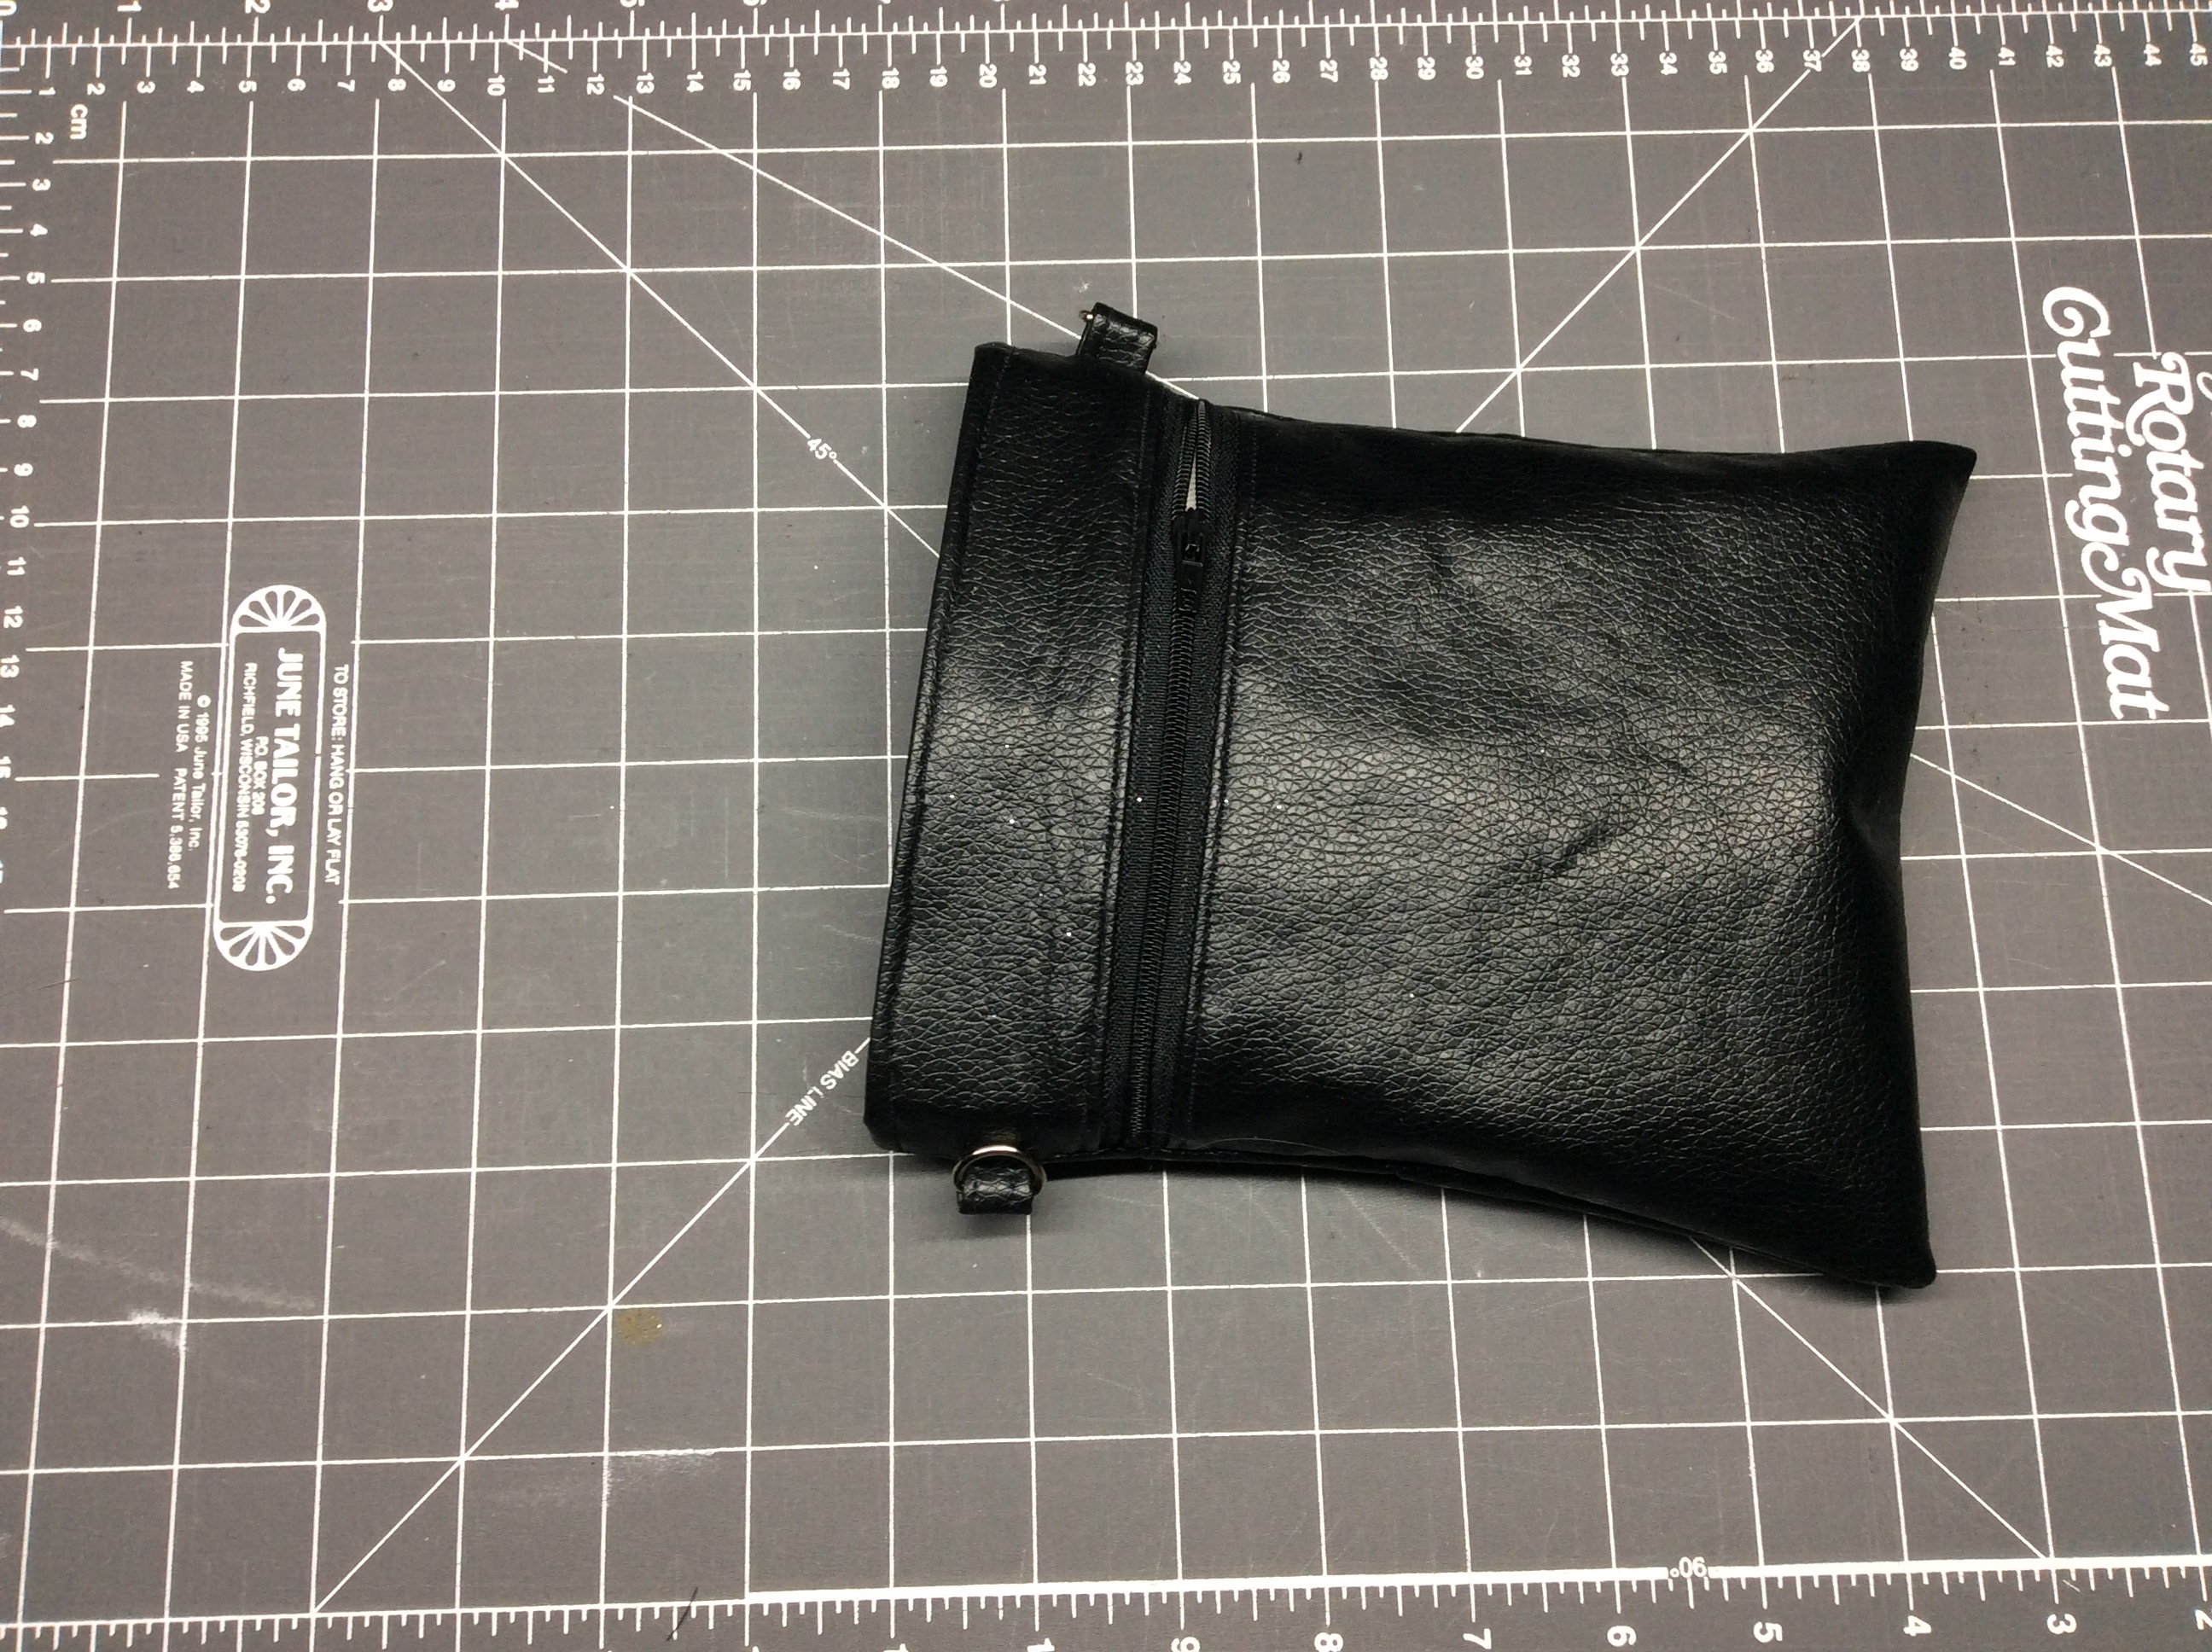
That’s the end of the sewing.
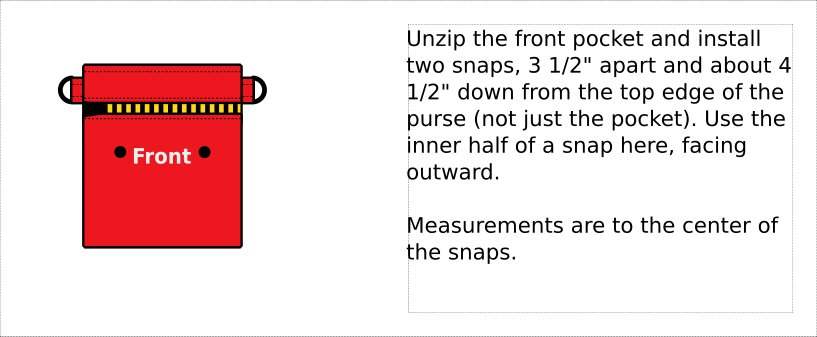
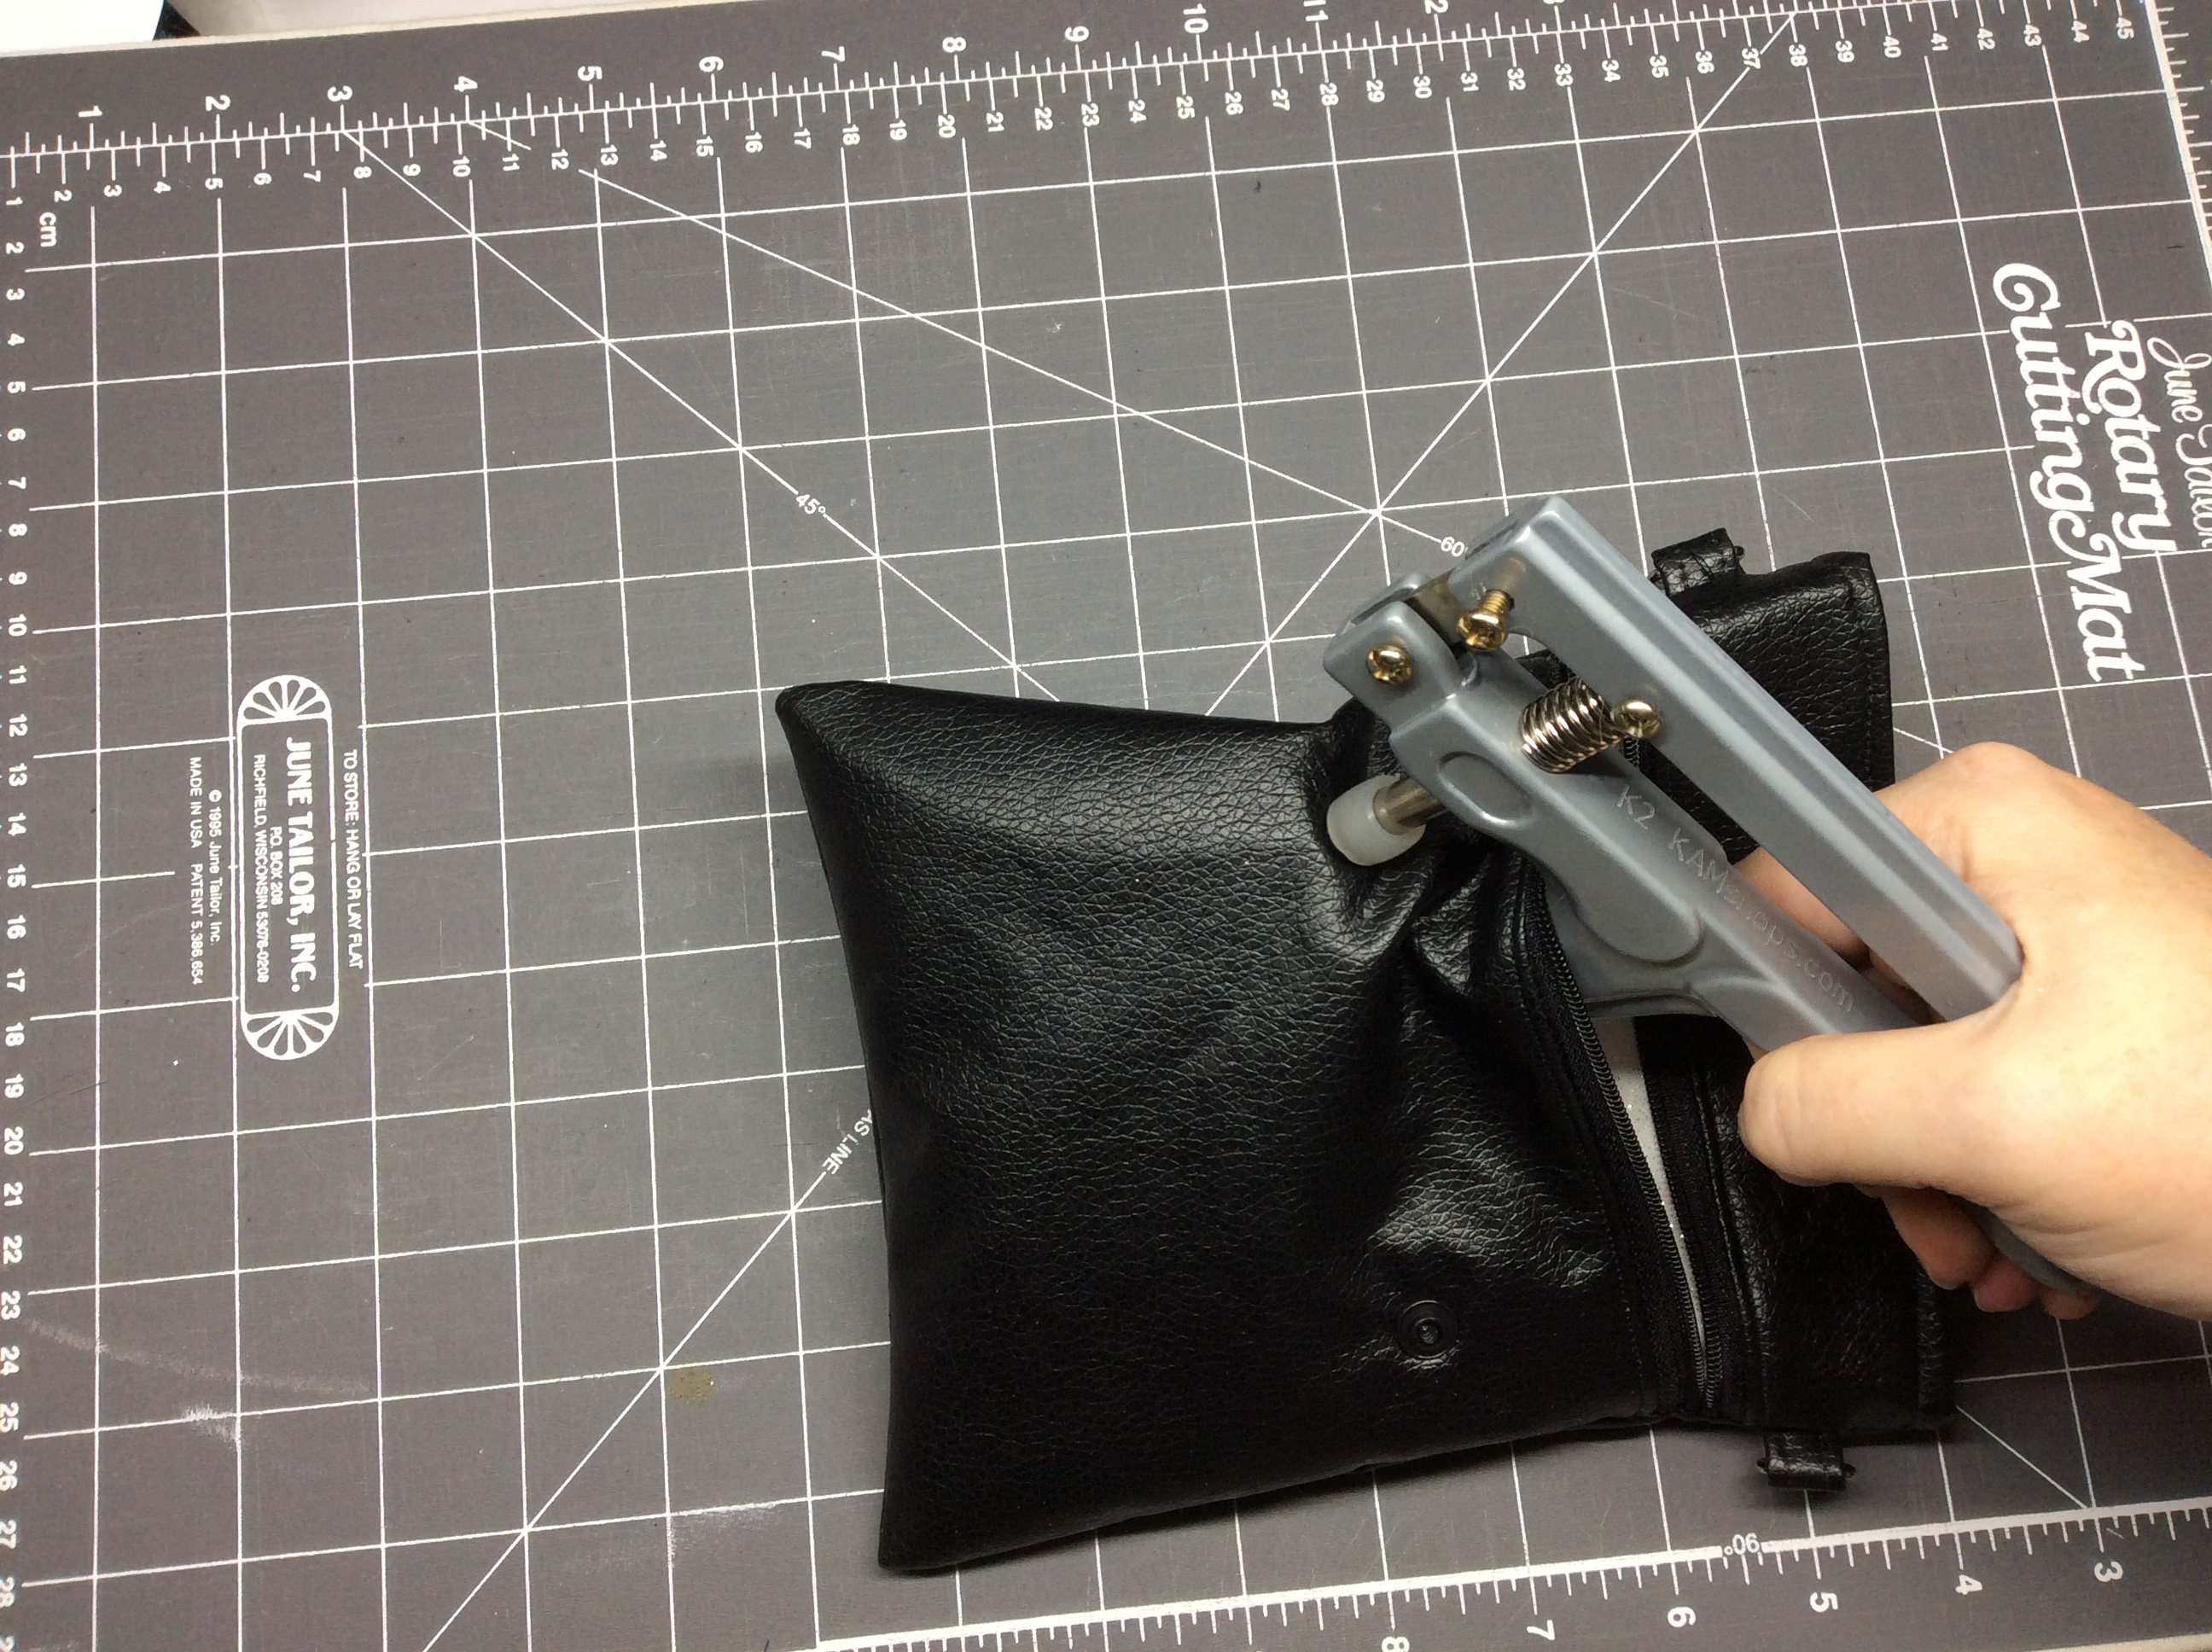
Yes, in both the diagram and the photos, the snaps are an inch too high. Measure twice, snap once.
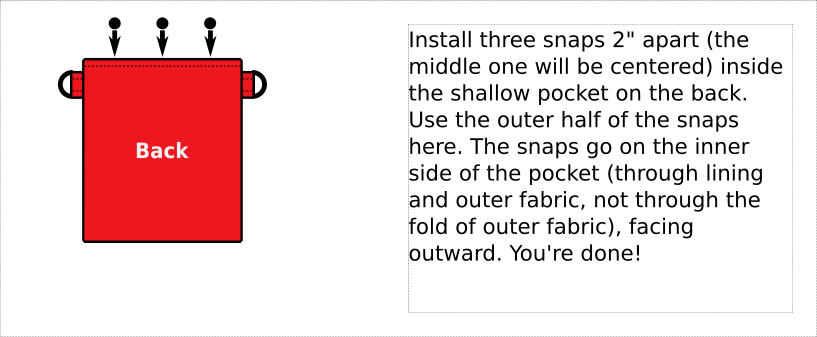
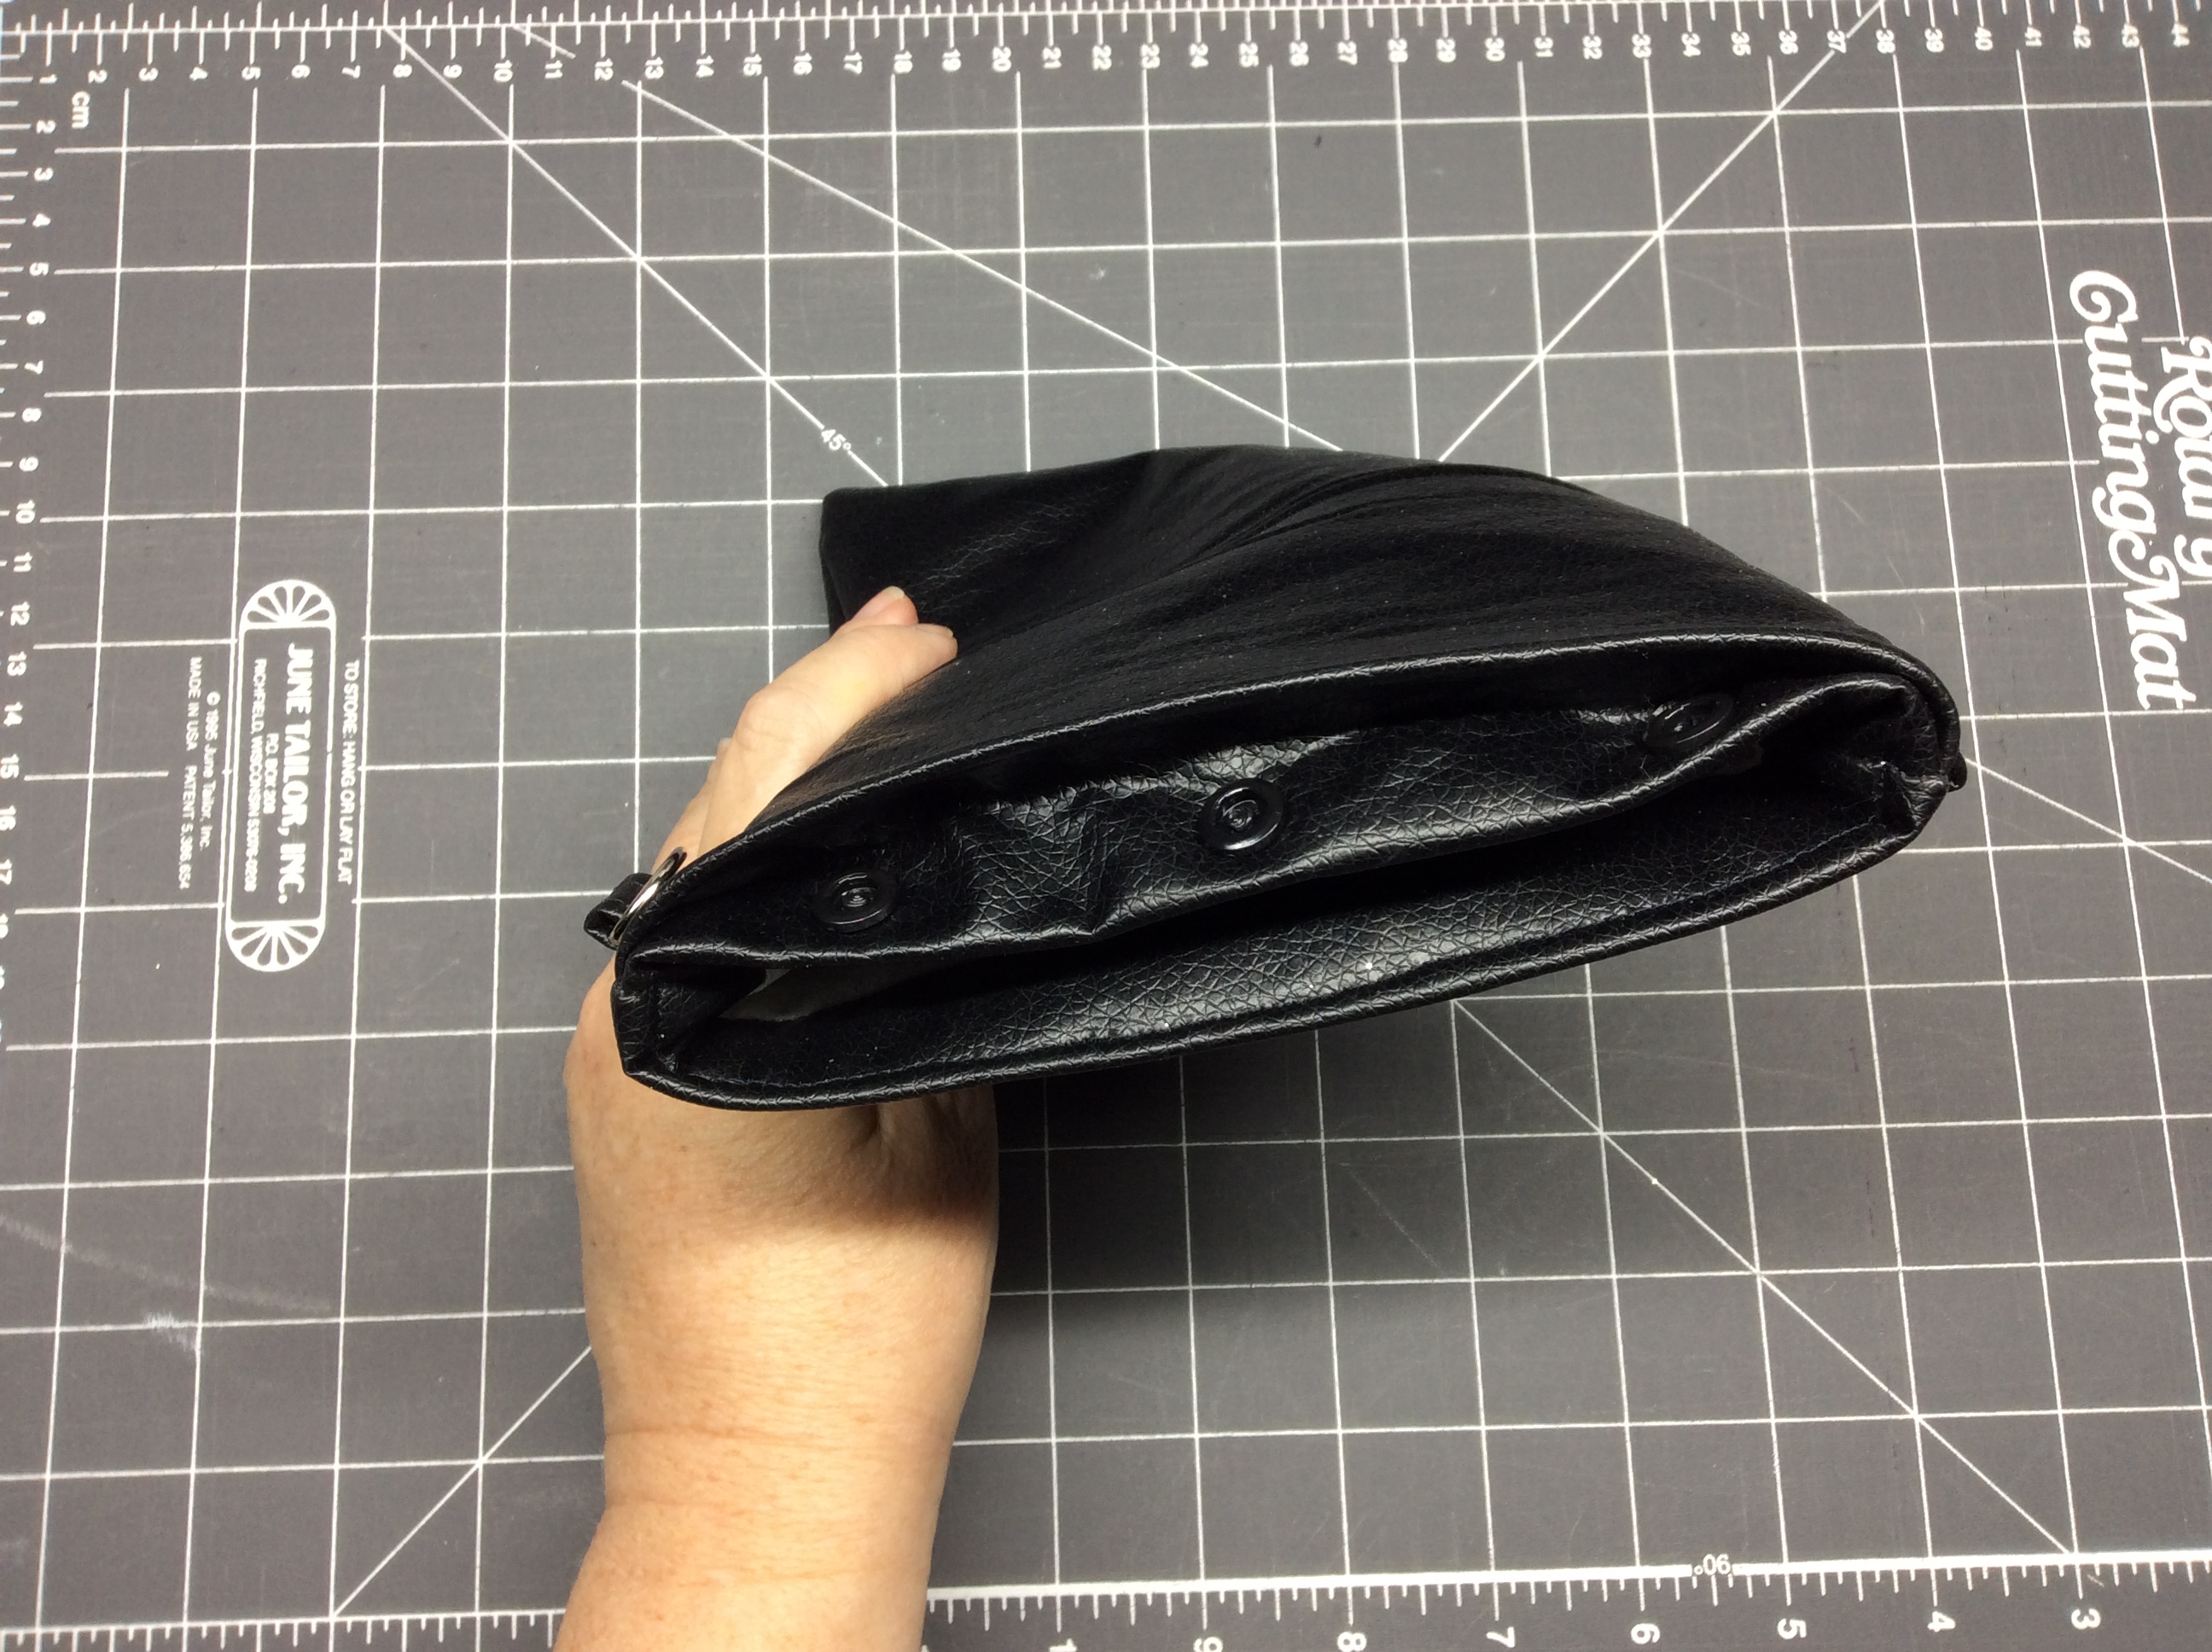
As mentioned earlier, I made this pocket half an inch deeper, so pretend this is just foreshortened. The snaps go in the bottom of the snap pocket, in any case. The front of the bag is facing me in this picture, with the back of the bag visible and the main pocket underneath the snap pocket.
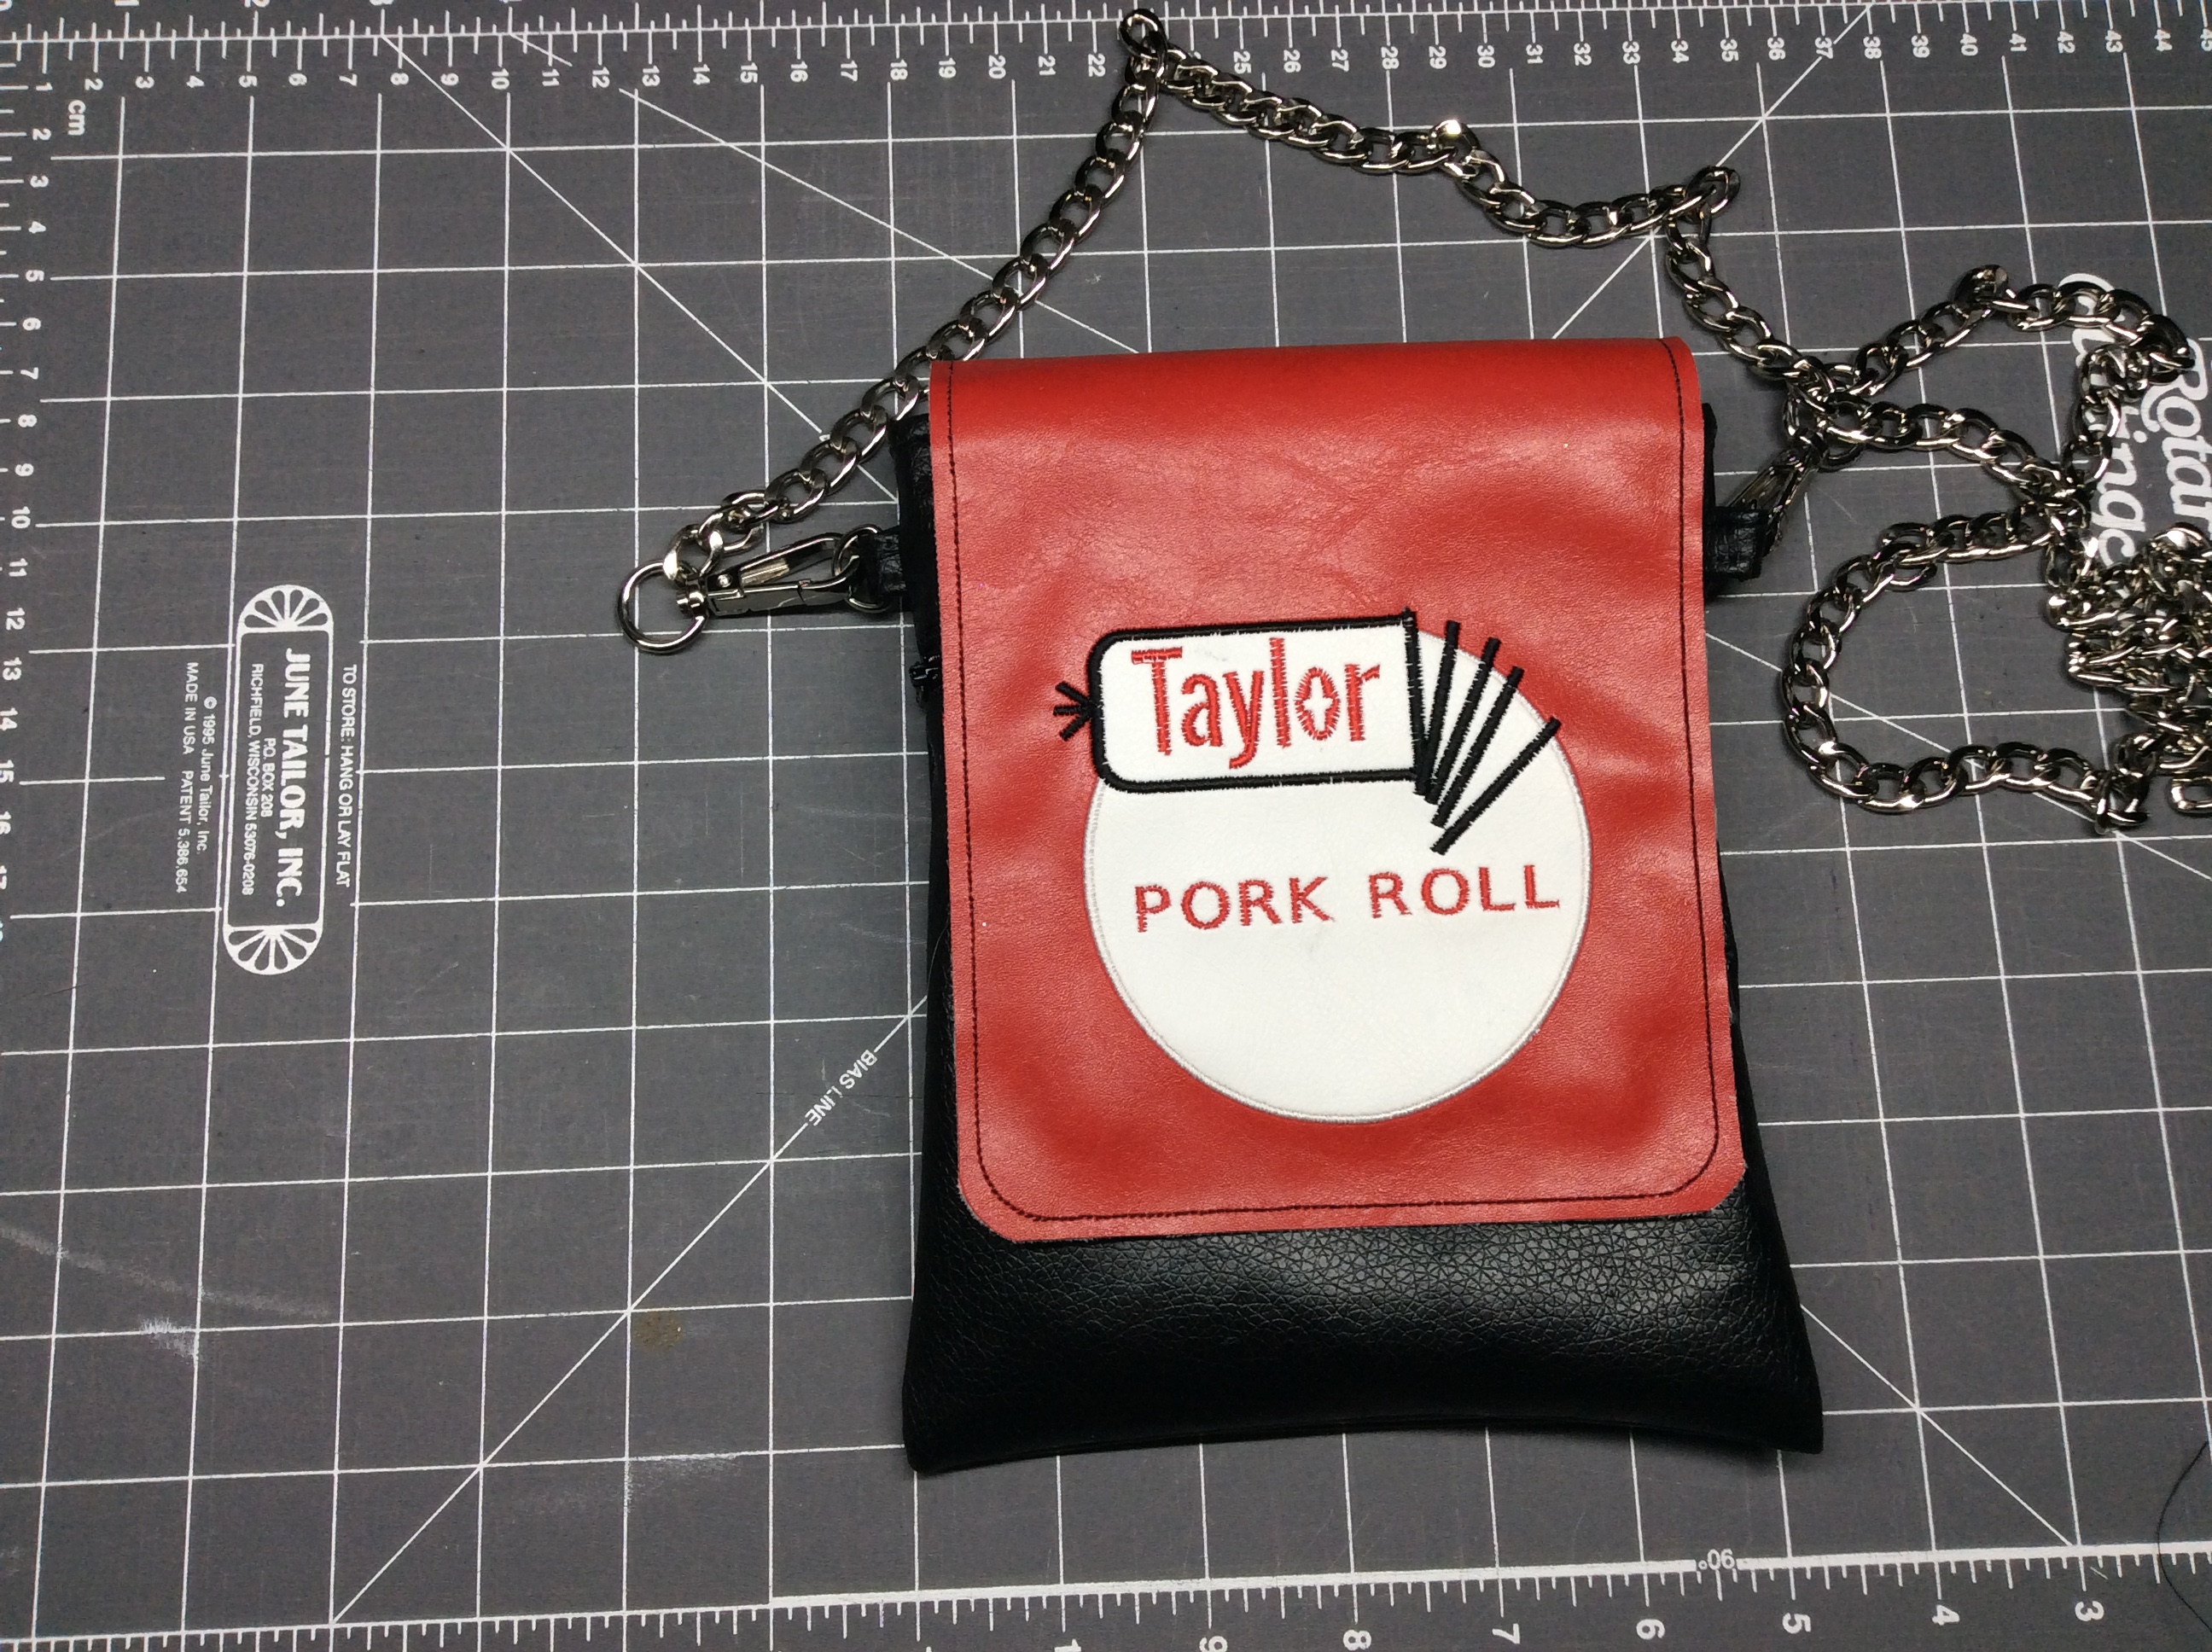
And yes, I’ll talk about making flaps shortly, both embroidered and on a conventional machine.
23 more days to go! Most of the weekday projects won’t be this detailed, and I hope to have a nice mix of conventional sewing, embroidery, and cutting files.
