Free SVG Alphabet – Handwritten Monoline Script


Advent 2019 Day 2
One of the things I’ve been most disappointed in is the availability of lettering for embroidery. Or rather, the reliability. So here’s an alphabet that’s in SVG form, so you can edit it yourself. It’s (somewhat roughly) based on Amalina, a font by Subectype, and is only the lowercase 26-letter English alphabet.
It’s just a plain SVG file. Each letter is an object that you’ll have to manually copy and paste. It’s a continuous script, so if you have snapping set you can align them easily. You can then use Ink/Stitch to produce a stitch file, or feed the SVG to your Cricut or Silhouette to draw the font. I don’t have a laser or other engraver (yet!) but I’m sure you folks know what to do with an SVG to use it with your device. Read on regardless of what type of machine you plan to use; I’ve made some notes on putting polish on a word in script.
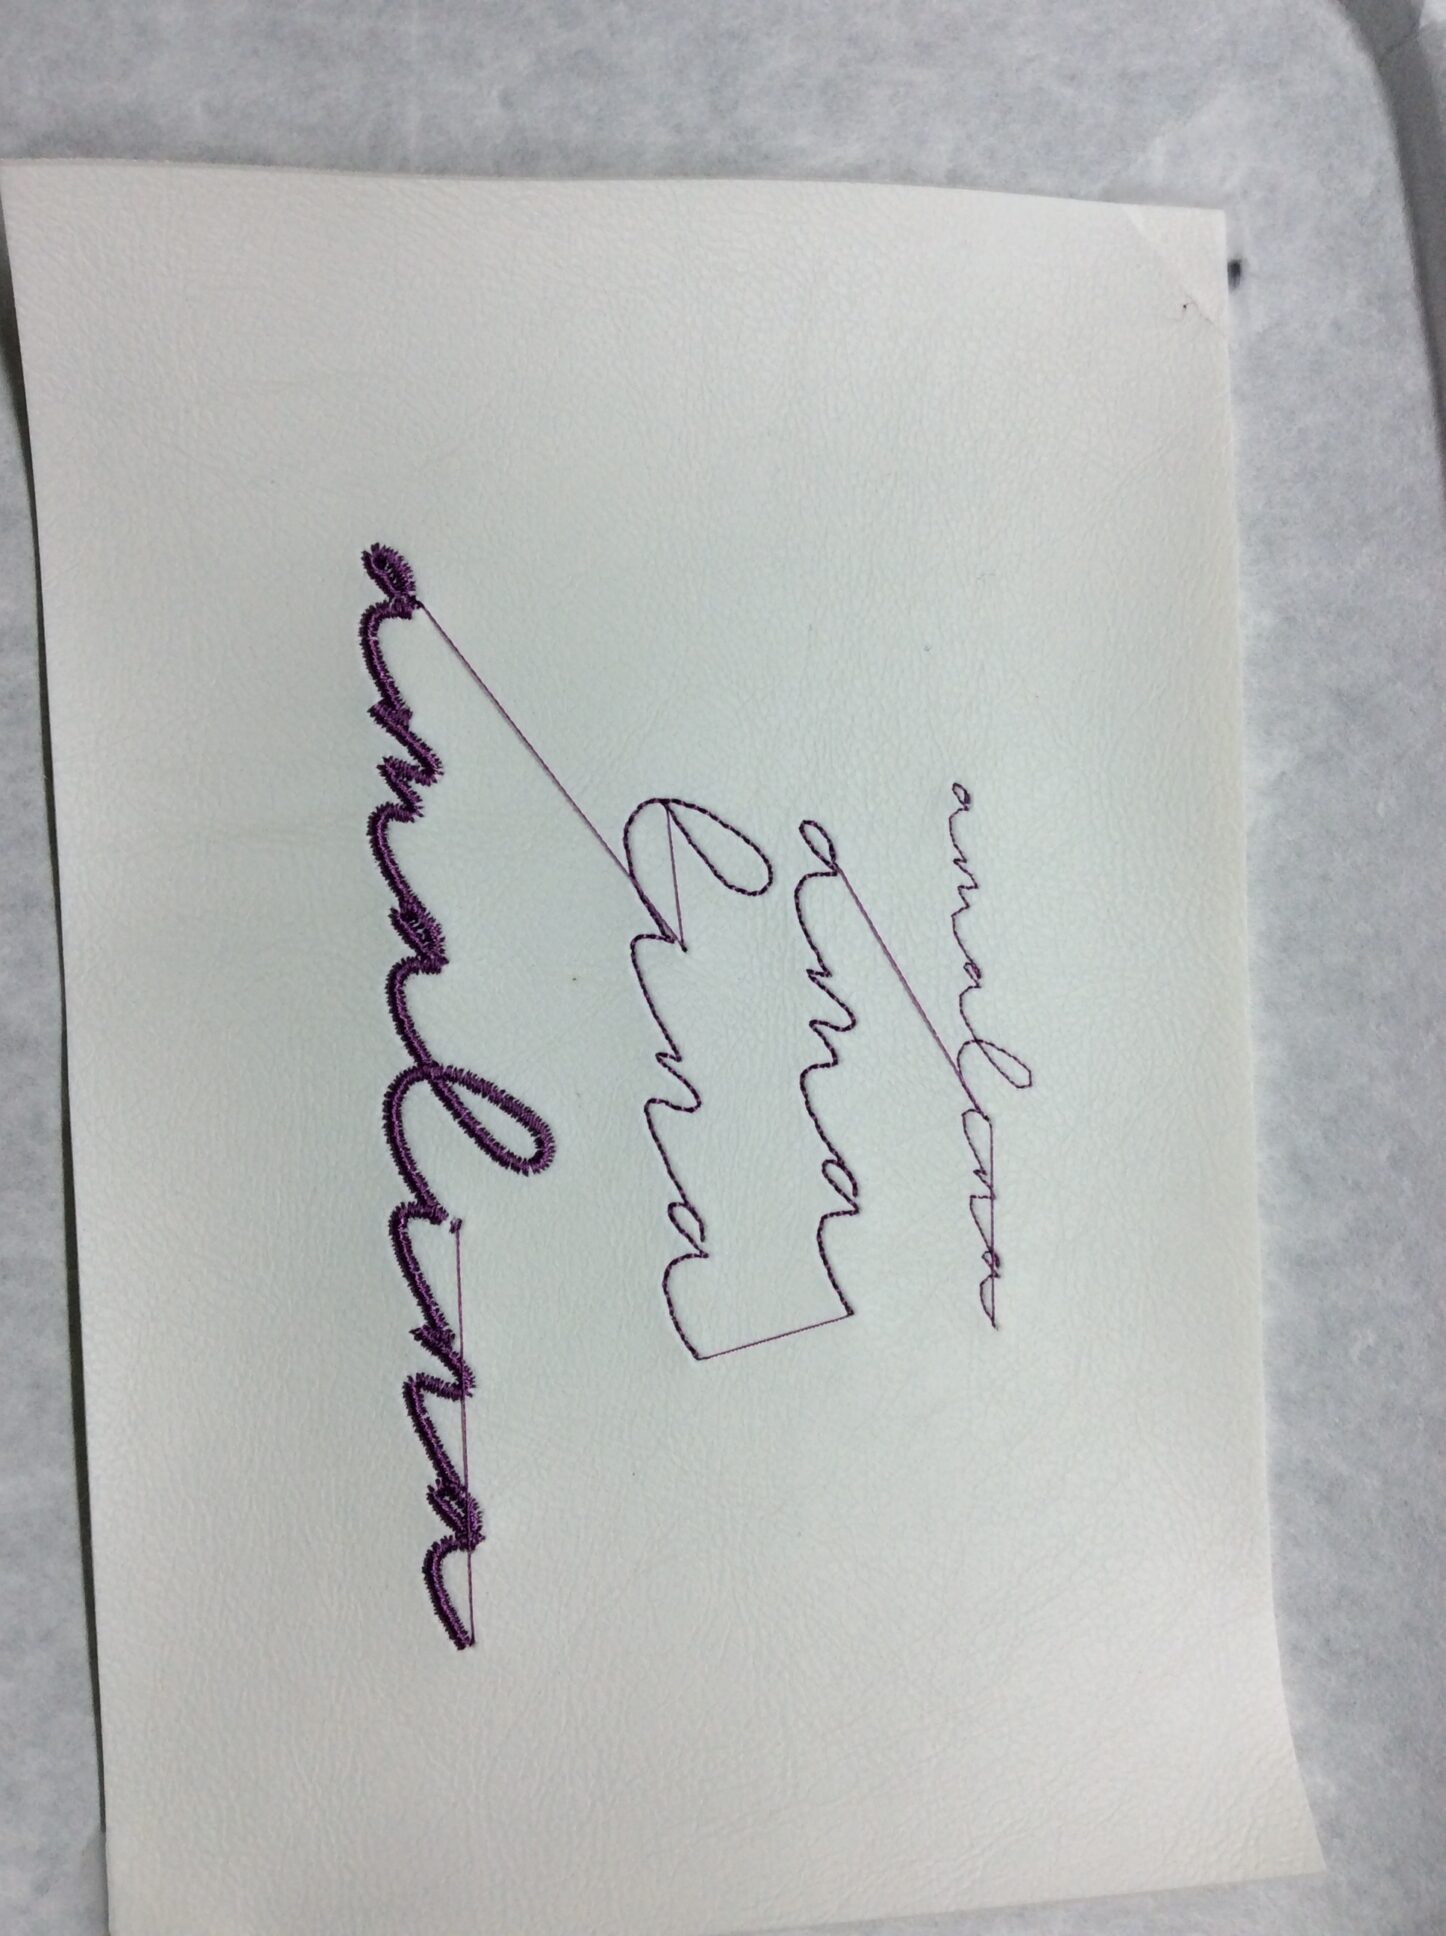
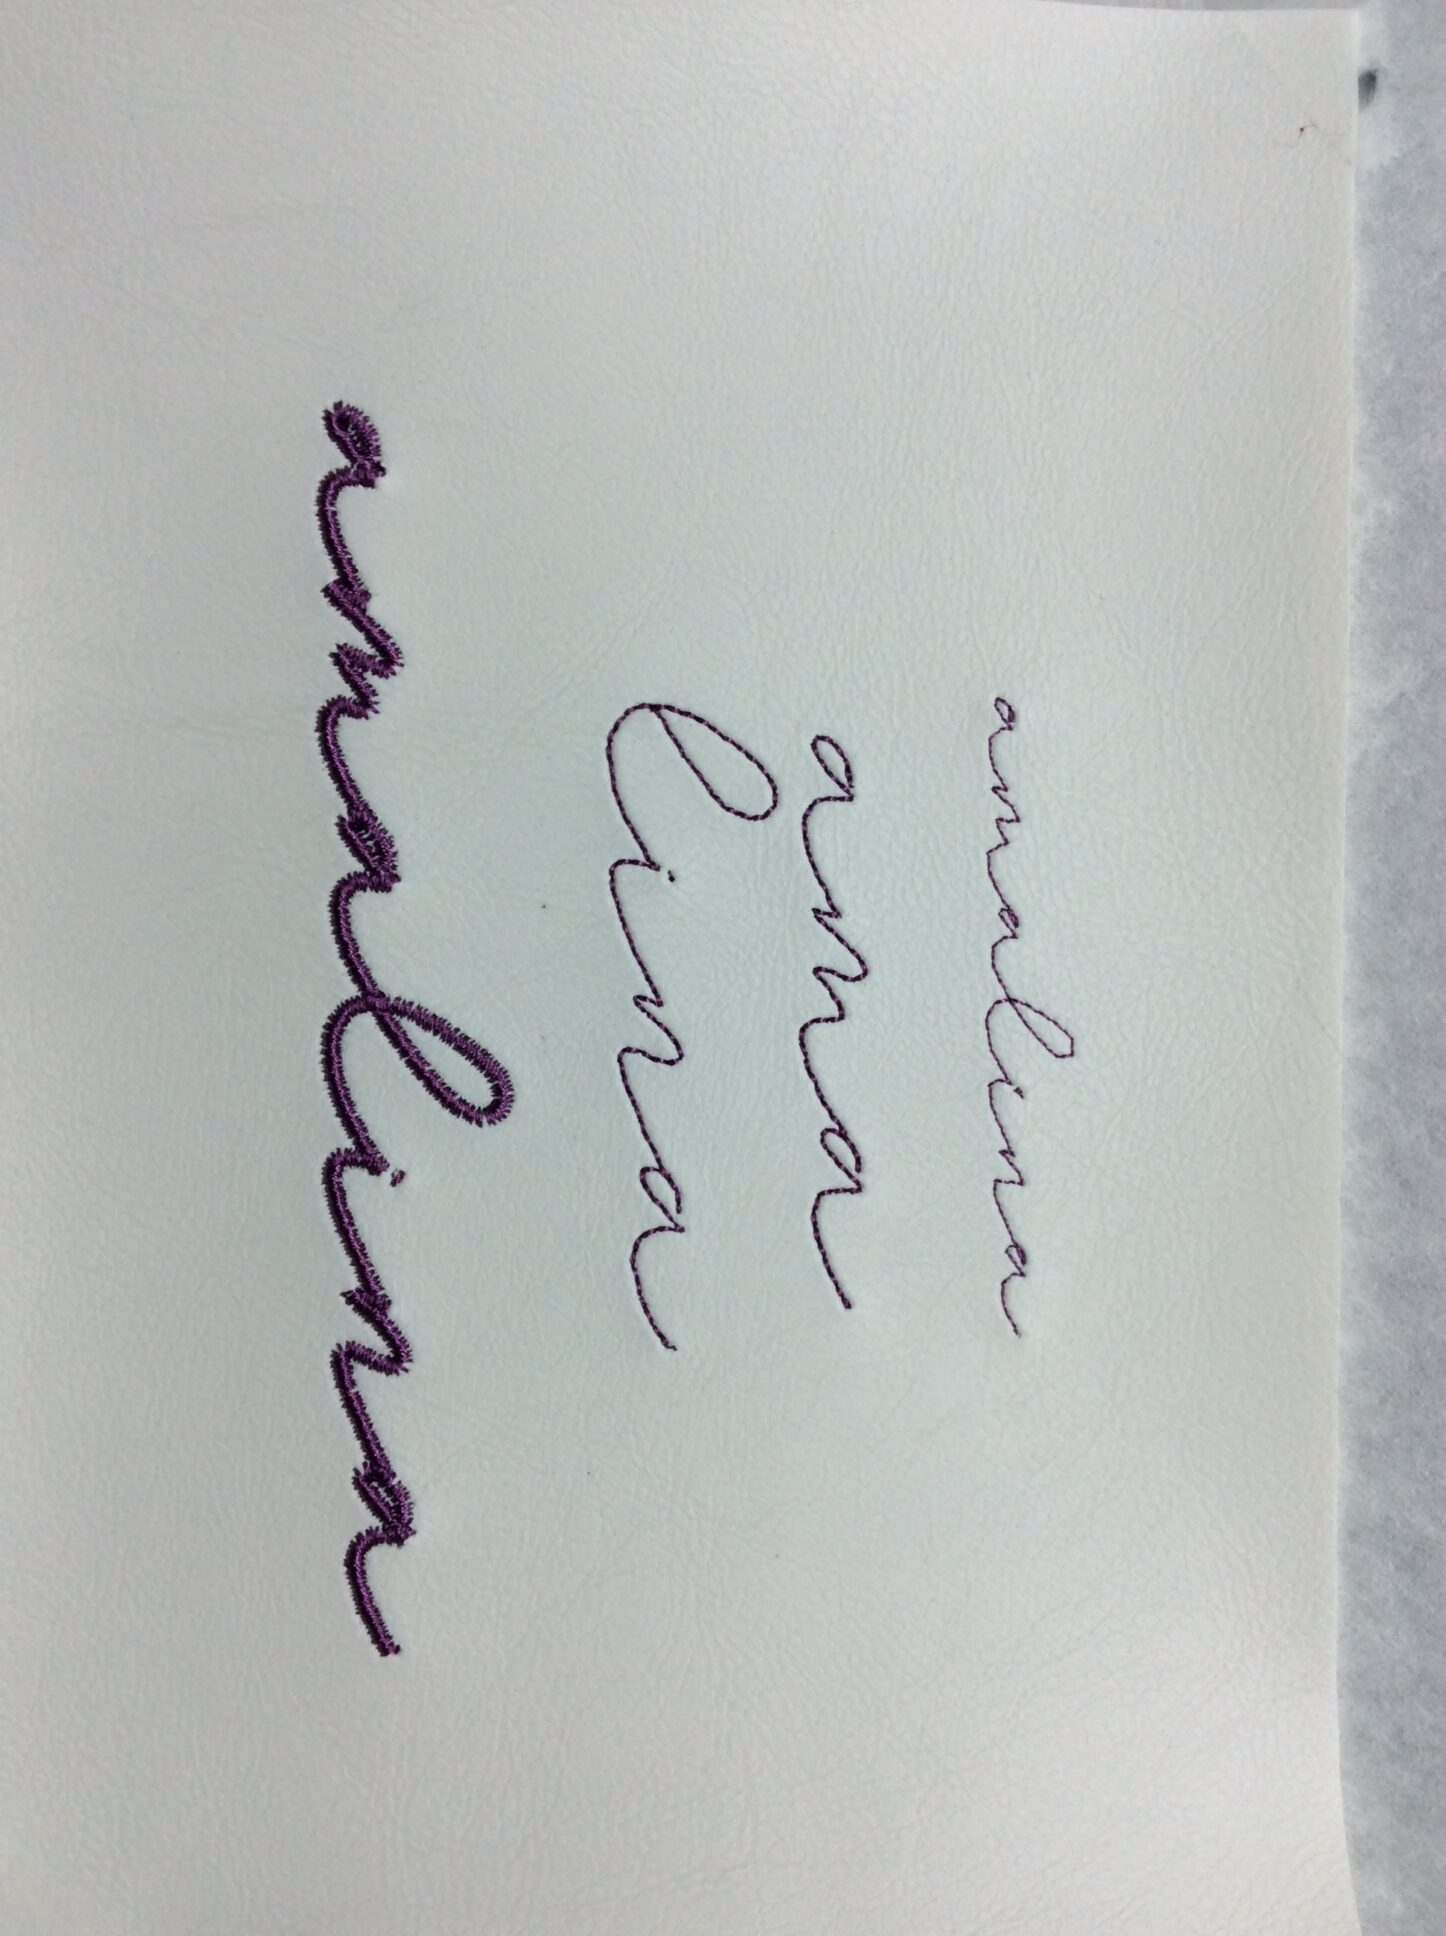
Here’s the demo as it came off my embroidery machine. The top is just a straight copy-paste of each letter at the original size.
- I changed the stroke style to a dashed line (because otherwise Ink/Stitch will treat it as a very tiny satin stitch).
- I ungrouped the first “a” and removed the positioning segment. Optional, but just a little cleaner. For a letter without a positioning segment, like an “l,” I might have added a stroke coming into the letter to reflect where your pen would naturally start.
- I ungrouped the “i” to make the dot stitch last. Also optional, but it meant I had a nice long jump stitch to trim (and a machine that automatically cuts jump thread would do so).
The middle is slightly changed.
- I sized the letters up.
- I used a single-repeat “bean” stitch (i.e. a forward-back-forward for each stitch) for all the non-positioning segments.
- I moved the second part of the word down, reordered the segments (including the positioning segment in the “a”) and reversed all the paths, so that it stitched left to right.
The alphabet also works in satin at larger sizes
- I converted all the non-positioning segments back to a solid line, 2mm thick (about the minimum for an adequate satin on this vinyl)
That’s about as small as a 2mm satin works on this font; as you can see the counter on the “a” basically disappears. That piece of vinyl is 7″ wide so it works well at a larger scale. You’ll have to consider this if you’re using it with a marker in a cutting machine – smaller sizes will definitely need fine points.
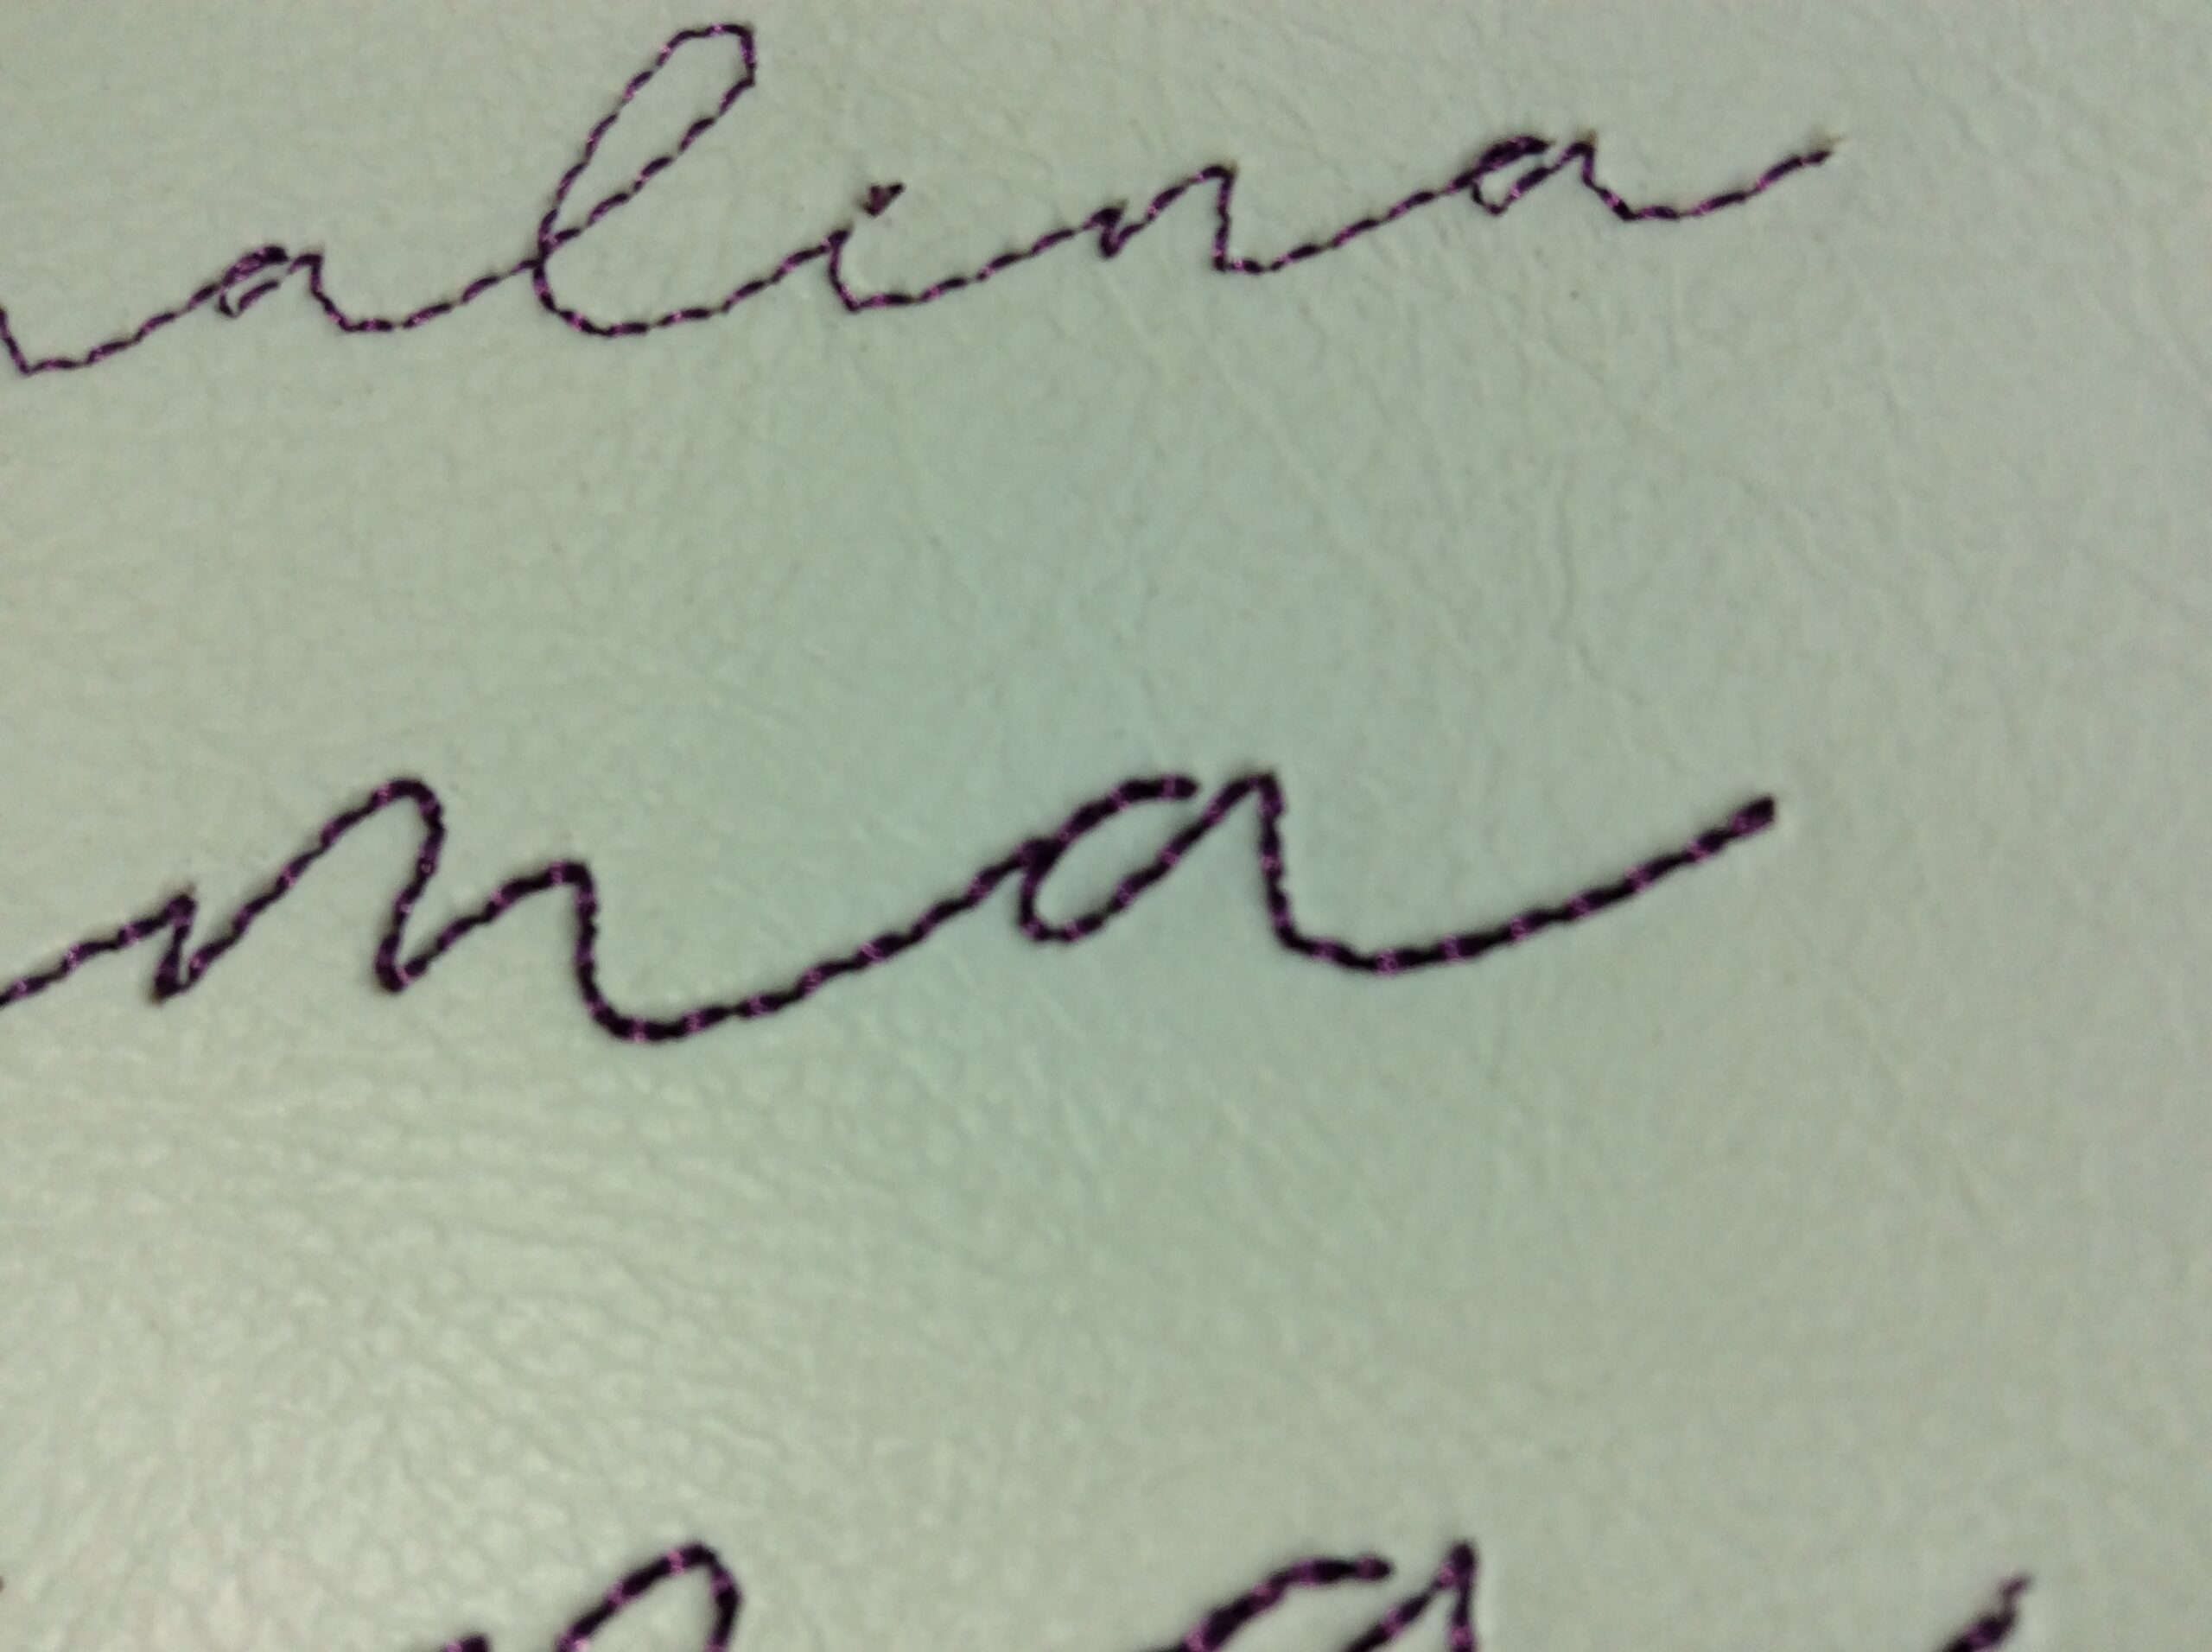
Right-to-left works all right for straight stitch; it’s almost impossible to see that there is a straight stitch over the bean stitch on that “a.” But remember that the positioning stitch will happen after the main stitching so you’ll want to leave it out if you’re right-to-lefting your satin stitch.
Have fun! I’d love to see links to anything you use this for.