Lettering name fobs
Turning Ink/Stitch lettering into a shaped snap tab requires just a few easy steps.
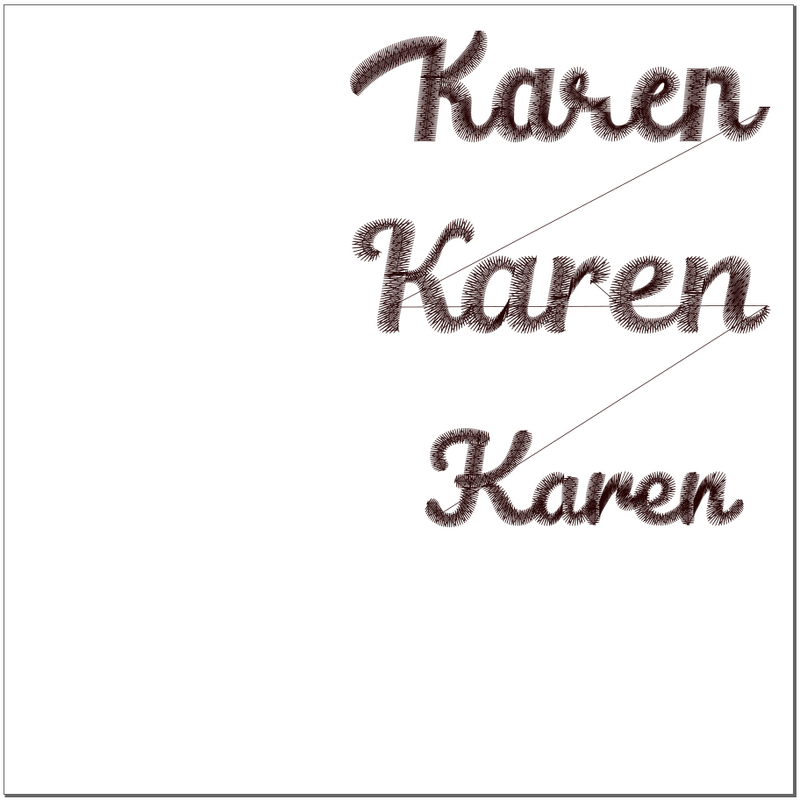
First, select your lettering: Extensions > Ink/Stitch > Lettering. There are a lot of alphabets to choose from. Try them out until you find one you like. Consider all-caps versus mixed-case. I picked three different ones just so you can see what the shapes look like, but you’ll probably want to do one at a time.
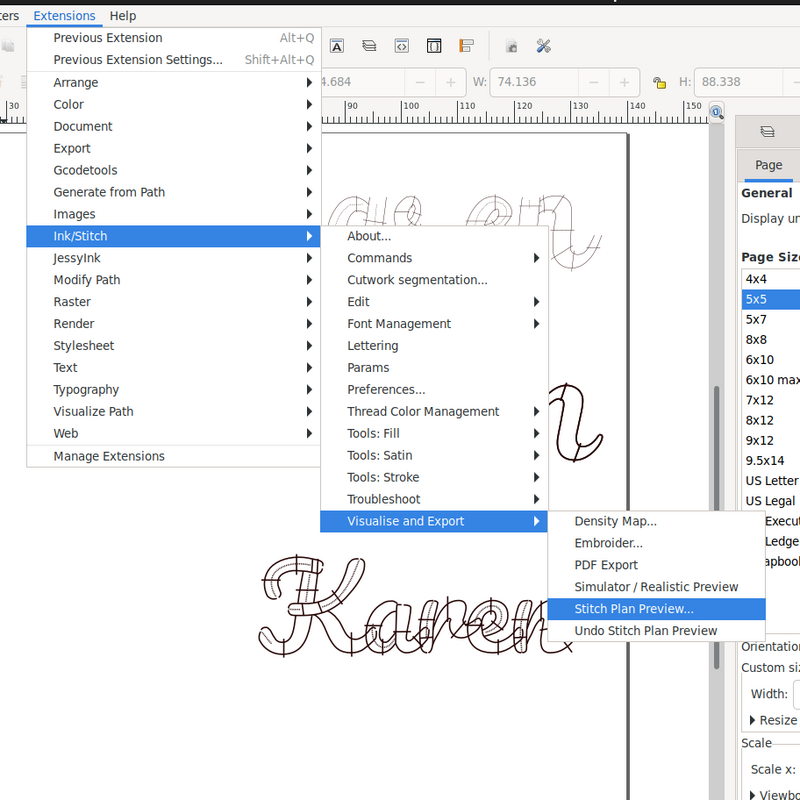
Now we’re going to get the stitch plan. These steps are just like making the die line or the knockdown stitch - it’s a technique that has a lot of different uses. Take a look at those tutorials, especially the knockdown stitch one, for more help if you’re trying to do this with a particularly complicated script.
Depending on the alphabet you’ve chosen, the stitch plan might give you a lot of extra lines for jump stitches. They’re fine if they’re going to be within the shape, but if you’re like me and you have wild jump stitches between words, use the node editor to select those stitches and delete them. Click once to select the path, and all the nodes will show up. Click the jump stitch and both ends of it will light up. Select the “Delete segment between two non-endpoint nodes” button on the toolbar and the stitch will disappear.
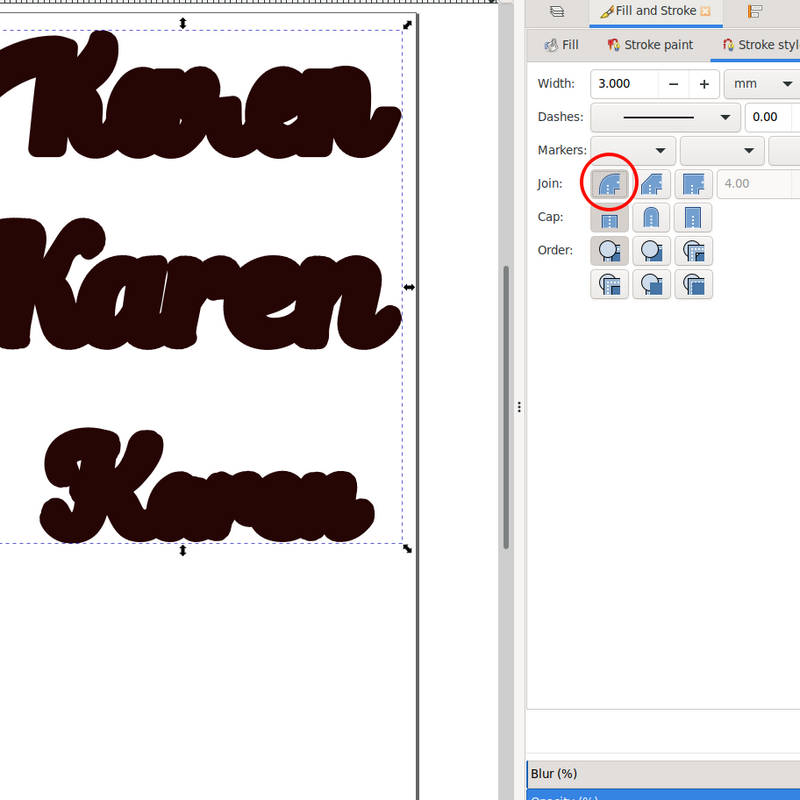
Now go to the Fill and Stroke dialog with your words selected. Make the lines twice as thick as the distance your outline should be from the letters - usually 2-3mm. You words will probably get very spiky, so make sure you select rounded joins.
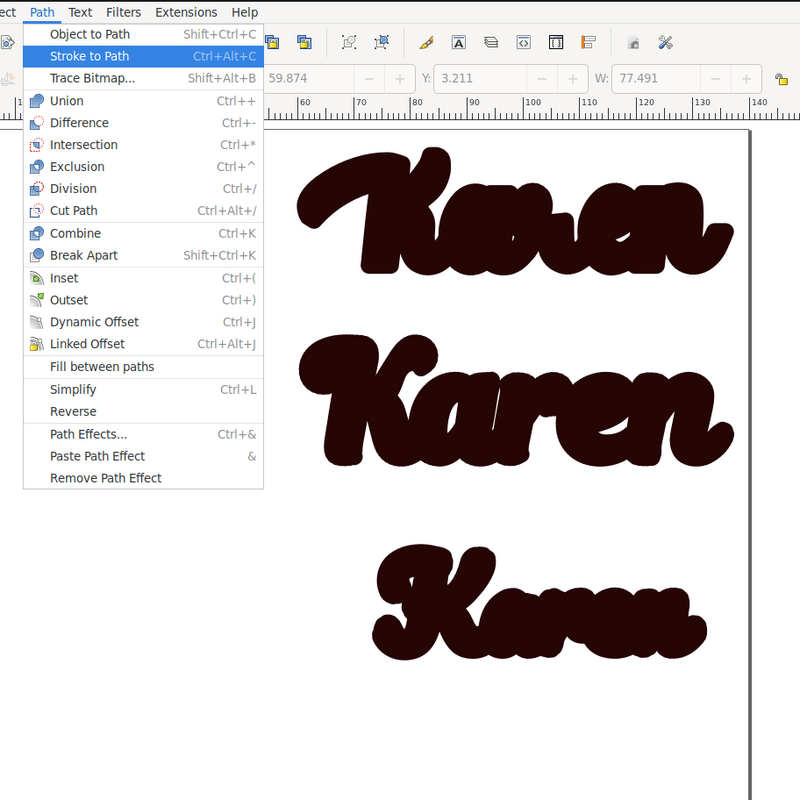
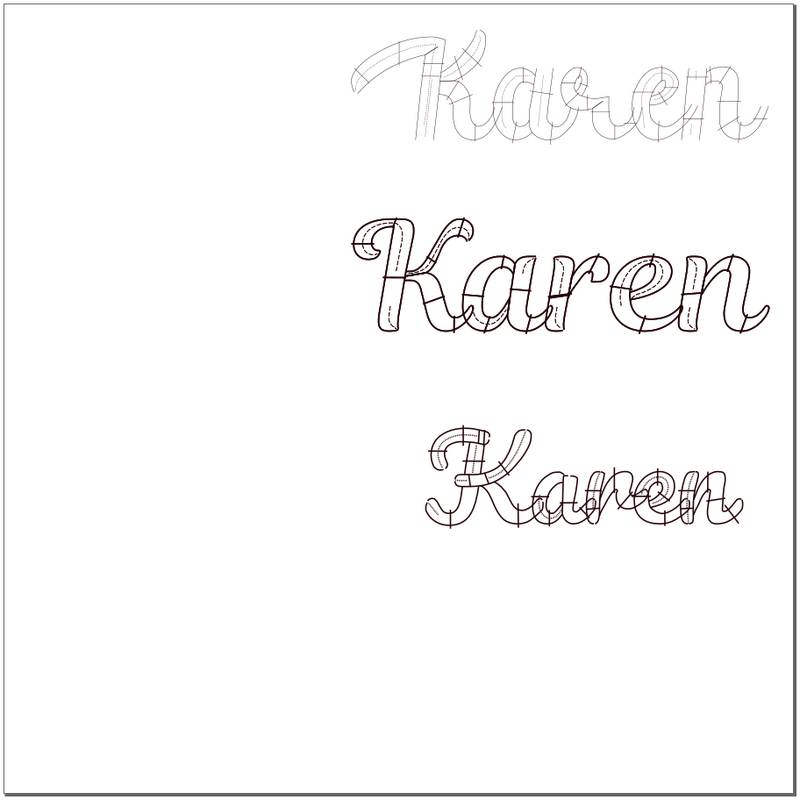
Now select Path > Stroke to Path. There won’t be much of a visible change, but you now have a filled object instead of an outlined one. Hit Ctrl++, or Path > Union, to smash that object into a non-overlapping shape. Select an outline color, and take out the fill.
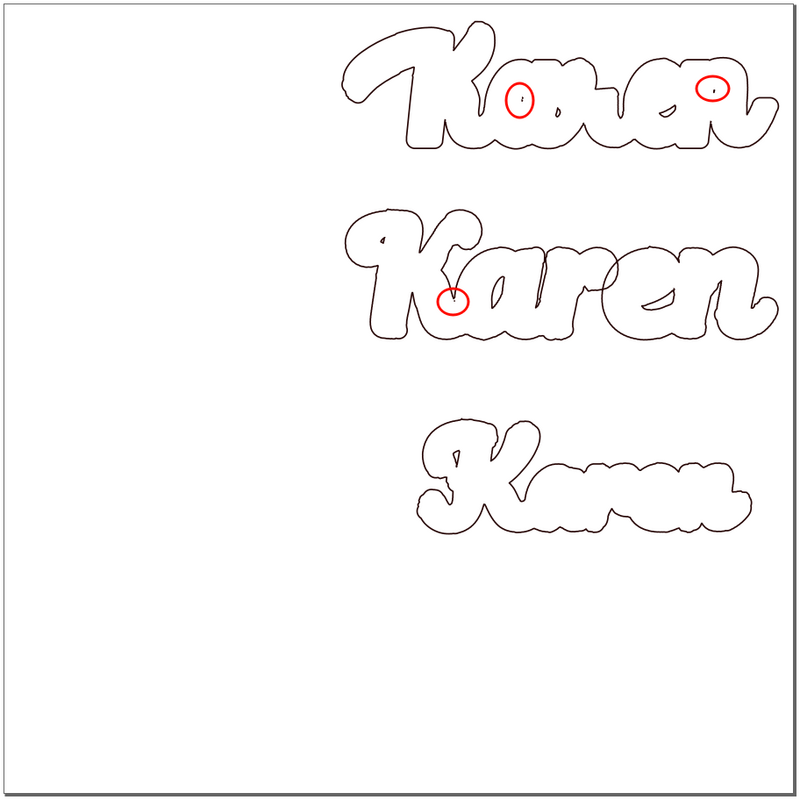
Hit Shift+Ctrl+K, or Path > Break Apart, to break all the stitch paths into their own object. Decide which ones you want to keep - maybe you just want the main outline, or maybe you’ll want to keep an outline on larger counters. Select all the tiny scrap ones and delete them. Change the counters’ color so it’s not the same as the main outline’s.
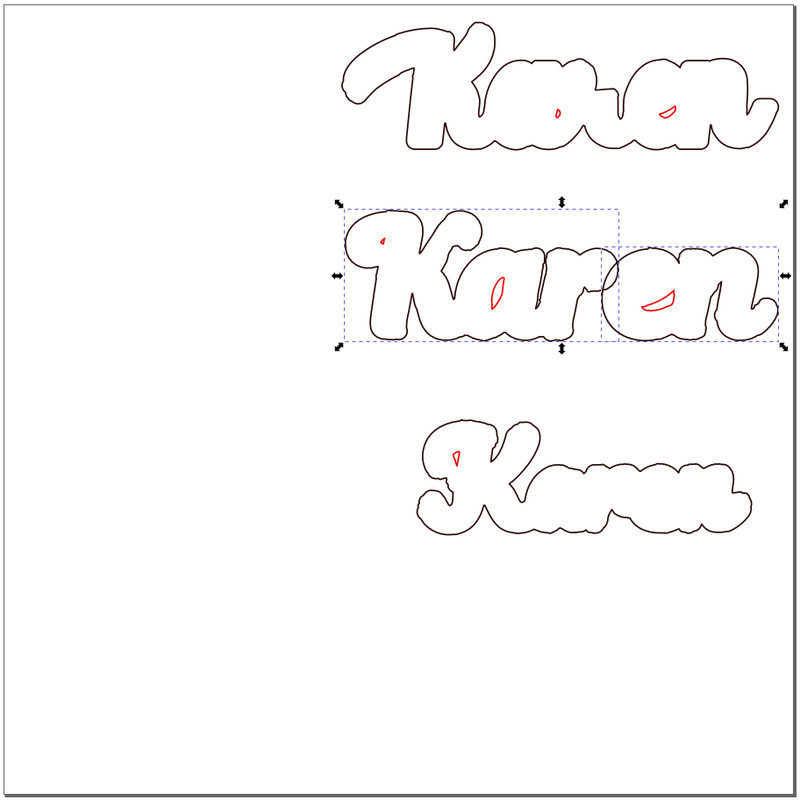
If you still have overlapping objects, select them and hit Ctrl++, Path > Union, to merge them.
Now you can use the node editor to simplify the outline. You probably won’t want to trim down into spaces like the one between the K and a, so maybe you’ll want the outline stitch to swoop across horizontally to the top of the a instead of following the K down any further. It’s up to you, and the shape of the name. Try a Path > Simplify if your path seems too complicated; you can always Ctrl+Z to undo it if you don’t like it.
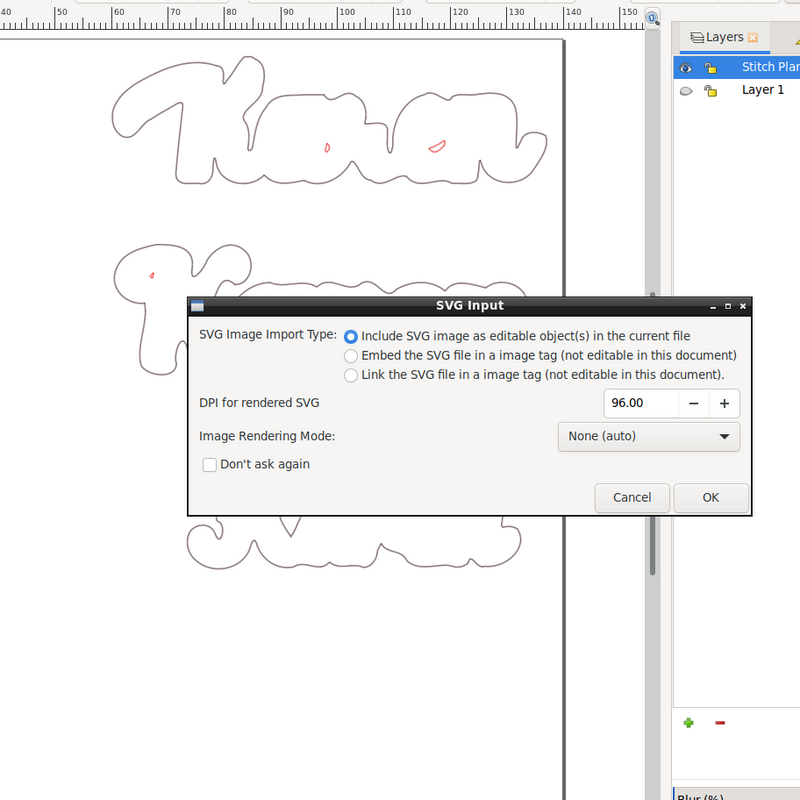
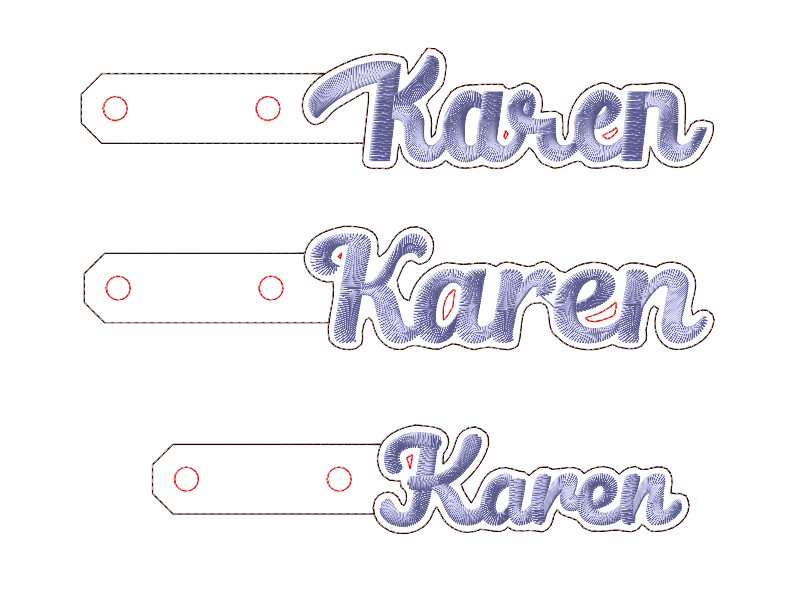
If you’re just making a feltie or whatever, you can skip these steps, but if you’re making a snap tab you need the snap tab. You can manually create the shape, or you can import this SVG. Click it again to go into rotate mode, hold down Ctrl to constrain it as you turn it 90 degrees to parallel the name. (Or join it at the top, if you want. I don’t know your life.)
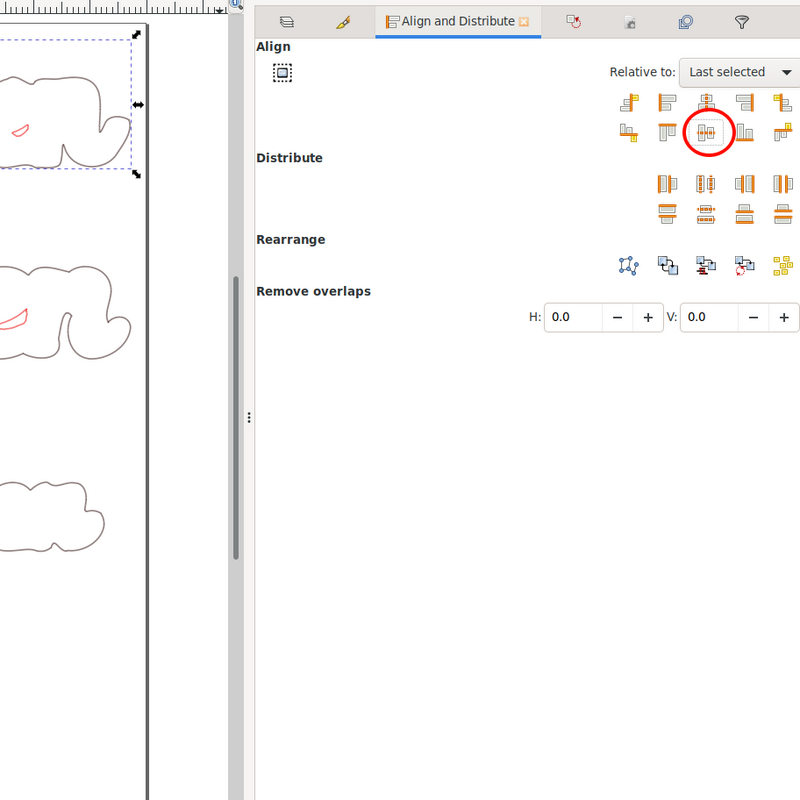
Select the main outline of the name, and align them vertically with the last-selected item (the outline shouldn’t move). Deselect the main outline, and slide the tab (again using Ctrl to constrain it from moving vertically) into place.
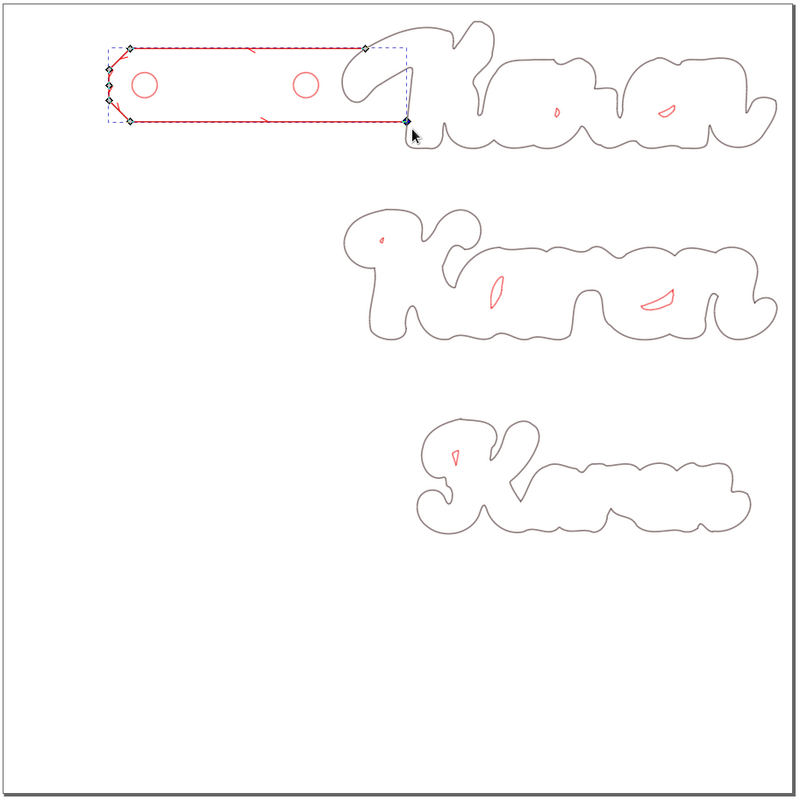
Use the node editor to slide (Ctrl constrained, again) the end nodes to meet the main outline. Add a node where the tab meets the main outline, then break that node so the main outline starts and stops there.
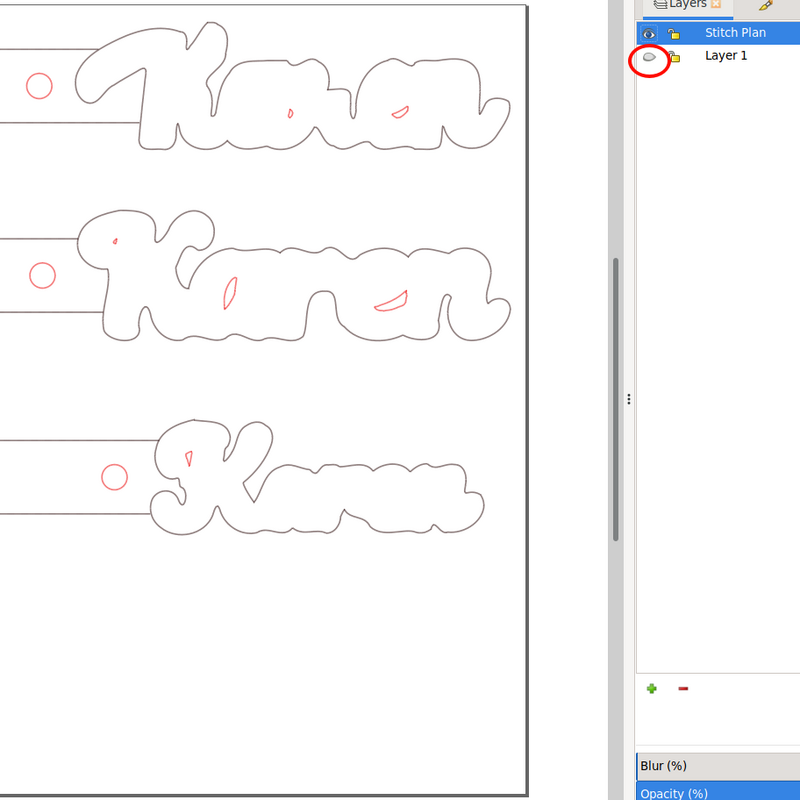
Now we just need the lettering itself back. Go to the Layers dialog and reveal the original layer.
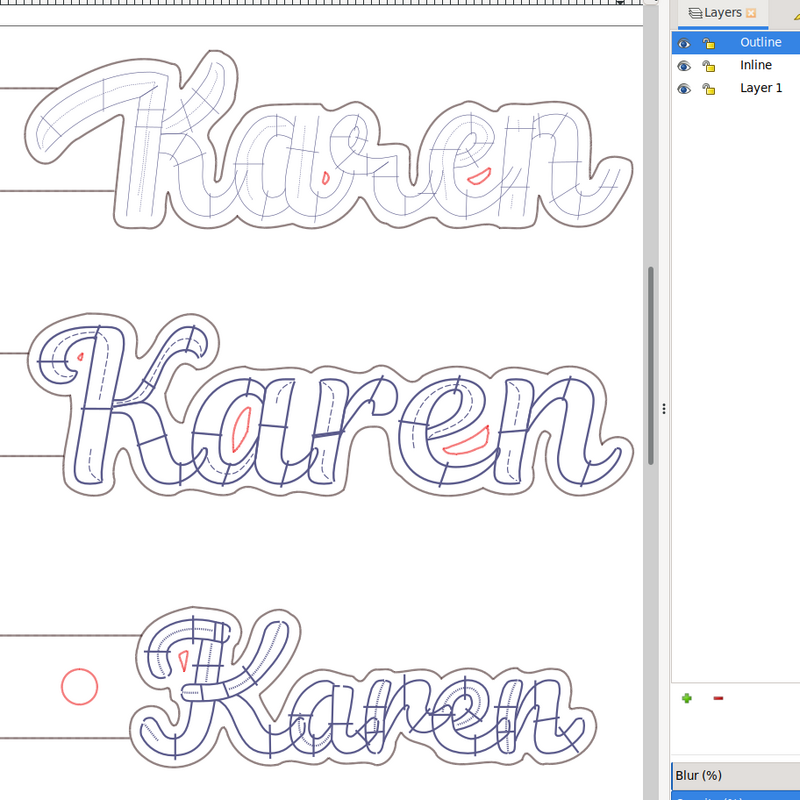
It’s not necessary (Ink/Stitch creates color changes based on colors, not layers), but I like to create a layer for each color. I renamed the “stitch plan” layer to Outline (what I call the final assembly stitch, usually) and, for lack of a better name, created “Inline” for the counters and snap placement markers.
You may want to change Outline/Inline stitches to bean, probably 2.5mm. Use Extensions > Ink/Stitch > Visualize and Export > Simulator /Realistic Preview to make sure there are no unexpected color changes or jumps. Use Path > Reverse on the tab outline if it doesn’t run the right direction to meet the main outline without a jump, for instance. When everything looks right, File > Save A Copy To... to the appropriate stitch file for your machine.
To make the fobs, you’ll stitch the letters, change to the topstitching color and stitch Inline (so the counters don’t show through on the back of the tab), then put the backing vinyl on and stitch Outline. Trim, add hardware and snap/rivet, and you’re done!