Organizing digital patterns

For someone who ostensibly didn’t get the embroidery machine to do “normal embroidery,” I have accumulated a lot of purchased designs, on top of all of the ones I’ve made. I often found myself thinking, “I need a 3x4 design to go in a valet tray,” so I have set up my photo organizer to help me out here.
I use Digikam which is free/open source and available for Linux, Mac, and Windows. Any organizer that lets you tag your photos and filter by multiple tags will work - that should be all of them. The principles will be pretty much the same.

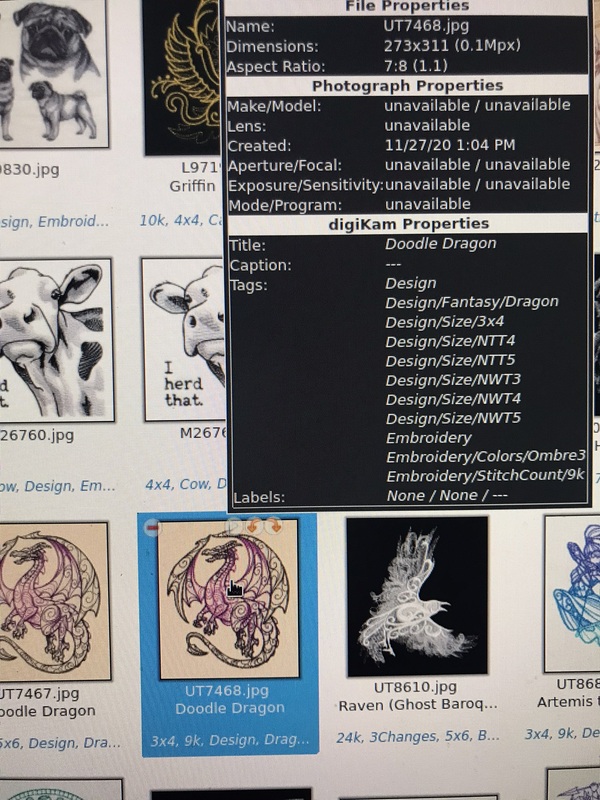
I save an image of every design I make or buy to a directory, and I have a few standard tag types I use. I use Digikam for all my other photo sorting as well, so my design/pattern tags live in their own hierarchies. I started with “Design” for both sewing patterns and embroidery designs, and then decided to move the embroidery-specific tags to the Embroidery hierarchy and the sewing-specific ones to “Sewing.” Obviously I got distracted halfway through, since the sizes are still under Design, but it really doesn’t matter.
I record everything I can think of about a design:
- Subject matter. This is the typical photo tagging, and I make sure I tag things liberally. A Christmas dragon goes under both Christmas and Dragon, for instance.
- Special stitching. I have “Dark” and “Light” and “Natural” for designs that require a specific background type, “Embossing,” “FSL,” and so forth.
- Size. In addition to the actual dimensions, I have tags like “NTT4” that is “no taller than 4 inches.” This saves me selecting all the dimensions smaller than a specific area. I can filter on “NWT3”+”NTT4” and get everything that fits in my space, even if it’s only 2x2. Sometimes I put multiple sizes - the next larger Doodle Dragon is both 5x5 and 5x6, because it’s just a hair over 6” tall and I can downsize it enough to fit in 5x5 if I really need to. I also have a size named “Tiny” that is everything I might want to put on a tiny snap tab or other little item.
- Stitch Count. I use a tag with the nearest 1000 stitches, but it would be nice if I could sort by actual stitch count. I don’t often filter on stitch count, but it’s there so I can look at it and say “no, that’s too much for this project.”
- Color changes. I don’t seem to have done that for Doodle Dragon, but I usually put the number of color changes. “Single Color” is the tag I look for most though.
- Color style. For lack of a better word: ombres, spectrums, and so forth. Since I find myself matching dice to dice trays a lot, I tag them with things that help me match those up. Digikam has a lot of built-in color tools as well, so if I really wanted to I could do a lot more color management.
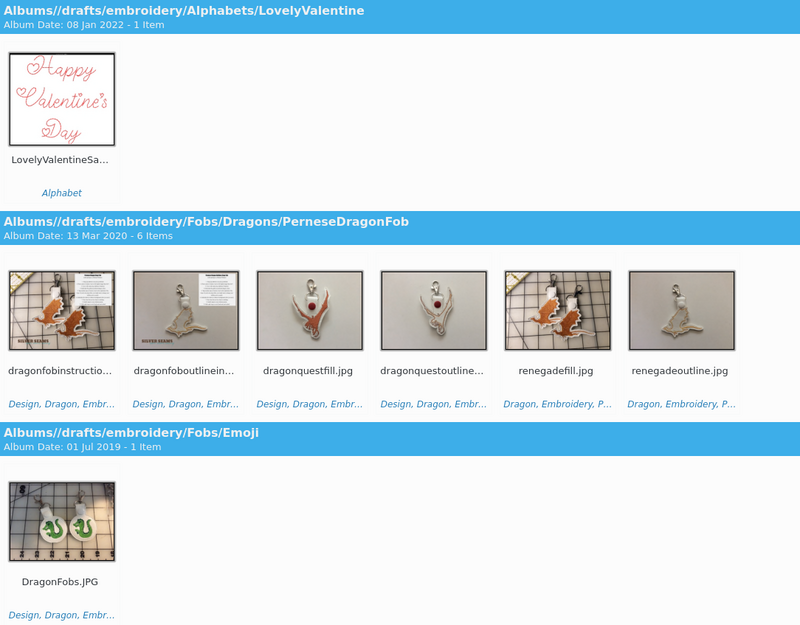
- Digikam has albums, so I separate design makers that way, but if I didn’t I would have creator tags.
- Any time I end up manually sifting through the designs for something that doesn’t have a tag, I make a tag. When I was making rope bowls, I tagged all the round designs, for instance. Same with towel-appropriate designs when I made hand towels for Christmas presents. I have a tag called “Pairs” that is good for both twins/sibling designs or wedding/anniversary designs. (“Wedding” is its own tag too, of course.)
I also keep an eye on elements of the design that can be broken out on their own. For instance, the pug design in the upper left is a composite; the overall design is 8x7 but I also have it tagged for individual component sizes. If there are tiny, easy-to-isolate flowers, moons, or other elements, the design gets tagged Tiny.
In theory, Digikam can do a lot with color, and I could probably set up thread-color tags and whatnot. In practice, I usually manage that in the SVG, where Ink/Stitch can deal with it. Your mileage may vary.
