Mini Composition Book Cover
This in-the-hoop design takes a 4.5″ x 3.25″ notebook (Dollar Tree or similar) and a 3″ x 4″ or smaller embroidery design (this one is from Urban Threads) to make a little refillable notebook. It’s a 5×7-only design.
The first color is a placement marking; I stitch it into the stabilizer without thread. Cut 2 1/4″ of elastic, fold it over as shown, and overlap it inside the marking by about a quarter inch. (Adjust this to your pen size; this works for a Pilot G2 or similar.) Cut a piece of ribbon for the bookmark; I make an extra loop in fine ribbon to provide a loop to put a dangle on. The placement mark ends at the middle of the book, so that a wider ribbon will lay flat.
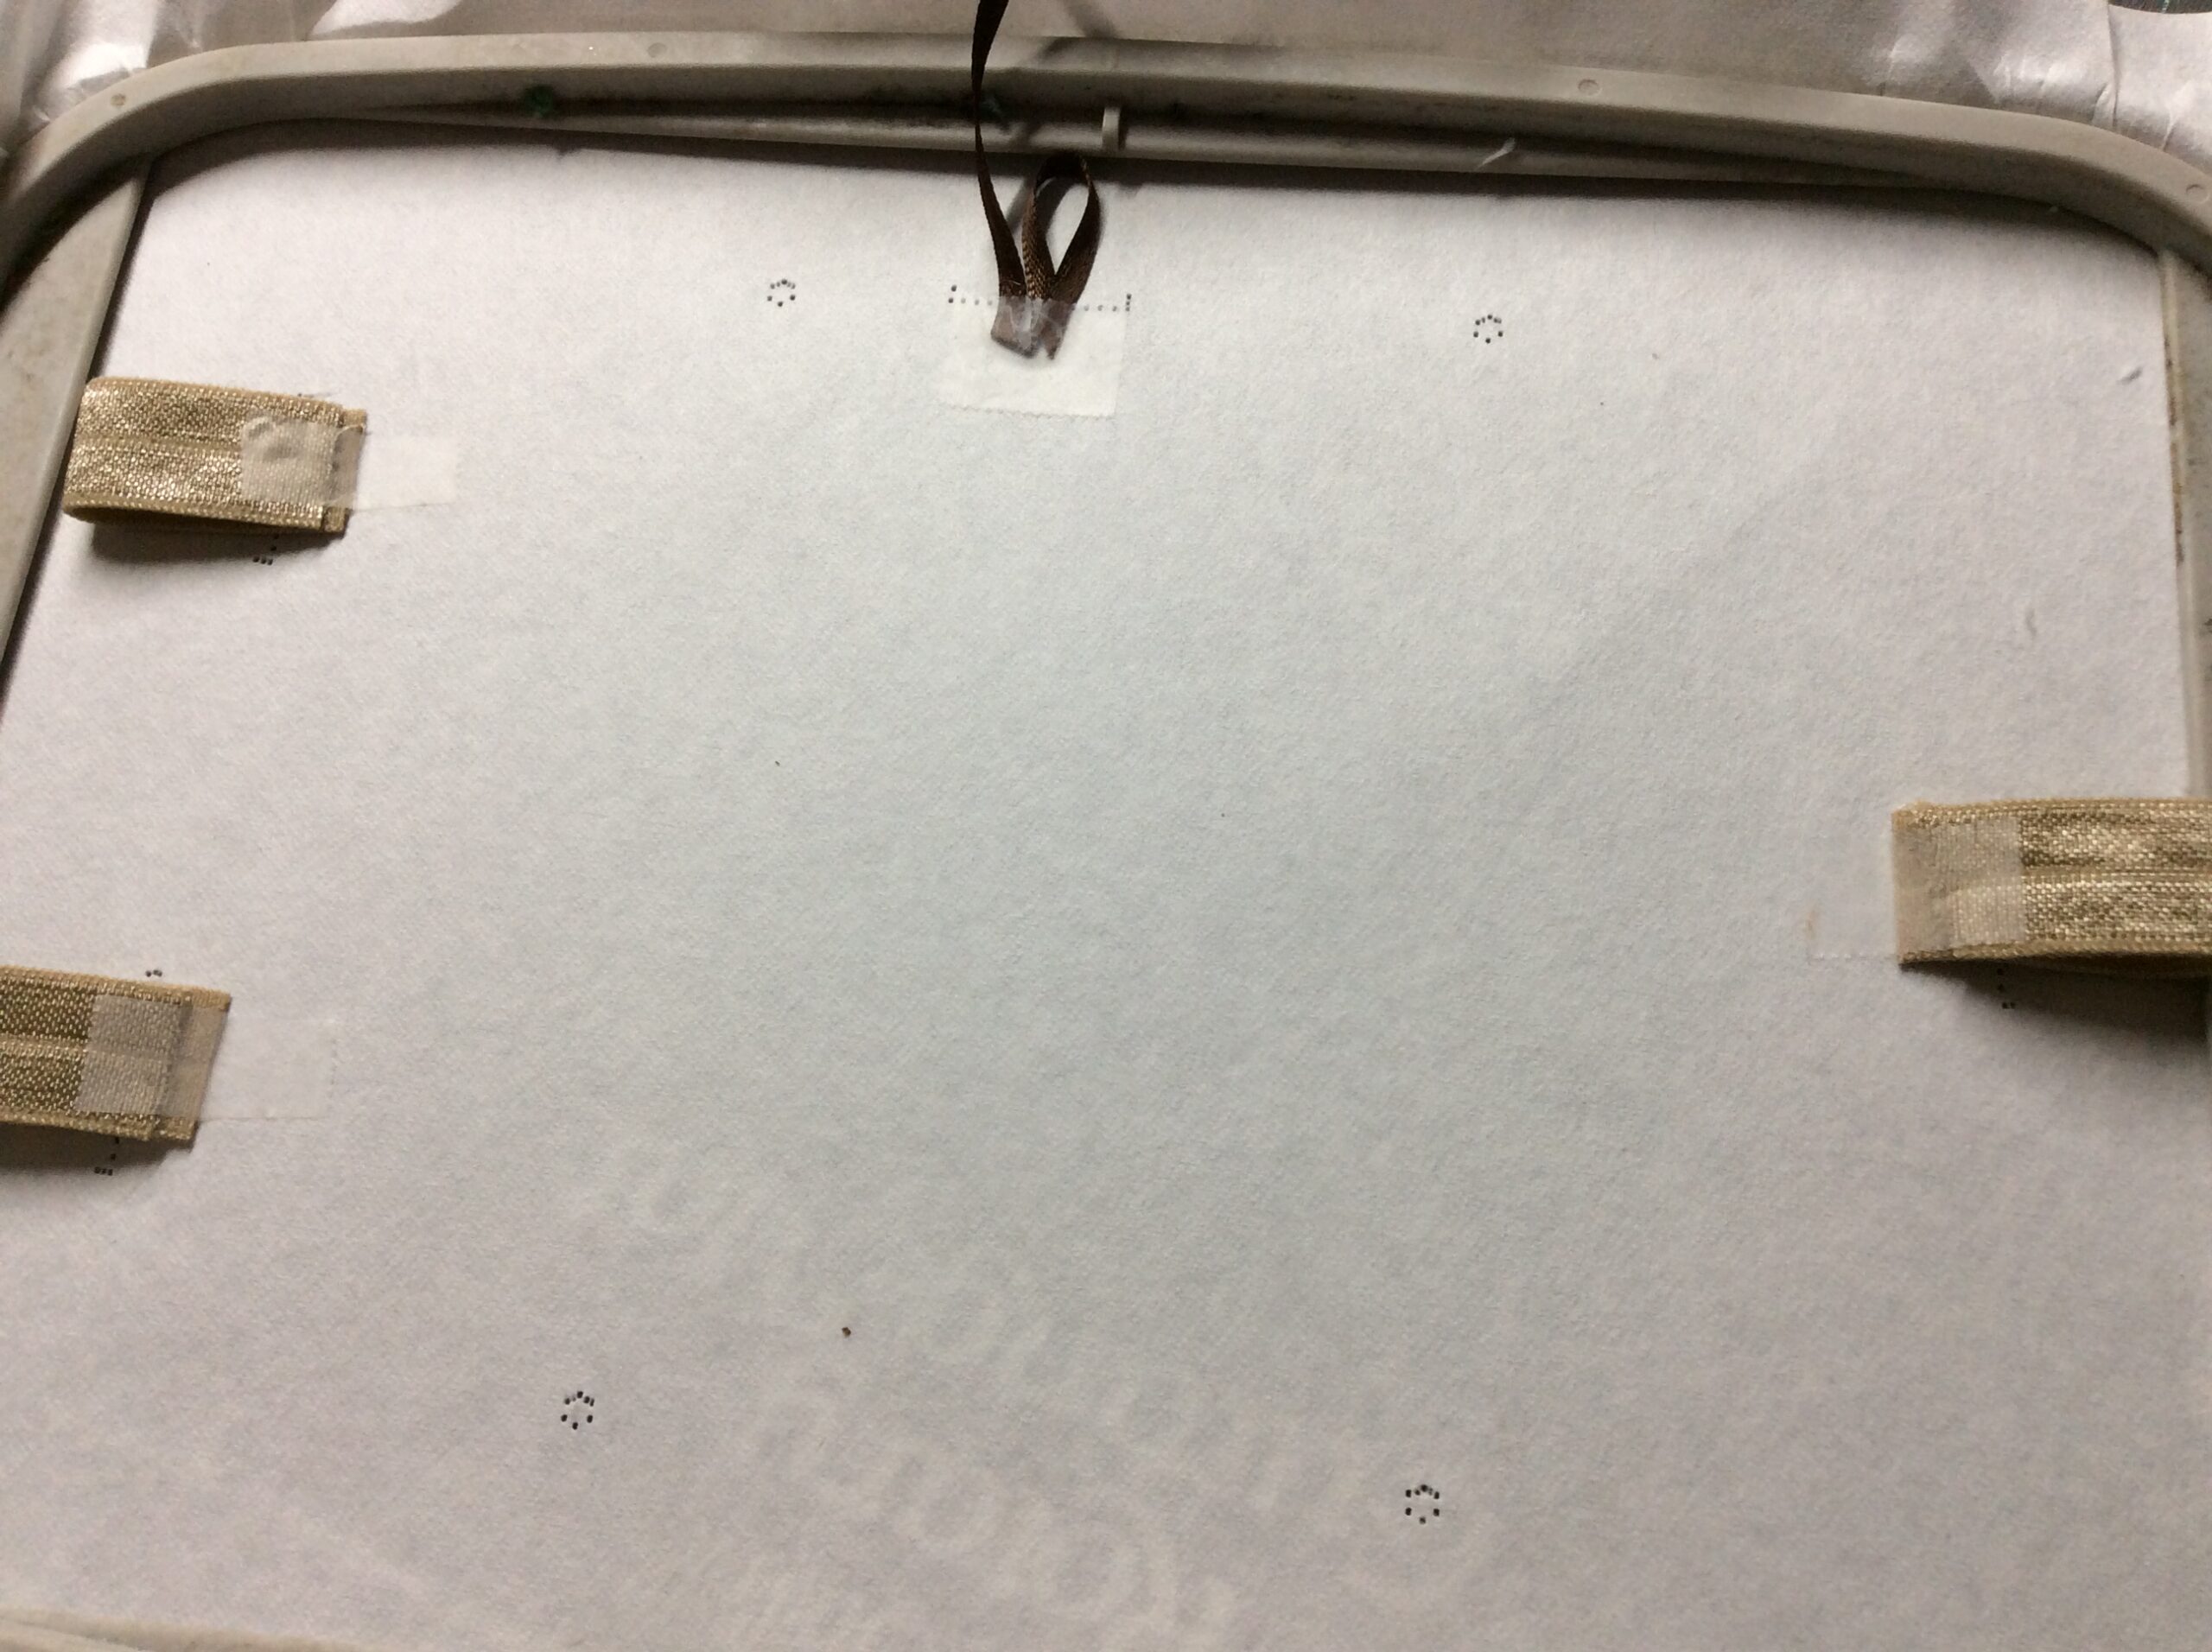
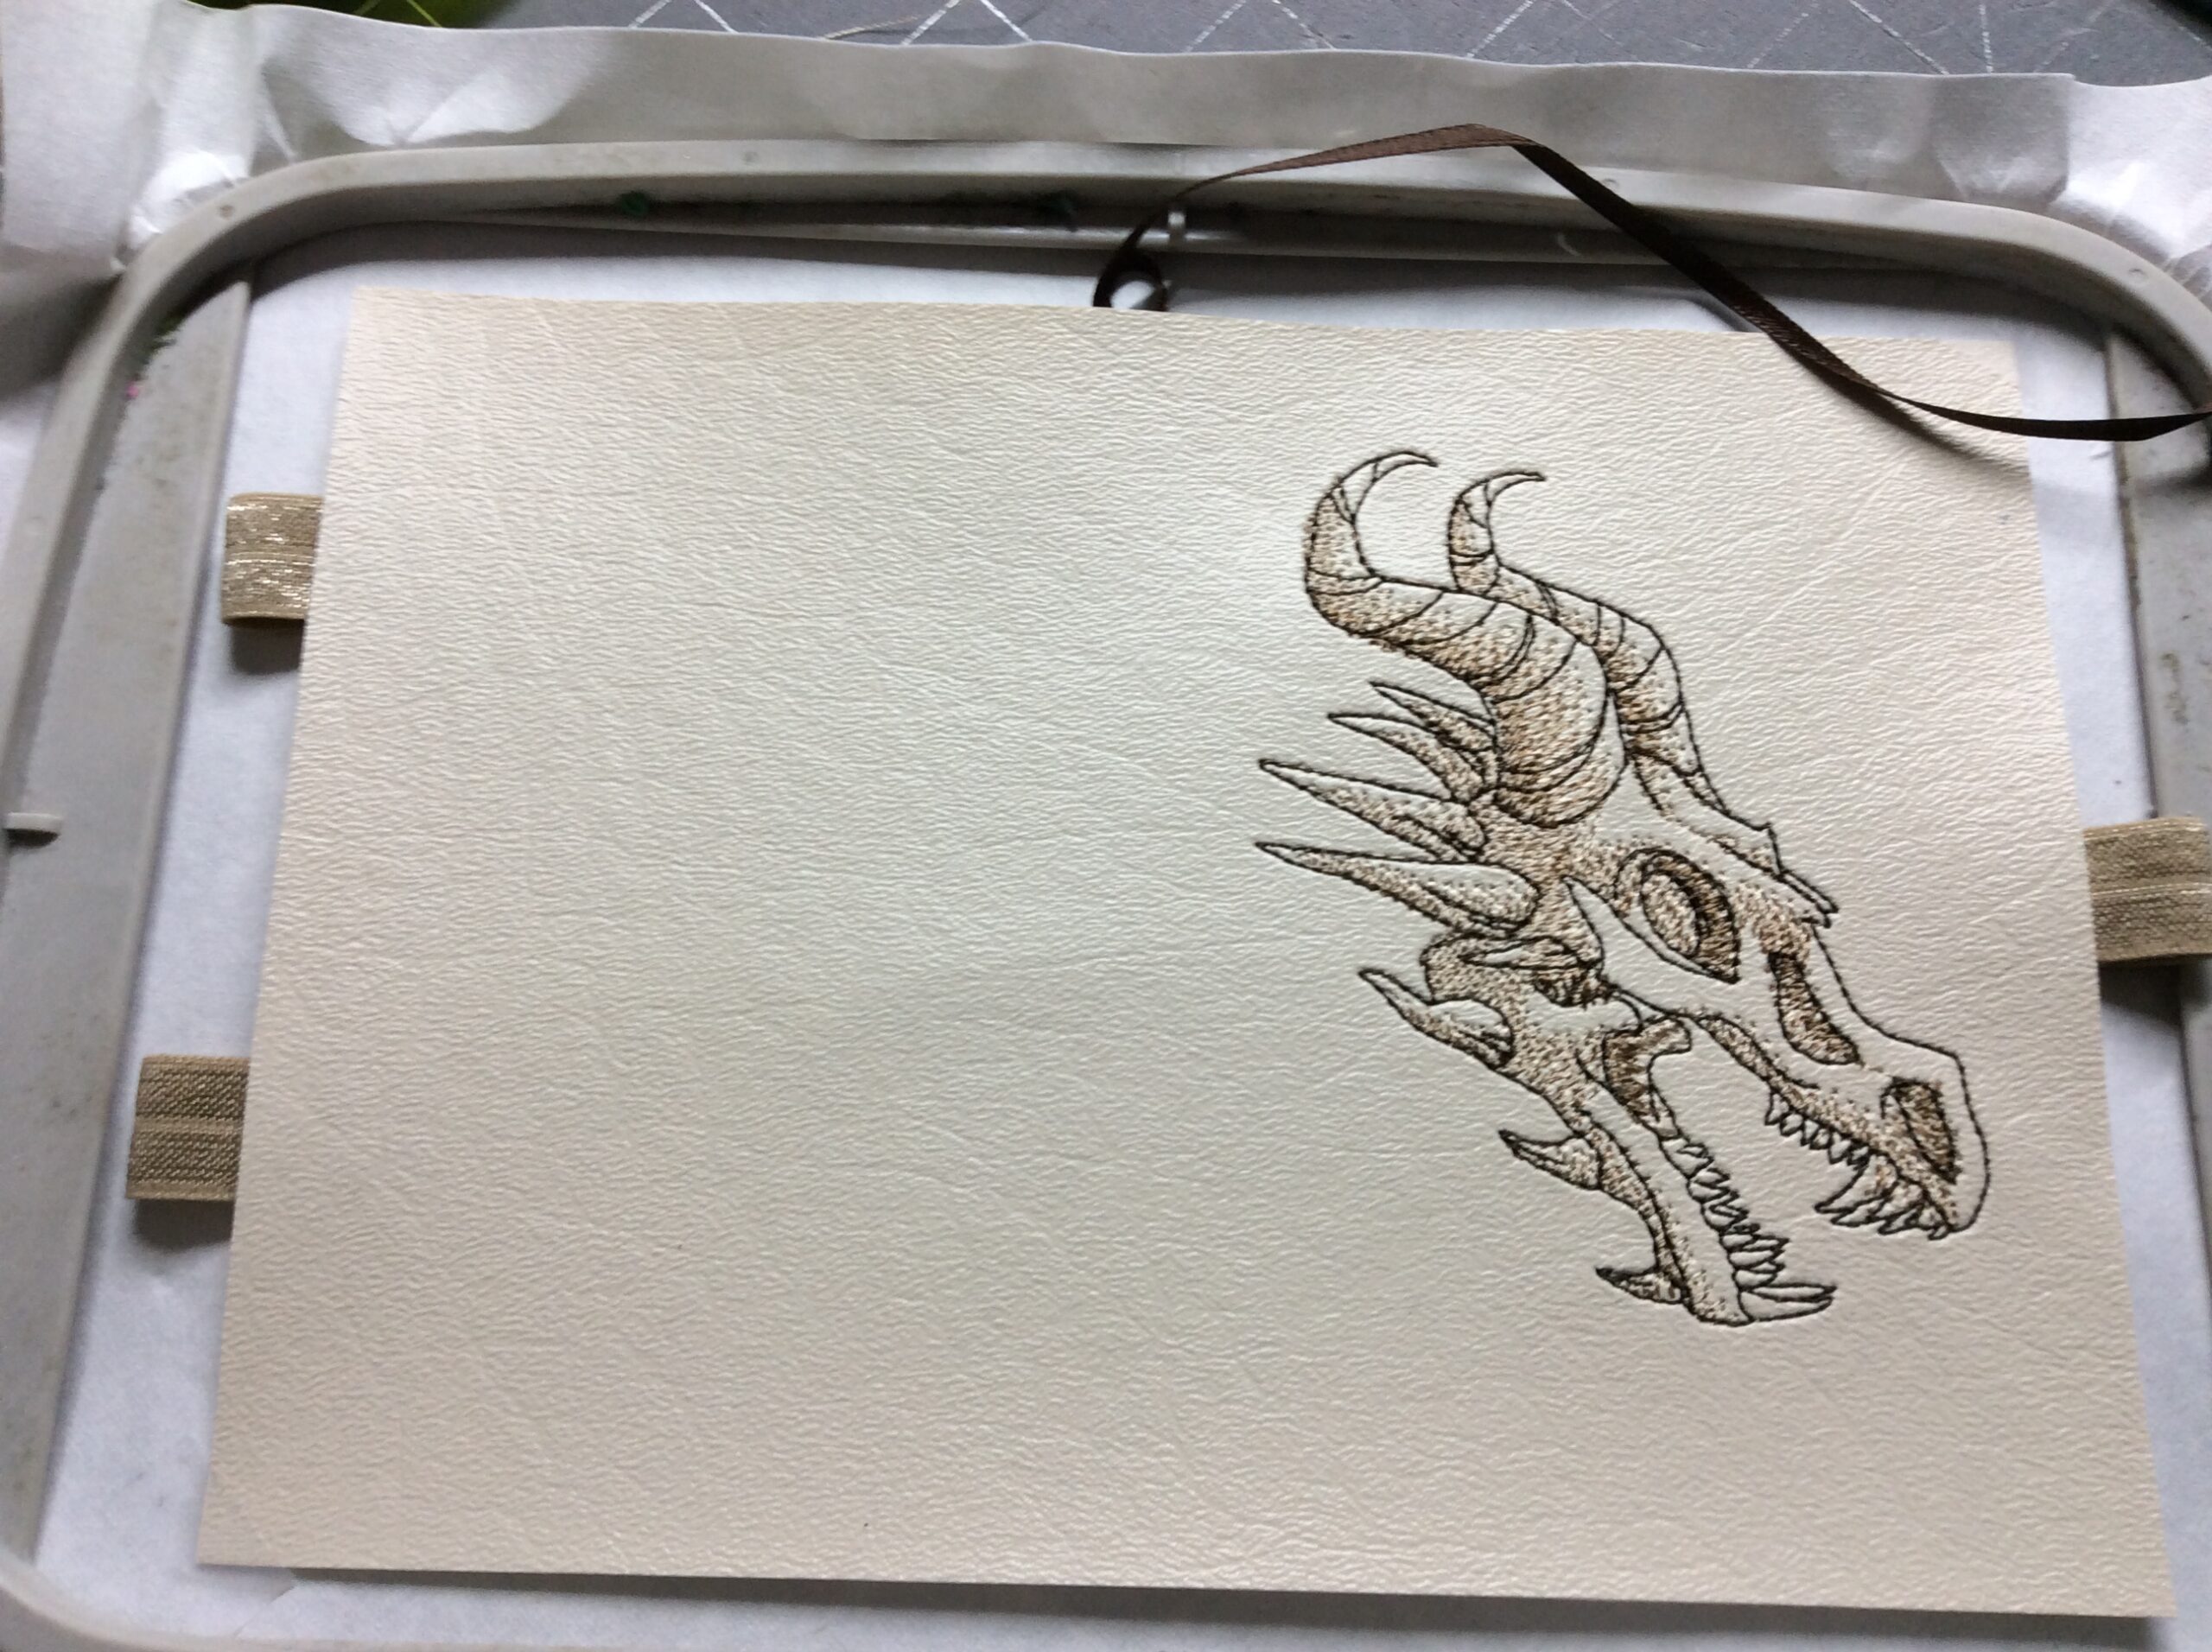
The second color is a tackdown for the elastic and ribbons. After it runs, place a piece of vinyl or other non-fraying fabric on top, making sure you have enough overlap on the short sides. A 5 1/2 x 7 1/2″ piece will give you enough space – the topstitching is the full 7″ wide, so if you trim to an 1/8″ border that’s 7 1/4″. Stitch out your design.
The ZIP file includes an SVG source file, and there’s a layer for the design so you can import an existing design. There’s a vertical guide to center it on 5 3/8″ from the left (top when the frame is mounted) edge of stitching. That’s 3/4 of the way across, plus another 1/8″ to allow for the spine.
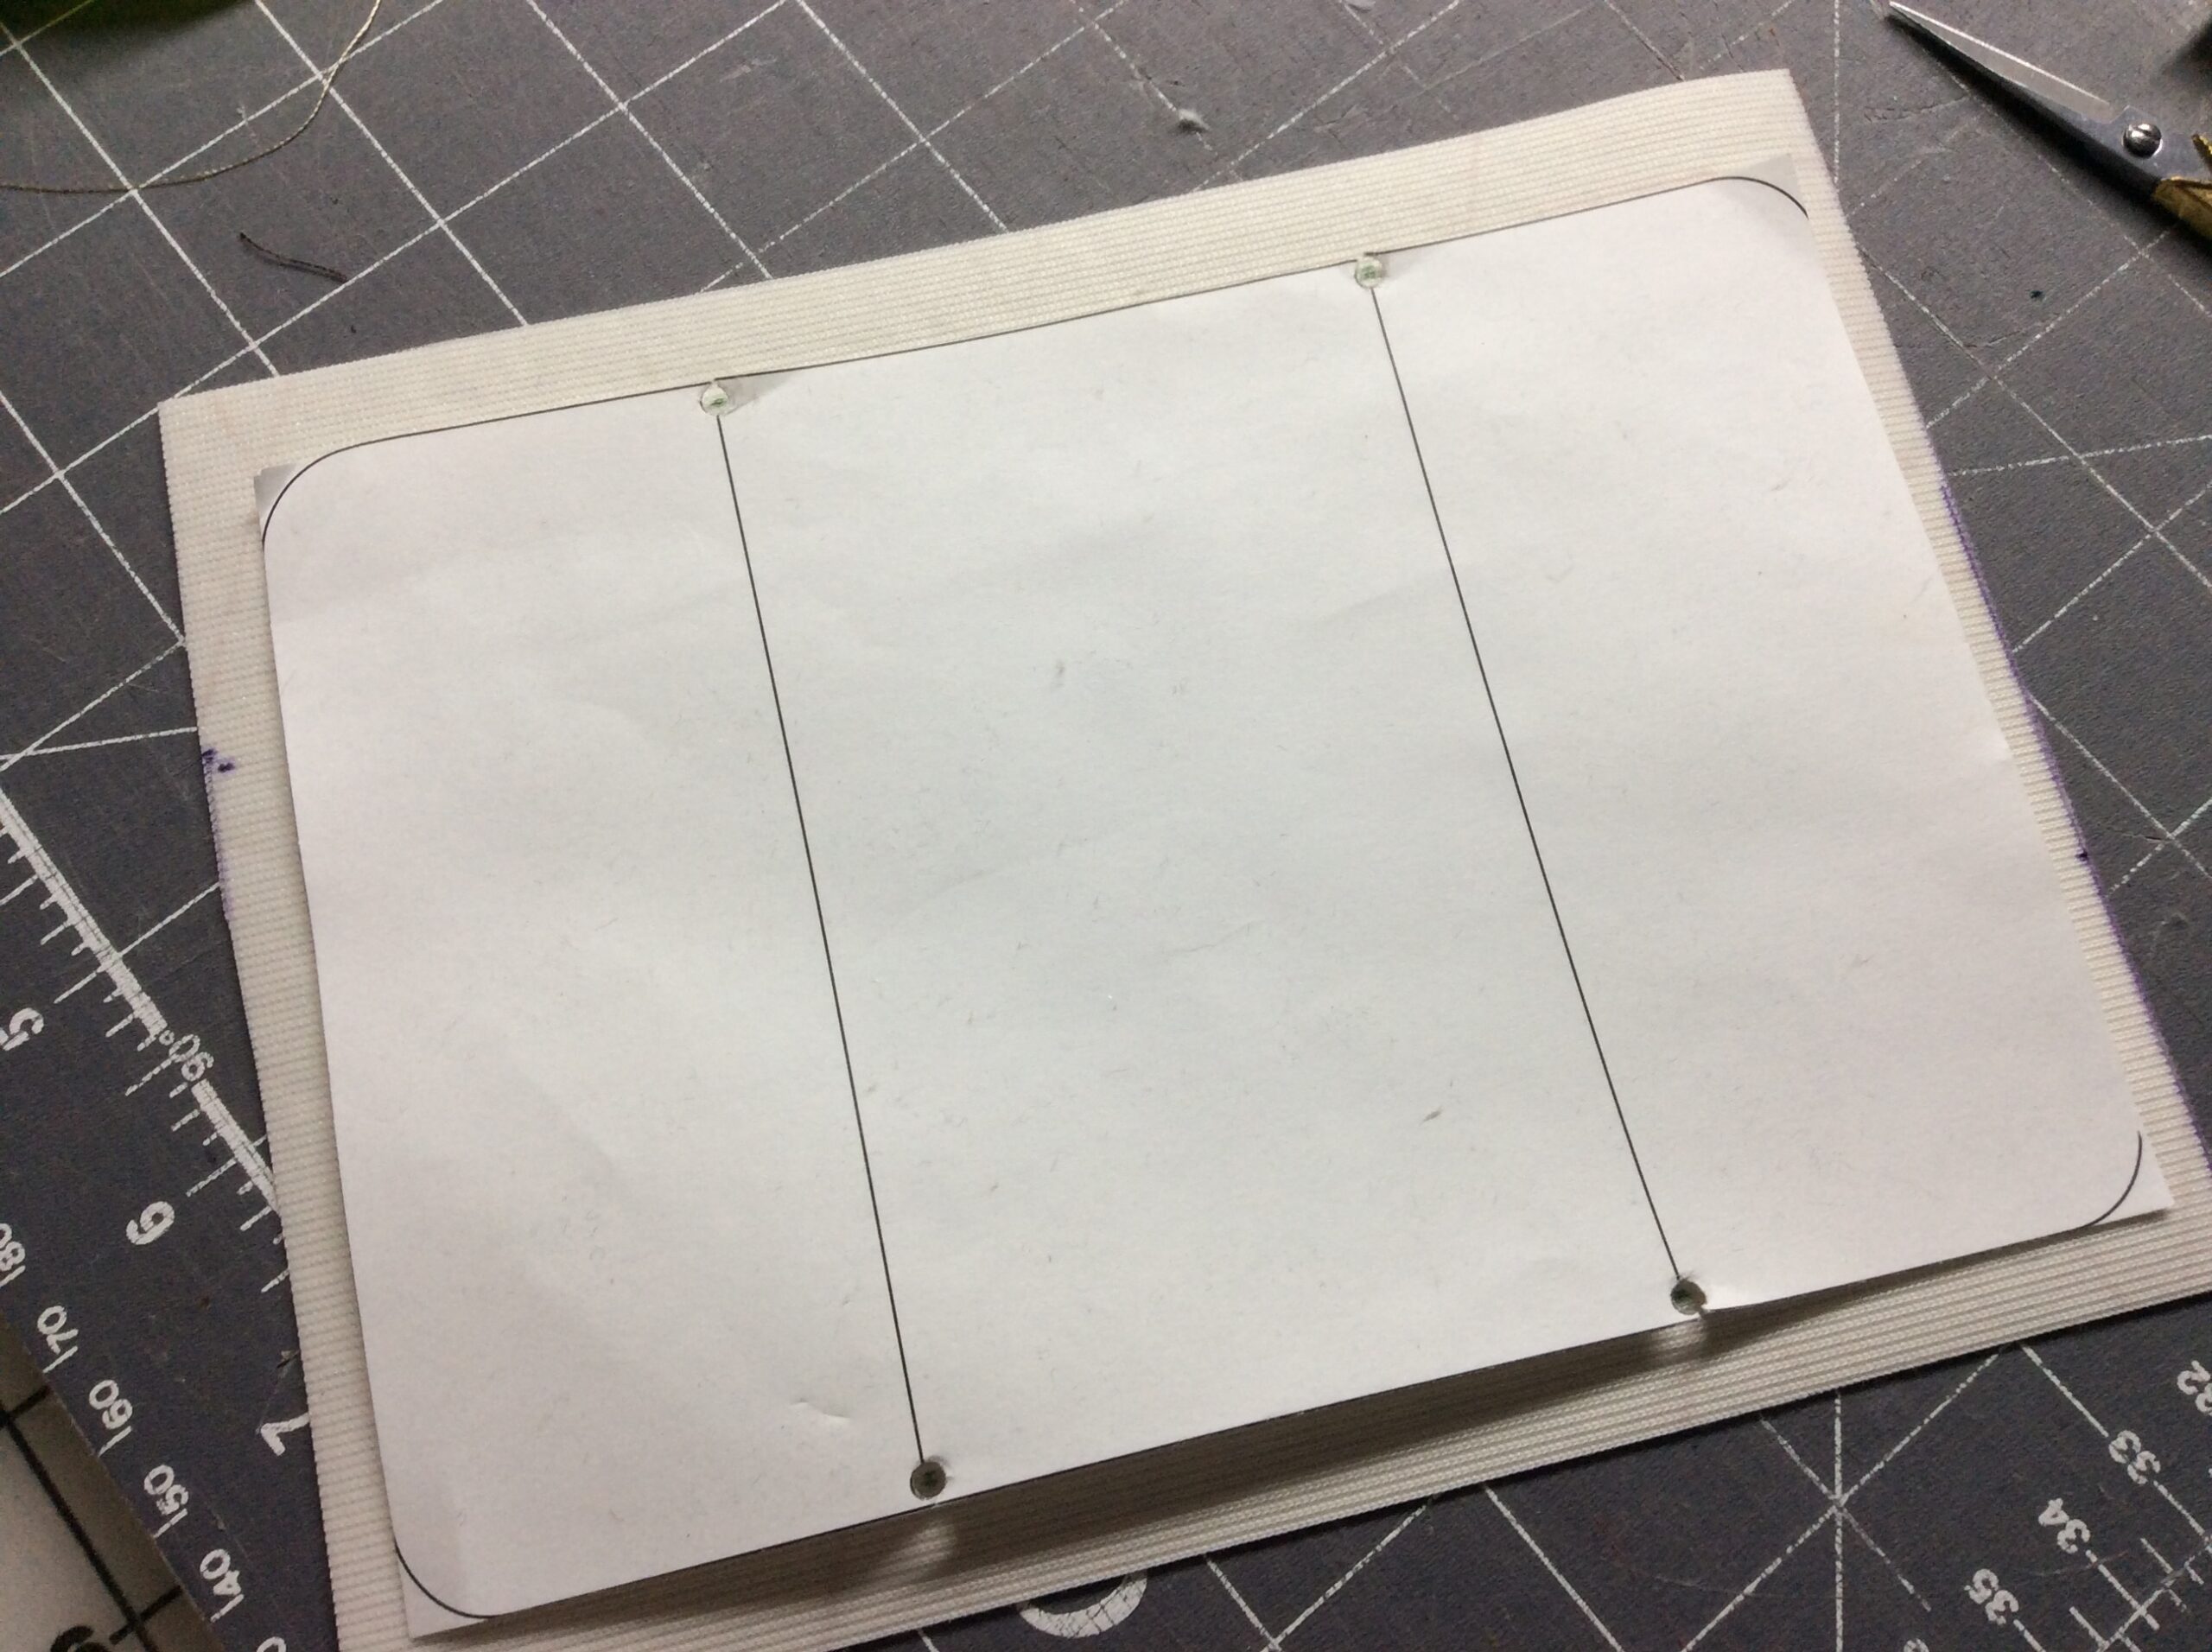
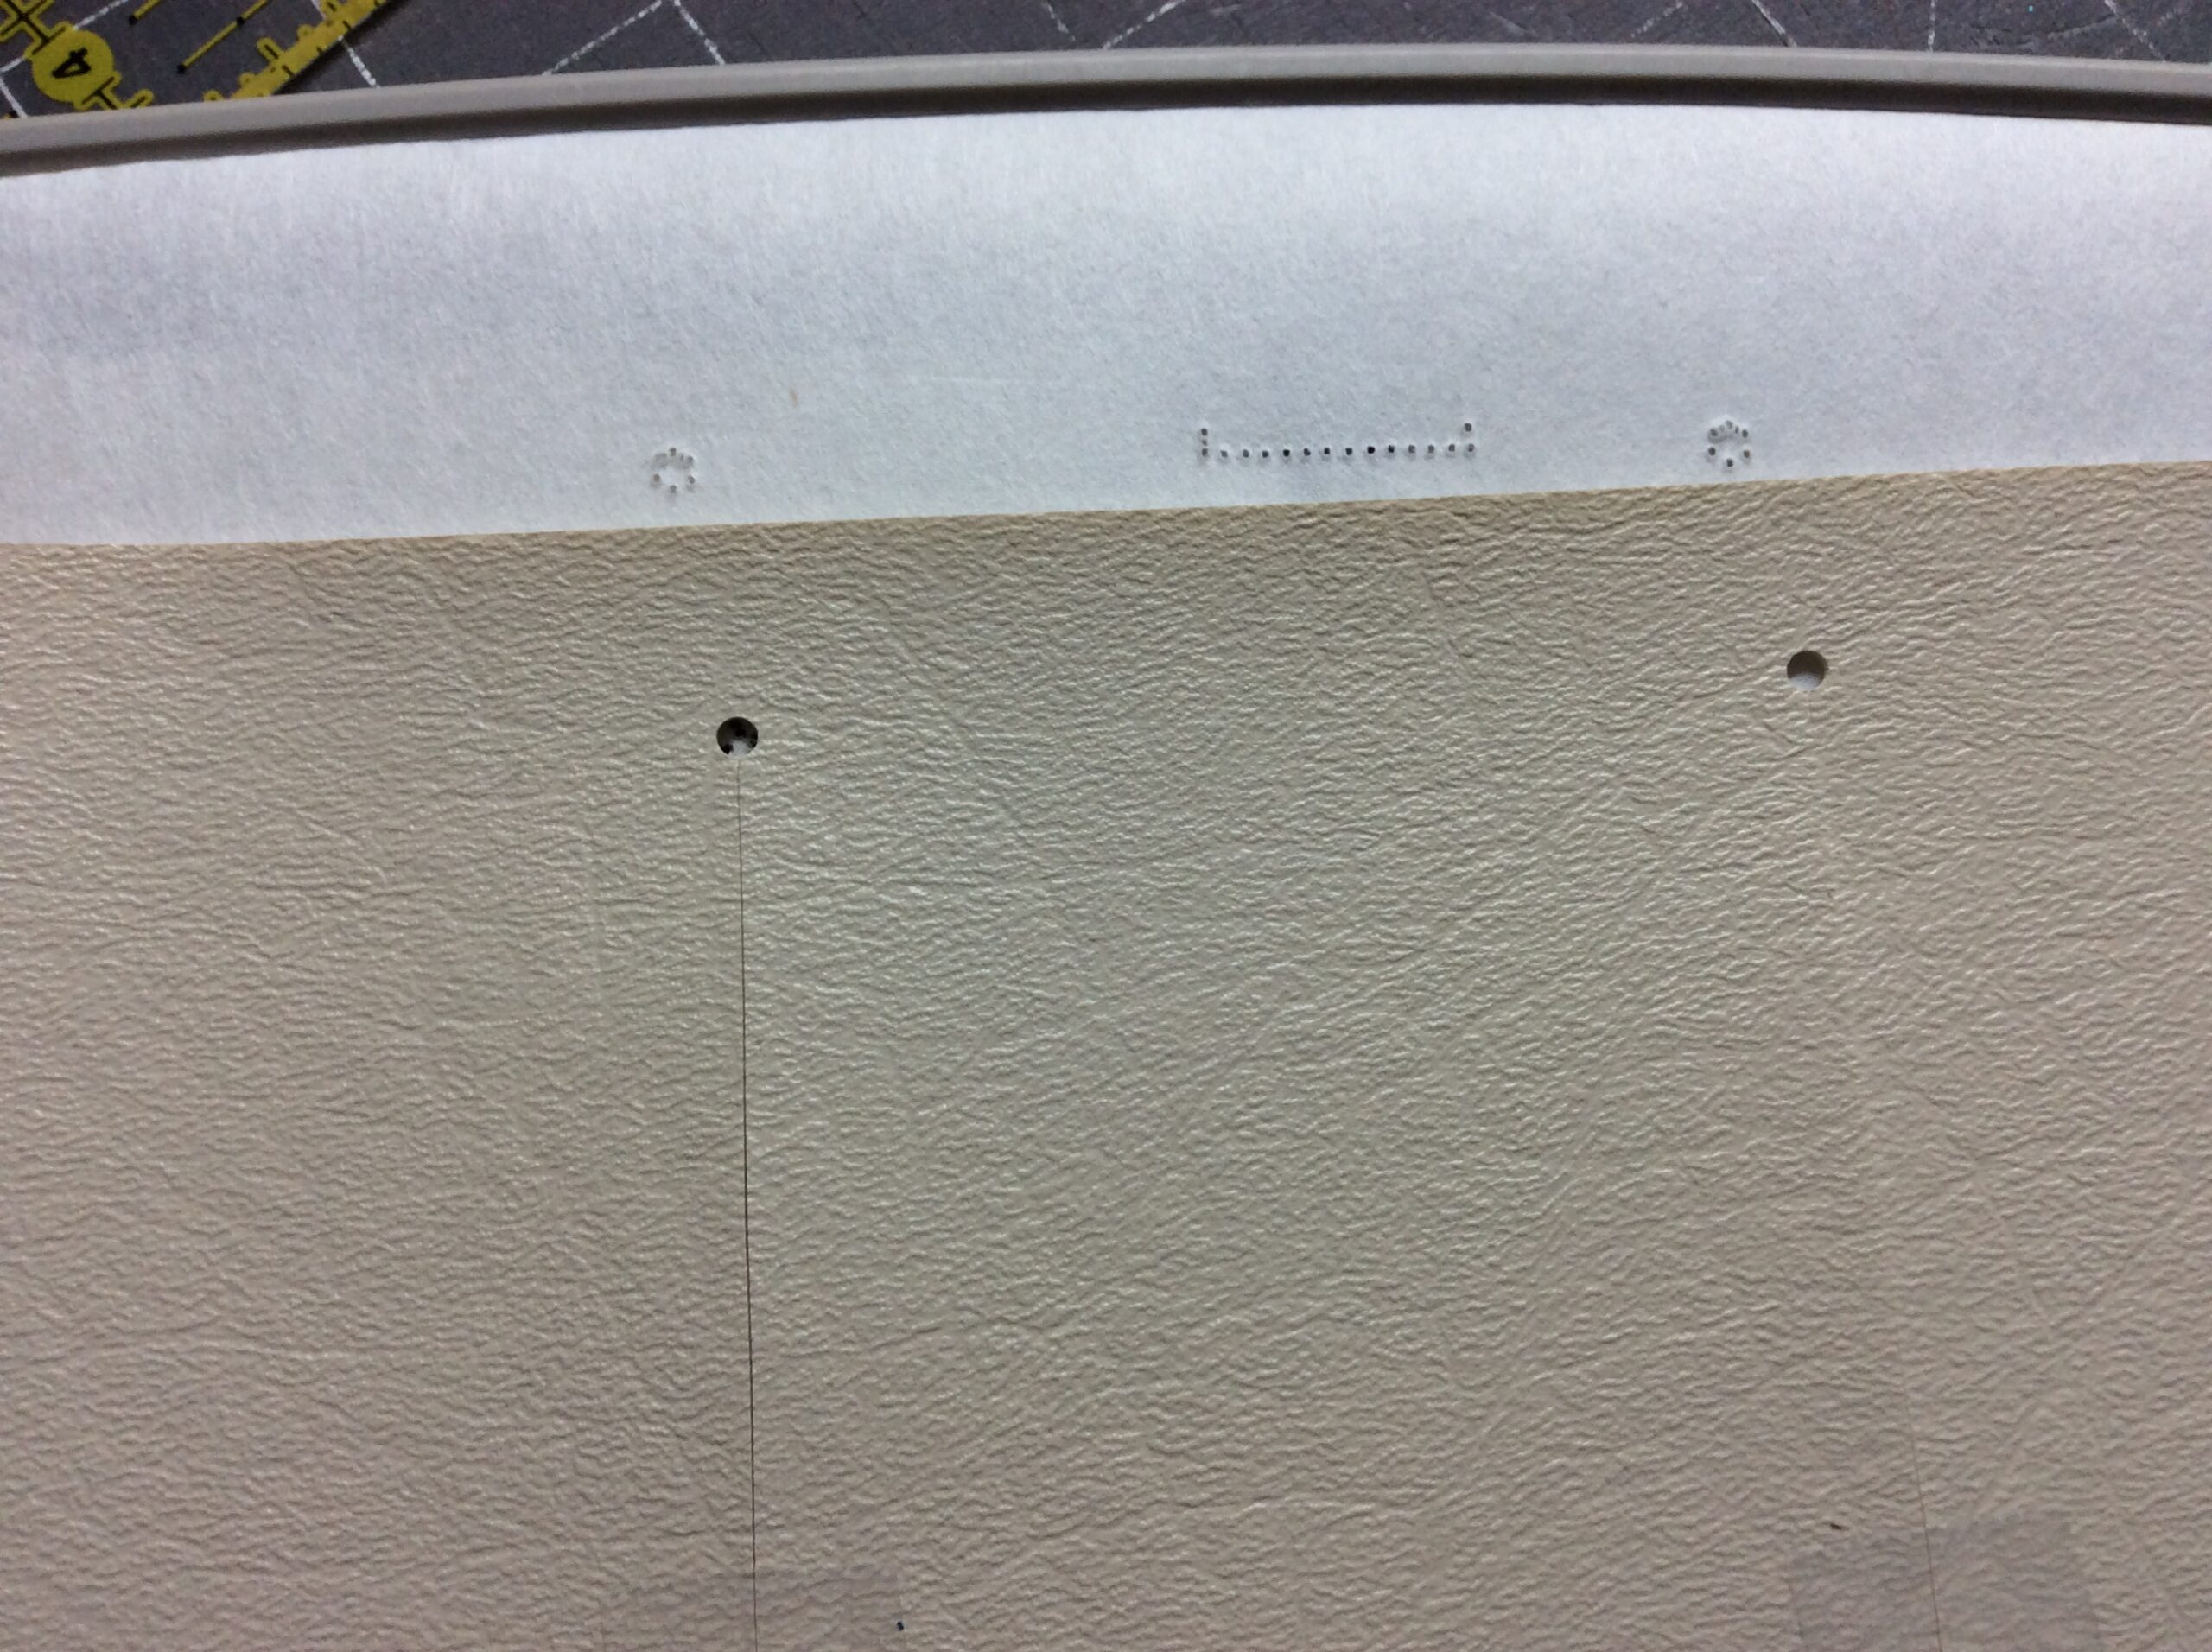
The source SVG also includes a normally-hidden layer for the dieline. It’s also in the ZIP as a PDF. Print that out, and transfer the circle markings to the back of a piece of vinyl. If you have a small hole punch, punch holes there. This is optional, but it gives it a finished look. (It also helps keep a slot from tearing out, though in this case the seam is right there anyway.) Otherwise, make a straightedge cut to connect them.
Turn your embroidery frame over. Line the holes up with the alignment markings stitched into the stabilizer in the first step and tape it in place, being careful not to press down so hard you loosen the stabilizer or pop the frame apart. It’s also a good idea to tape together the middle of the slots so they don’t get hung up on the lower machine arm.
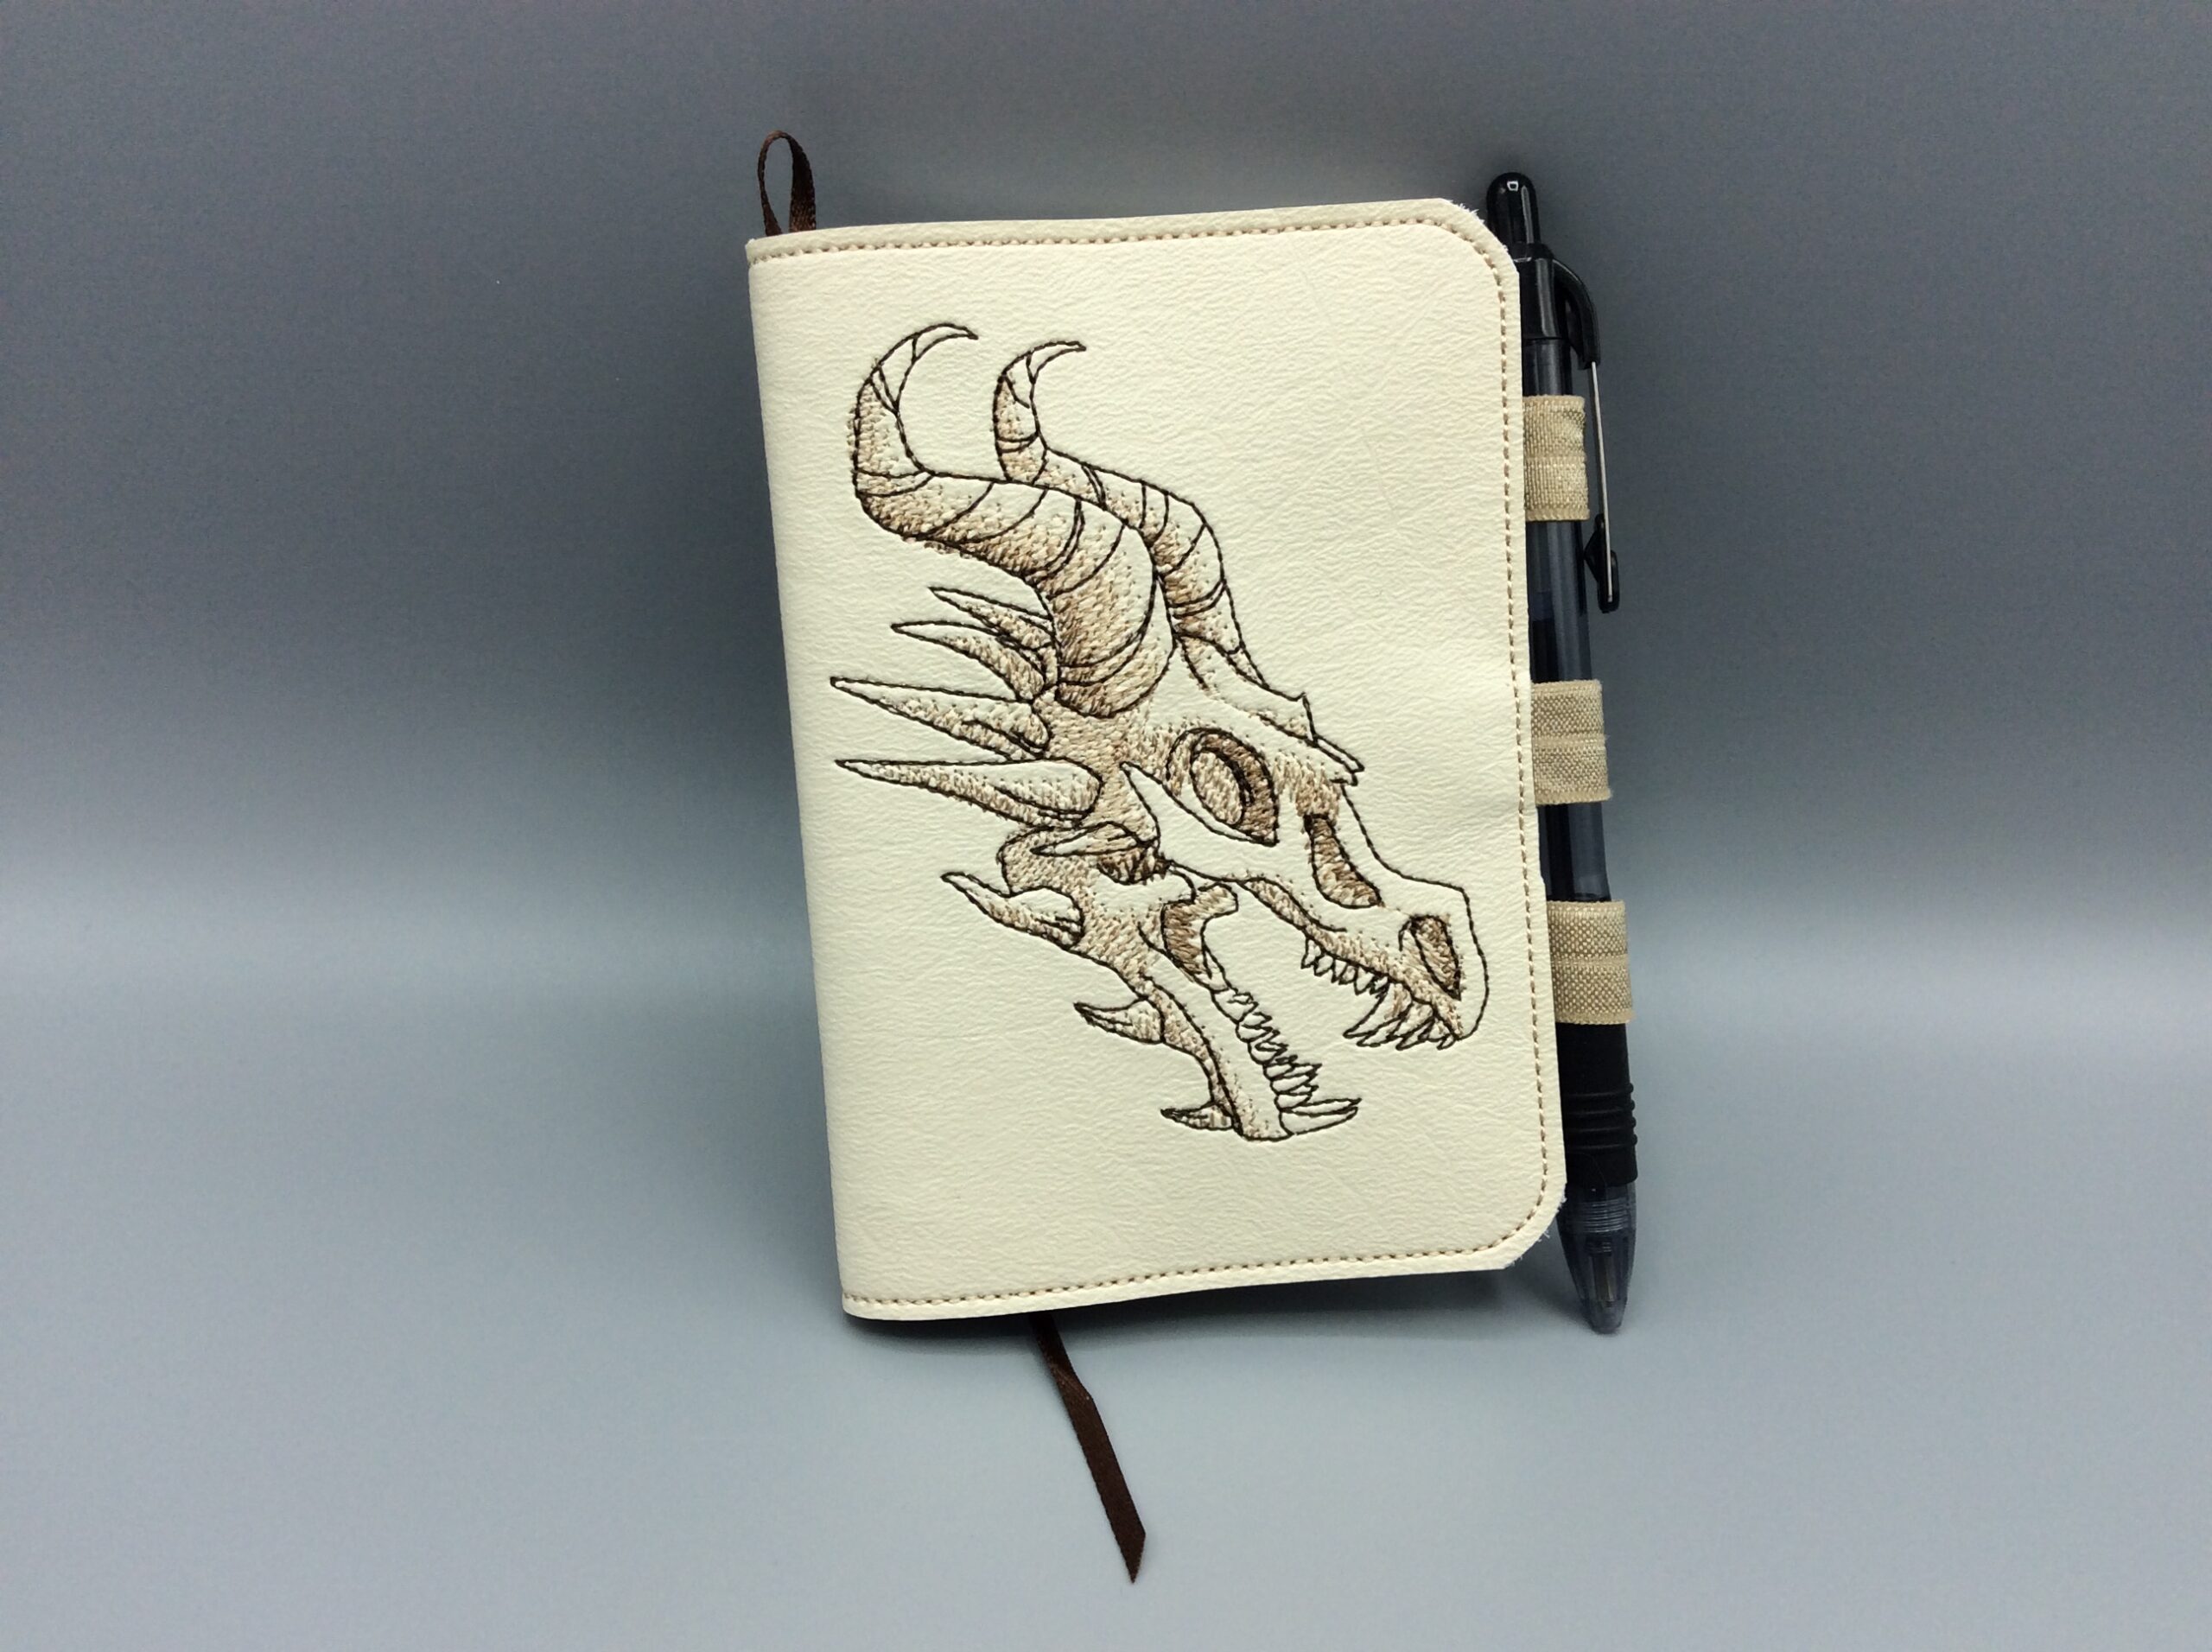
The final color is the topstitching. Remember that your bobbin thread will show, and take care to bring it up and hold it in place when starting the stitching so it doesn’t make a nest on the inside of the cover.
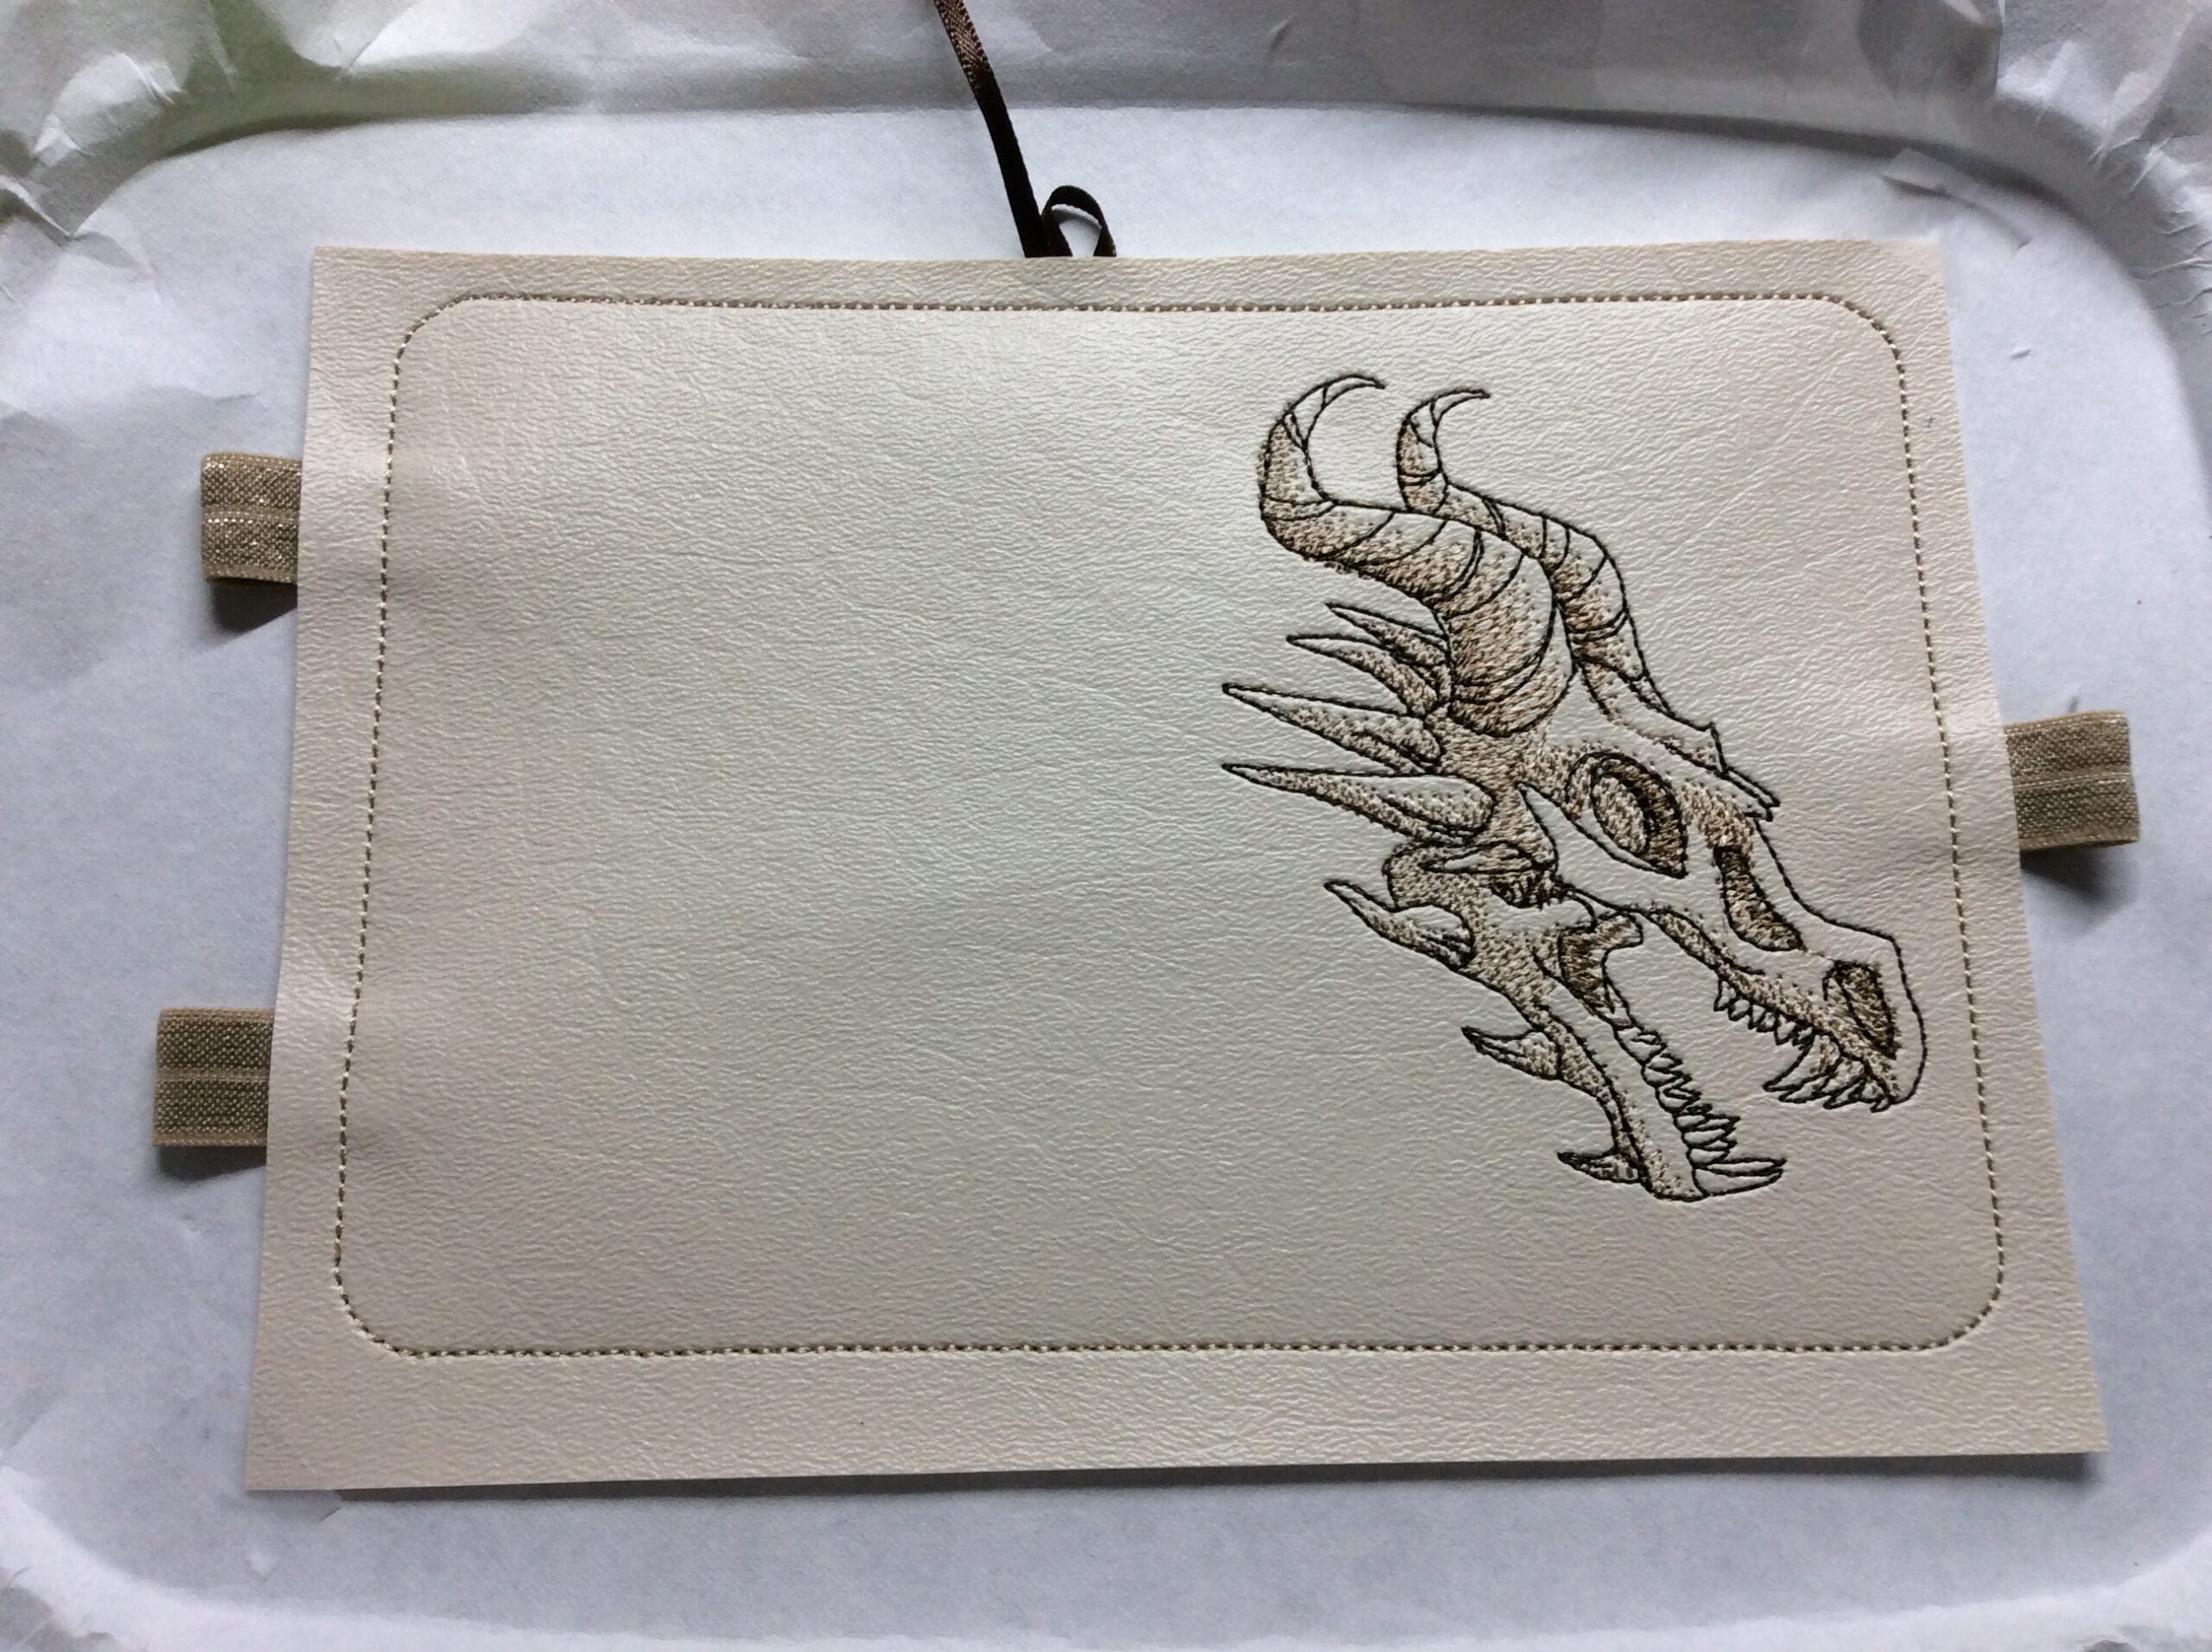
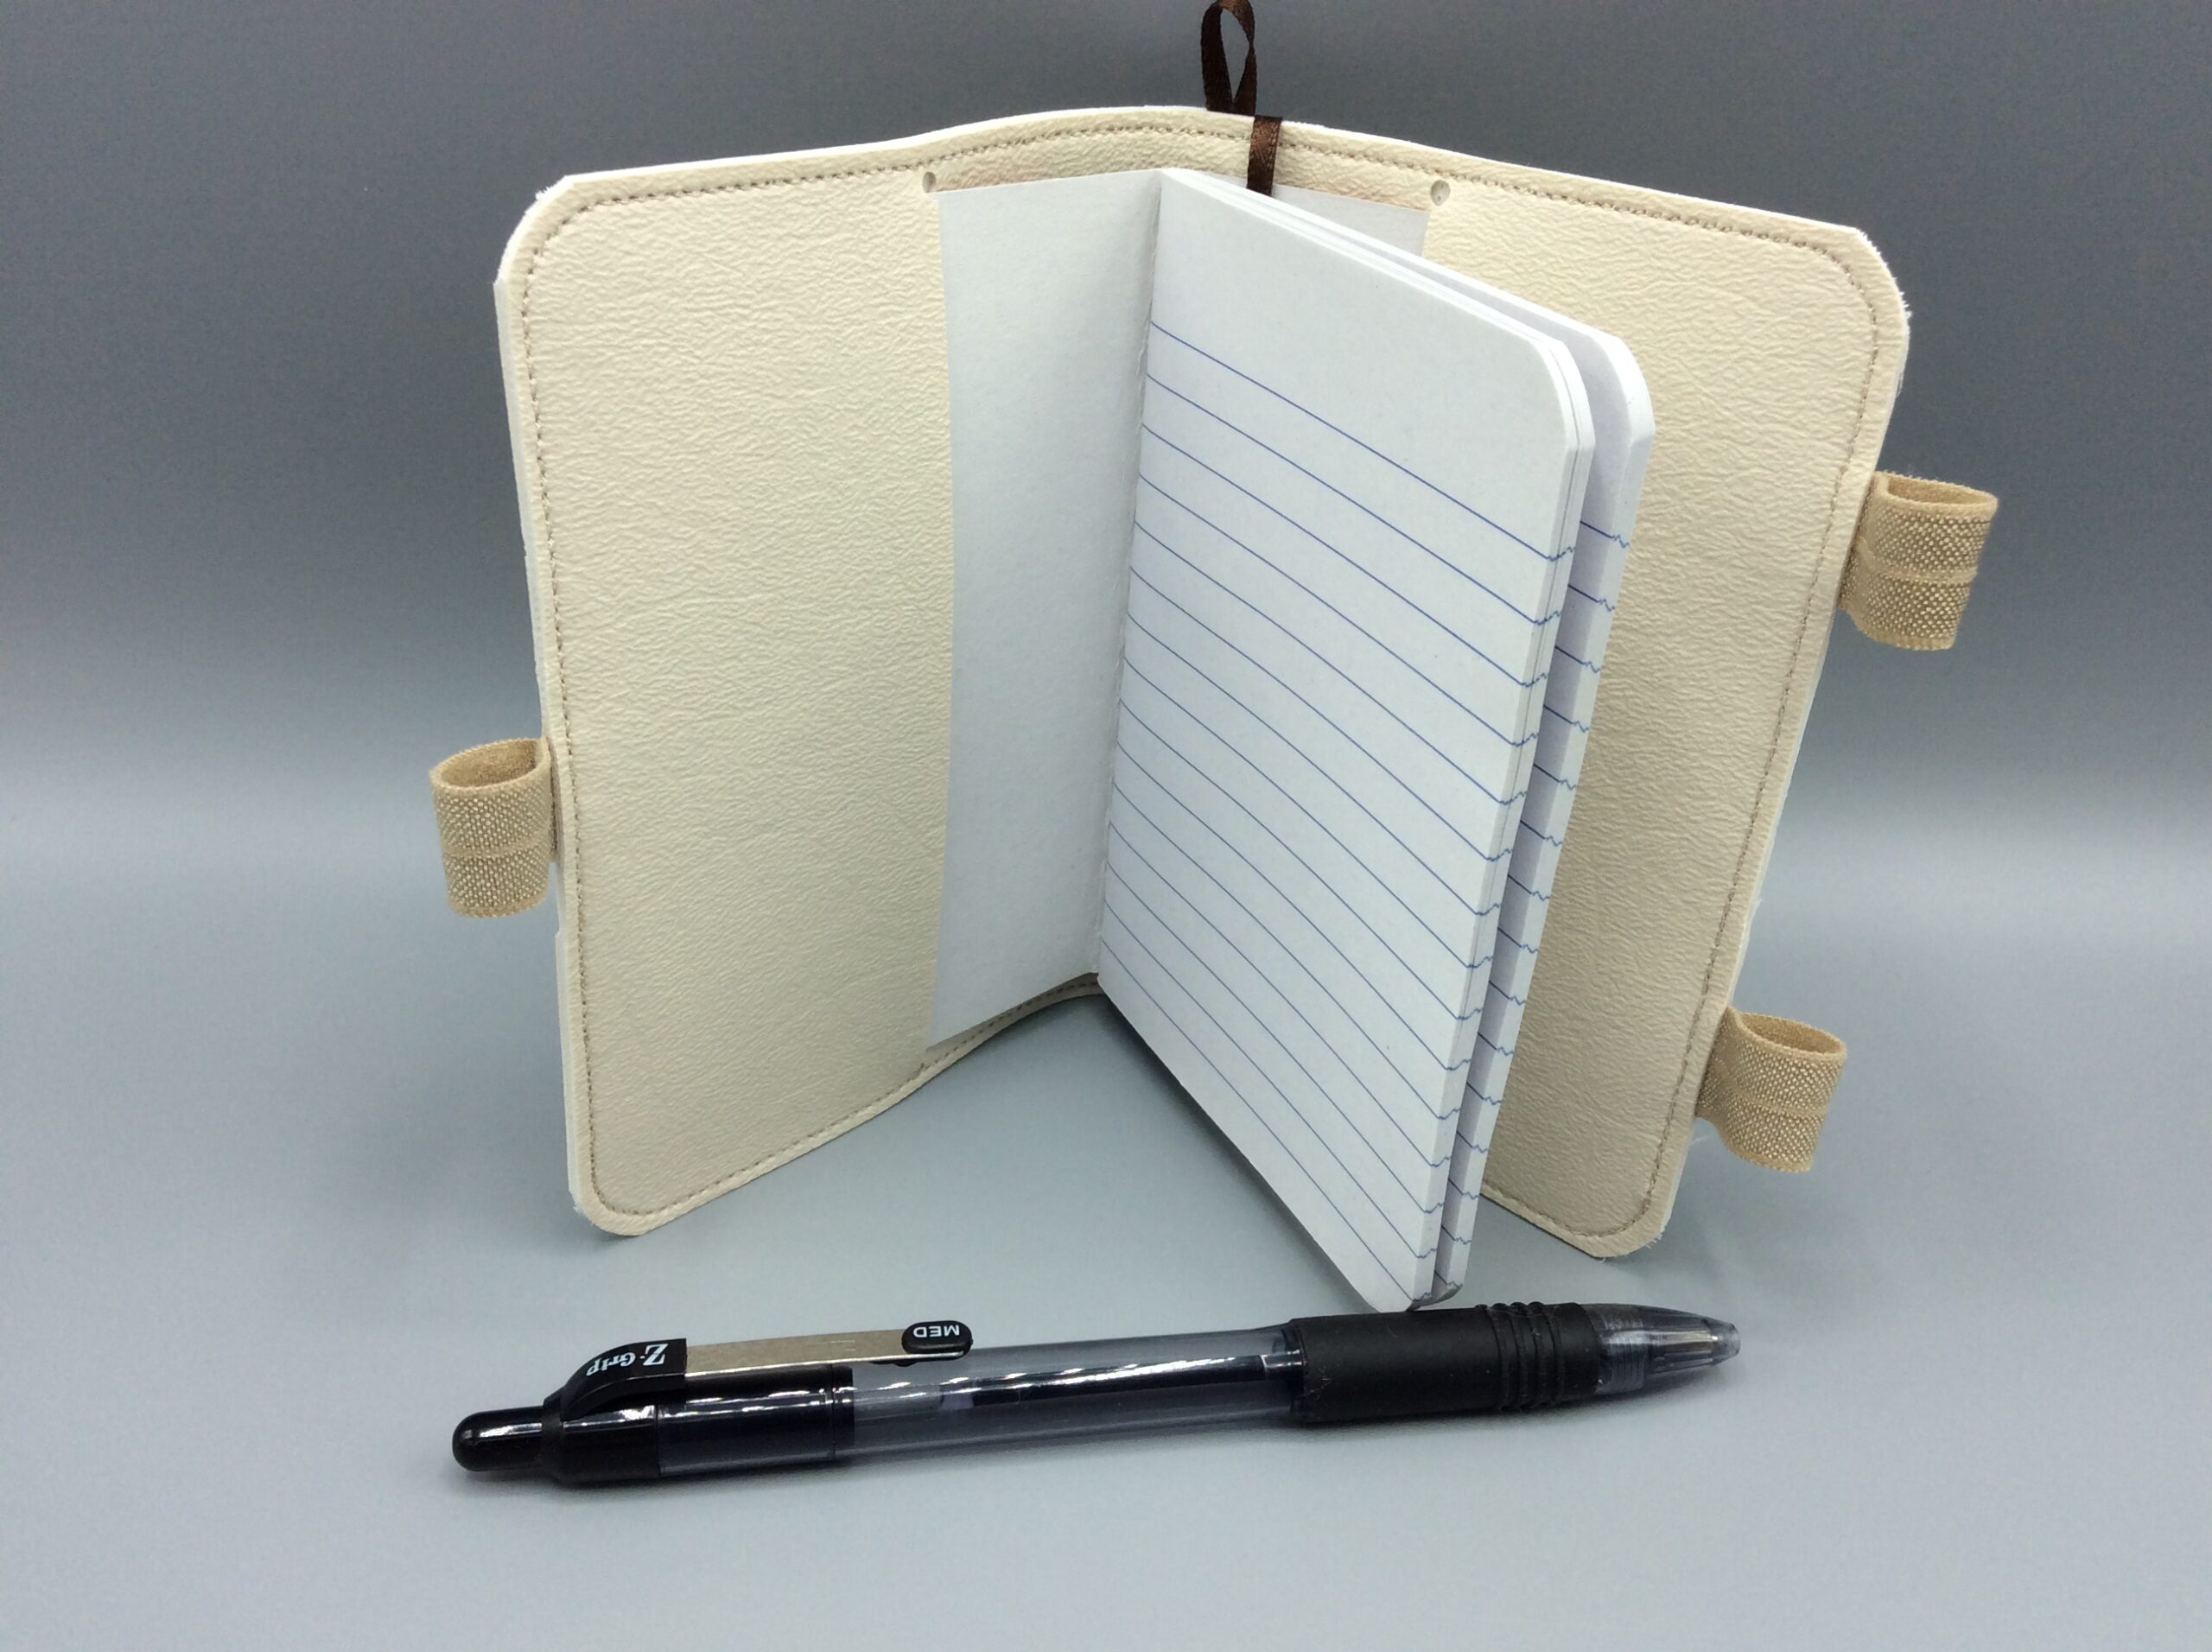
That’s it! Trim it and round the corners, remembering to keep the tail of the ribbon out of the way when cutting. You’ll have to cut the layers separately at the points where the elastic and ribbon are inserted. Be very careful not to nick the elastic. Insert your notebook and you’re done.

[Mini Composition Book Cover (5×7 Only) – All-Format ZIP]
This is copyrighted by Silver Seams in the year noted in its URL, and licensed under Creative Commons’ CC-BY-SA. This basically means you’re free to sell items you make from it, provided you give reasonable attribution, and that if you modify it you’re required to share your changes with the world under the same license (the actual legal bits are in the link).
As with other free embroidery patterns here, the SVG file is included in the ZIP package so you can modify it in Inkscape and produce your own variations/sizes/etc.