Adding tackdowns or basting boxes

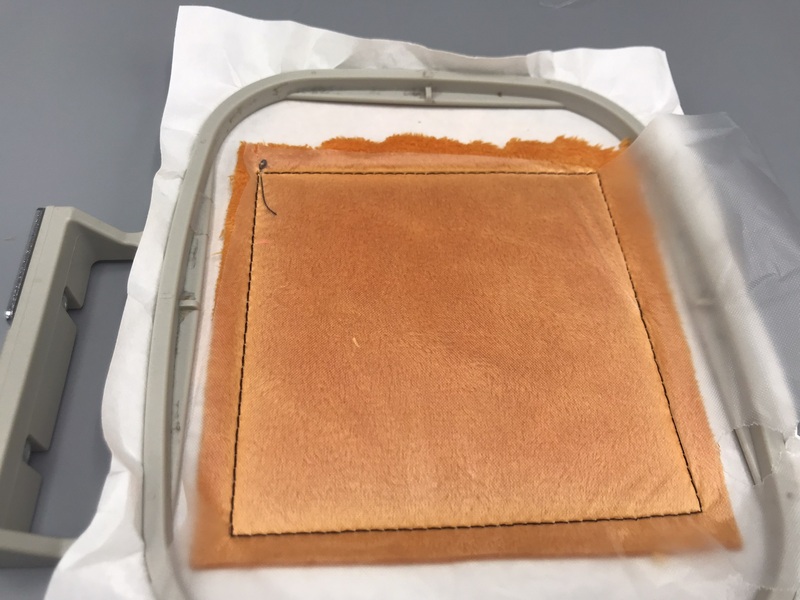
When I was stitching up a Stash Kitty for Friday’s post,, I decided to add a basting box to the file because once again, I tried to get away with skipping it and wasn’t happy with the results.

I don’t know what I expected: I don’t use adhesive spray and I didn’t even tape it down.

But of course not every design comes with a basting box. So I have a set of pre-made files for nearly every size of embroidery hoop:
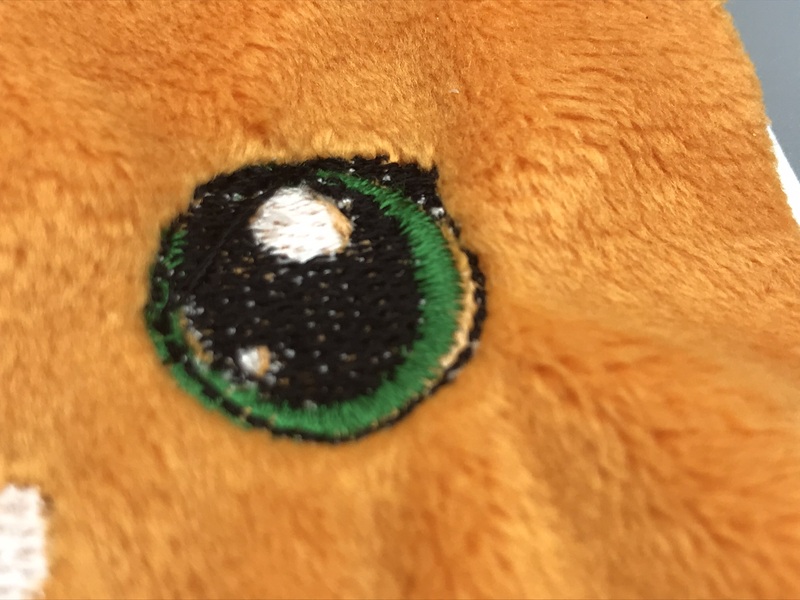
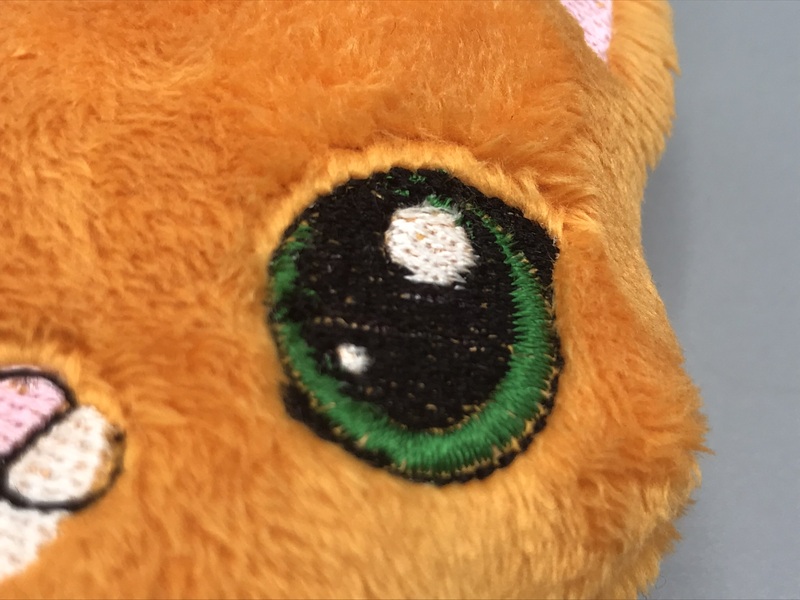
To a certain extent, the closer the basting is to the embroidery the better. So in theory you could use a plushie’s final outline stitch to tack down the front. But if the stitching is dense enough, like the giant kitty eyes, it can pull that stitching line in far enough that it will be visible in the final plushie. Better to use the same technique I used to make knockdown stitching to make a basting line.
In the case of the raccoon and kitty, the critters are close enough to filling the hoop that a closer-hugging basting “box” doesn’t make much difference, so I just used squares.
The pre-made boxes use a 3mm stitch, so they’re very easy to rip out if you’re embroidering on a larger piece - the lock stitches at either end will be the hardest bit, but from the stabilizer side it’s pretty straightforward. And just advance past them and stop before the ending ones if you think your fabric is likely to give you trouble with those.
