The bold jumping spider, revisited


For a couple weeks I’ve been meaning to get back to the bold jumper, but life (and paying work) has intervened. So here’s what I’ve got.
The original design was for a 4×4 hoop. The body maxes it out in length, and the legs max it out in length and width. You put doubled pipe cleaners in the legs so they’re poseable; I have no idea why I didn’t pose these ones more naturally.

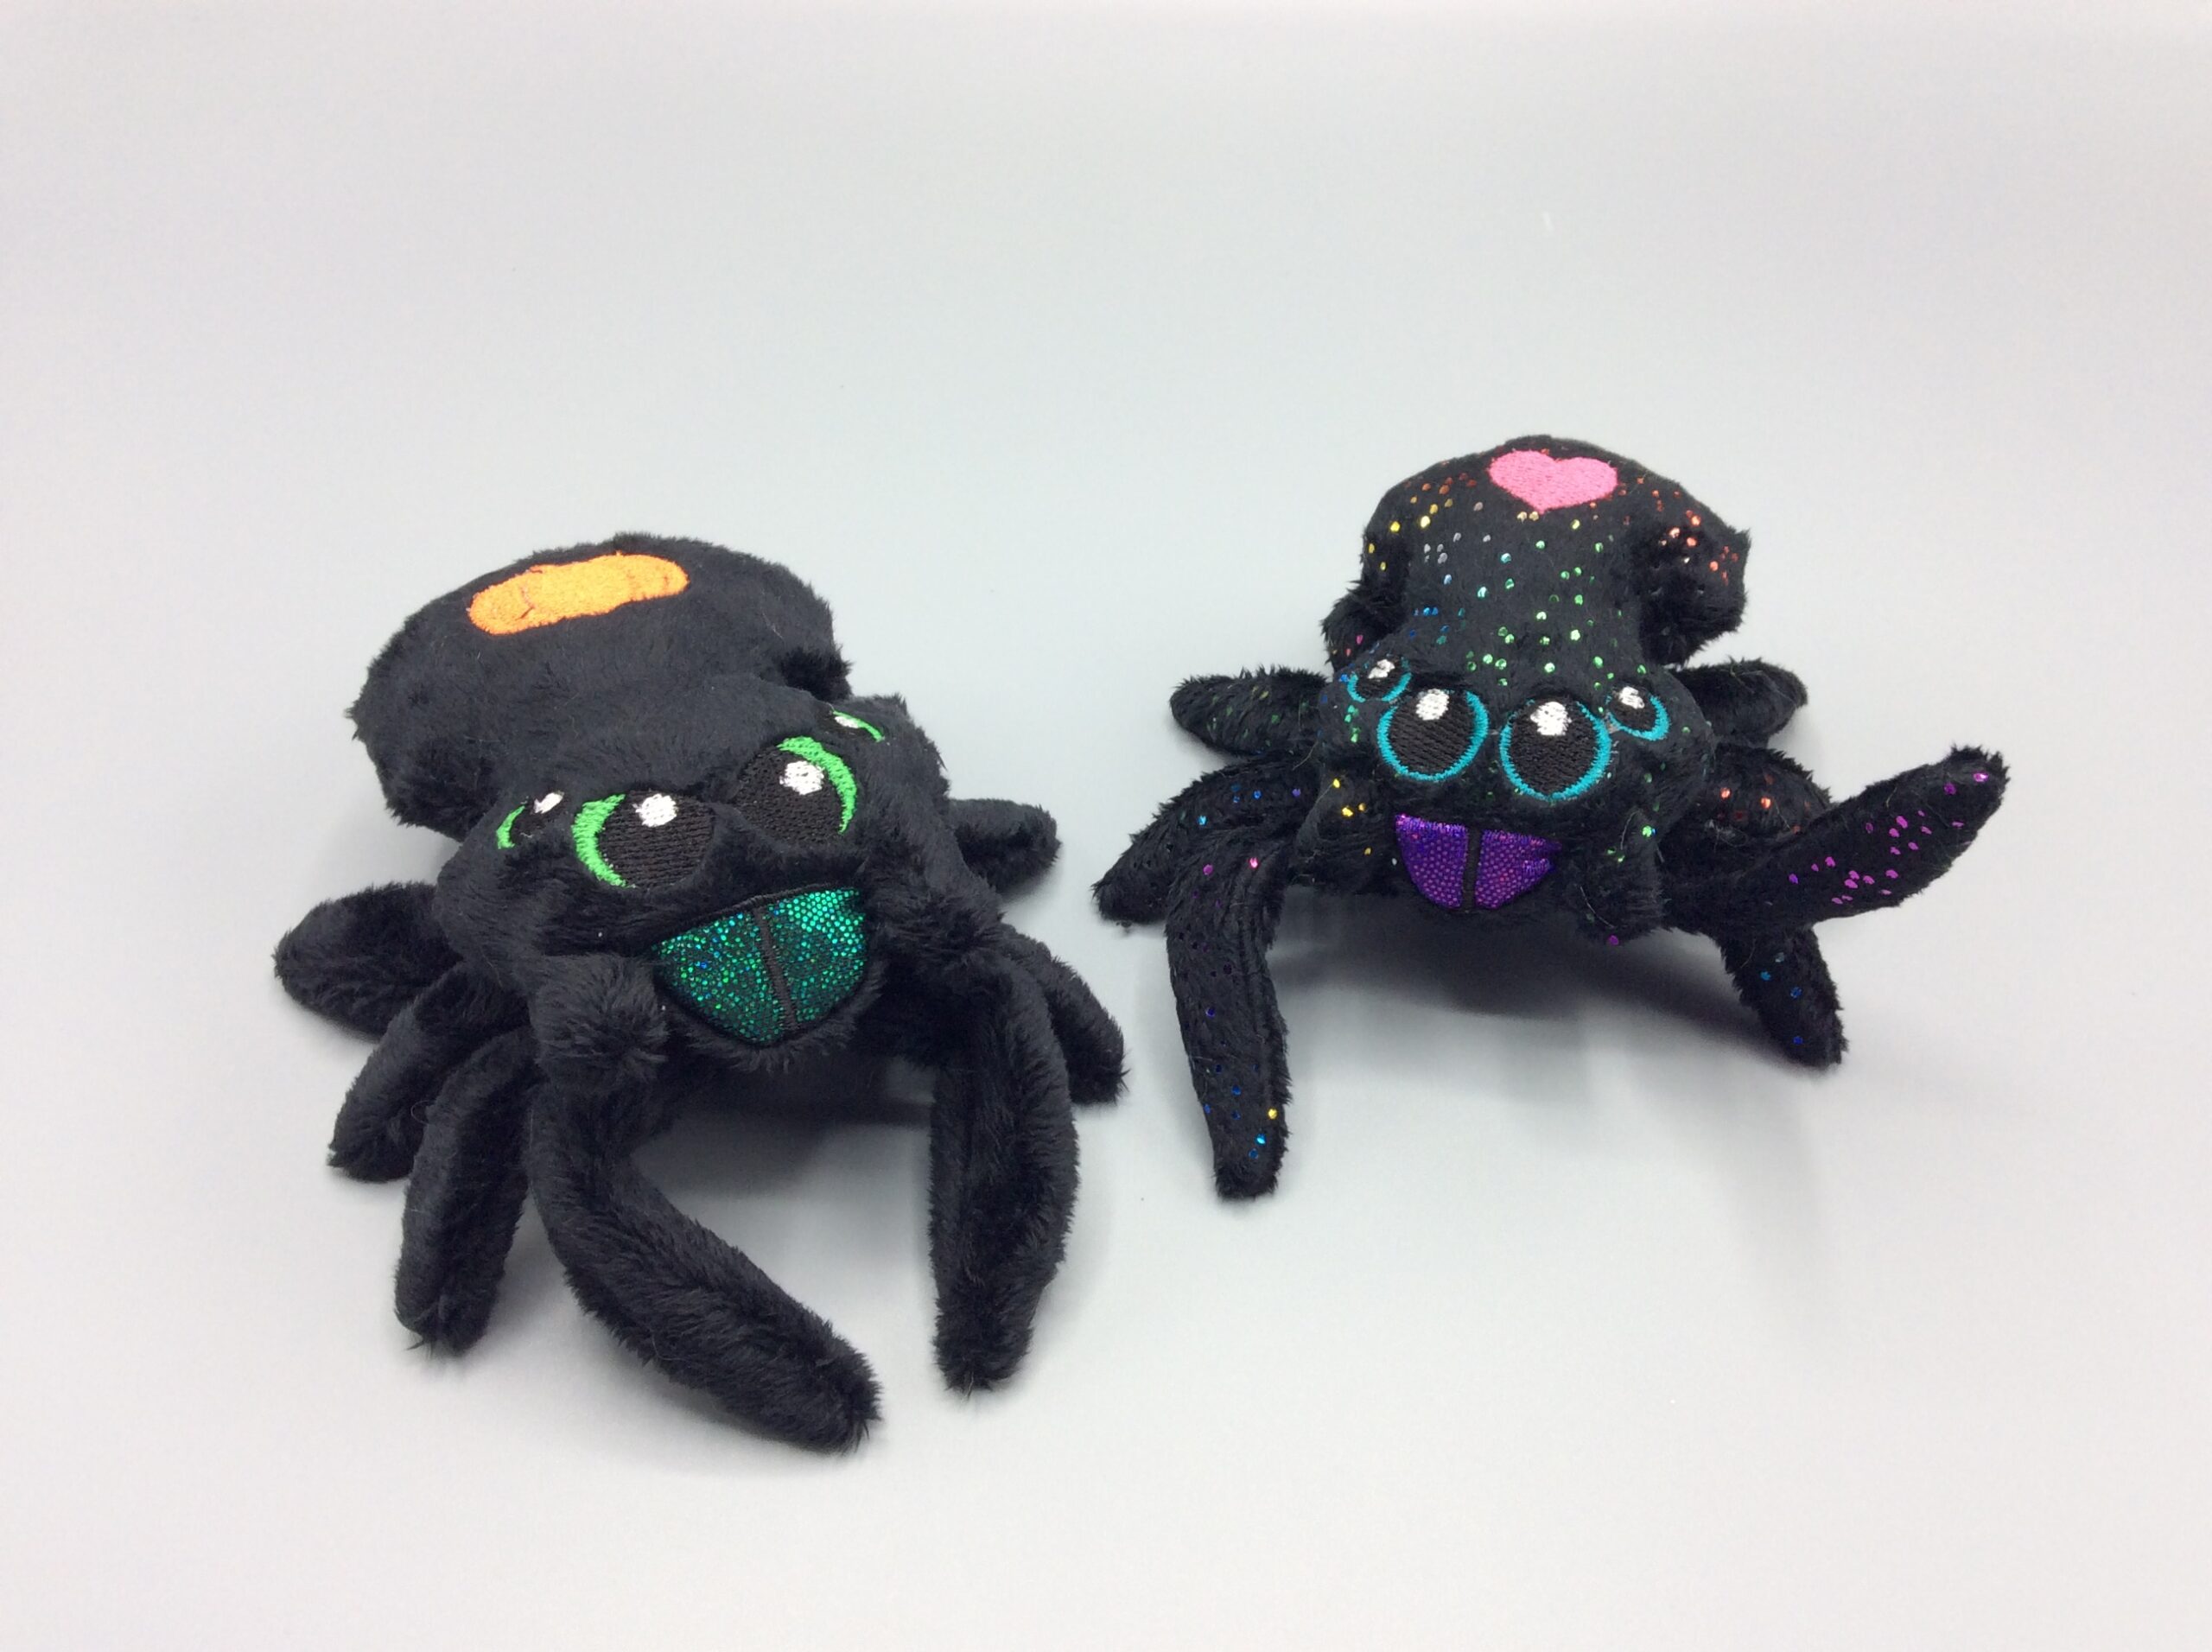
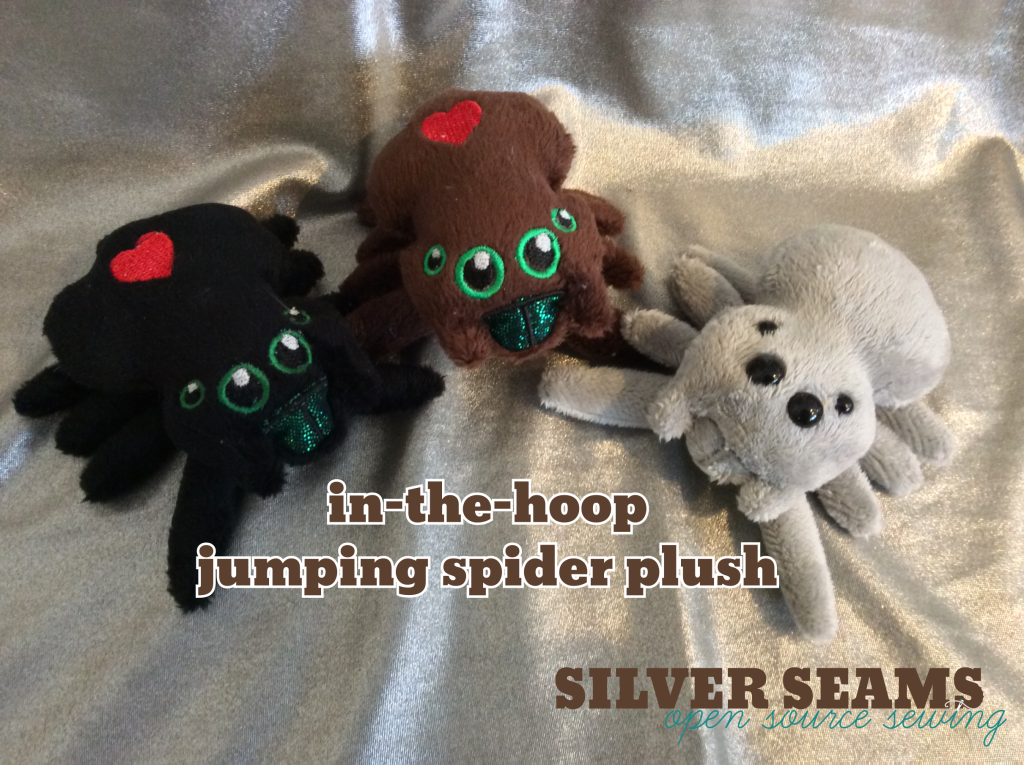
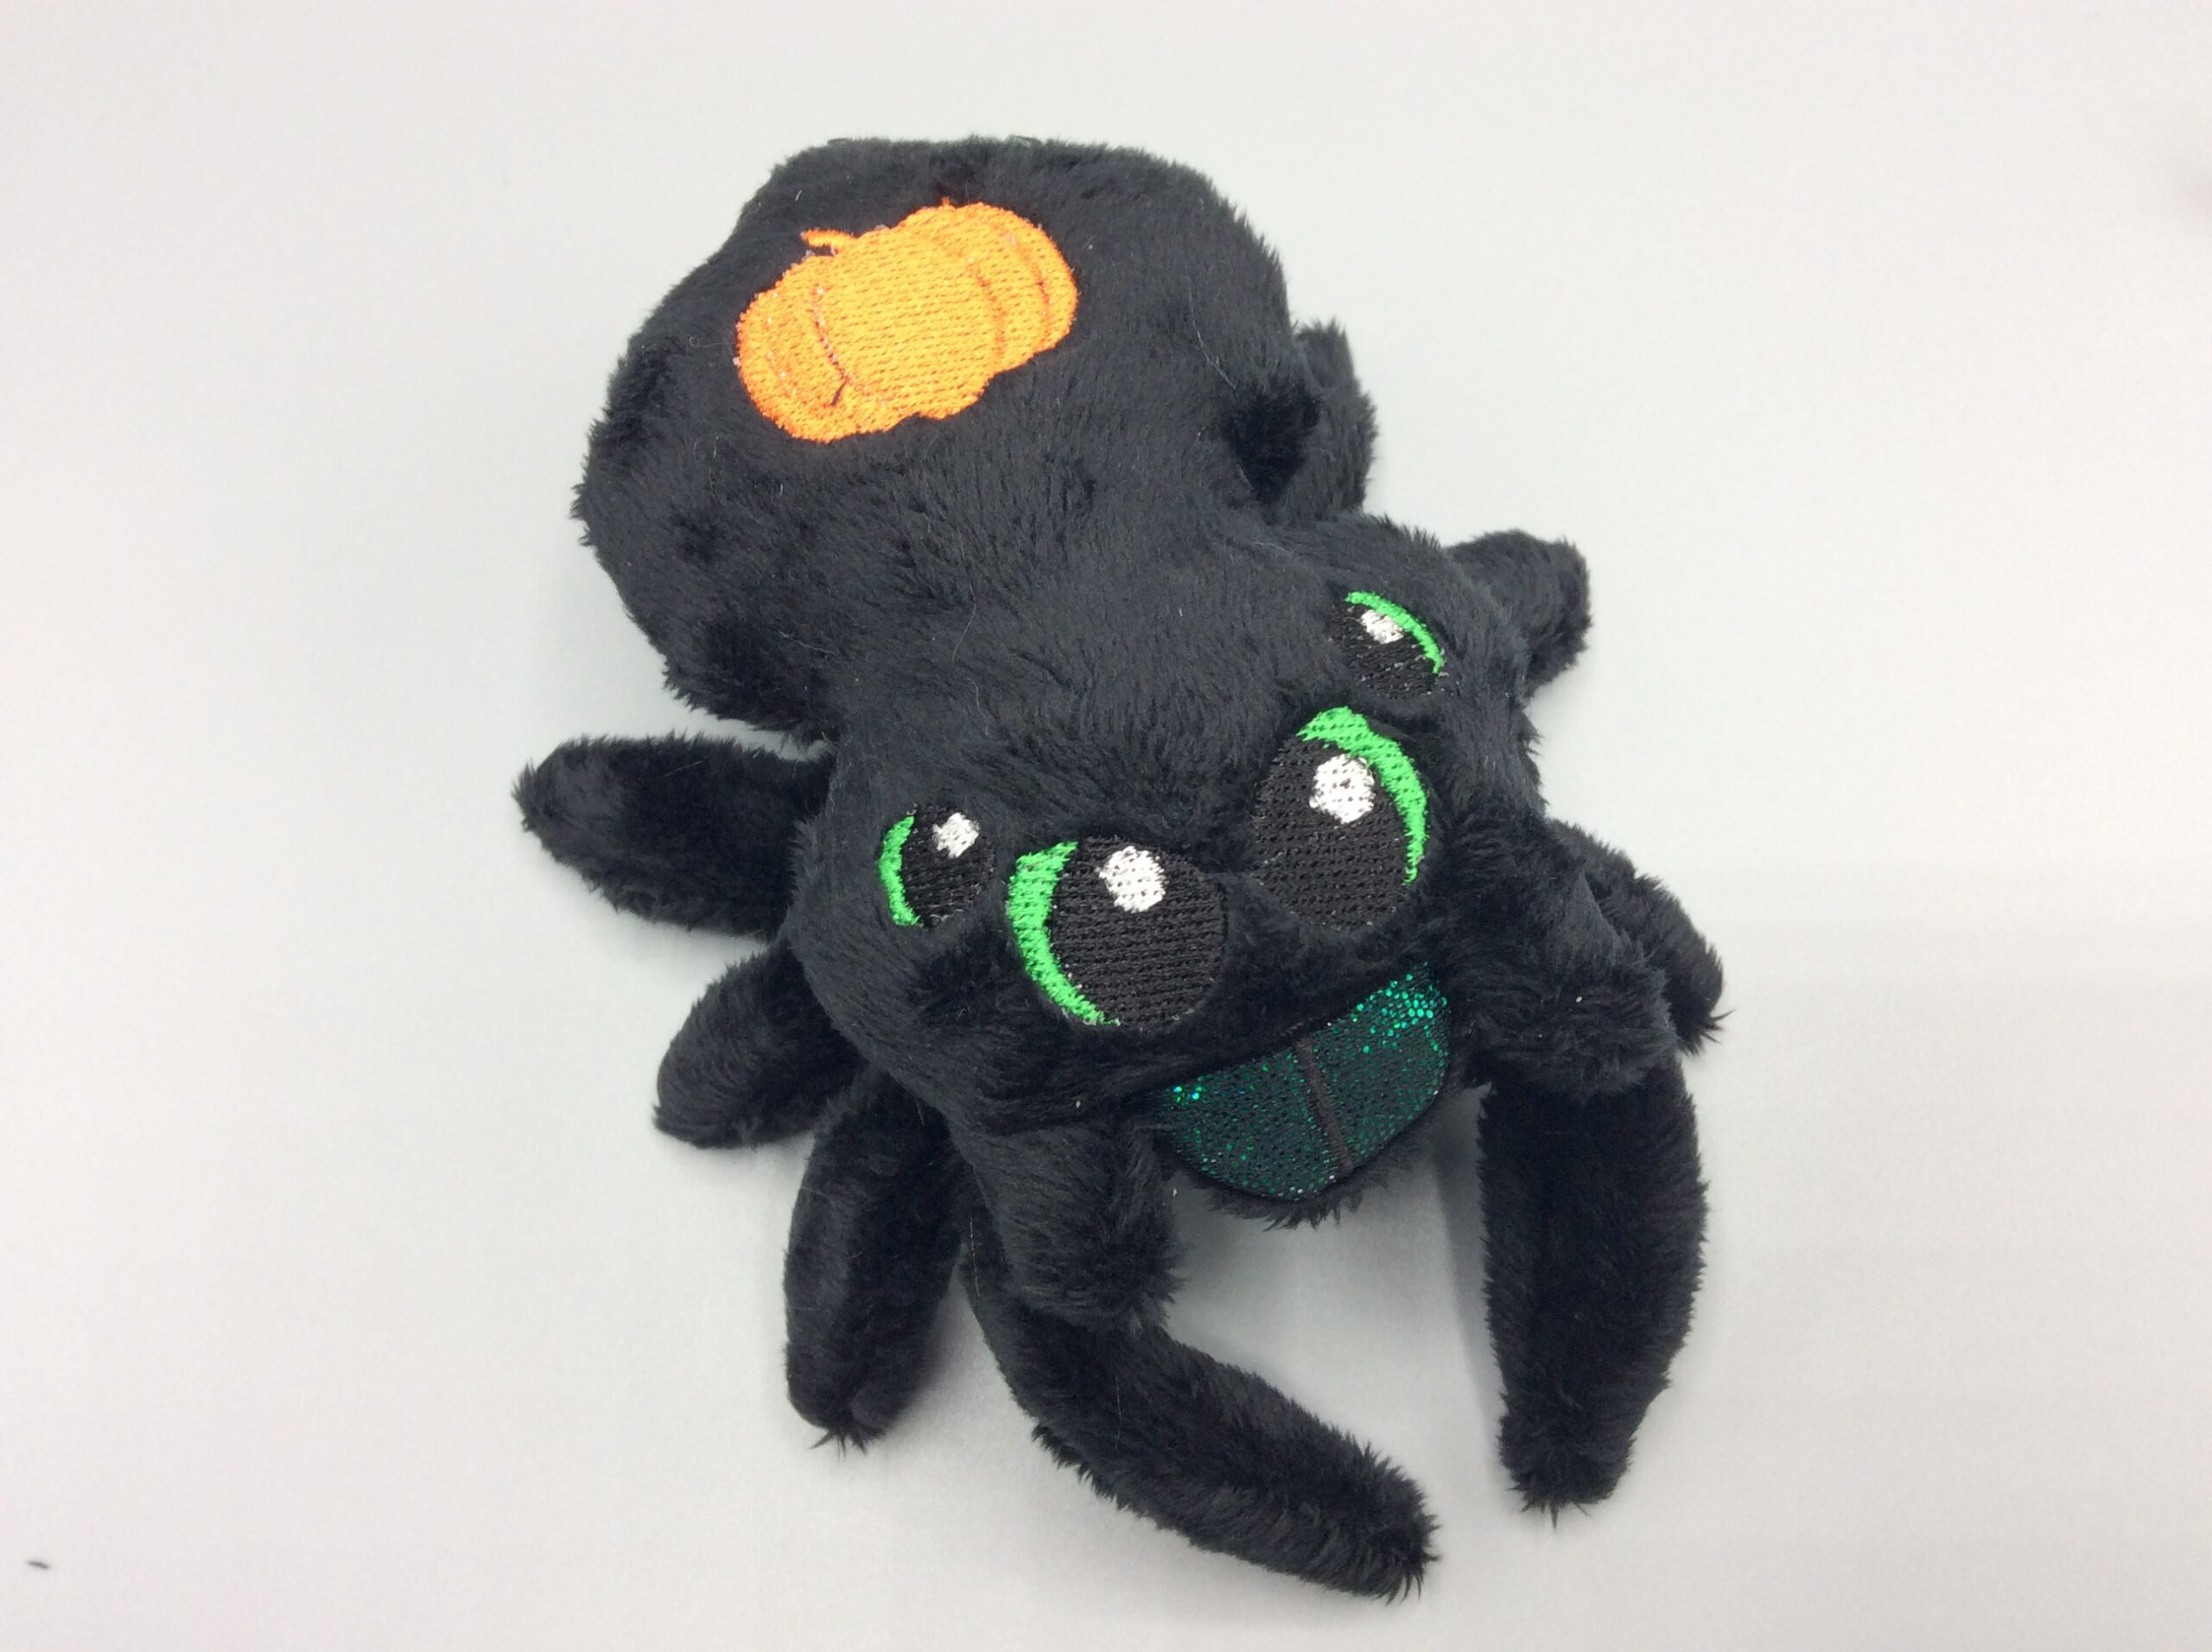
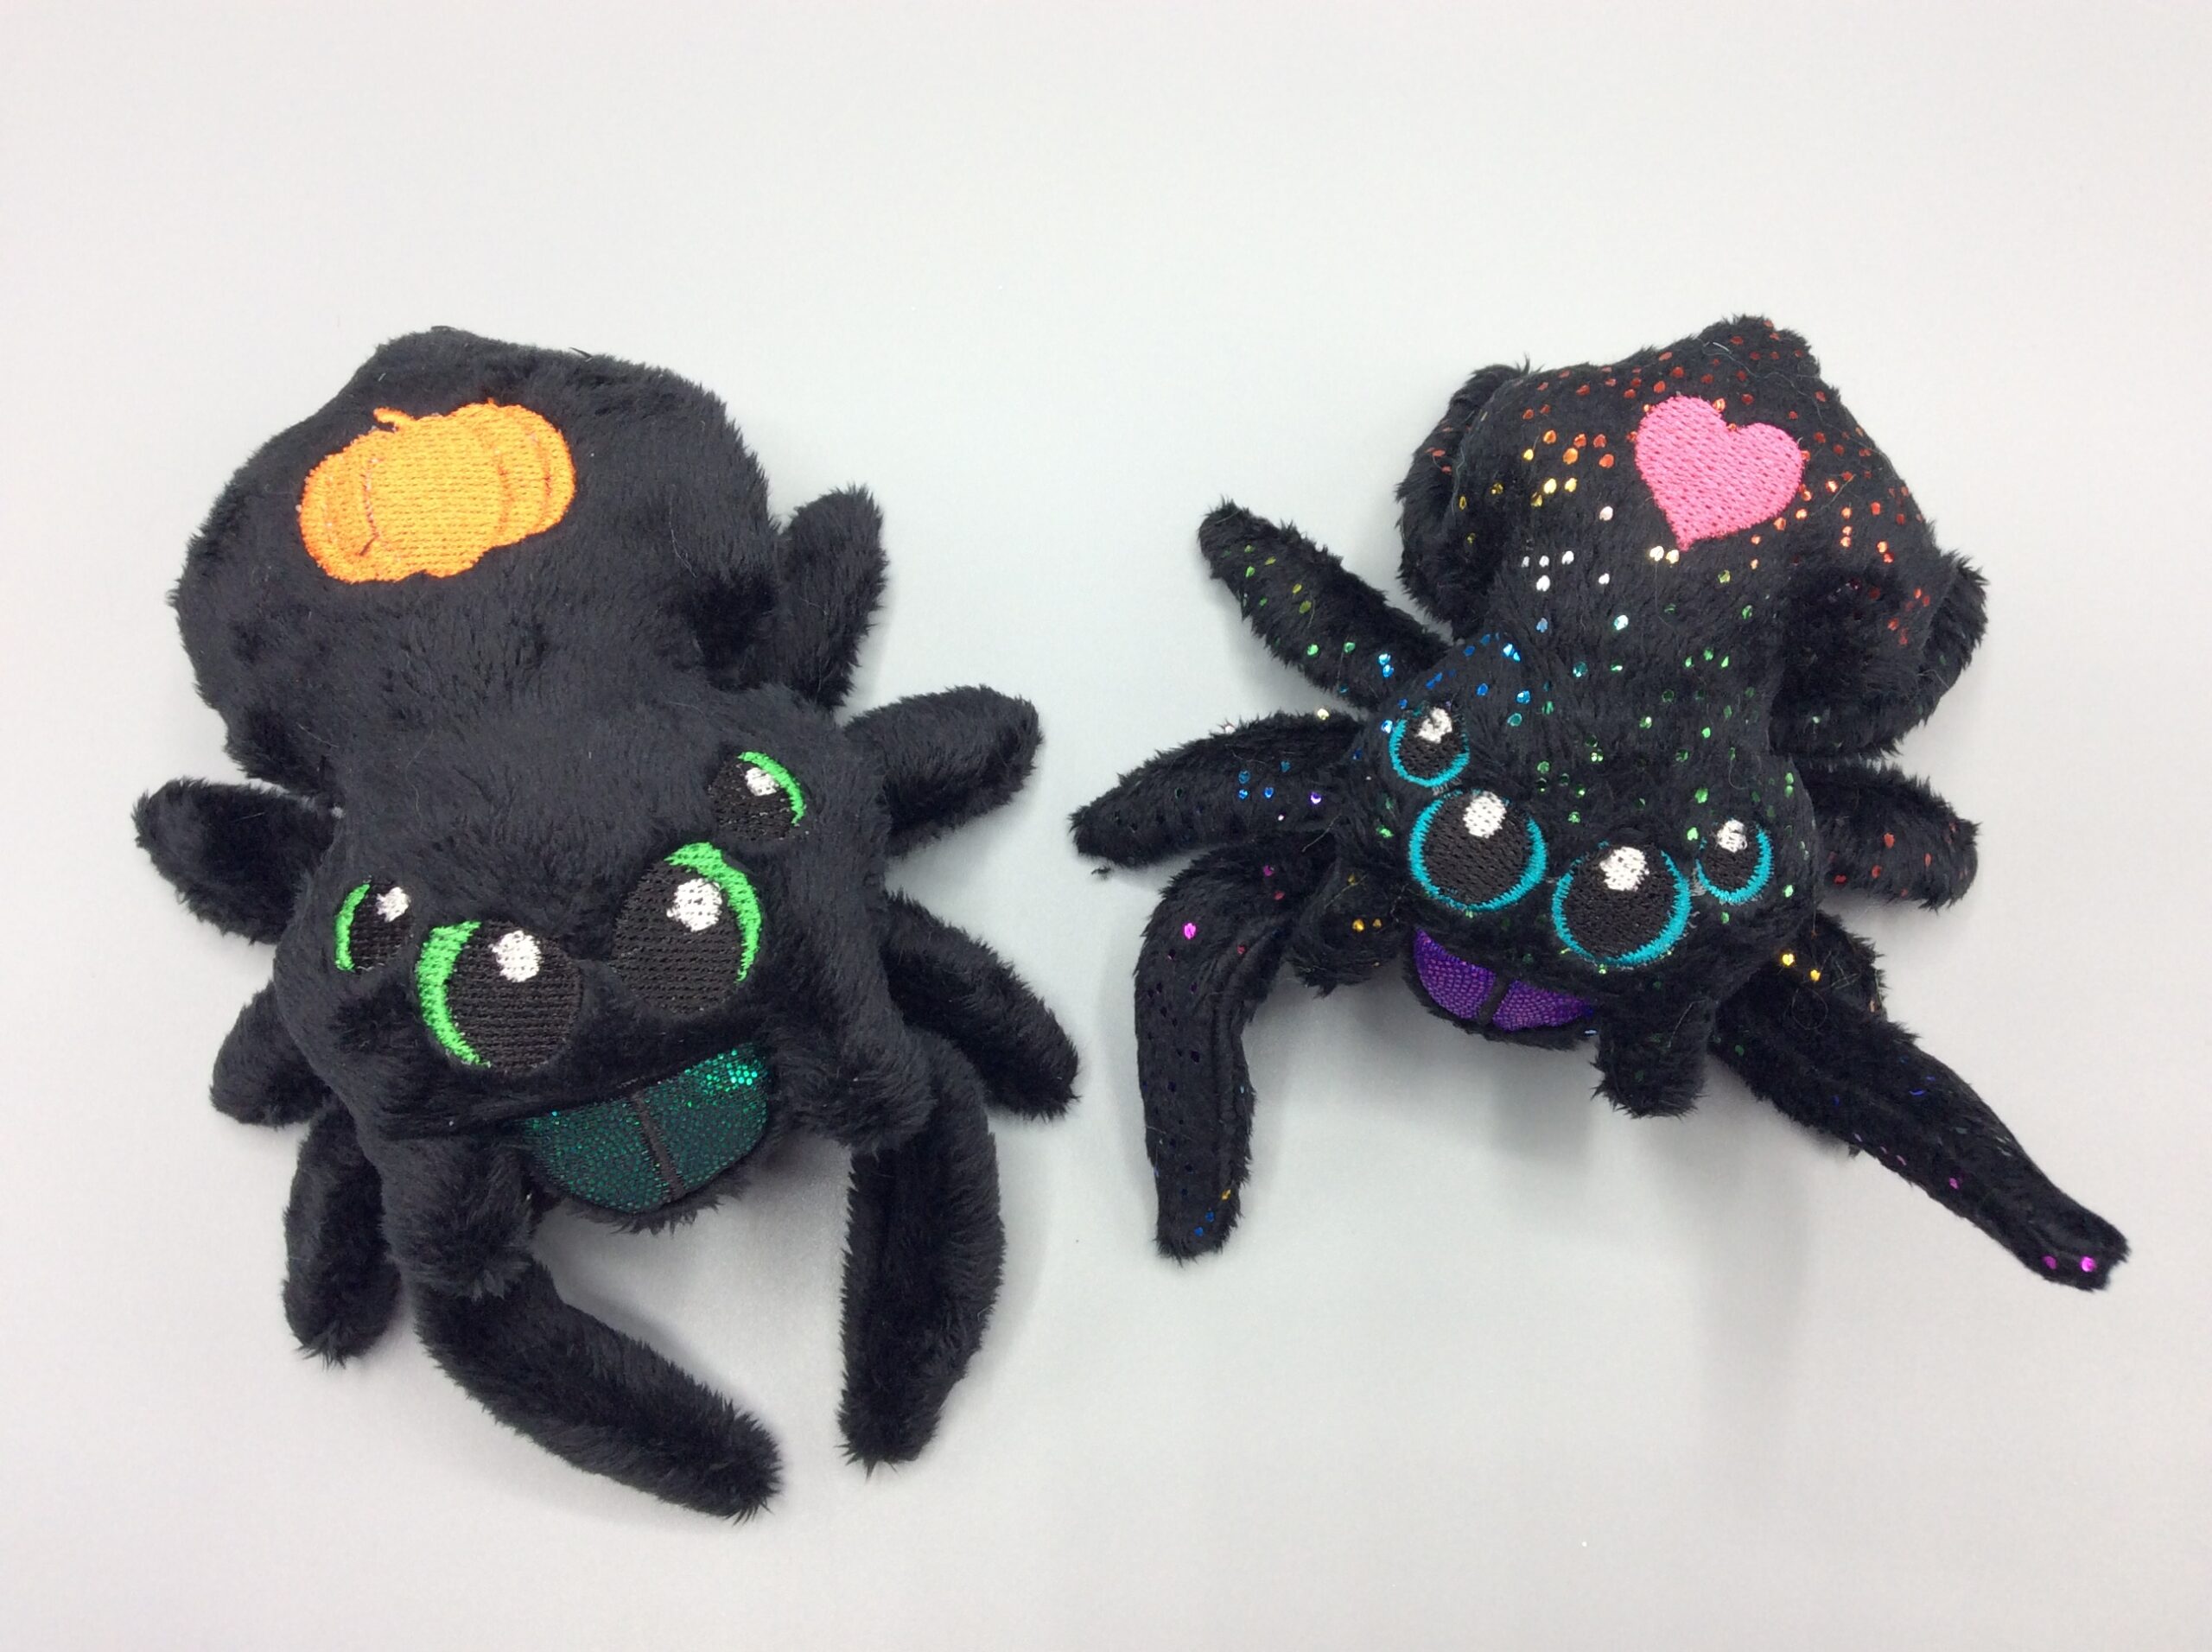
The eyes are pretty basic. So it was time for a little update. Phidippus audax, the bold jumping spider, usually has a white patch on its abdomen, but some are red or orange. It’s usually kind of rectangular, but not always (and some don’t have a spot at all). So the original had a heart. But I mixed it up a little more. This one has a pumpkin… uh… this one has a patch that’s a pumpkin. And what I called “angry eyes,” though to be honest I think she just looks a little concerned.

I scaled this one up to 5×5, but then decided a better use of the 5×7 hoop was to keep the body the same size and make the legs larger. That led to the sparkly heart one with what I called puppy-dog eyes: a larger pupil than the original, and offset so it’s not quite so stare-y.

I also updated the applique steps, because it’s pretty easy to get the chelicerae applique overlapping into the pedipalps.
The zip files have the SVG source files in them, which you’ll need if you want to access all the eyes. All the markings are on there, so skip all but the one you want on your spider. Here are the thread changes, slightly changed from the instructions (which I’ll update when I get a chance to take new pictures):
- The legs. These were last on the original design. I’ve learned I prefer to do the largest piece first on a multi-step design because my machine will not do ranging (where it goes to the four corners of the space to be stitched) in the middle of a design.
- A tackdown, to tack down the minky and topping stabilizer.
- Irises
- Pupils
- Eye highlights
- Block-shaped marking, or
- Pumpkin-shaped marking, or
- Heart-shaped marking (take off the topping stabilizer after the marking)
- A semi-circular tackdown for the applique. Trim around it, at least on the top and sides (you don’t need to trim the semi-circle once it clears the pedipalp area; it’ll just be seam allowance).
- Satin stitch on the applique.
- The outline to stitch the underside of the body on.
You can size the spider up in the SVG as well as selecting different eyes, but I think the five-inch-long body was starting to run into the limits of flat-sewn minky, and it will start to get puckers along the seam when it’s stuffed. When I get a chance I’m going to try it in mochi (which has Spandex in addition to mechanical stretch) at the larger size and see what happens. In the meantime, and until I get the actual pattern page updated, here are the 4″ and 5″ designs to play with.
[Revised ITH Jumping Spider (4×4)] [Revised ITH Jumping Spider, Longer Legs (5×7)]
As with other free embroidery patterns here, the SVG file is included in the ZIP package so you can modify it in Inkscape and produce your own variations/sizes/etc.
This is copyrighted by Silver Seams in the year noted in its URL, and licensed under Creative Commons’ CC-BY-SA. This basically means you’re free to sell items you make from it, provided you give reasonable attribution, and that if you modify it you’re required to share your changes with the world under the same license (the actual legal bits are in the link).
