Delivery Truck Snap Tabs
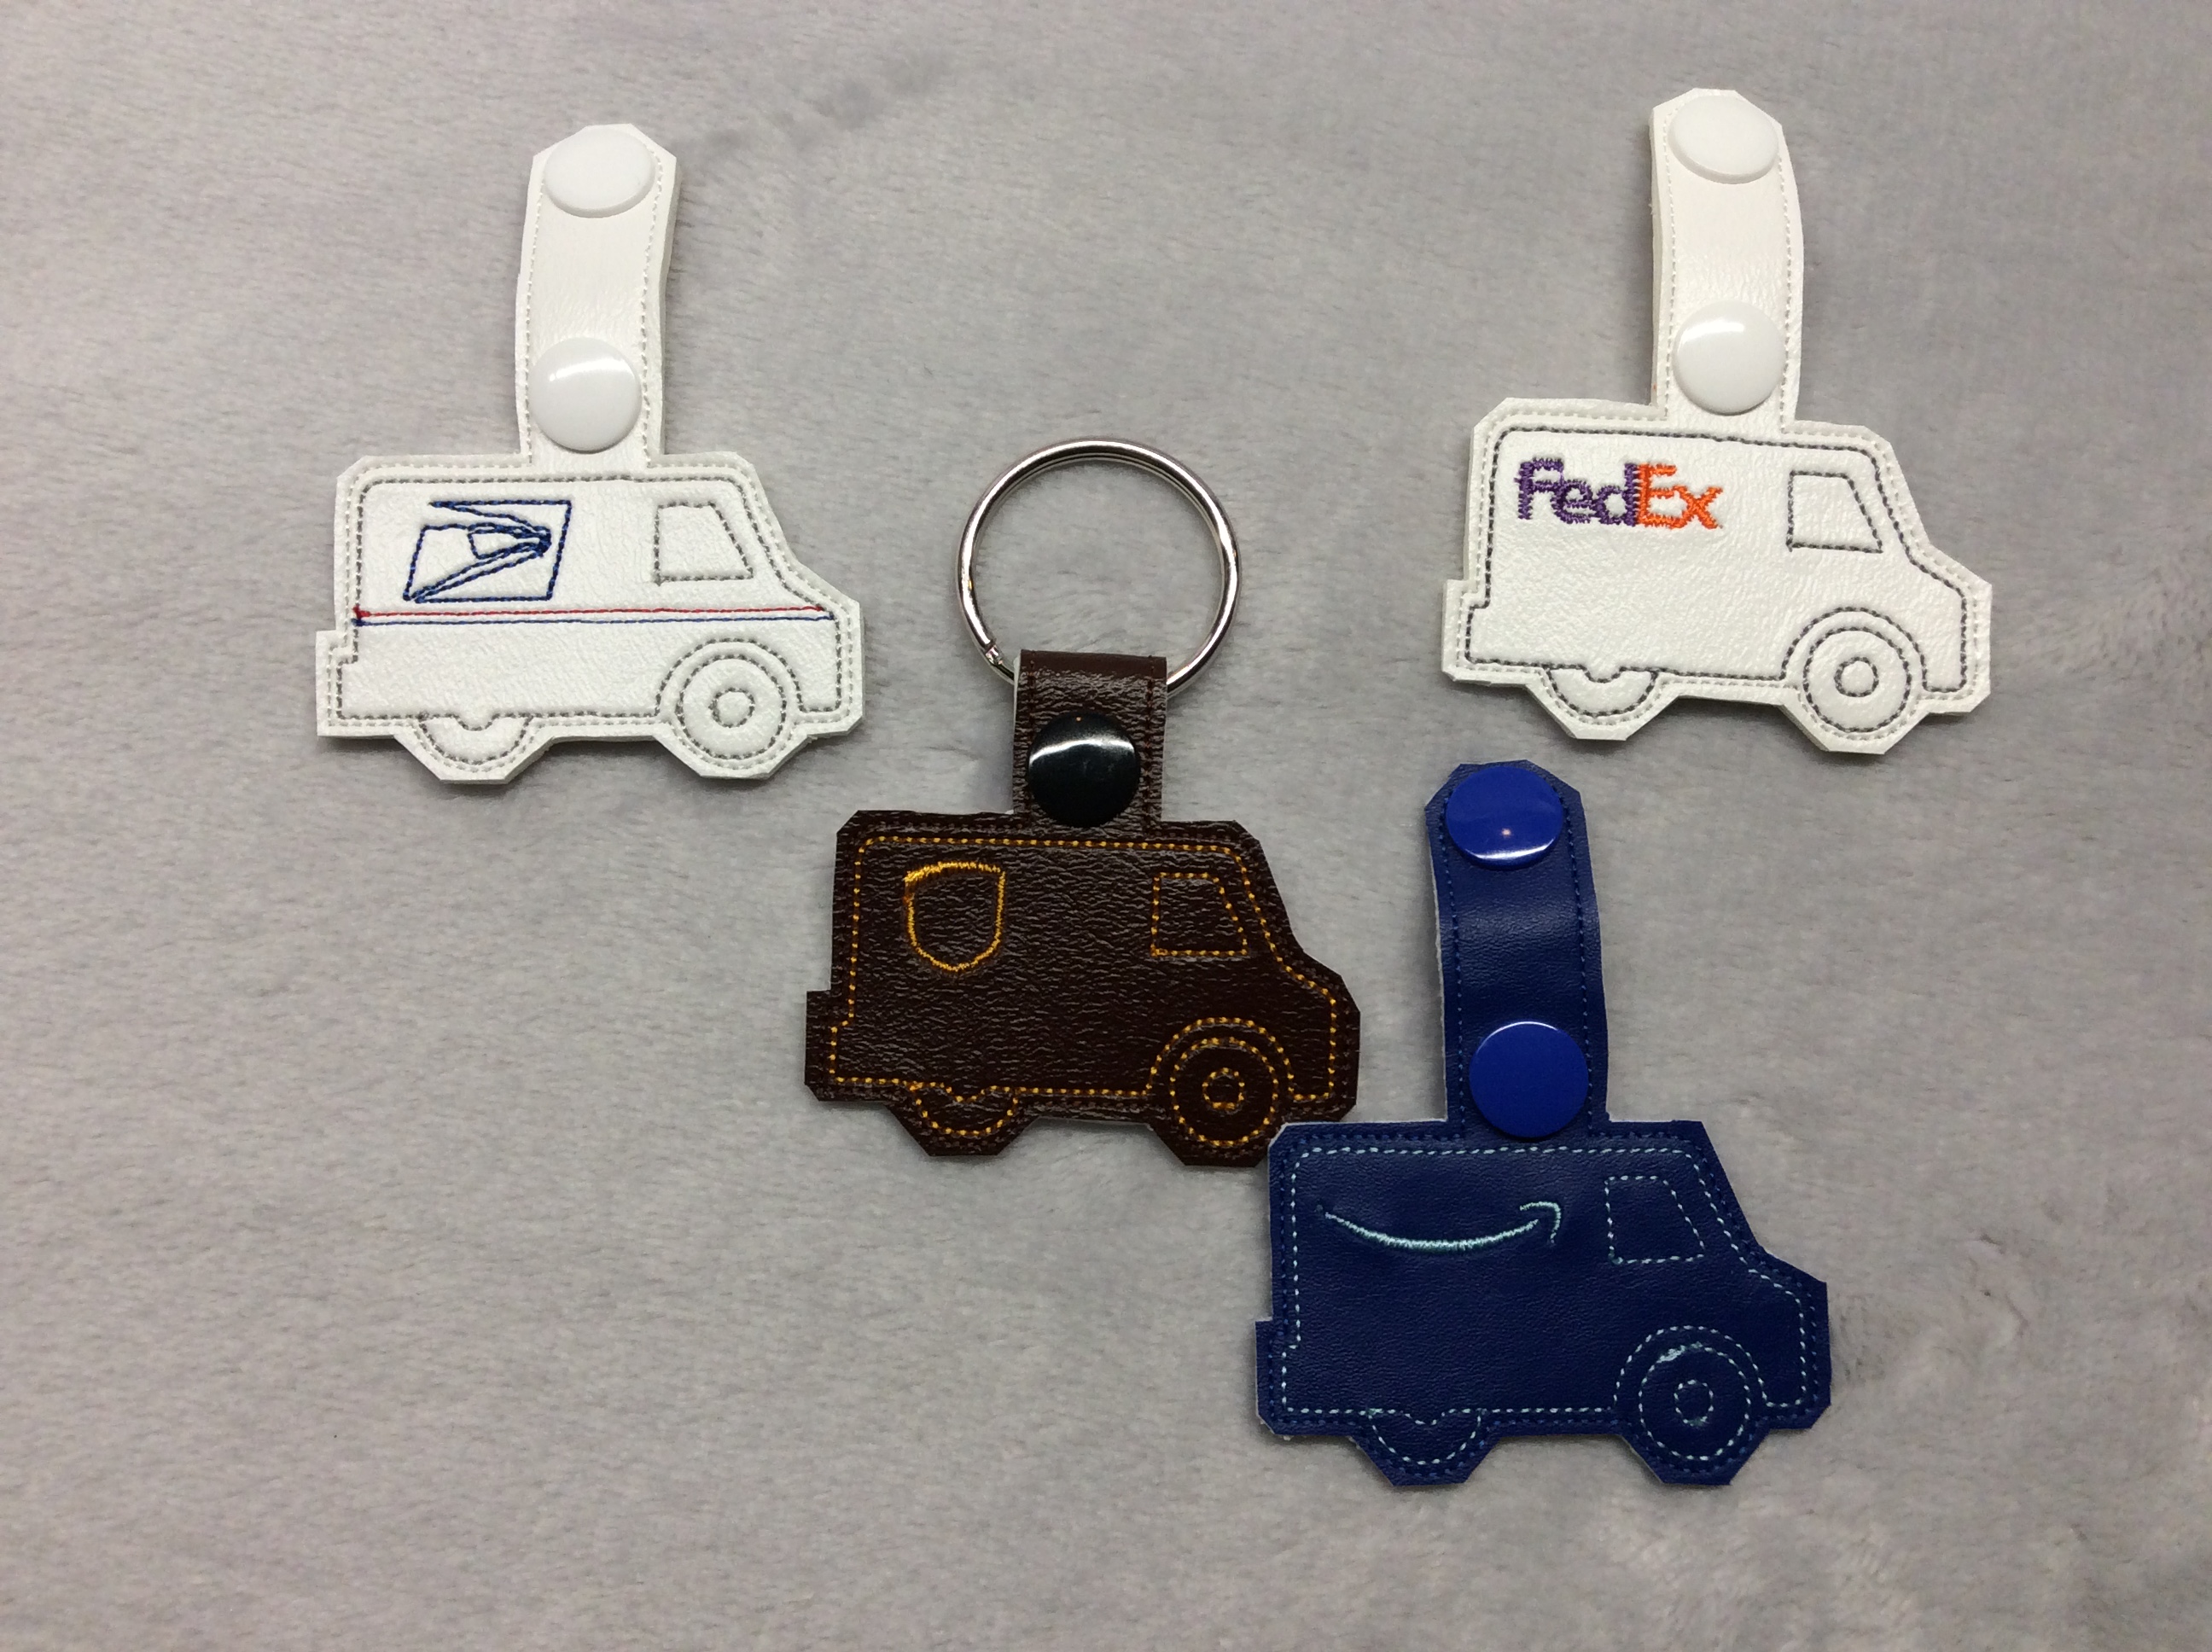
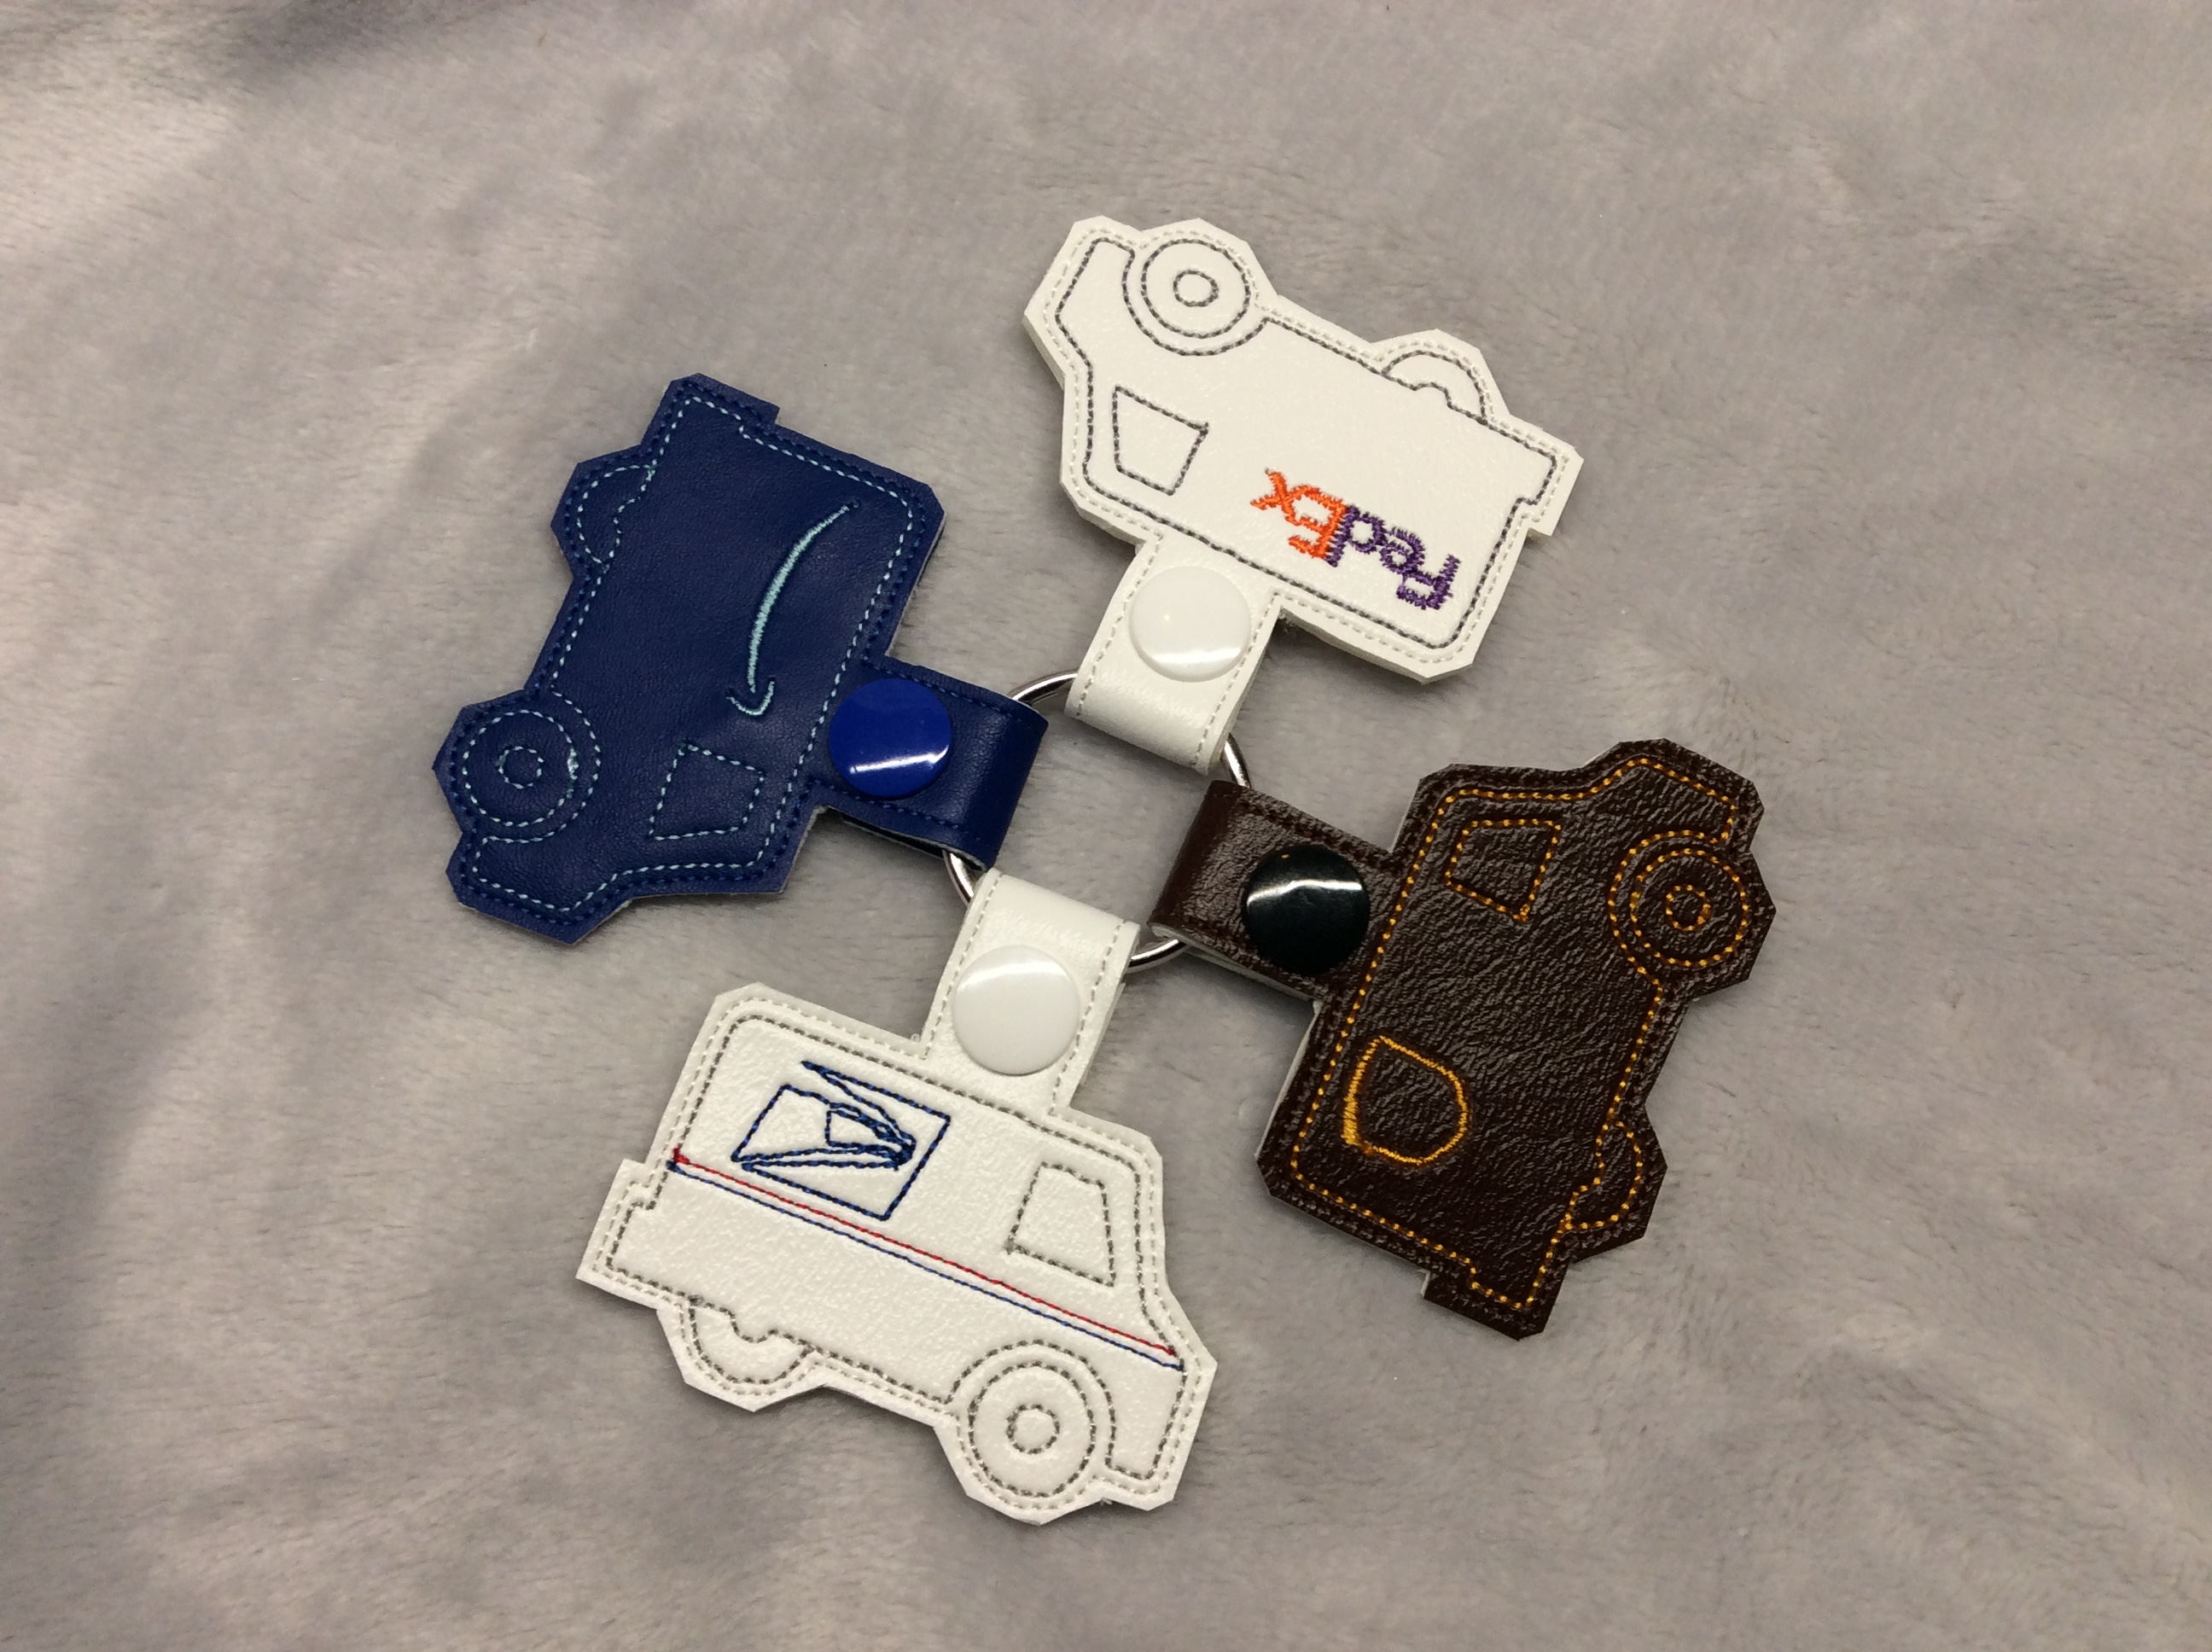
As promised, here is the delivery-truck snap tab freebie. It fits in a 4×4 hoop.
All four trucks are included in one file, so you’ll need to run only the thread colors for the version you want. In the SVG source file, they’re in separate layers so if you prefer you can hide the layers you don’t need and use Ink/Stitch to produce the embroidery file.
Construction is the same as other snap tabs: float a piece of vinyl on top of your stabilizer and embroider on it. Just before the last color, take the hoop off the machine and secure a second piece of vinyl on the back of the stabilizer to cover the threads.
- Placement Box – Optional; this will show you the size and placement of the top vinyl. I usually just advance to the first stitch and use the needle position to align the lower left corner of the vinyl.
- Truck – This is the outline of the truck itself. I used gray for the two white trucks, and the logo color for the blue and brown trucks.
- UPS – This is the shield logo, which should be run in gold.
- Amazon – This is the arrow, which should be run in light blue.
- USPS – These are three thread colors in one layer: blue for the logo, red for the top stripe, blue for the bottom stripe. It makes for an extra thread swap (I just jumped ahead to the second blue and then back to the red) but gives you the chance to skip the stripes altogether if you prefer.
- FedEx – These are two thread colors in one layer: purple and orange, or purple and green.
- Outline – Place the second piece of vinyl on the back side of the hoop before running this, which will stitch the whole thing together. Run this in the vinyl color – the bobbin thread will show so you may want to use a matching thread there too. It will put in a couple of stitches to indicate snap placement. Pull those threads out completely if you can.
Delivery Fob download (ZIP with DST, EXP, JEF, PEC, PES, U01, VP3, and SVG source file)