Embroidered Jayhawk face freebie

This design has been updated and added to the embroidery file library: Jayhawk
My sister’s husband and in-laws are bigtime University of Kansas fans, so when I needed a little something for my brother-in-law’s Easter basket it was a good excuse to digitize a Jayhawk. The more usual full-body side-view ‘Hawk is a bit complicated for a quick design, but the minimalistic face view fit the, uh, bill.

The nickname for a Kansan is a “Jayhawker,” for not-entirely-clear reasons, and so the mascot for the university is the imaginary “jayhawk” bird.
It’s a pretty simple stitchout.

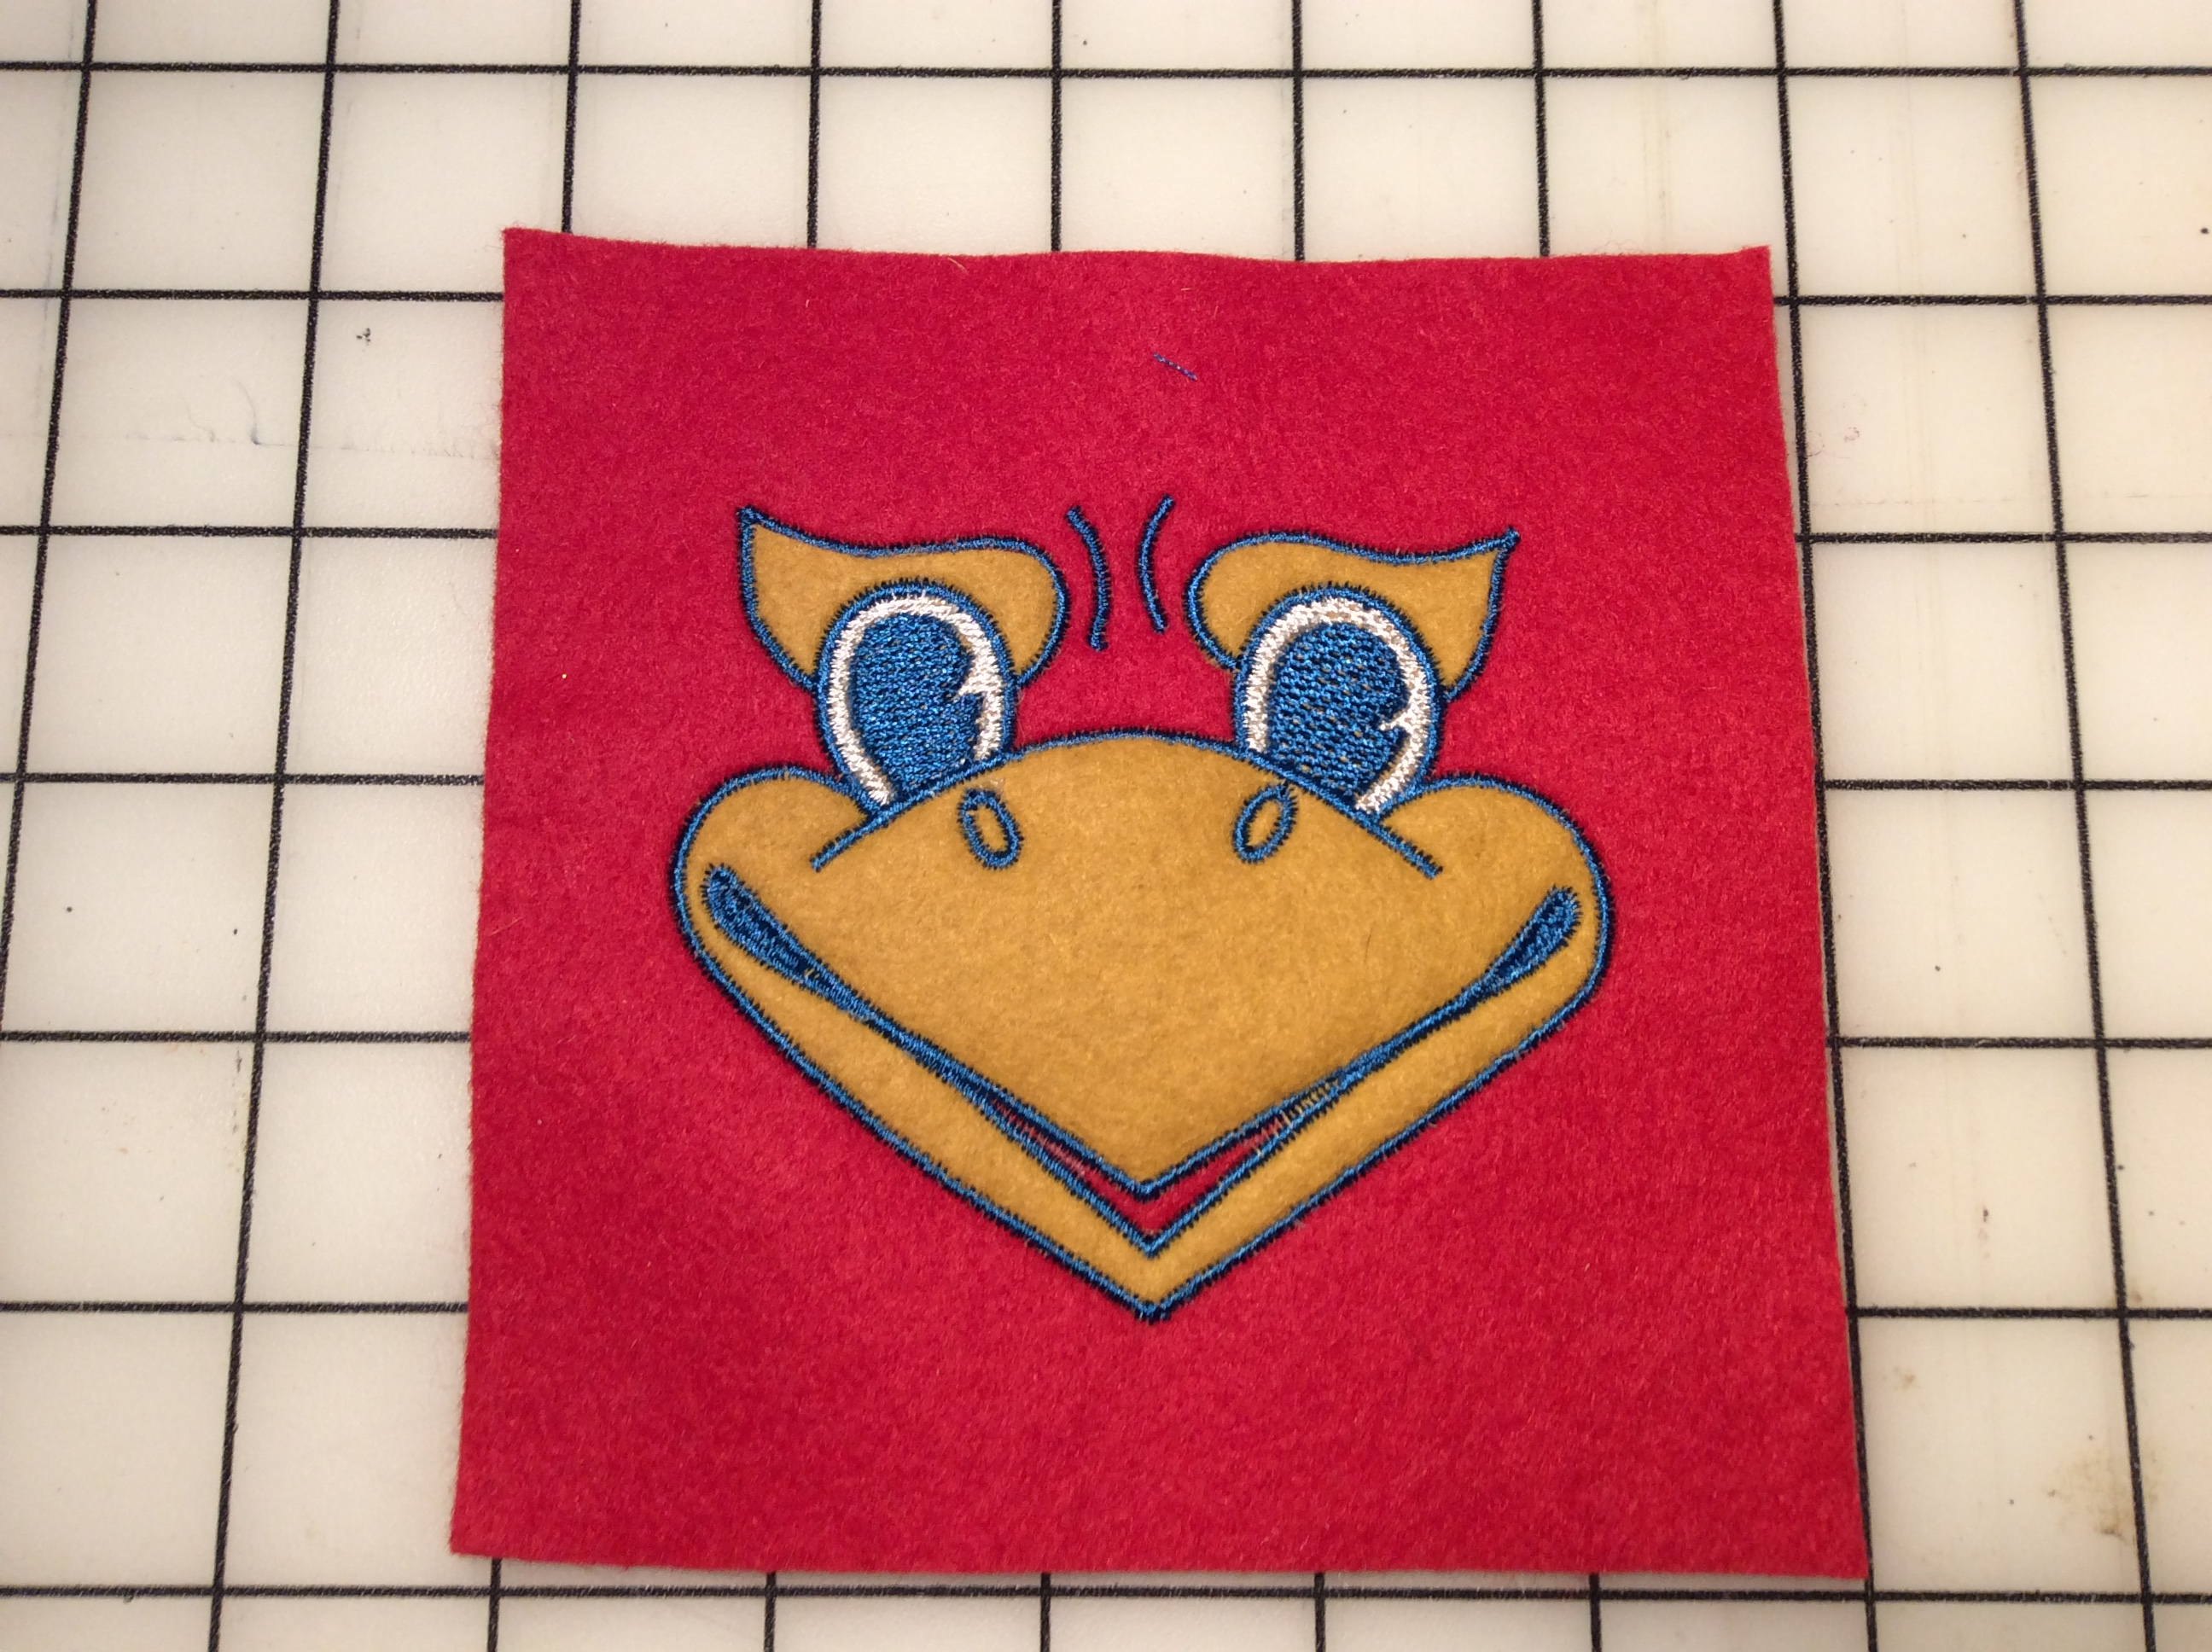
- Download the Jayhawk Face 4×4 zip file and pick the right format for your machine.
- Hoop a piece of stabilizer, and float a square of crimson felt or vinyl (I started with a 5×5 piece and trimmed it down later).
- Print the applique PDF included in the file, and cut the shape(s) out of gold (and optionally white) felt or vinyl. I used a continuous piece of gold felt, including behind the eyes, but you can applique the eye whites too if you want. Don’t forget to cut the open end of the bill out if you want that to show crimson through.
- Run the placement stitches, then spray the back of the applique piece(s) with basting spray and carefully stick them in place. Cover the whole thing with a piece of rinse-away stabilizer to keep the appliques from shifting.
- Skip the eye whites if you have white appliques.
- The blue stitches in two parts, though you can use the same thread color for both: first the fill stitching for the pupils and mouth corners, then a pause to trim all your jump threads, then the satin stitching. It will stitch everything but the nostrils and brow furrows without making a jump stitch, so you shouldn’t need to trim while the last color is running.
After I embroidered the face, I:
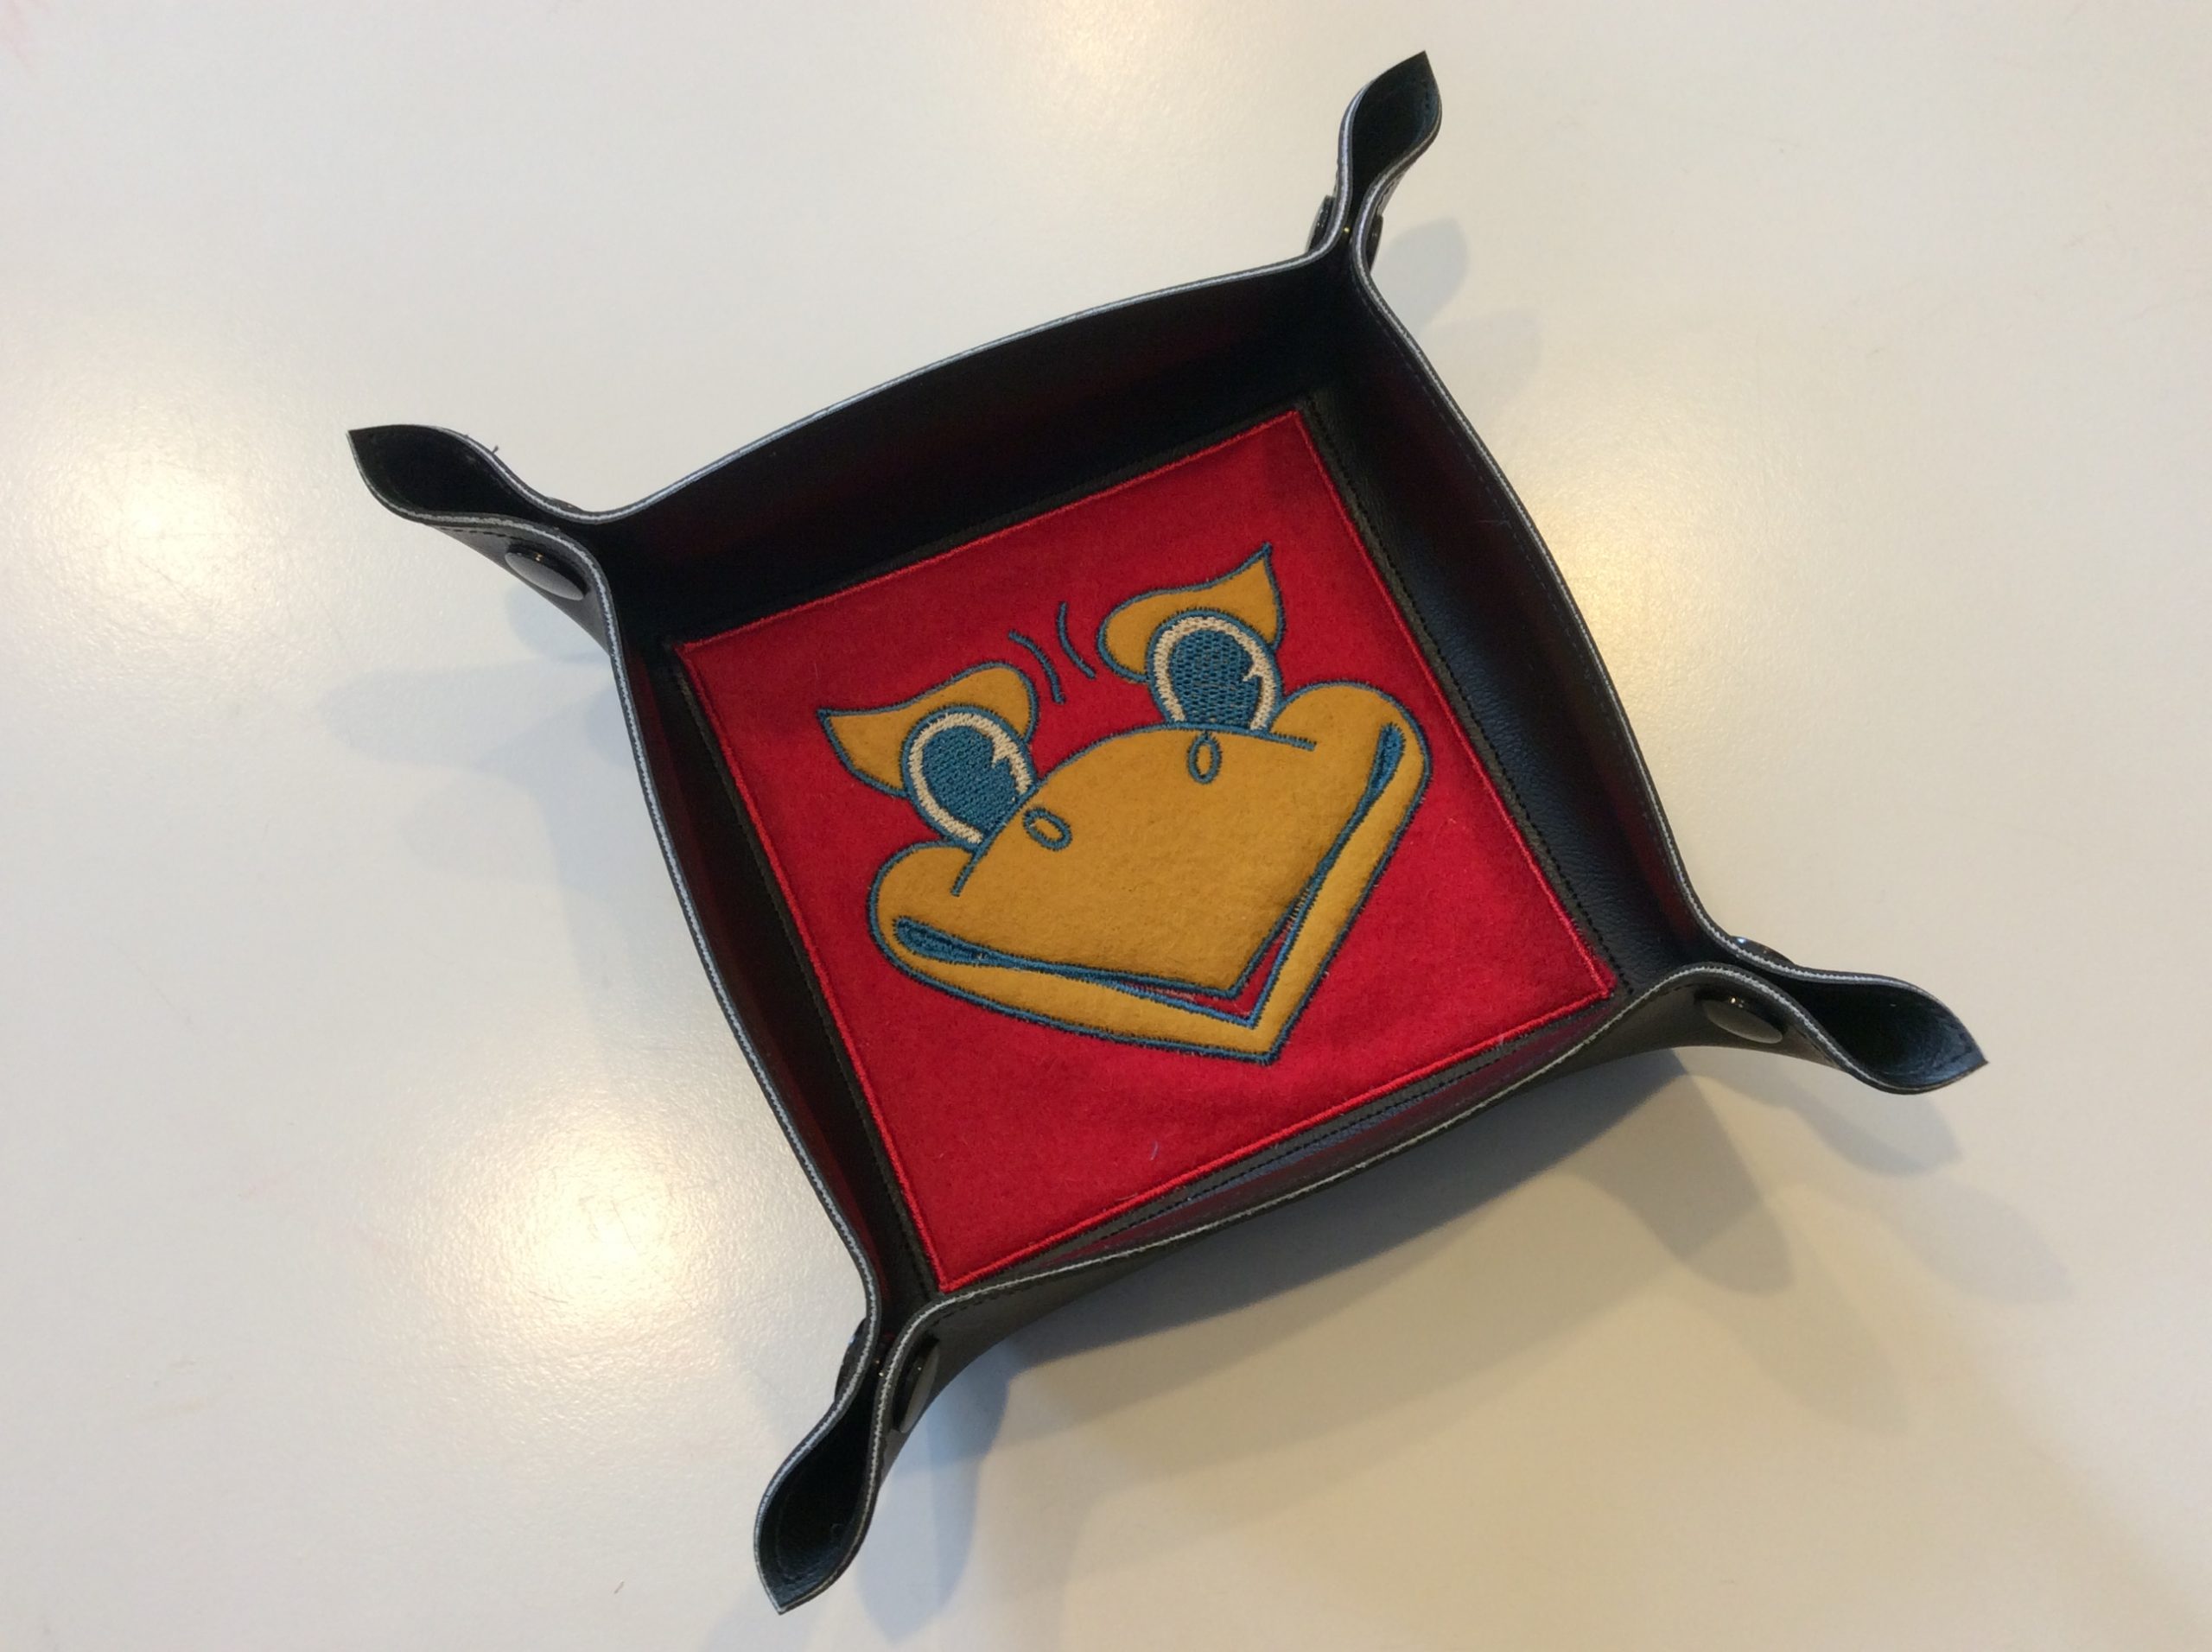
- trimmed it to a neat square
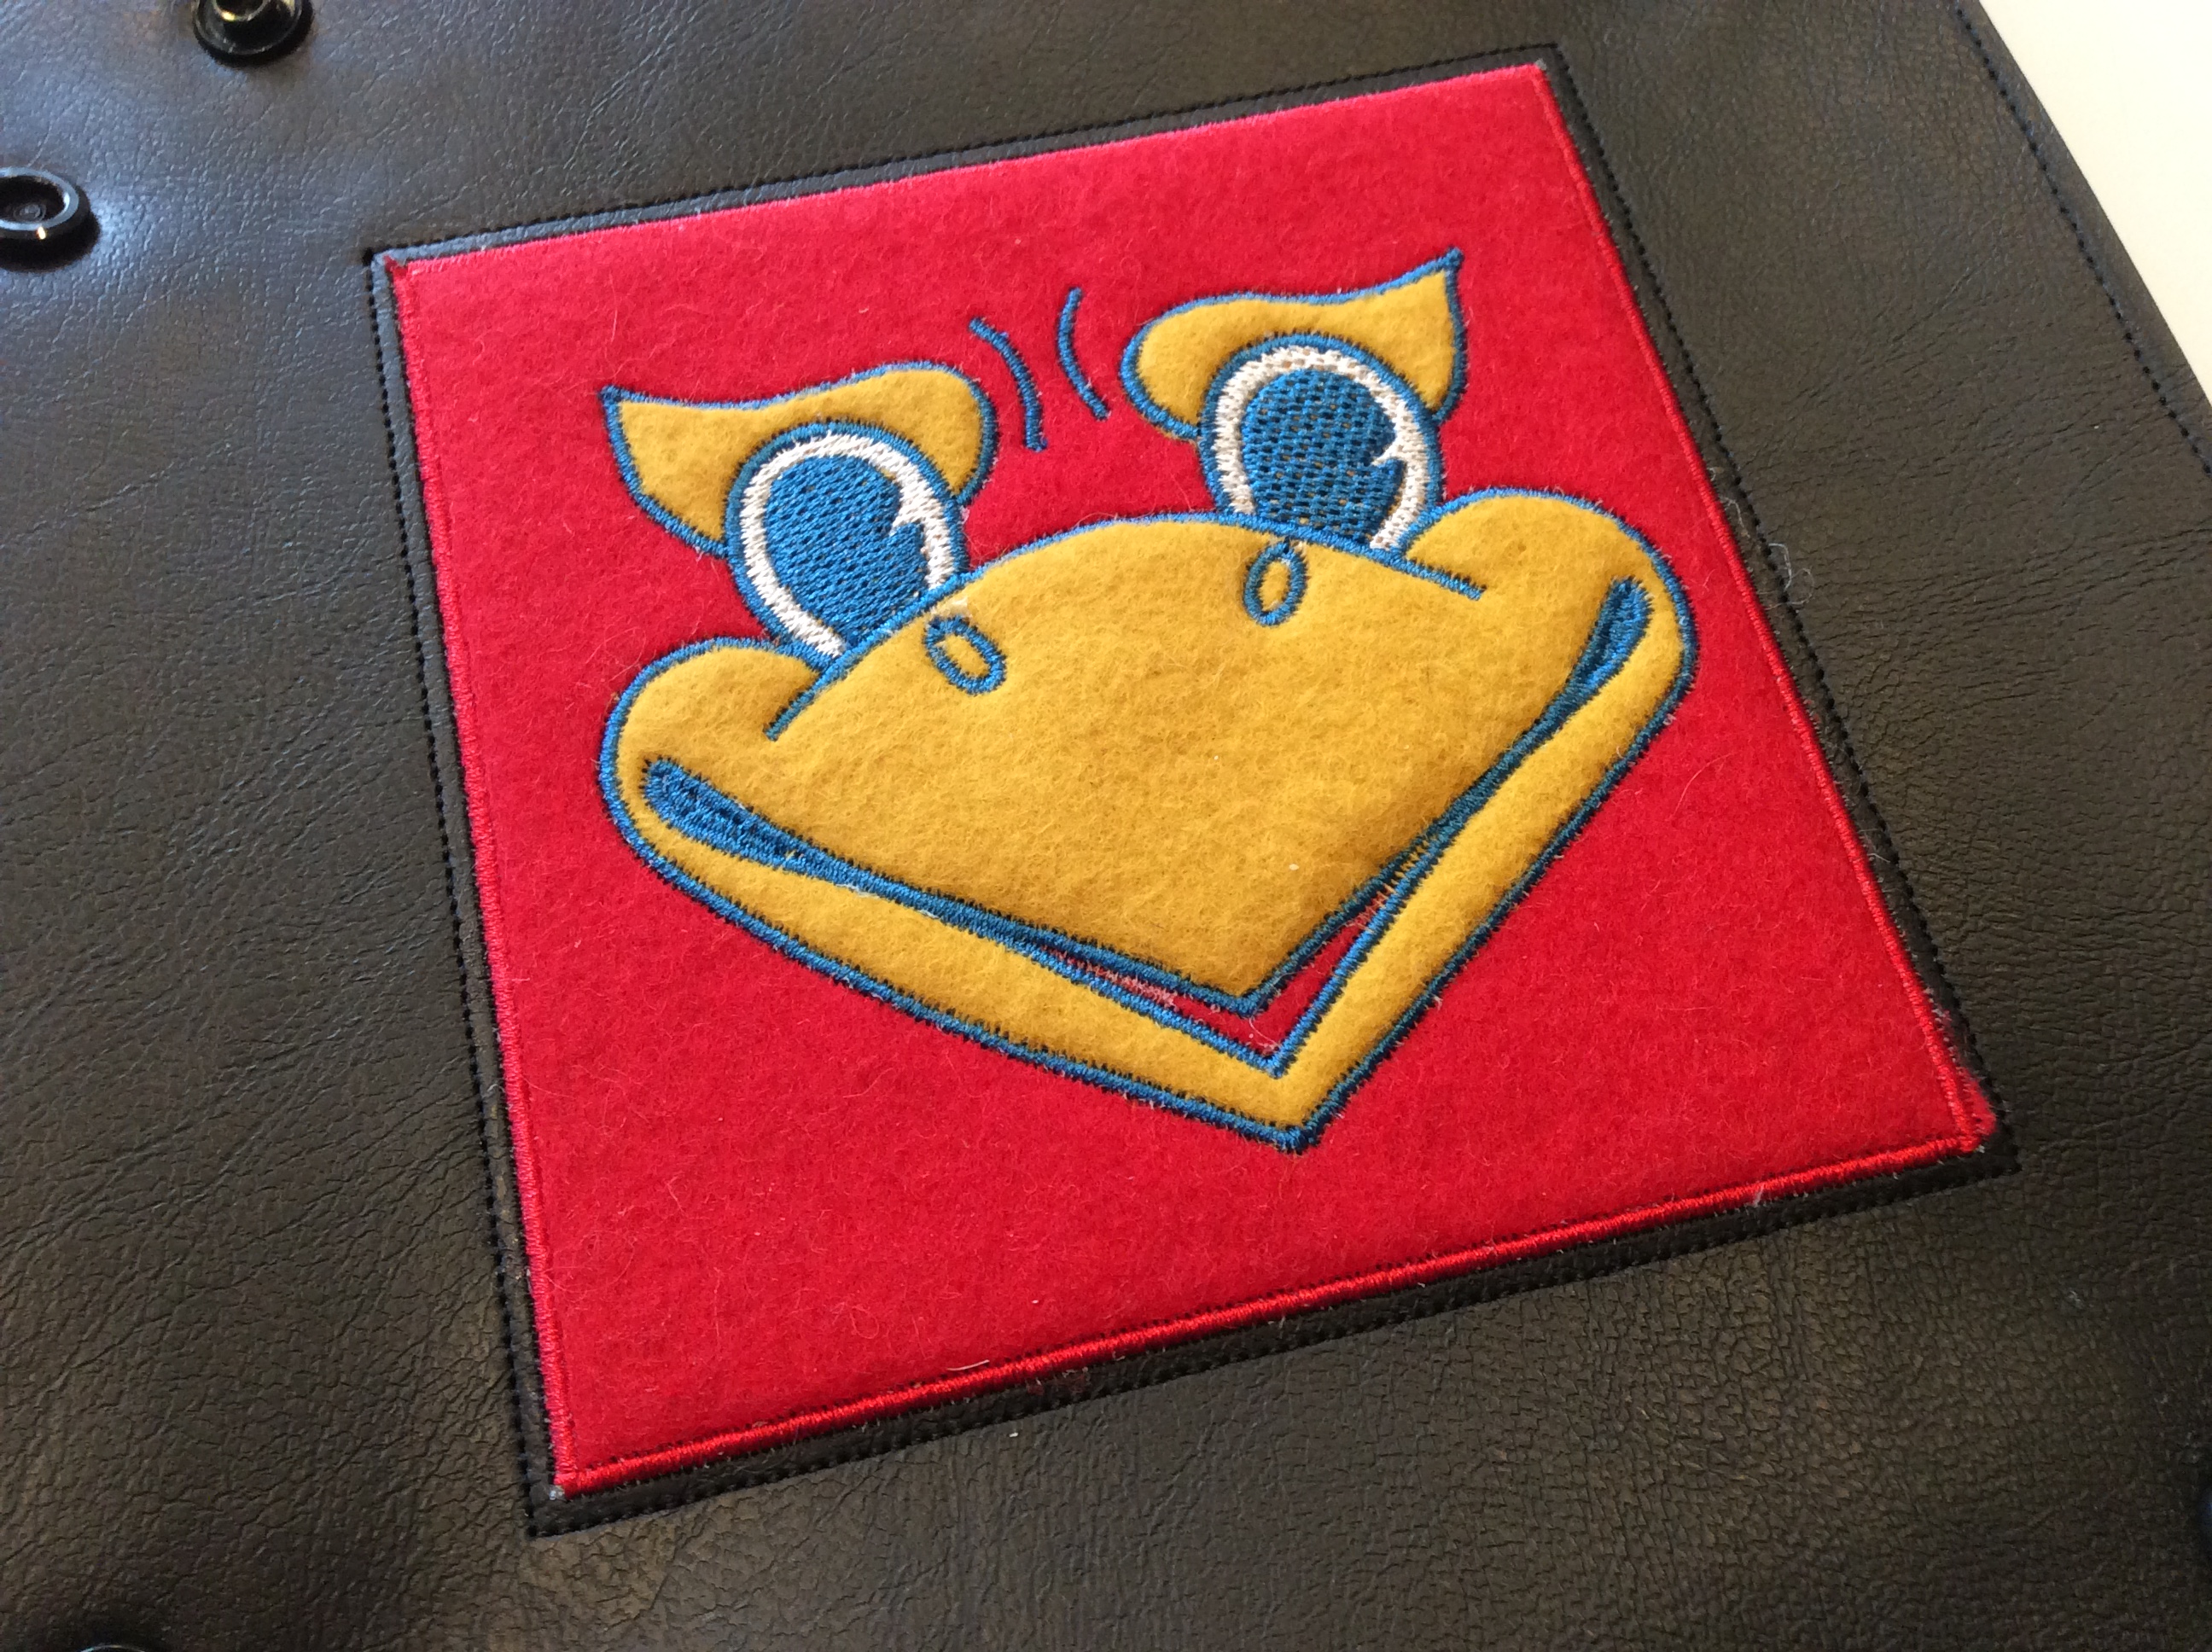
- satin-stitched it down to a square of marine vinyl
- added another piece of marine vinyl on the back, wrong sides together
- running-stitched a square 1/8″ around the satin stitching in black
- running-stitched another square 1 3/8″ out from that square
- trimmed the whole thing 1/8″ out from the stitching
- installed snaps centered 1-1/4″ from one edge and 3/8″ from the other
Presto, a handy little snap tray.

The design in the file is just the face, not the surrounding square. This particular tray is 7-1/2″ when opened flat, so it wouldn’t have fit even on my 5×7″ hoop. It’s all plain straight stitching, so not too challenging (provided you have a conventional machine, at least).
The KAMsnaps folks have a pretty good roundup of snap tray tutorials including some no-sew versions if you want more detail on turning this (or any similar design) into a snap tray.
