Working around Ink/Stitch
Ink/Stitch has really matured since I started using it, but there are still some features that it doesn’t quite have.
One of them is separating the underlays from the satin stitching. Center-stitching goes there-and-back, no options, when sometimes you’d like to go there and then satin back, without having to make a separate running stitch. (I’ve asked for an odd-numbered center stitch and it’s in the to-do somewhere.)
Sometimes you’d like to have the satin a separate color from its zigzag underlay, so you can stitch one, both, or the other. Even if you do them both in the same physical color, maybe you’d like to force your machine to stop in between so you can fix any stray applique, for instance. (Some formats/machines support mid-color stops, others have to fake it with a color change.)
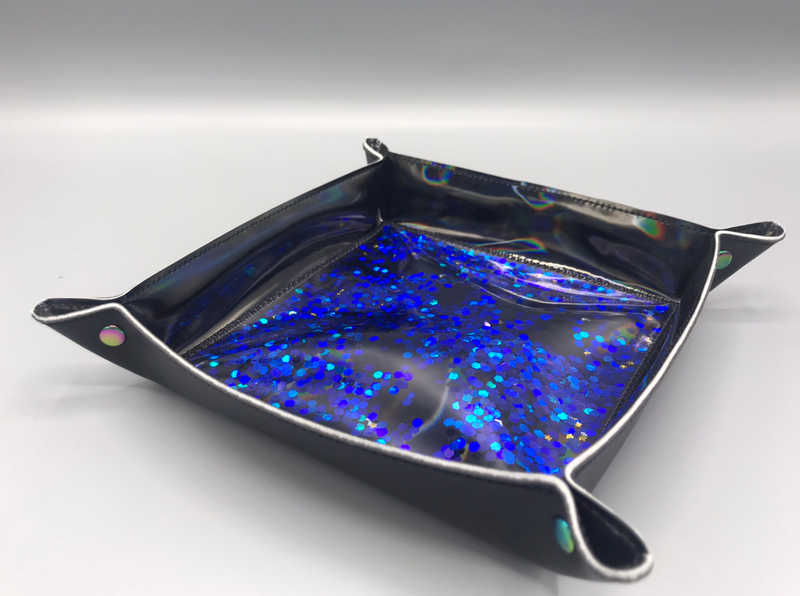
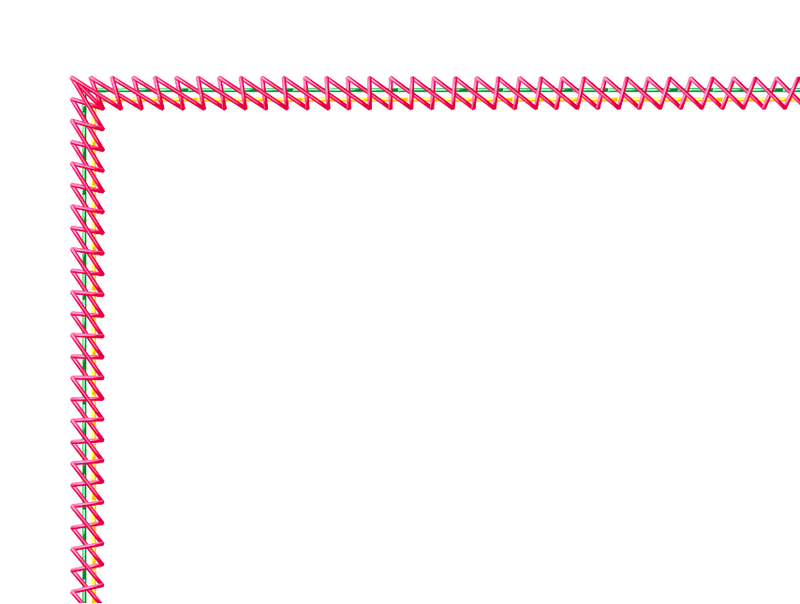
I wanted to do the latter for the applique version of the valet trays. Backed vinyl, like marine, may still be held together by the woven or knit backing even if a satin is so dense that the needle holes cut a line through the upper fabric. Single-layer vinyl is prone to being cut by the seam - and clear is so prone to cracking that takes almost no density to do it. But a really loose satin (the kind made in Ink/Stitch by rails and, usually, rungs) is a very clear sawtooth design, and that’s no fun. I could make a loose zigzag (the kind made by wide solid lines), but that still was kind of unattractive, especially at the corners… but I realized the zigzag underlay was kind of a neat pattern.
How to get just the zigzag, without watching my machine and hitting “stop” at precisely the right moment? I decided to change the underlay color. That meant converting the satin to its component stitches, and then breaking up the resulting “running stitch.”
I selected the satin, chose Extensions > Ink/Stitch > Visualize and Export > Stitch Plan Preview... and let it create the stitched-out version. Then I copied it out of the Stitch Plan layer and back into the satin layer. Then I went into the node editor and found the place where the underlay stopped and the satin itself began, broke that node, and then broke apart that path. I deleted the satin part, set the underlay to Manual Stitch Placement in Params, unchecked the Zigzag on the original satin, and now I had the two parts separated.
Changing the color on one meant my machine would stop in between them. The glitter shaker tray has only the underlay, while the fabric overlay has both. I also have the option of jumping forward, doing the satin itself first, and then backing up and doing the zigzag as an overlay in a contrast color.
Don’t hesitate to use the Stitch Plan Preview to grab bits and pieces of generated stitches - but save your original vectors in a hidden layer if you think you might need to change the underlying shape in the future.
And yes, the applique/shaker tray designs are on the list. It’s a long list, though.