The zipper-pouch freebie, and why you don’t need it
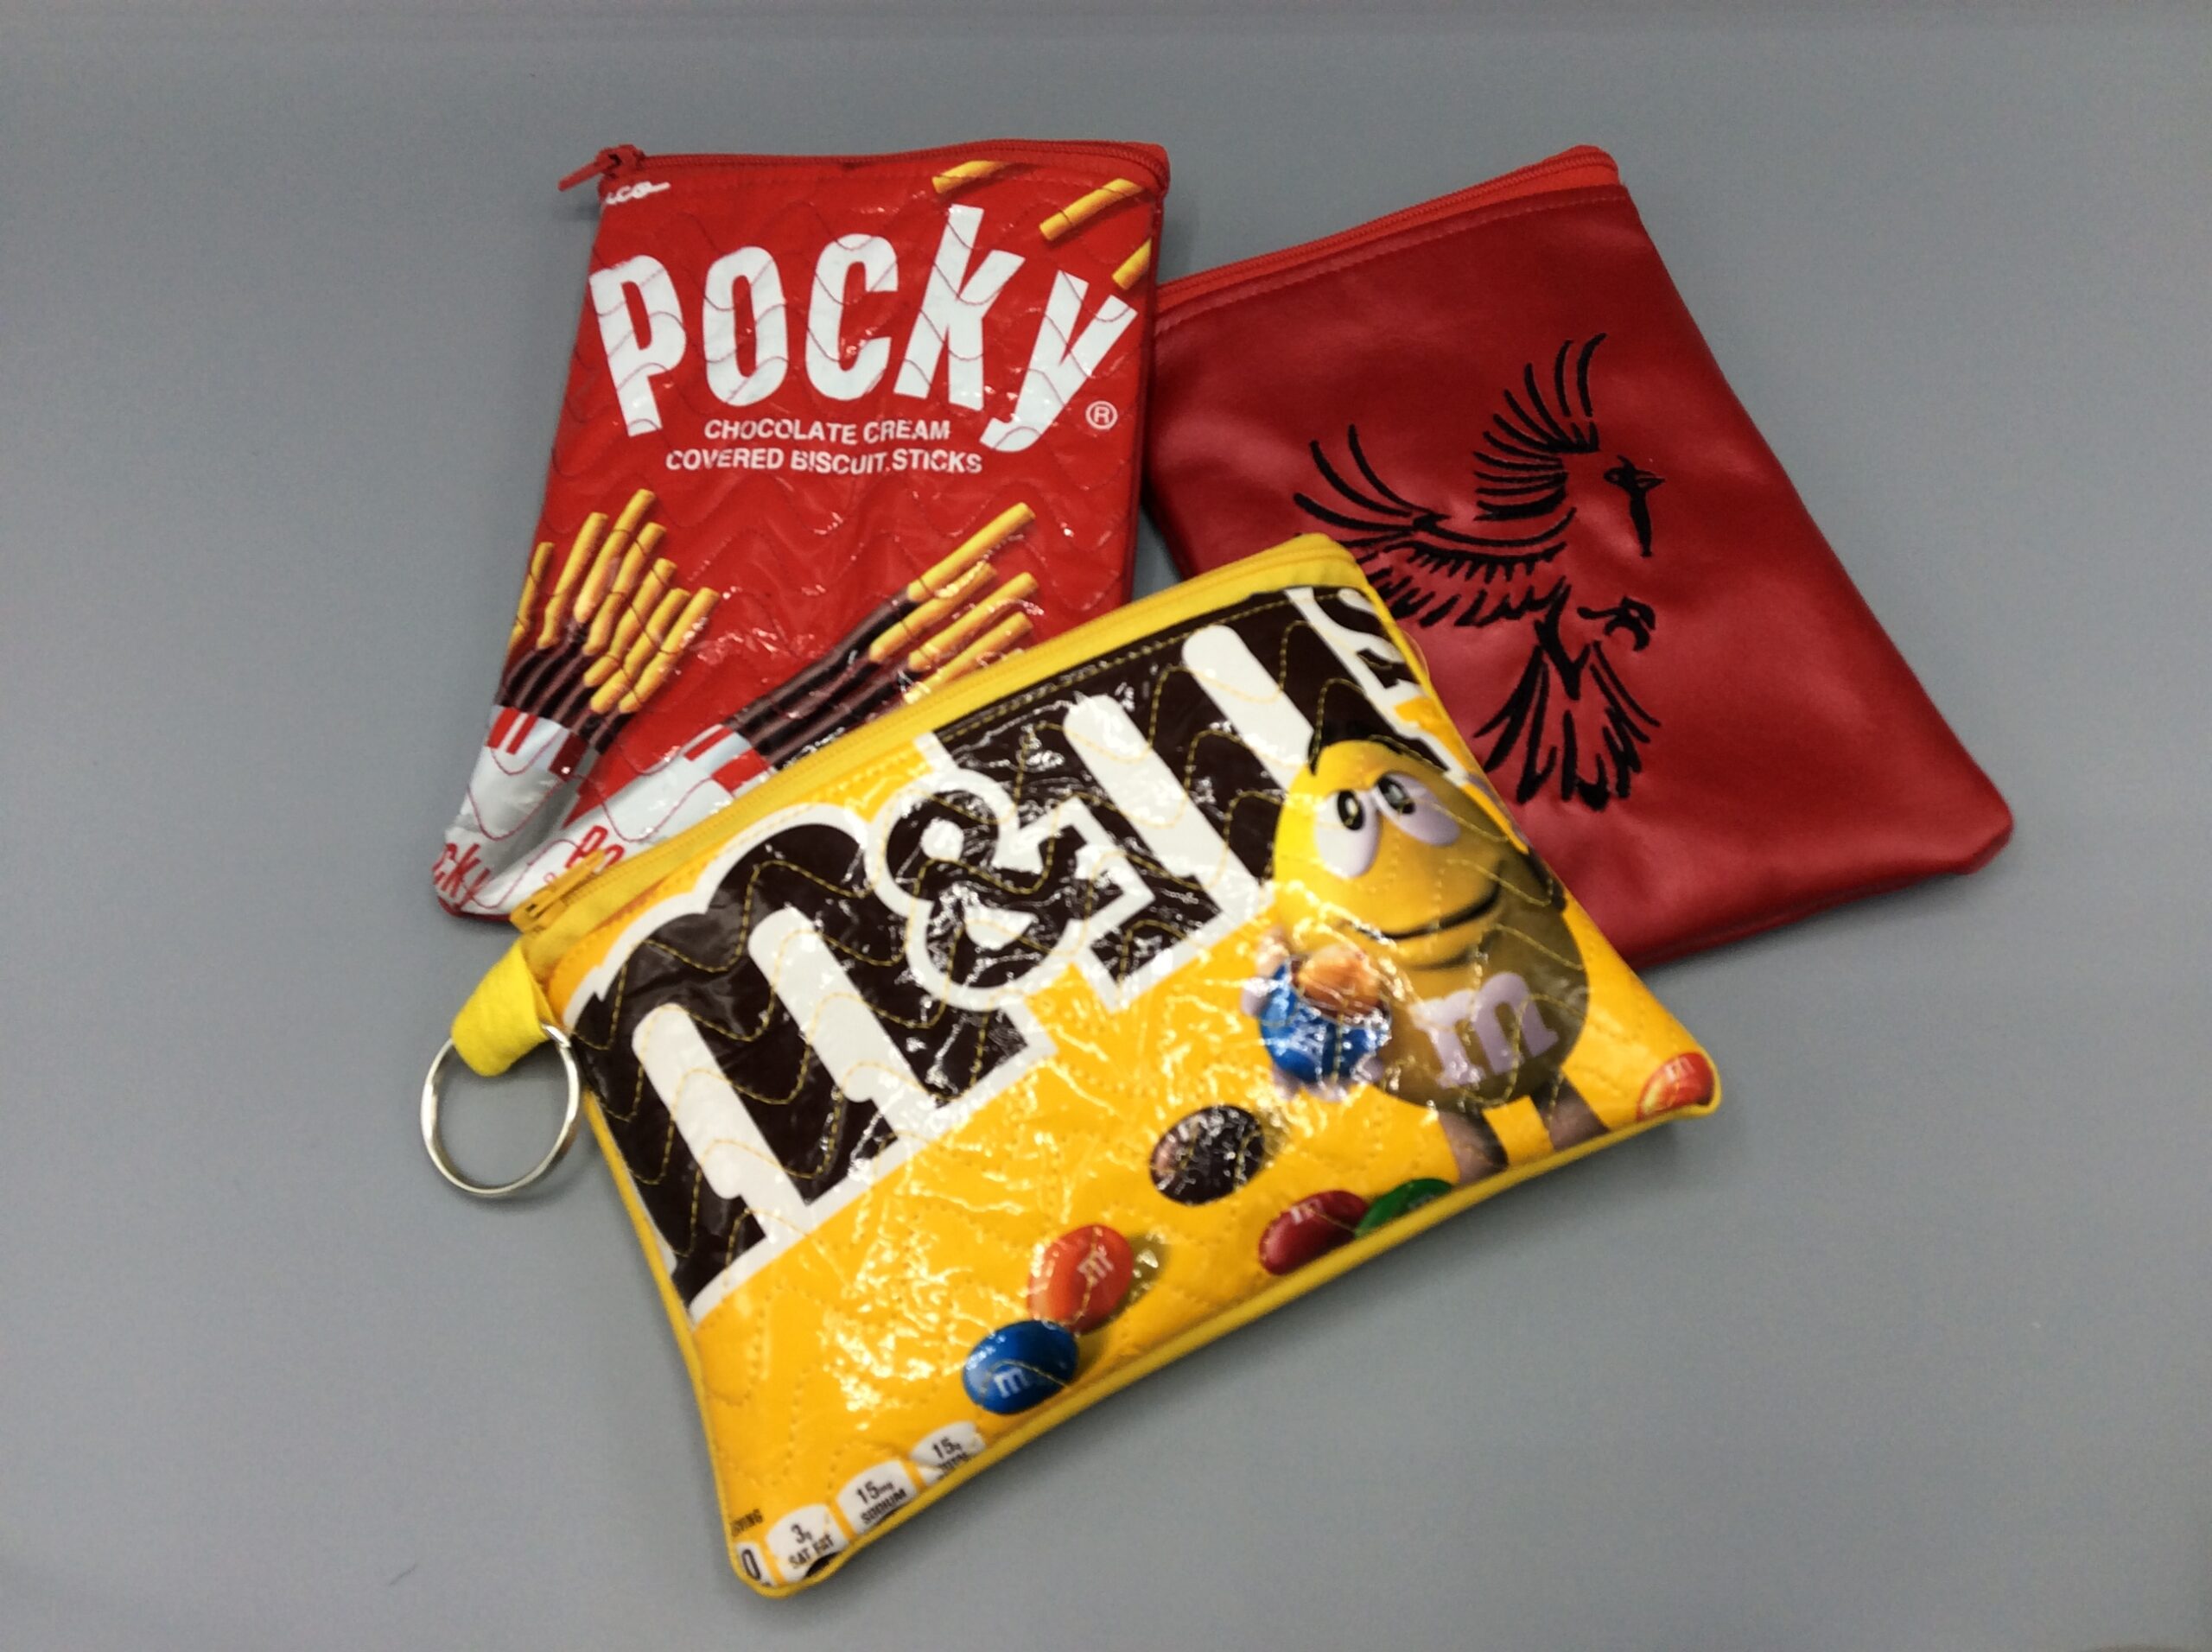
I waffled on whether I should make this design a freebie or sell it, and decided on a freebie, because you really don’t even need me to make this for you. Seriously, it’s just rectangles and lines.
Not that this is to say no one should sell a zipper pouch design, because what you’re really paying for is the tutorial. From me you get some casual worktable pictures, and the ones for putting the split-ring loop(s) on are entirely not there. If I was charging for the design I would have used proper lighting, and gone back to re-shoot the missing pictures.
At any rate, once you know how the zipper pouch works, you can use Ink/Stitch to make your own shaped zipper pouches. Or to move the zipper around: if you’re doing a circle pouch you probably want the zipper in the middle, so instead of letting one side of the zipper be the pouch seam, you want to sew-and-topstitch a second front and lining piece on:
It’s pretty easy to figure out how to add those steps in.
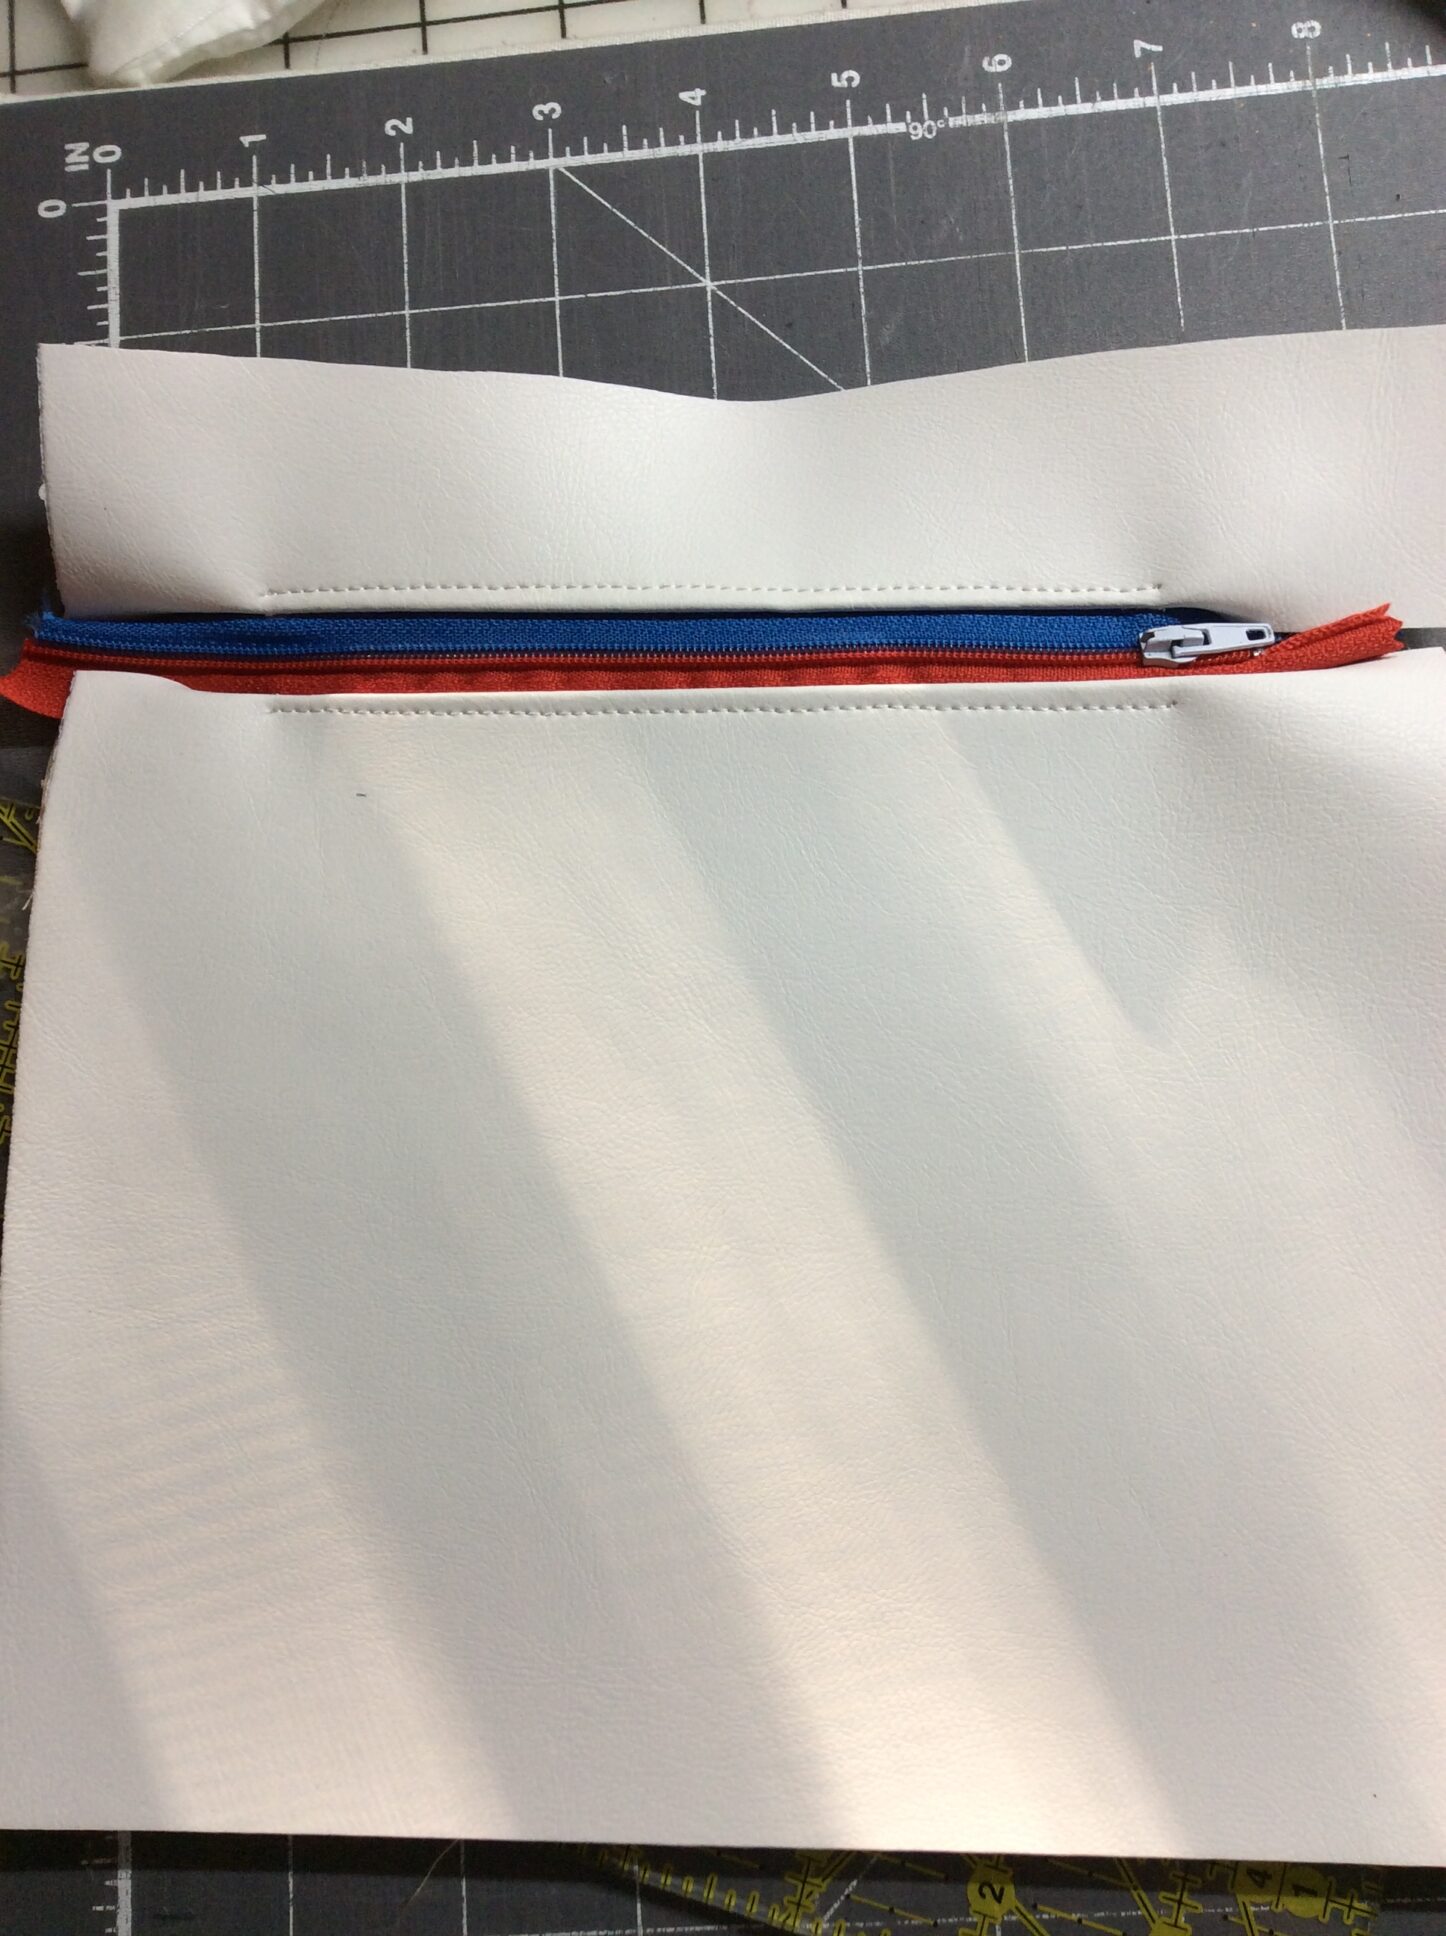
Maybe you also want to add end pieces on the zipper because your zipper is too short for your pouch? (This red-white-and-blue one is going to be a shaped pouch, so the seams in that area will be well inside that top-stitching and will capture the zipper easily even though it doesn’t look like it right now.) That’s just a couple of vertical lines on each end, to tack down small pieces and then flip and top-stitch them just like the main pouch.
If you haven’t tried out Ink/Stitch yet, you really should. It’s free, and I’ve got tutorials that will walk you step-by-step, screen-for-screen through making a die line for an existing design, or converting computer-font words into embroidery. Give it a try.
And if you really want to pay me for the work I do, even if I miss a tutorial picture now and then, I’ve got a Ko-fi for that. It’s purely optional.