Read the friendly manual

It is my inclination to impatiently head straight for the Let’s See Results stage of things, and so I have to admit I skimmed the instructions for the embroidery machine when I got it. Watch videos on how to use it? HA! Never.
And so it is that I’ve had the thing for a year-and-change and only recently discovered a feature it’s got. If you’ve used my free designs, you’ll notice they often have a placement/tackdown box as the first step. I don’t usually stitch those out, but instead position the needle to the start of it and place my vinyl accordingly.
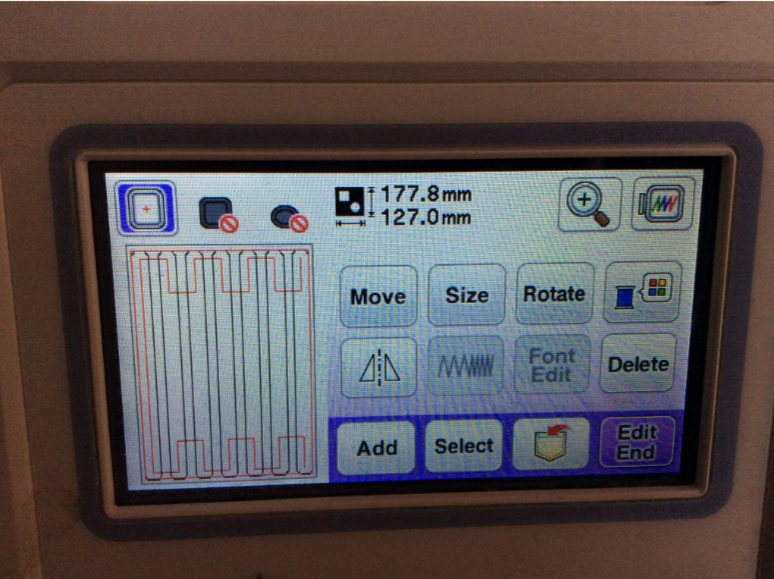
Turns out my PE-800 can do that by itself! There are two screens after the design is loaded. I always blast right past the first one because it’s almost entirely about editing the design and I do that in Ink/Stitch. Occasionally I’ll mirror it, but that’s about it.
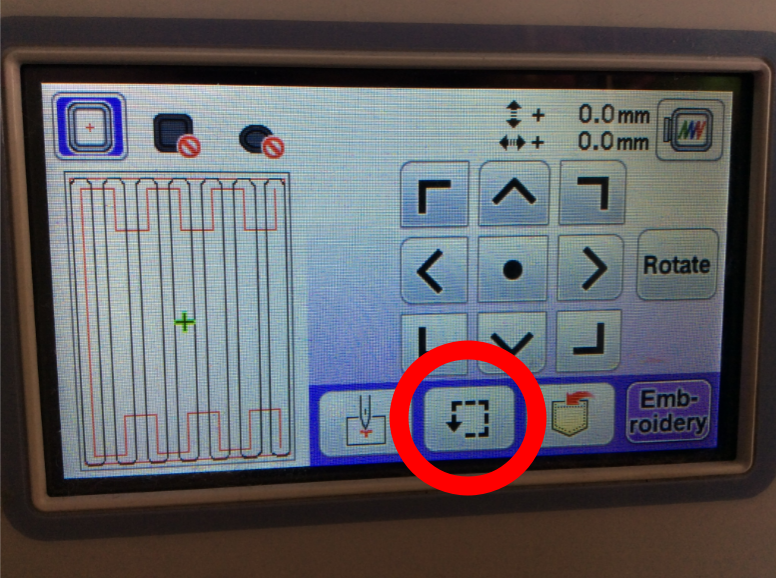
I usually blast right past the second one too, although if a design is just barely too big for the 4×4 hoop I’ll use the move arrows to put it in an inner corner of the 5×7 since the stabilizer is more stable near the hoop arm. But for whatever reason, I went “hmm, wonder what that little logo is” and pushed the button.
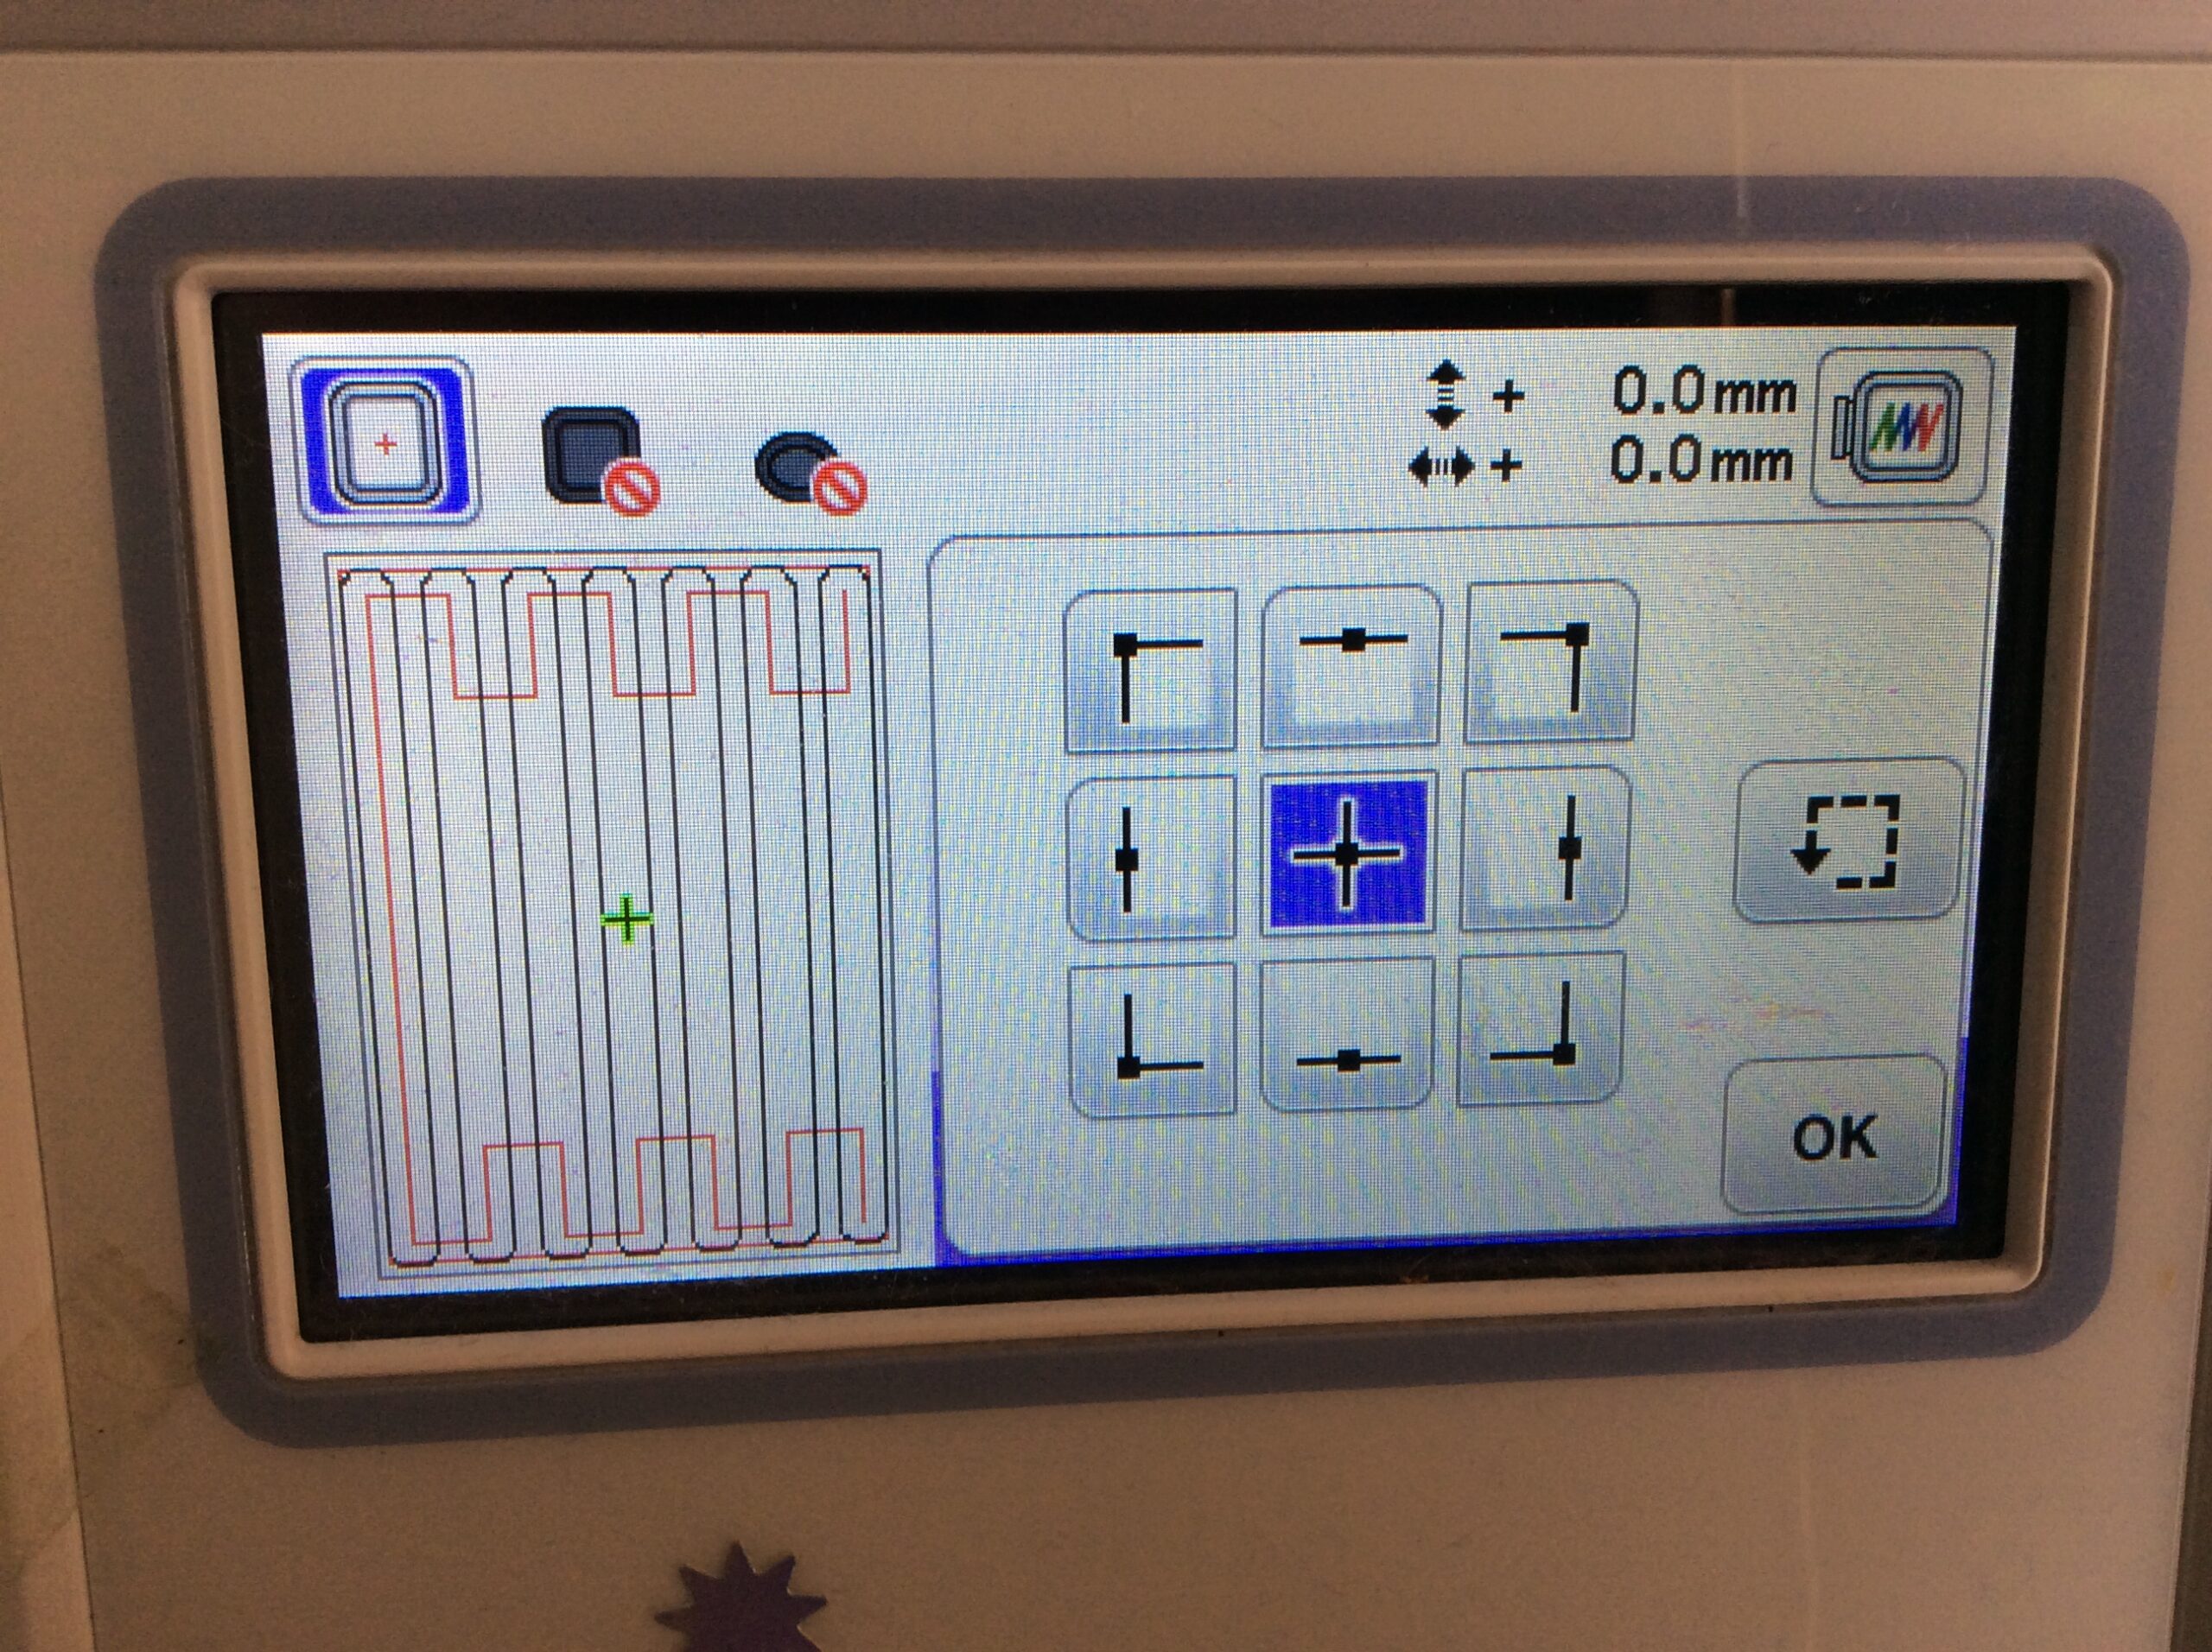
Turns out this will tell me the exact limits of the design. I can send it to the upper left corner, needle-down into the stabilizer, send it to the lower right, needle-down again, and then position my front and back vinyl using those dots to be sure my mask extenders work out right. The dashed-arrow square button will cause the needle to travel around the perimeter of the design, but it’s not fast enough for impatient me. If I used non-rectangular stuff it might be worthwhile.