Interchangeable Flap – Sewn

Advent 2019 – Day 4

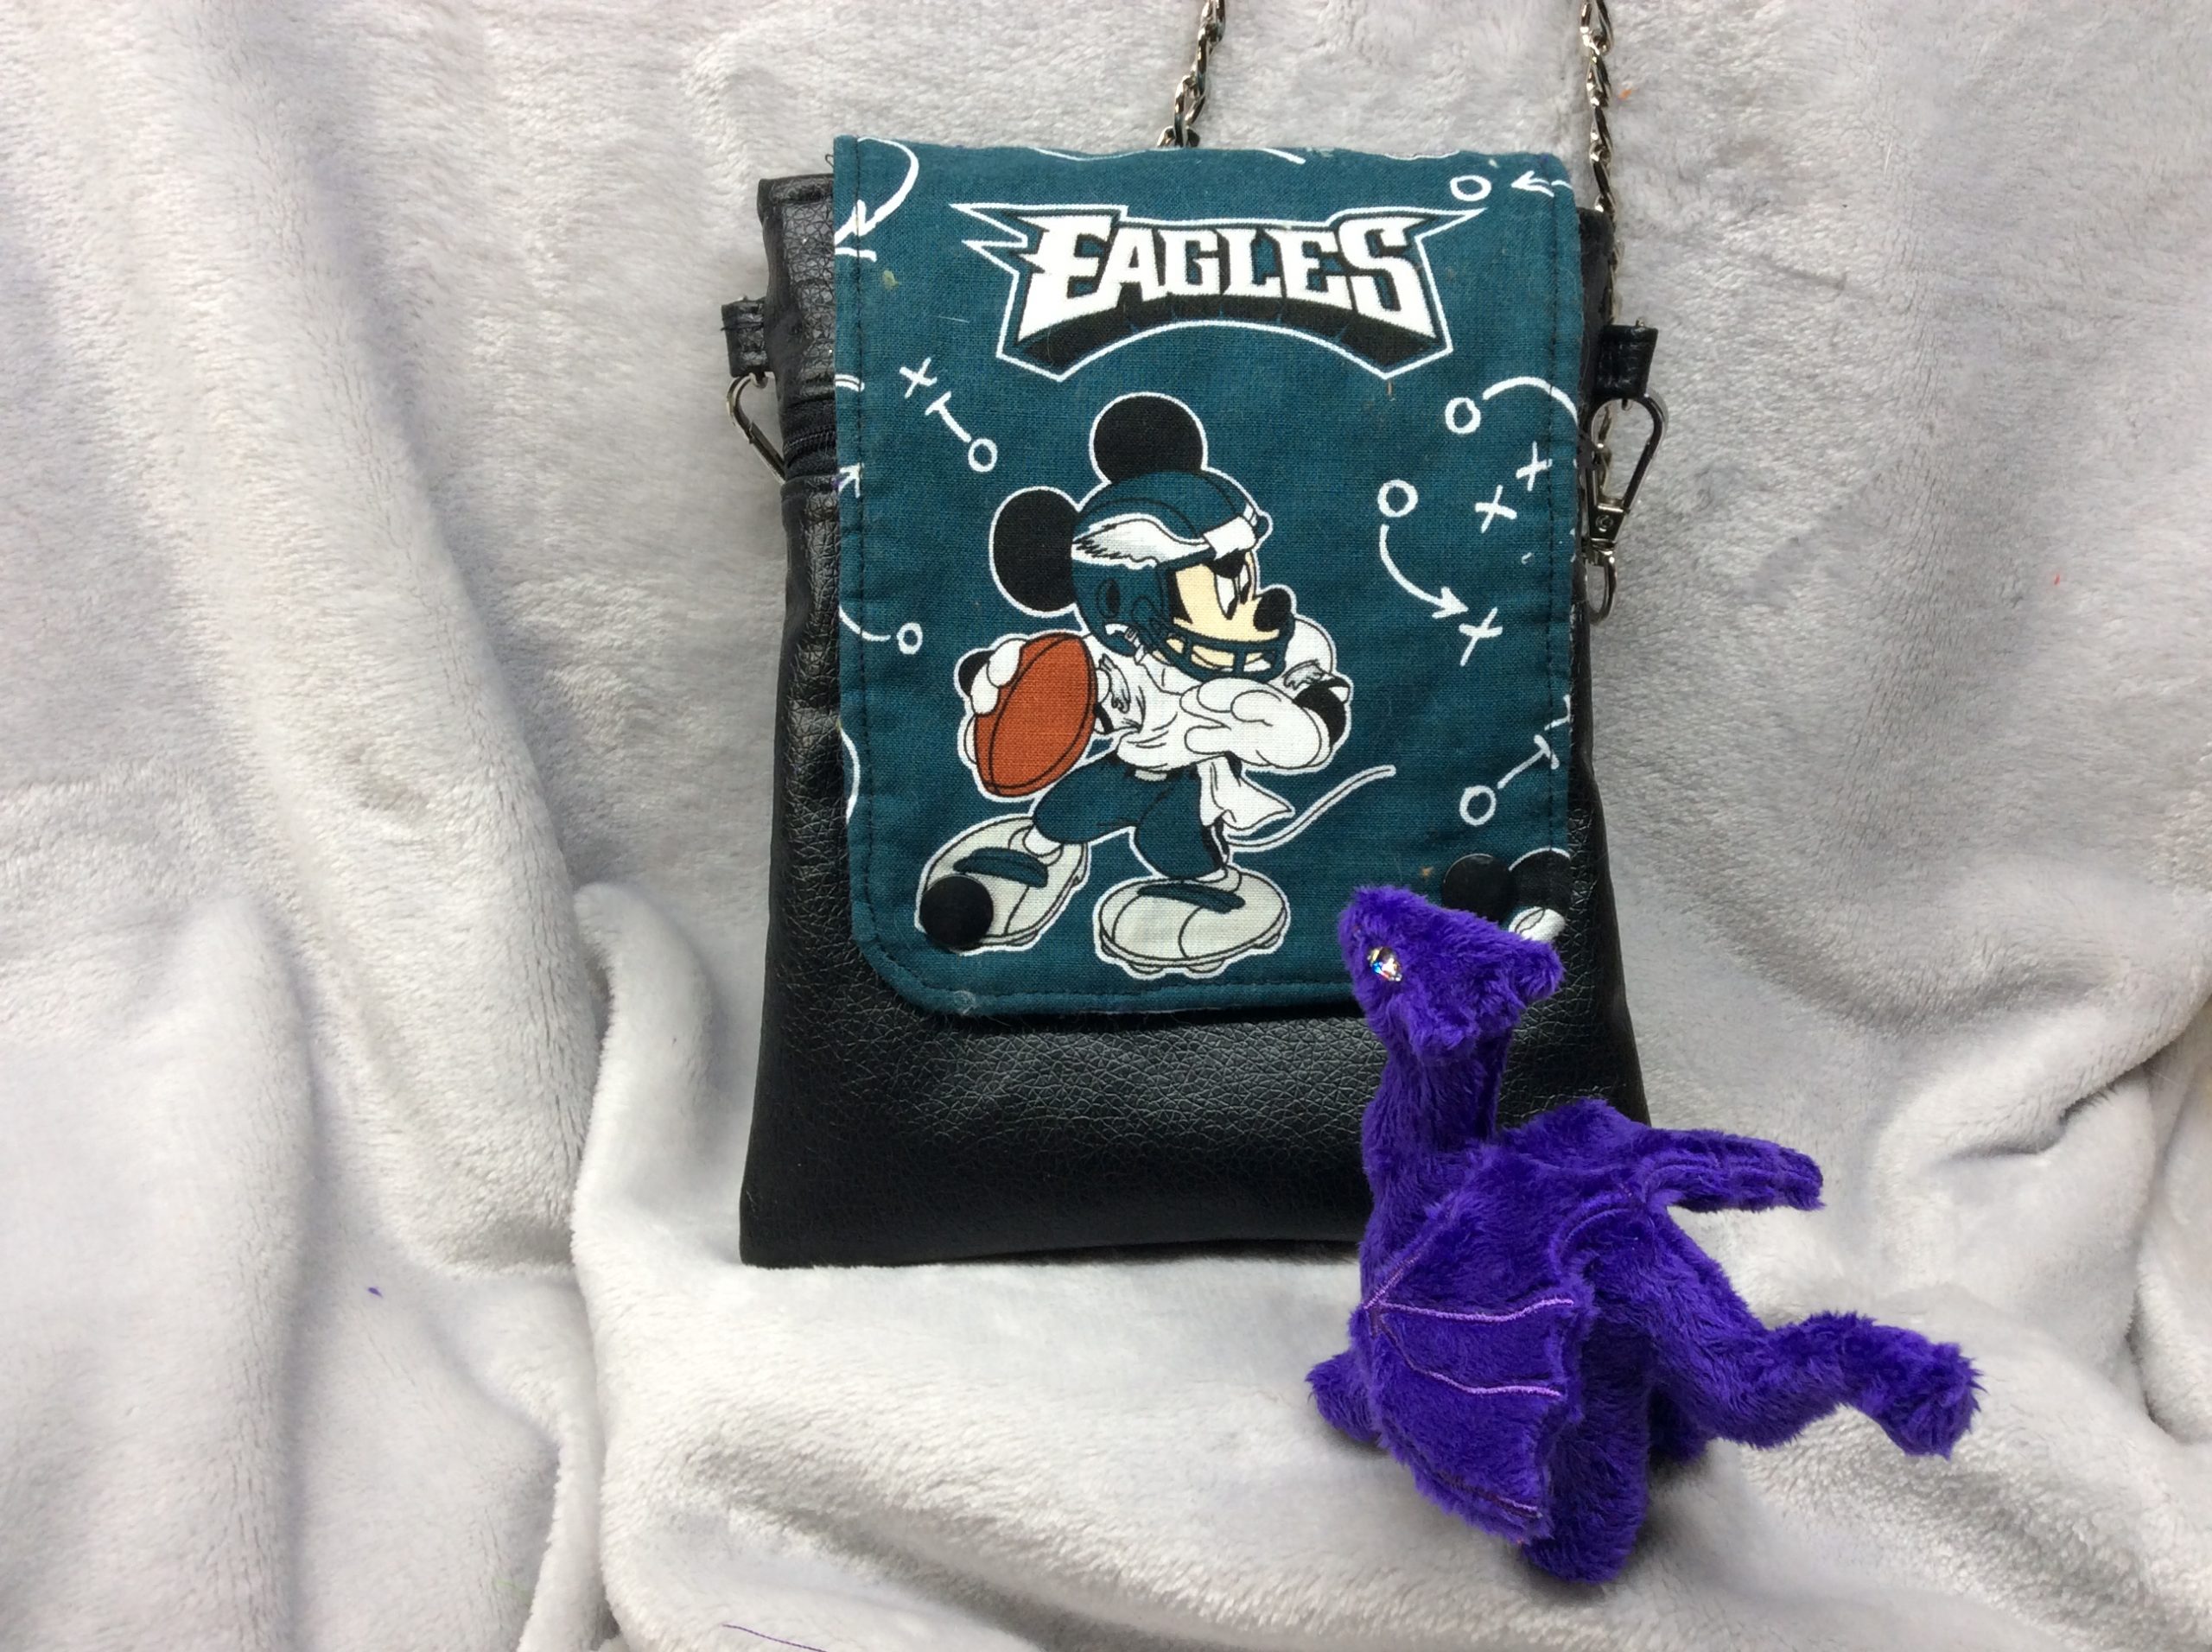
In addition to the embroidered flaps I made for my nieces, I made a couple of sewn ones from Disney fabric. Theirs were hot pink Minnie Mouse Halloween prints, while mine fulfilled the mandatory “any greater-Philadelphian who travels must display at least one item of hometown team gear.” I am not even a football fan but just by living adjacent to sports-crazed Philly I can tell you that none of those diagrams are the Philly Special.
At any rate, like the bag itself, the sewn flap doesn’t use an embroidery machine, just conventional. It’s pretty basic: cut two pieces of fabric according to the pattern (even more generally, just a 5×8″ rectangle with the lower corners rounded), stitch around it leaving a turning opening, turn it, press it, topstitch it, and add snaps to match those on the bag.
I used some of JoAnn’s pre-quilted diamond solids to back them. Alternately, use fusible fleece or pre-quilt the facing fabric. Cut your fleece along the seam lines of the pattern rather than the full flap size to keep the edges of the flaps crisp and easy to top-stitch.
Snap placement: three inner-ring snaps 2″ apart at the top, and two outer-ring snaps 3.5″ apart at the bottom. You may choose to put the snaps on the inside piece only so the caps are hidden, and use a zipper foot to carefully topstitch around it.
The little dragon photobombing the picture is a new design in my Etsy shop; the shop announcement blog or my Mastodon account is the place to find news about what I’m doing so I don’t interrupt the Advent tutorial series.
